AirPods Pro Not Connecting To iPhone? Here's The Fix!
Your AirPods Pro won't connect to your iPhone and you don't know how to fix the problem.
No matter what you do, you can't get your devices to connect via Bluetooth.
In this article, I'll explain what to do when your AirPods Pro are not connecting to your iPhone!
Are My AirPods Pro Broken?
At this point, we can't be sure whether you're dealing with a software or a hardware problem. More often than not, your AirPods Pro are not connecting to your iPhone because of a minor software glitch. 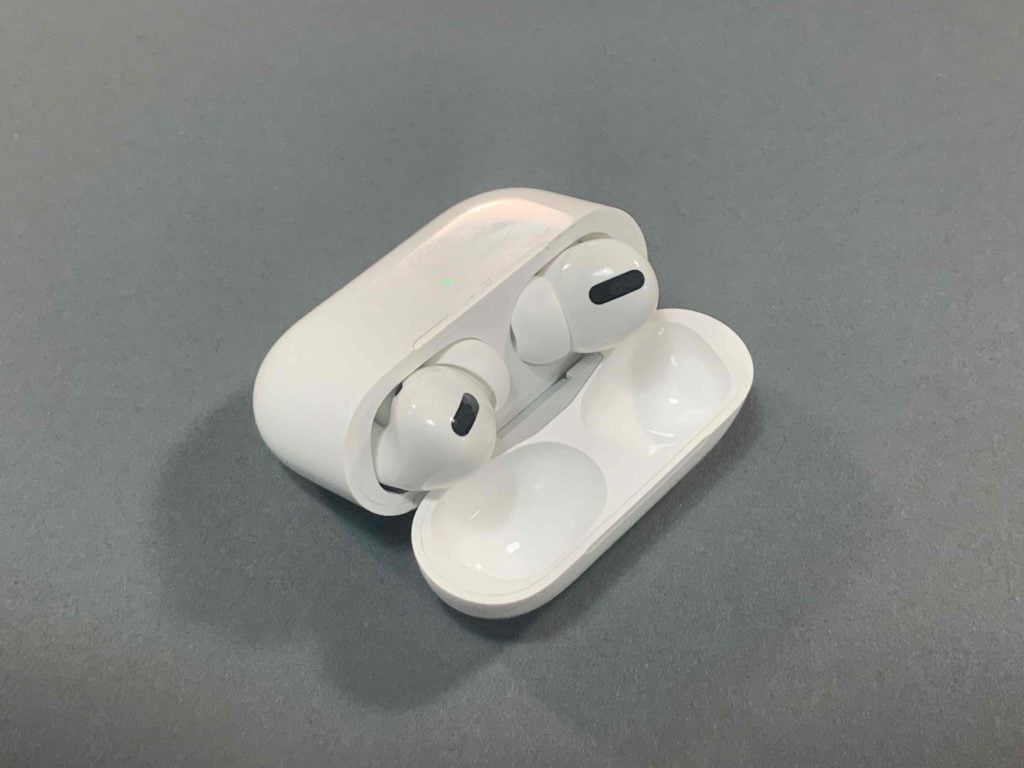 The AirPods Pro are designed to seamlessly connect to your iPhone, but it doesn't always work so smoothly. The steps below will help you diagnose the type of problem you're dealing with, starting with software troubleshooting steps. At the end of the guide, we'll show you how to get in touch with Apple if you find that your AirPods Pro are broken.
How To Fix AirPods Pro That Won't Connect To iPhone
13 Steps TotalSet Up AirPods Using Your iPhone
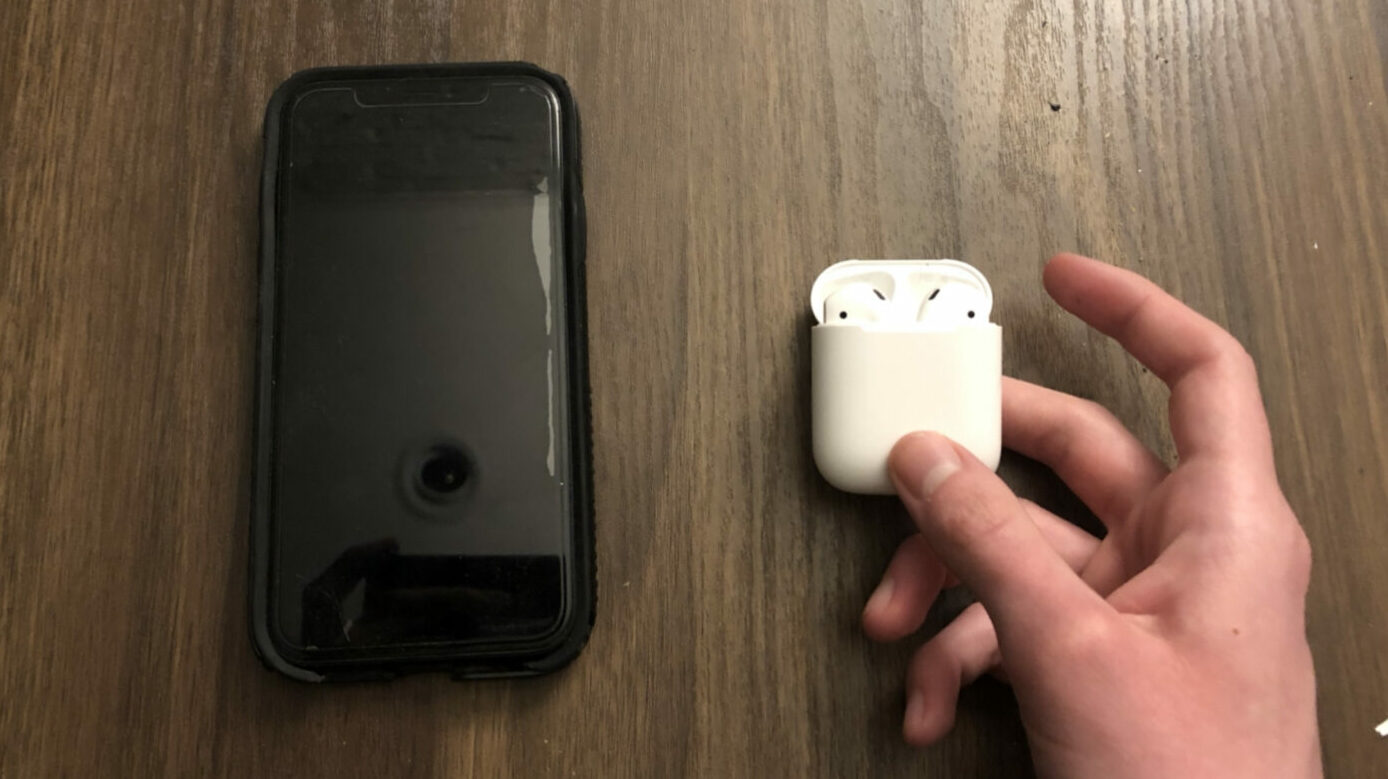
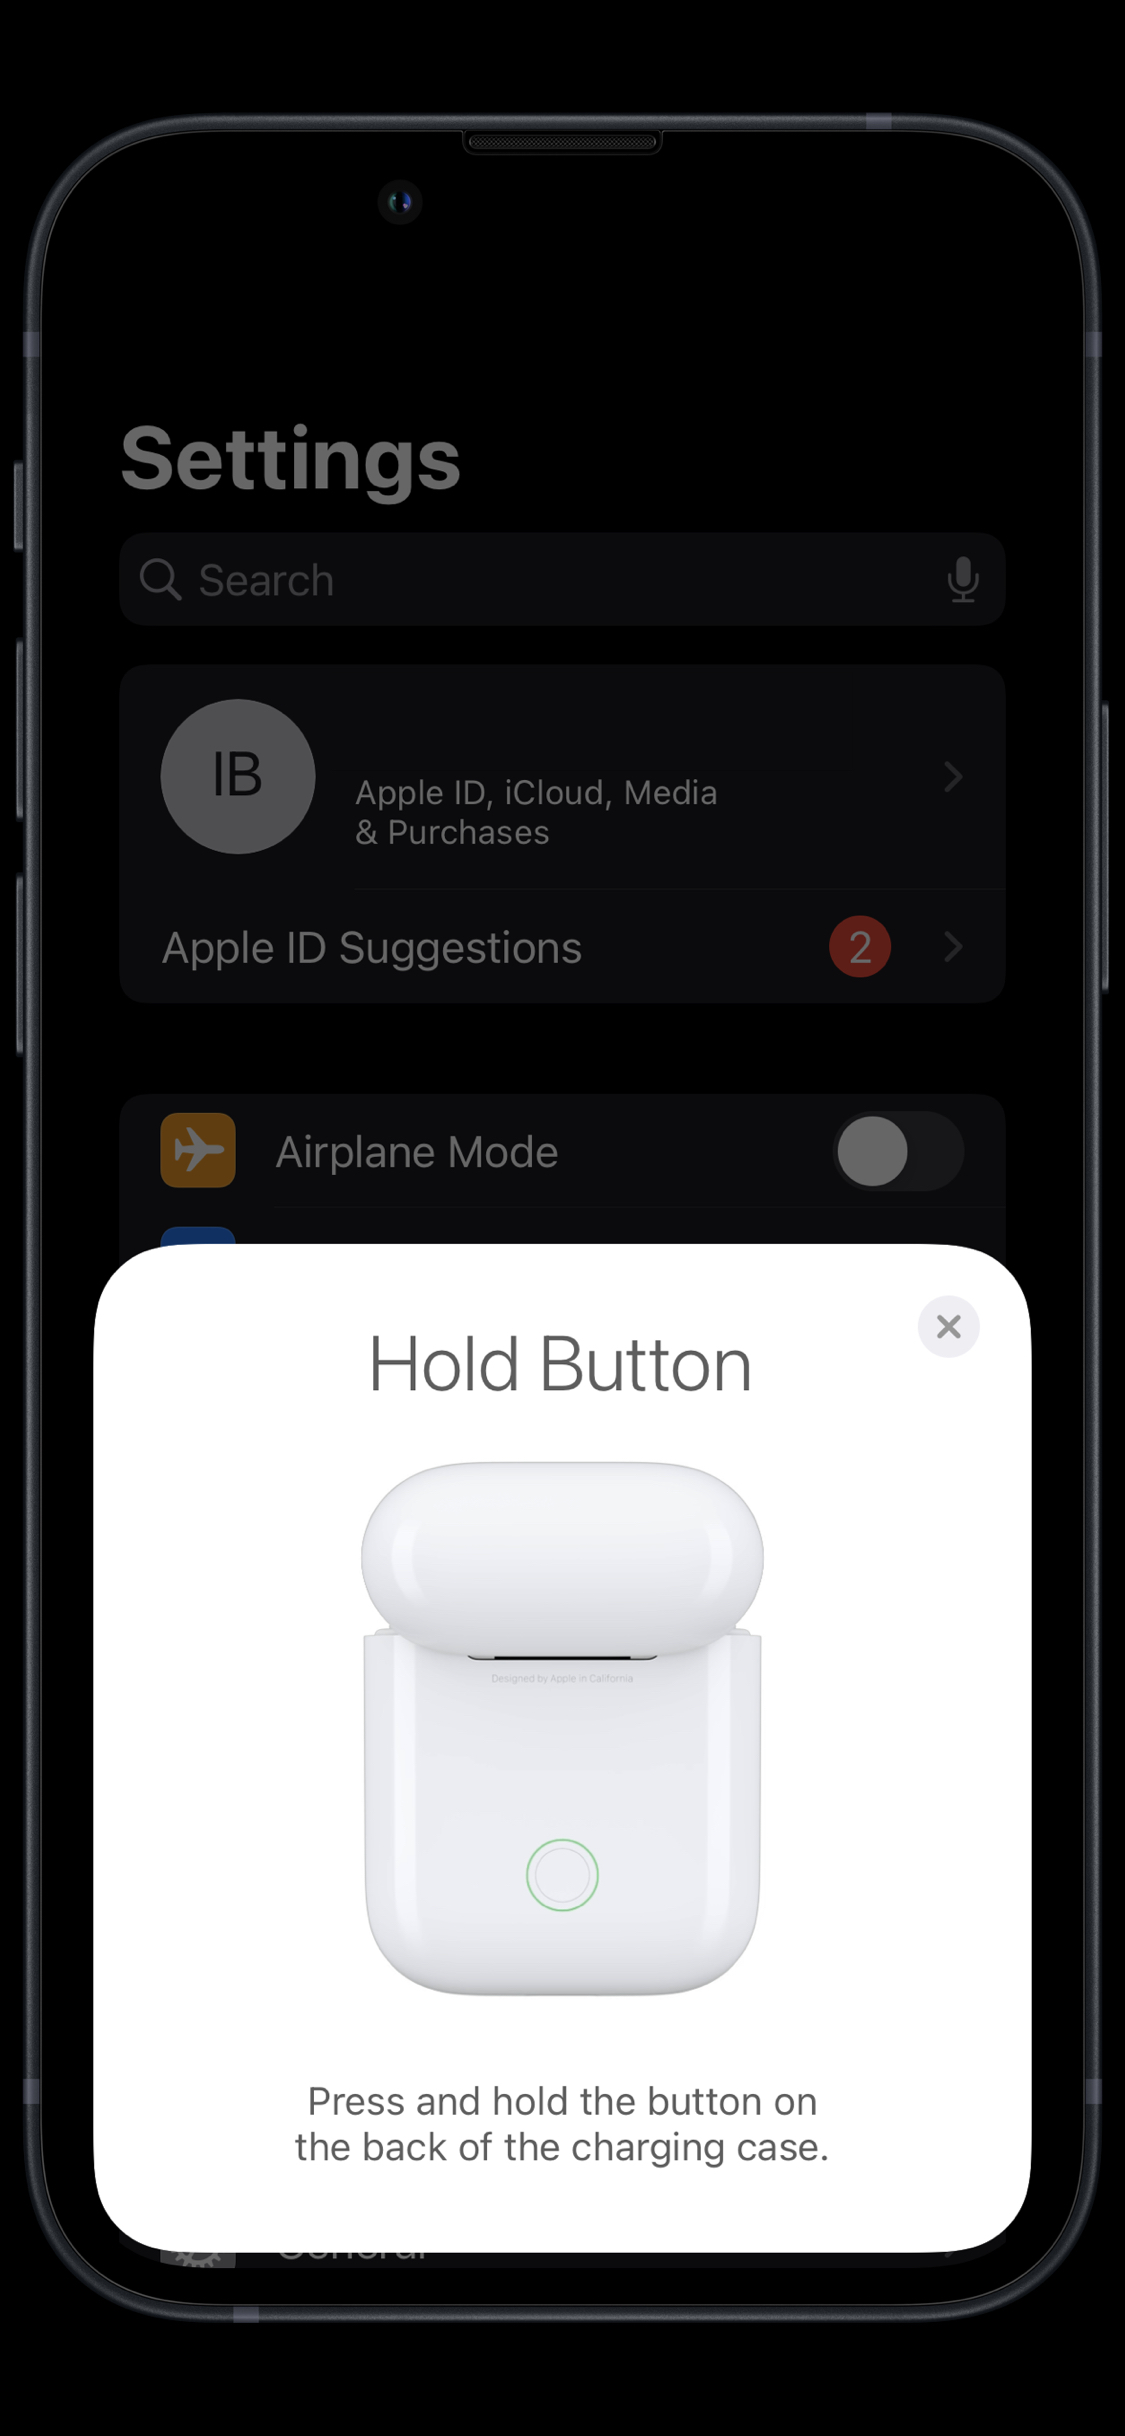
Your iPhone needs to be connected to your AirPods before you can use them. AirPods are designed to easily connect to your iPhone as soon as you open the Charging Case.
How Do I Set Up AirPods Using My iPhone?
- Unlock your iPhone.
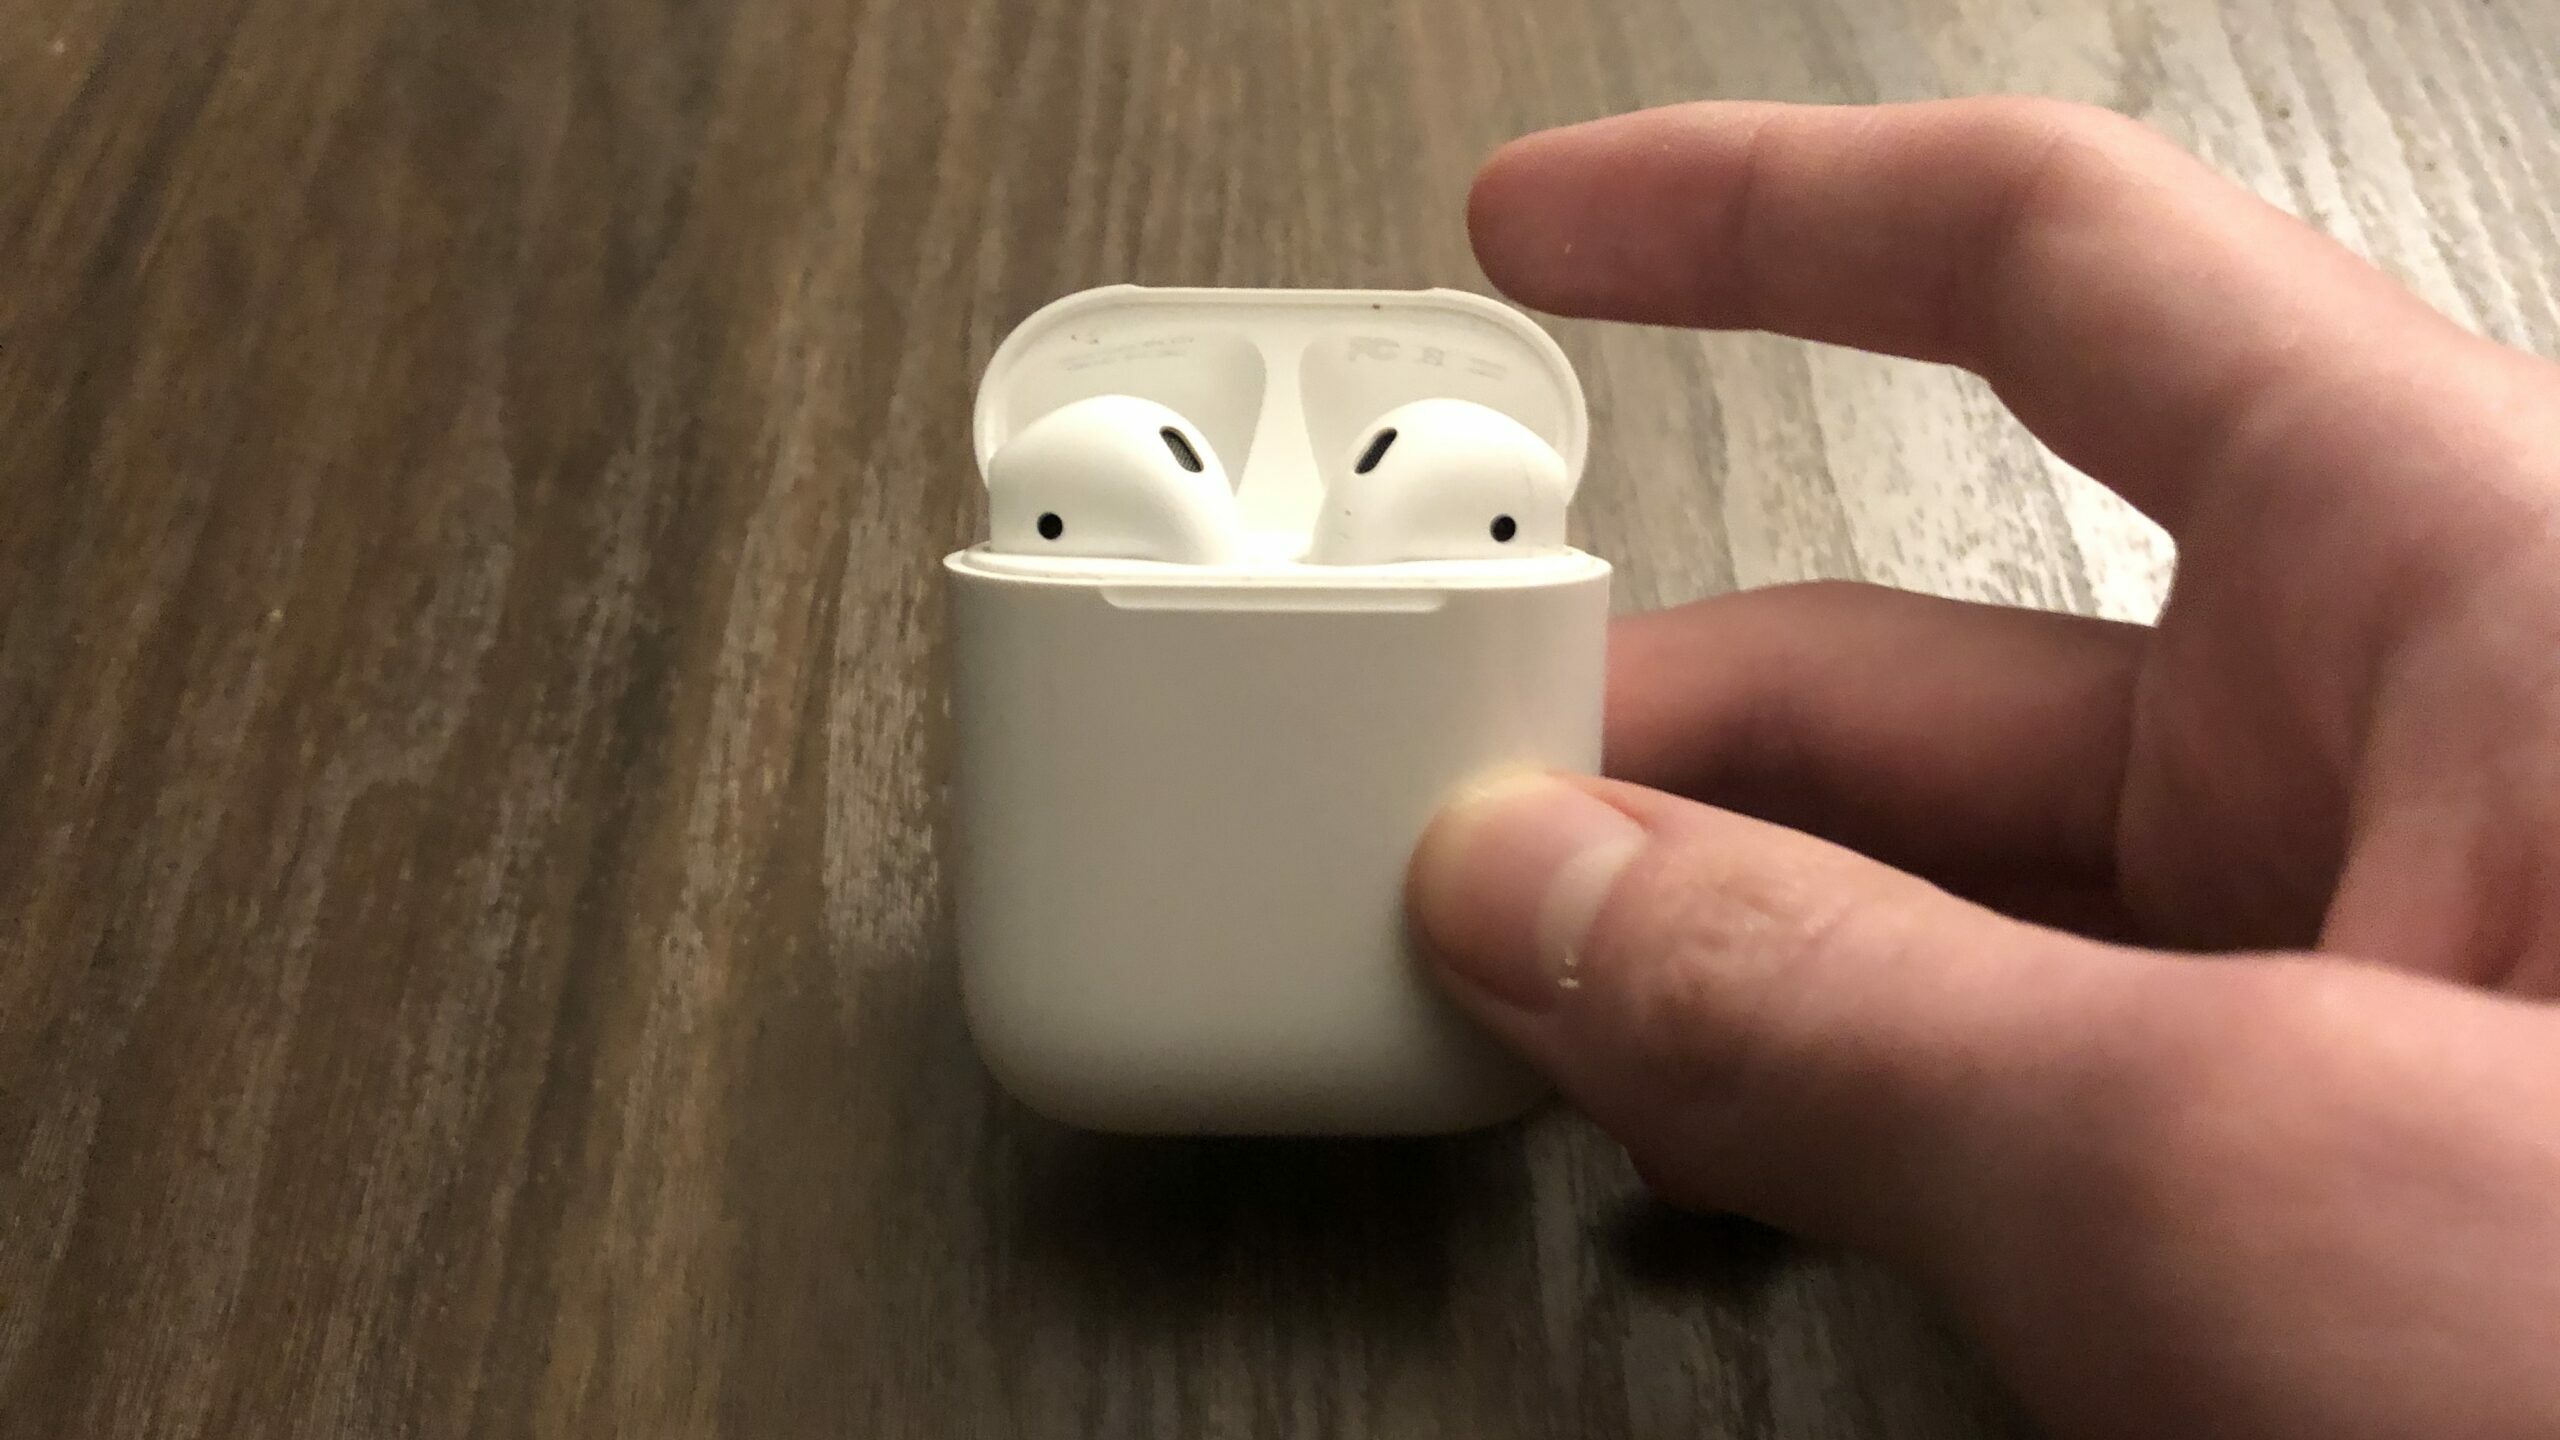
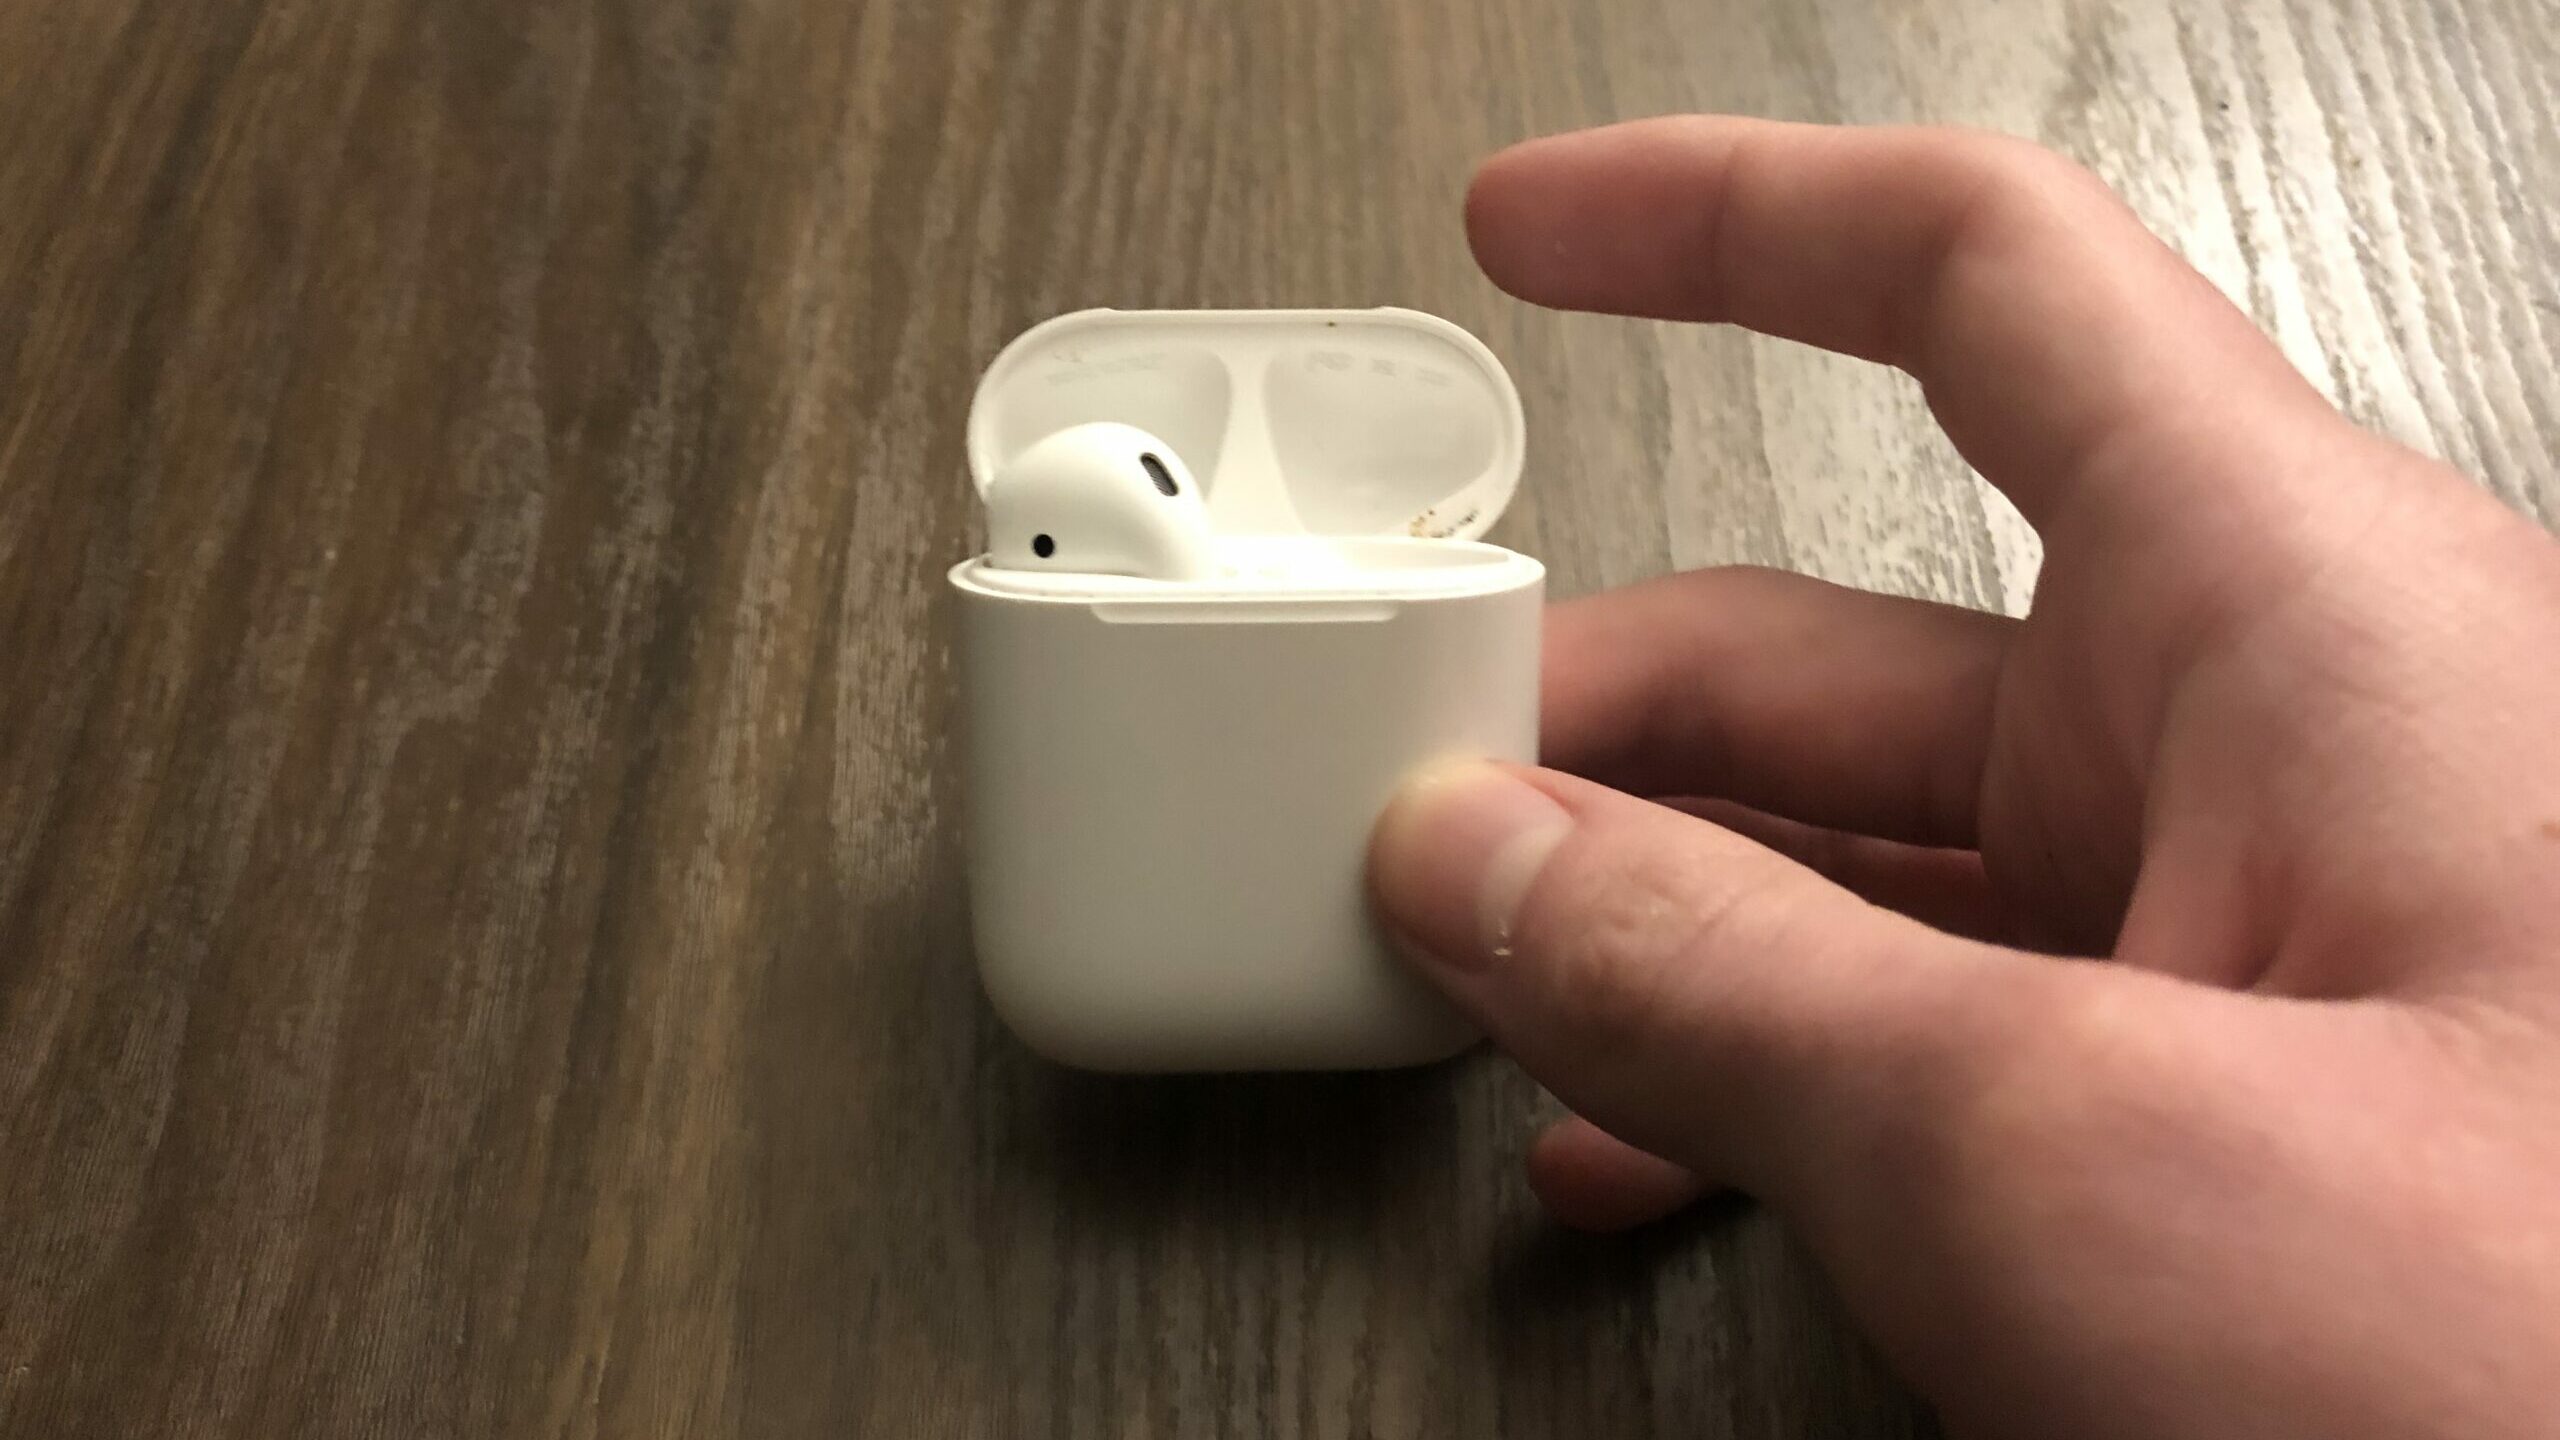
- Open the Charging Case with your AirPods inside.
- Hold the Charging Case next to your iPhone.
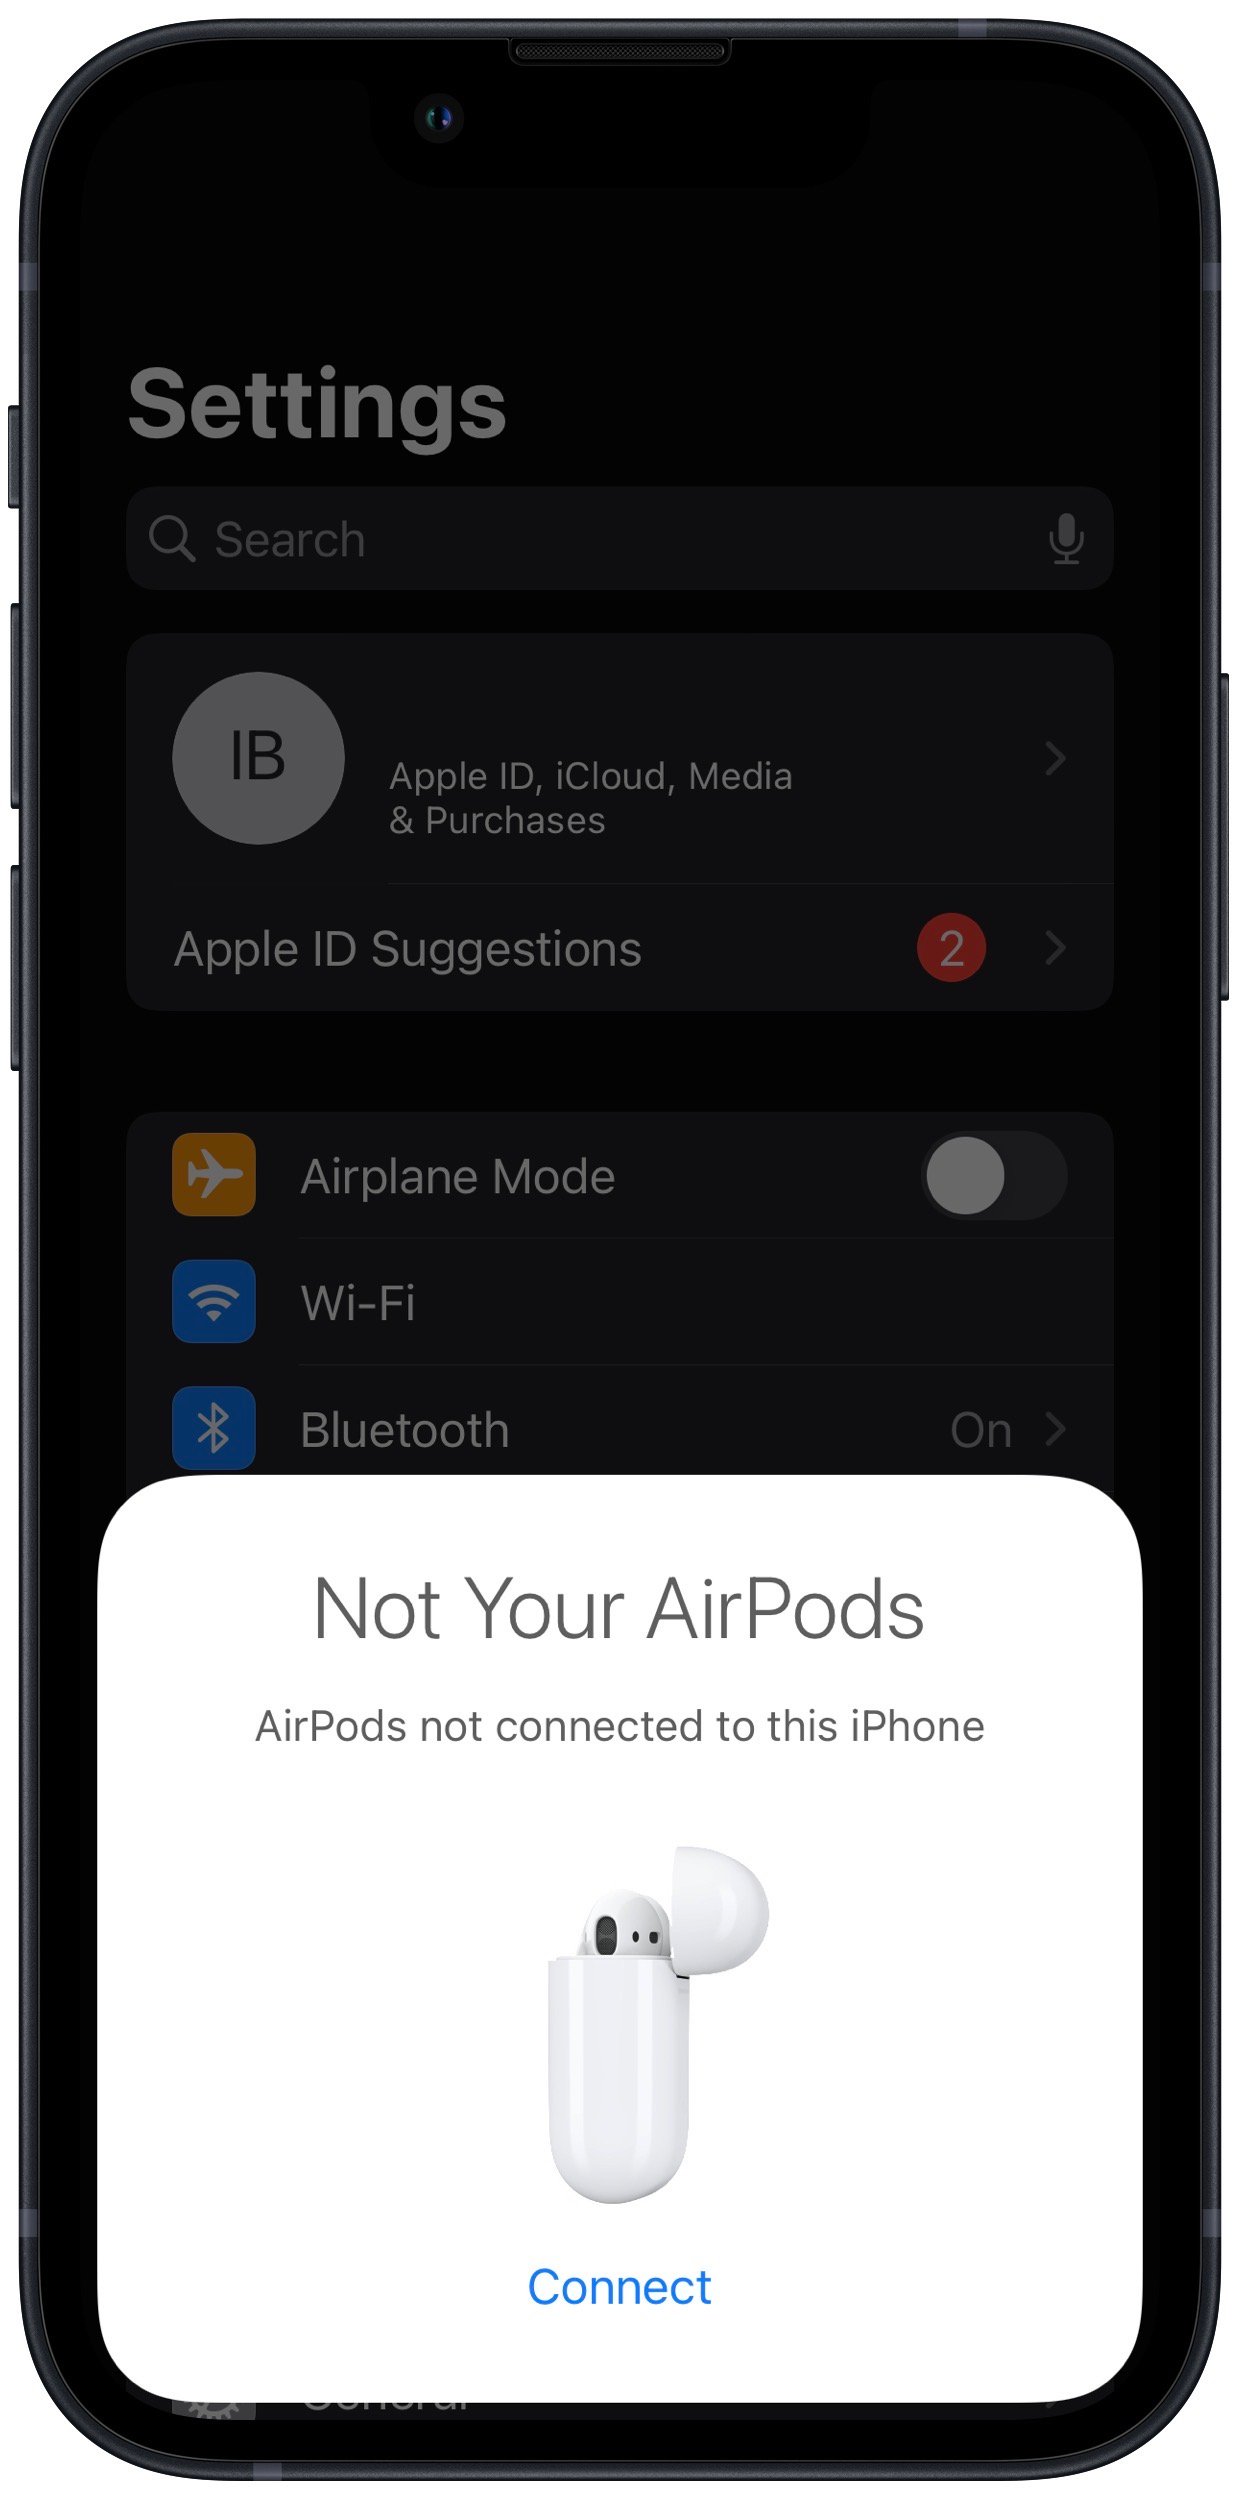
- A setup animation will appear on your iPhone.
- Tap Connect.
- Tap Done.
Applies To: AirPods,AirPods Pro,iPhone 5,iPhone 5S,iPhone 5C,iPhone 6,iPhone 6 Plus,iPhone 6S,iPhone 6S Plus,iPhone SE,iPhone 7,iPhone 7 Plus,iPhone 8,iPhone 8 Plus,iPhone X,iPhone XS,iPhone XS Max,iPhone XR,iPhone 11,iPhone 11 Pro,iPhone 11 Pro Max,iPhone SE 2
View MoreRestart Your iPhone
Restarting your iPhone can sometimes fix minor software glitches and errors.
How Do I Restart My iPhone?
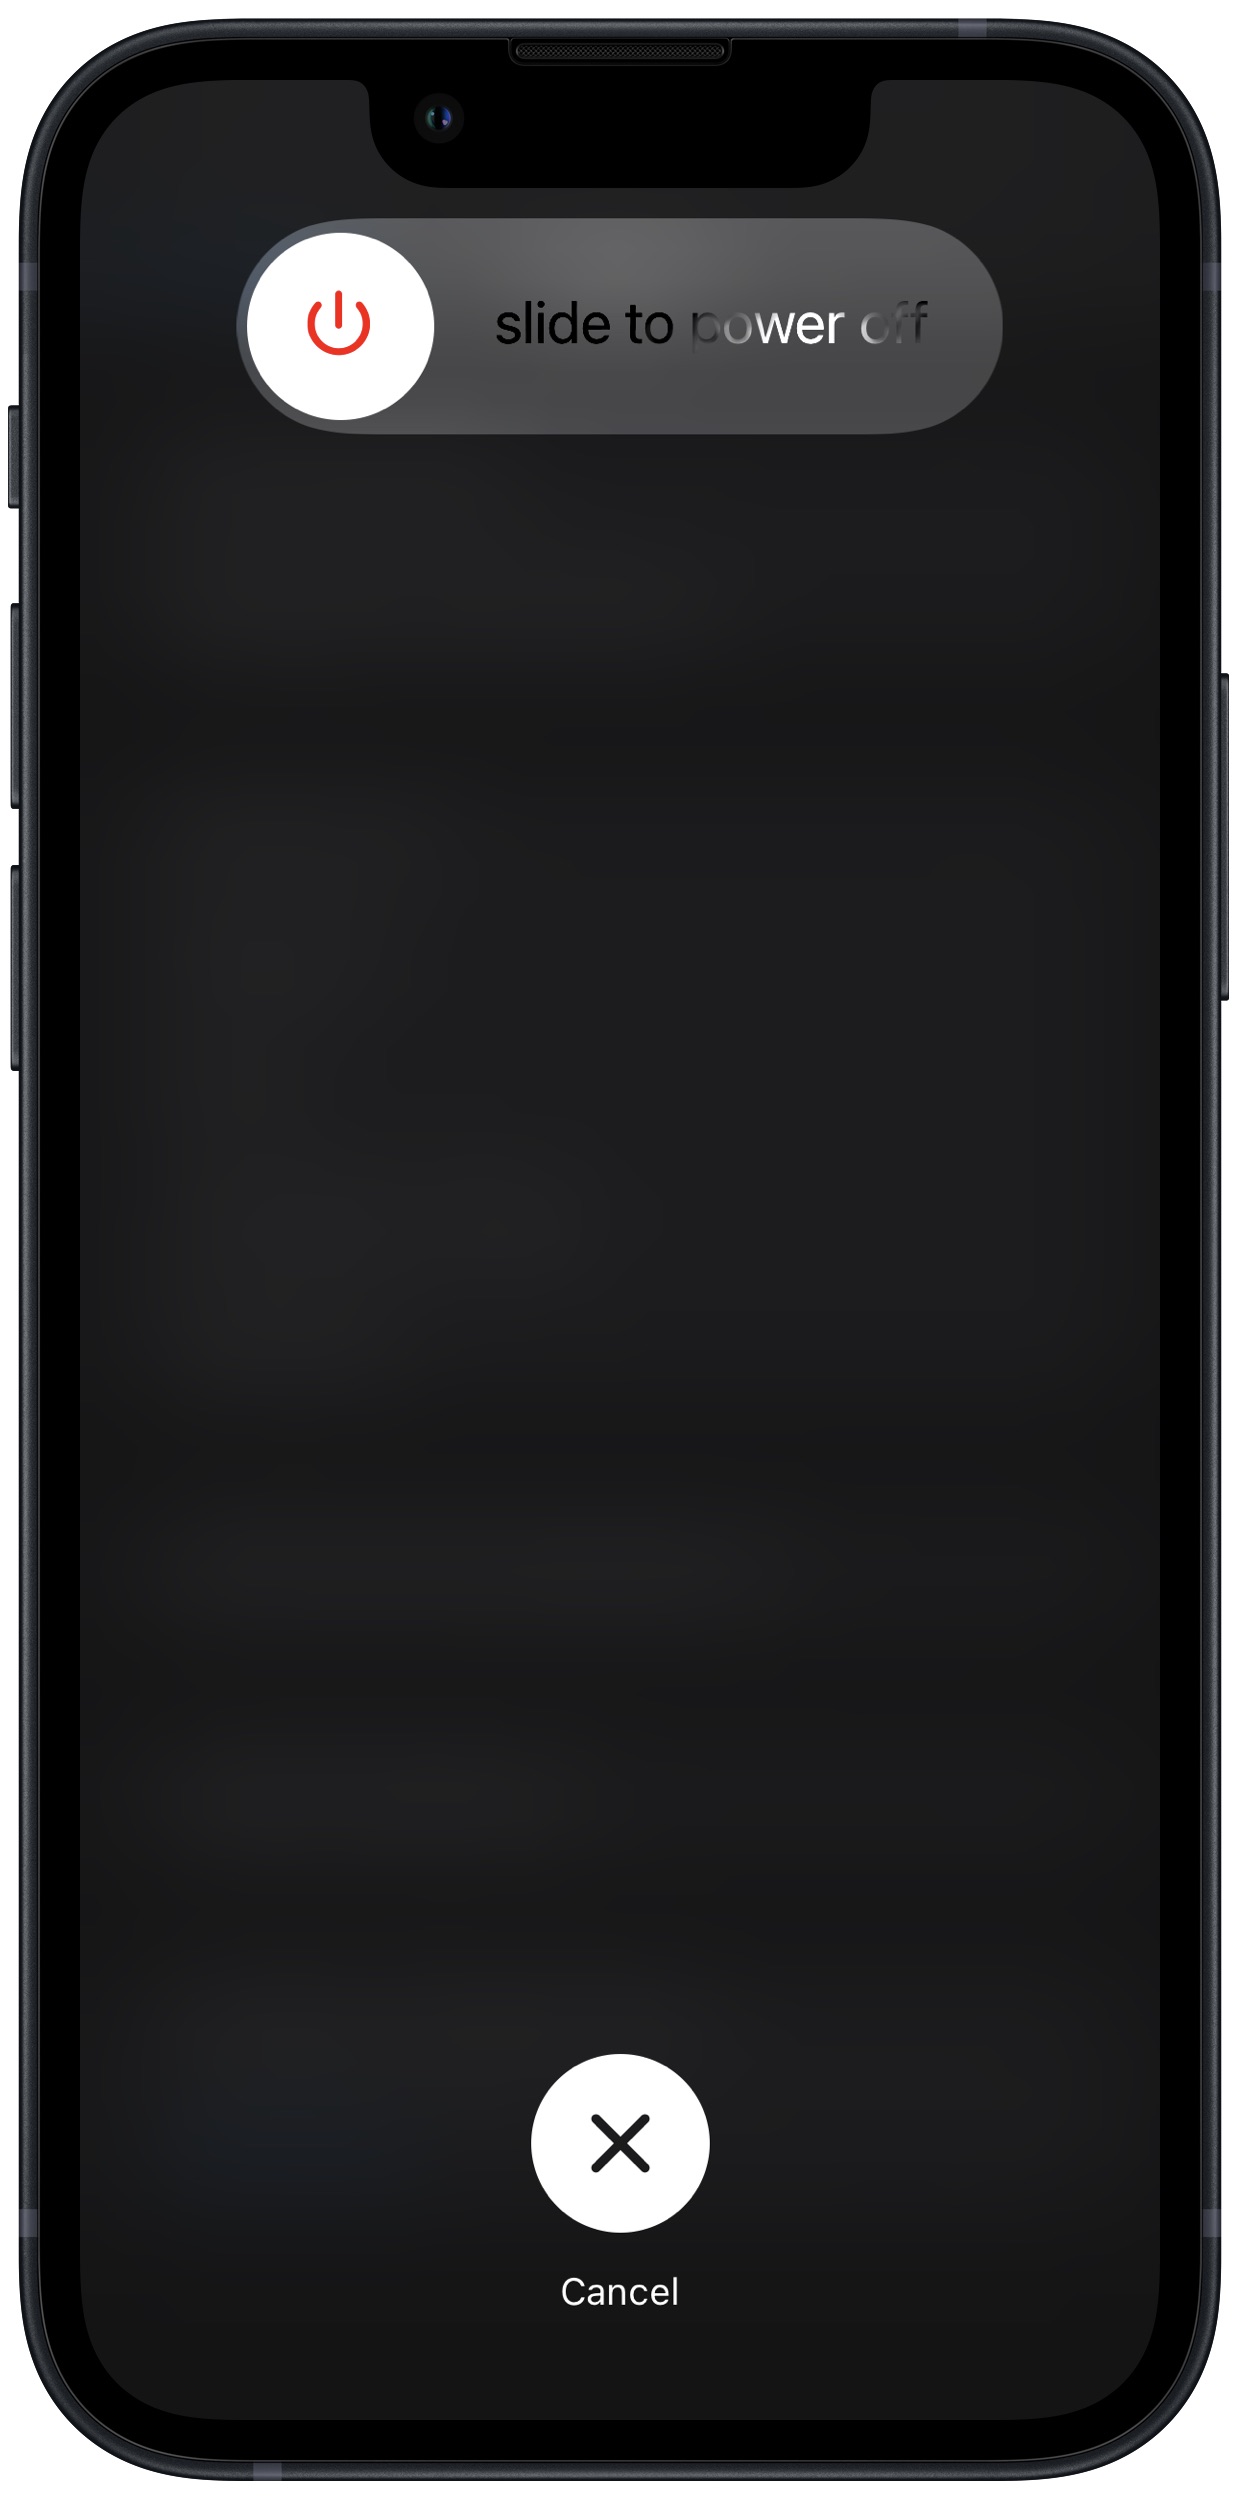
- Press and hold the power button (iPhones without Face ID) or the side button and either volume button (iPhones with Face ID) on your iPhone until the slide to power off slider appears on the display.
- Swipe the red power icon from left to right to turn off your iPhone.
- Wait about 30 seconds, then press and hold the power button (iPhones without Face ID) or the side button (iPhones with Face ID) again until the Apple logo appears in the center of the display.
Turn Off Your iPhone In The Settings App (Option 1)
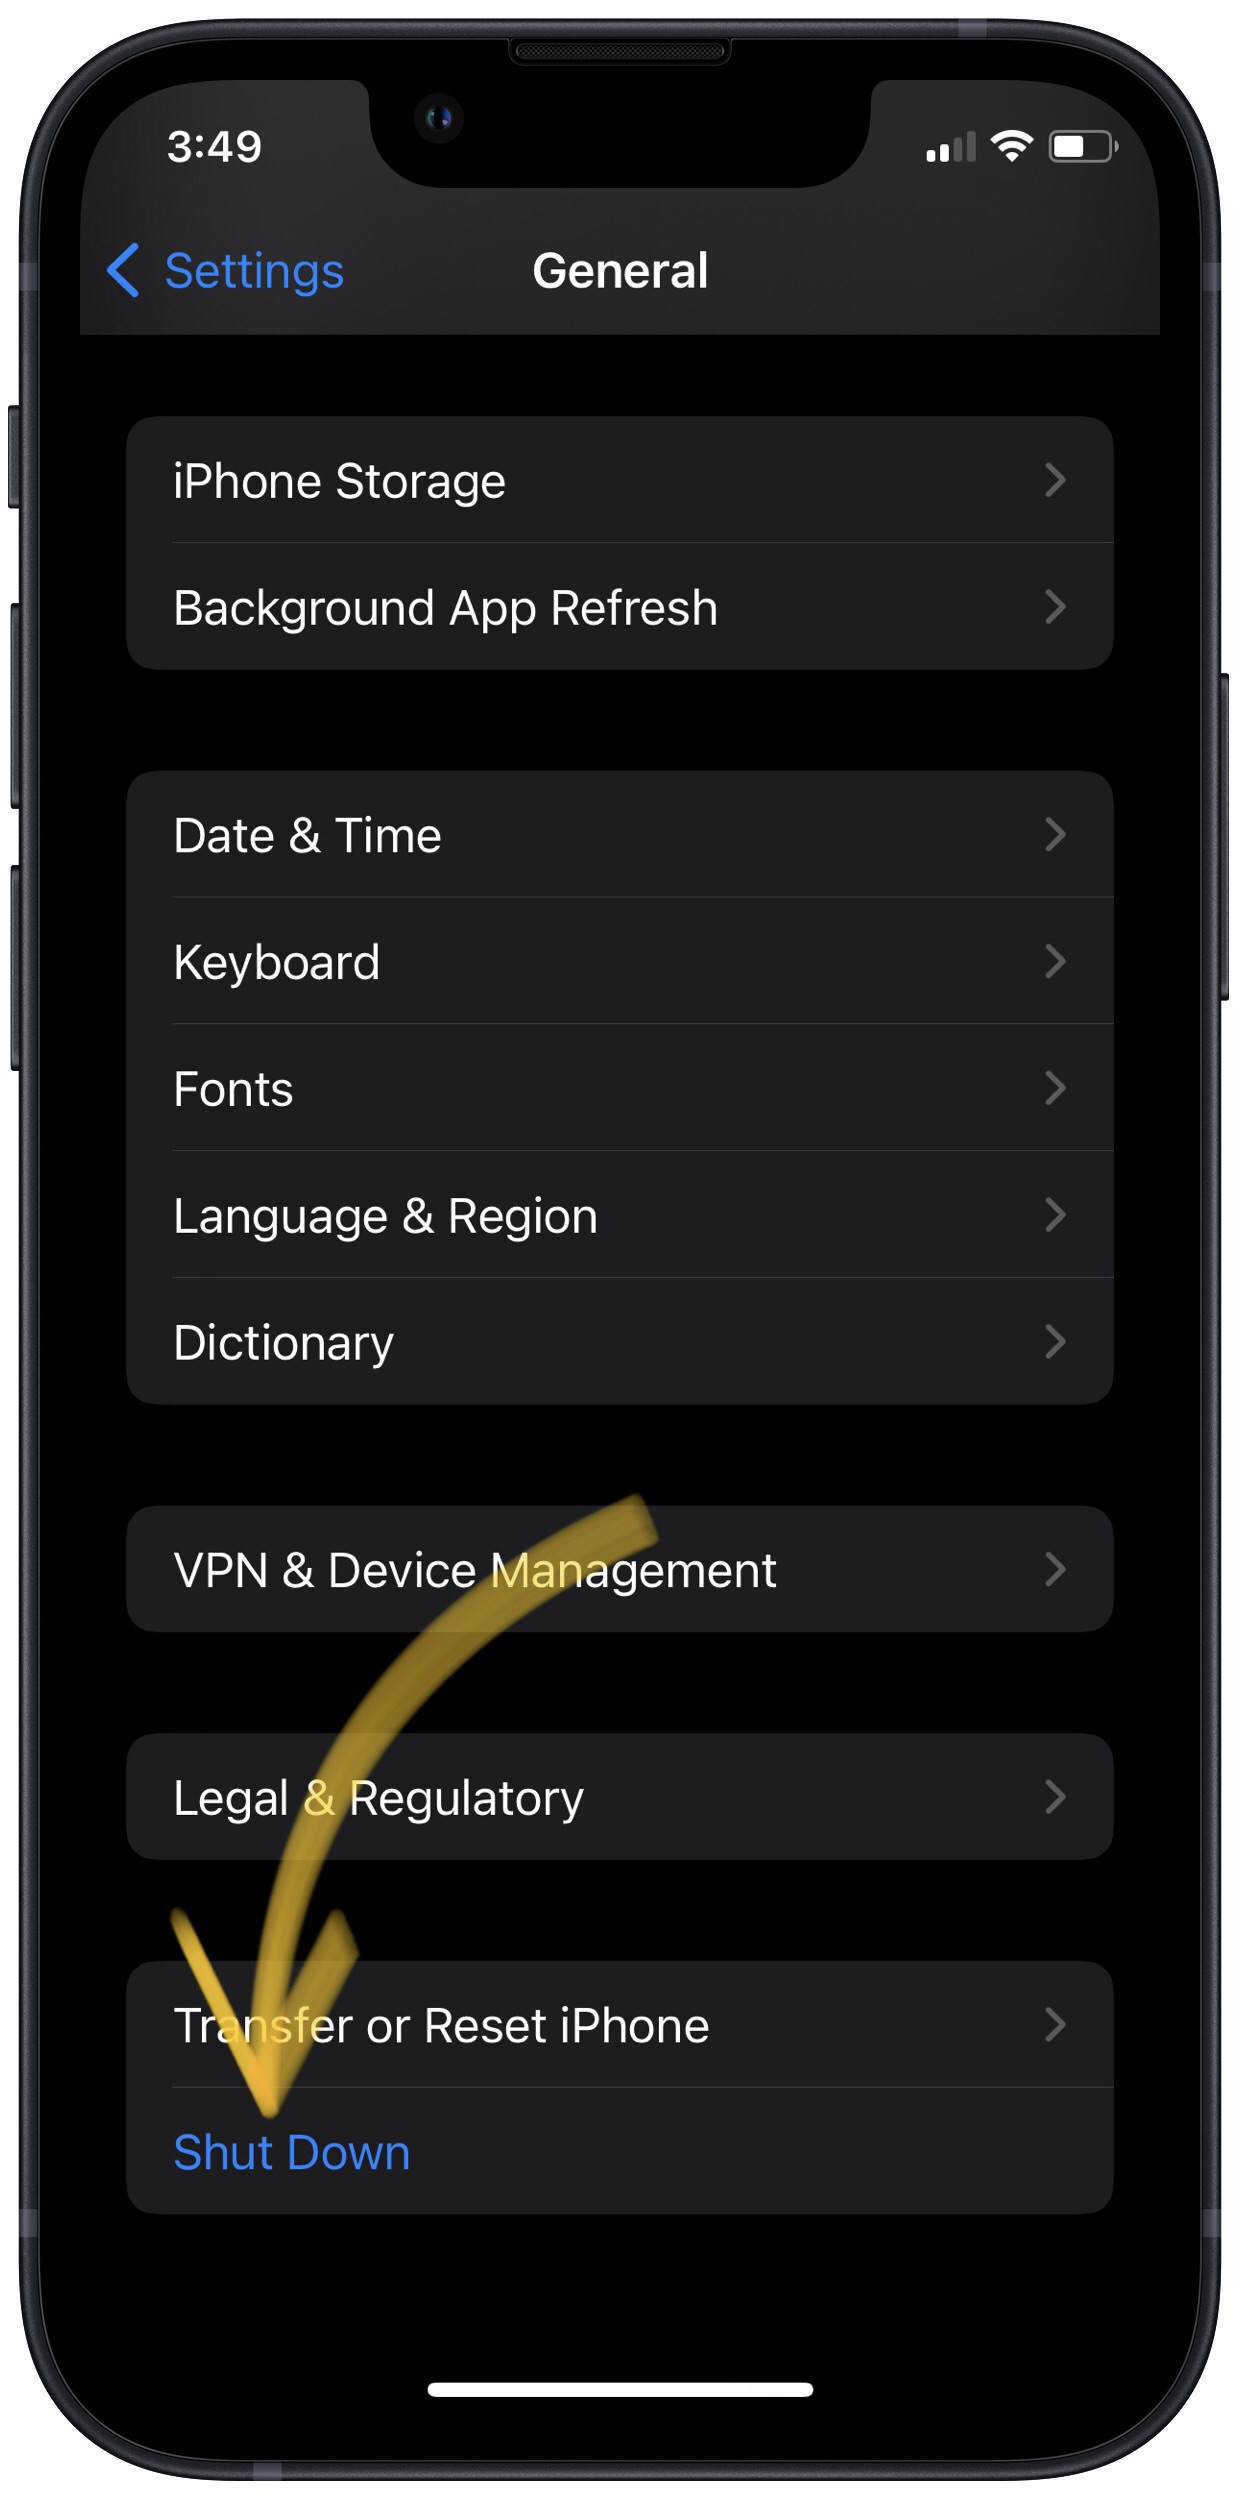
- Open the Settings app on your iPhone.
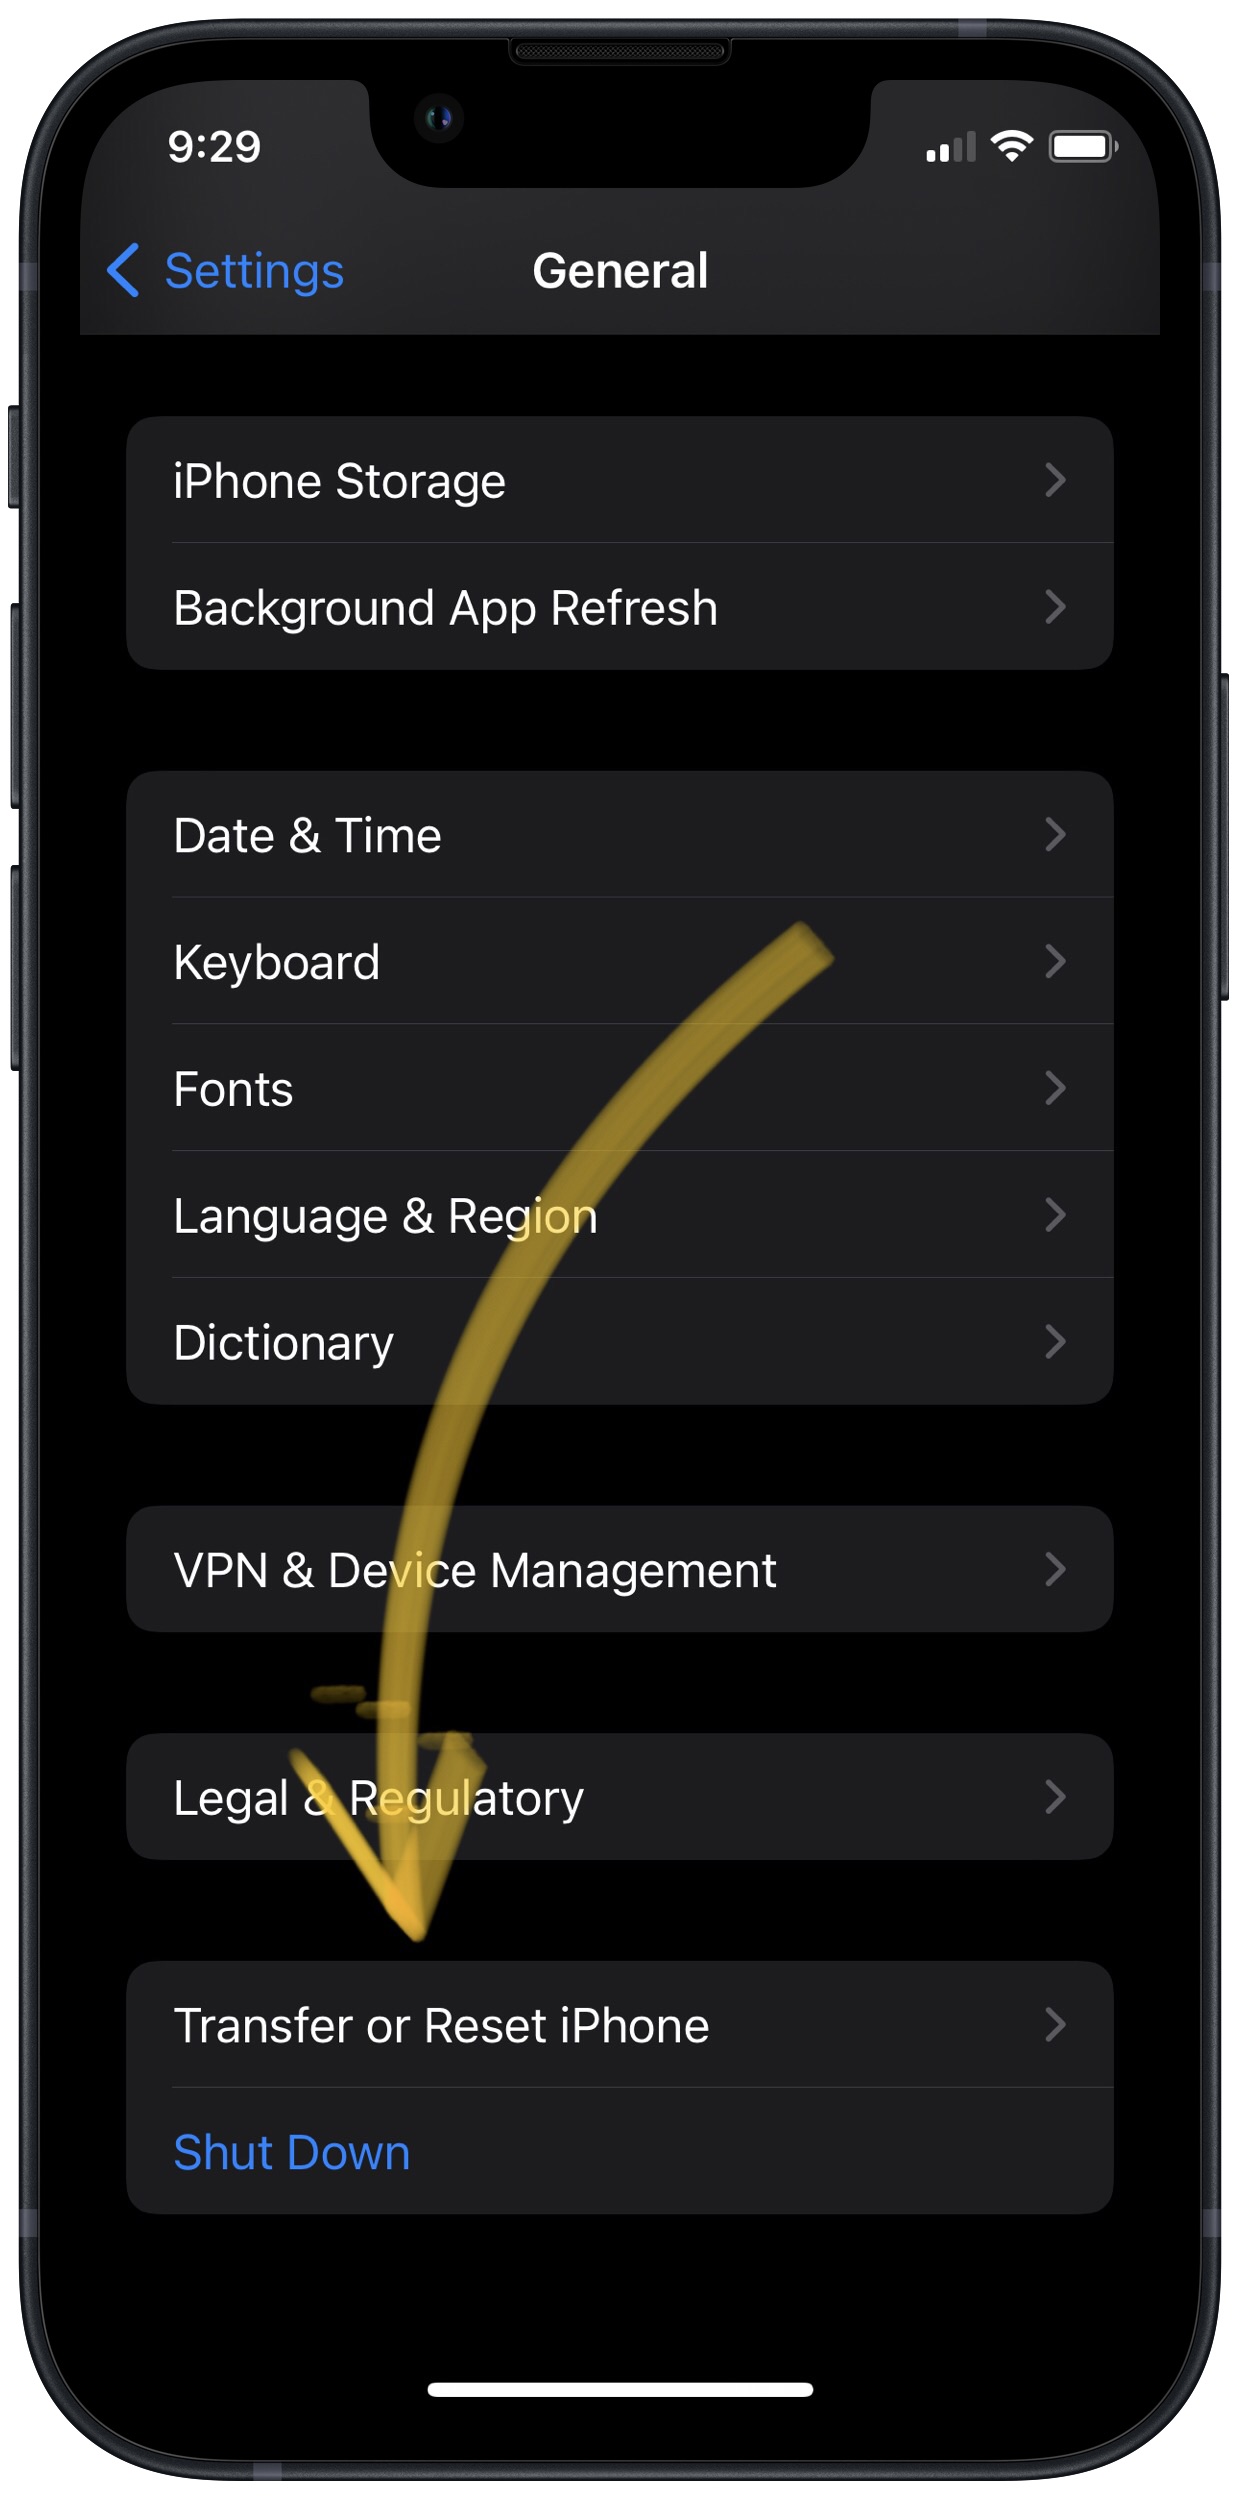
- Tap General.
- Scroll to the bottom and tap Shut Down.
- Swipe the red power icon from left to right.
- Plug your iPhone into a power source using a Lightning cable to turn it on again.
Turn Off Your iPhone Using AssistiveTouch
- Watch our YouTube video or follow the steps below!
- Open the Settings app.
- Tap General.
- Tap Accessibility.
- Tap AssistiveTouch.
- Turn on the switch next to AssistiveTouch.
- Tap the AssistiveTouch button when it appears on the display.
- Tap Device.
- Tap More.
- Tap Restart.
- Tap Restart again when the confirmation alert appears.
Applies To: iPhone 5,iPhone 5S,iPhone 5C,iPhone 6,iPhone 6 Plus,iPhone 6S,iPhone 6S Plus,iPhone SE,iPhone 7,iPhone 7 Plus,iPhone 8,iPhone 8 Plus,iPhone X,iPhone XS,iPhone XS Max,iPhone XR,iPhone 11,iPhone 11 Pro,iPhone 11 Pro Max,iPhone SE 2
View MoreTurn Bluetooth Off And Back On Again
Turning Bluetooth off and back on again is sometimes enough to fix minor connectivity issues between your iPhone and Bluetooth devices.
How Do I Turn Bluetooth Off And Back On Again?
There are three ways to turn Bluetooth off and back on:
In The Settings App
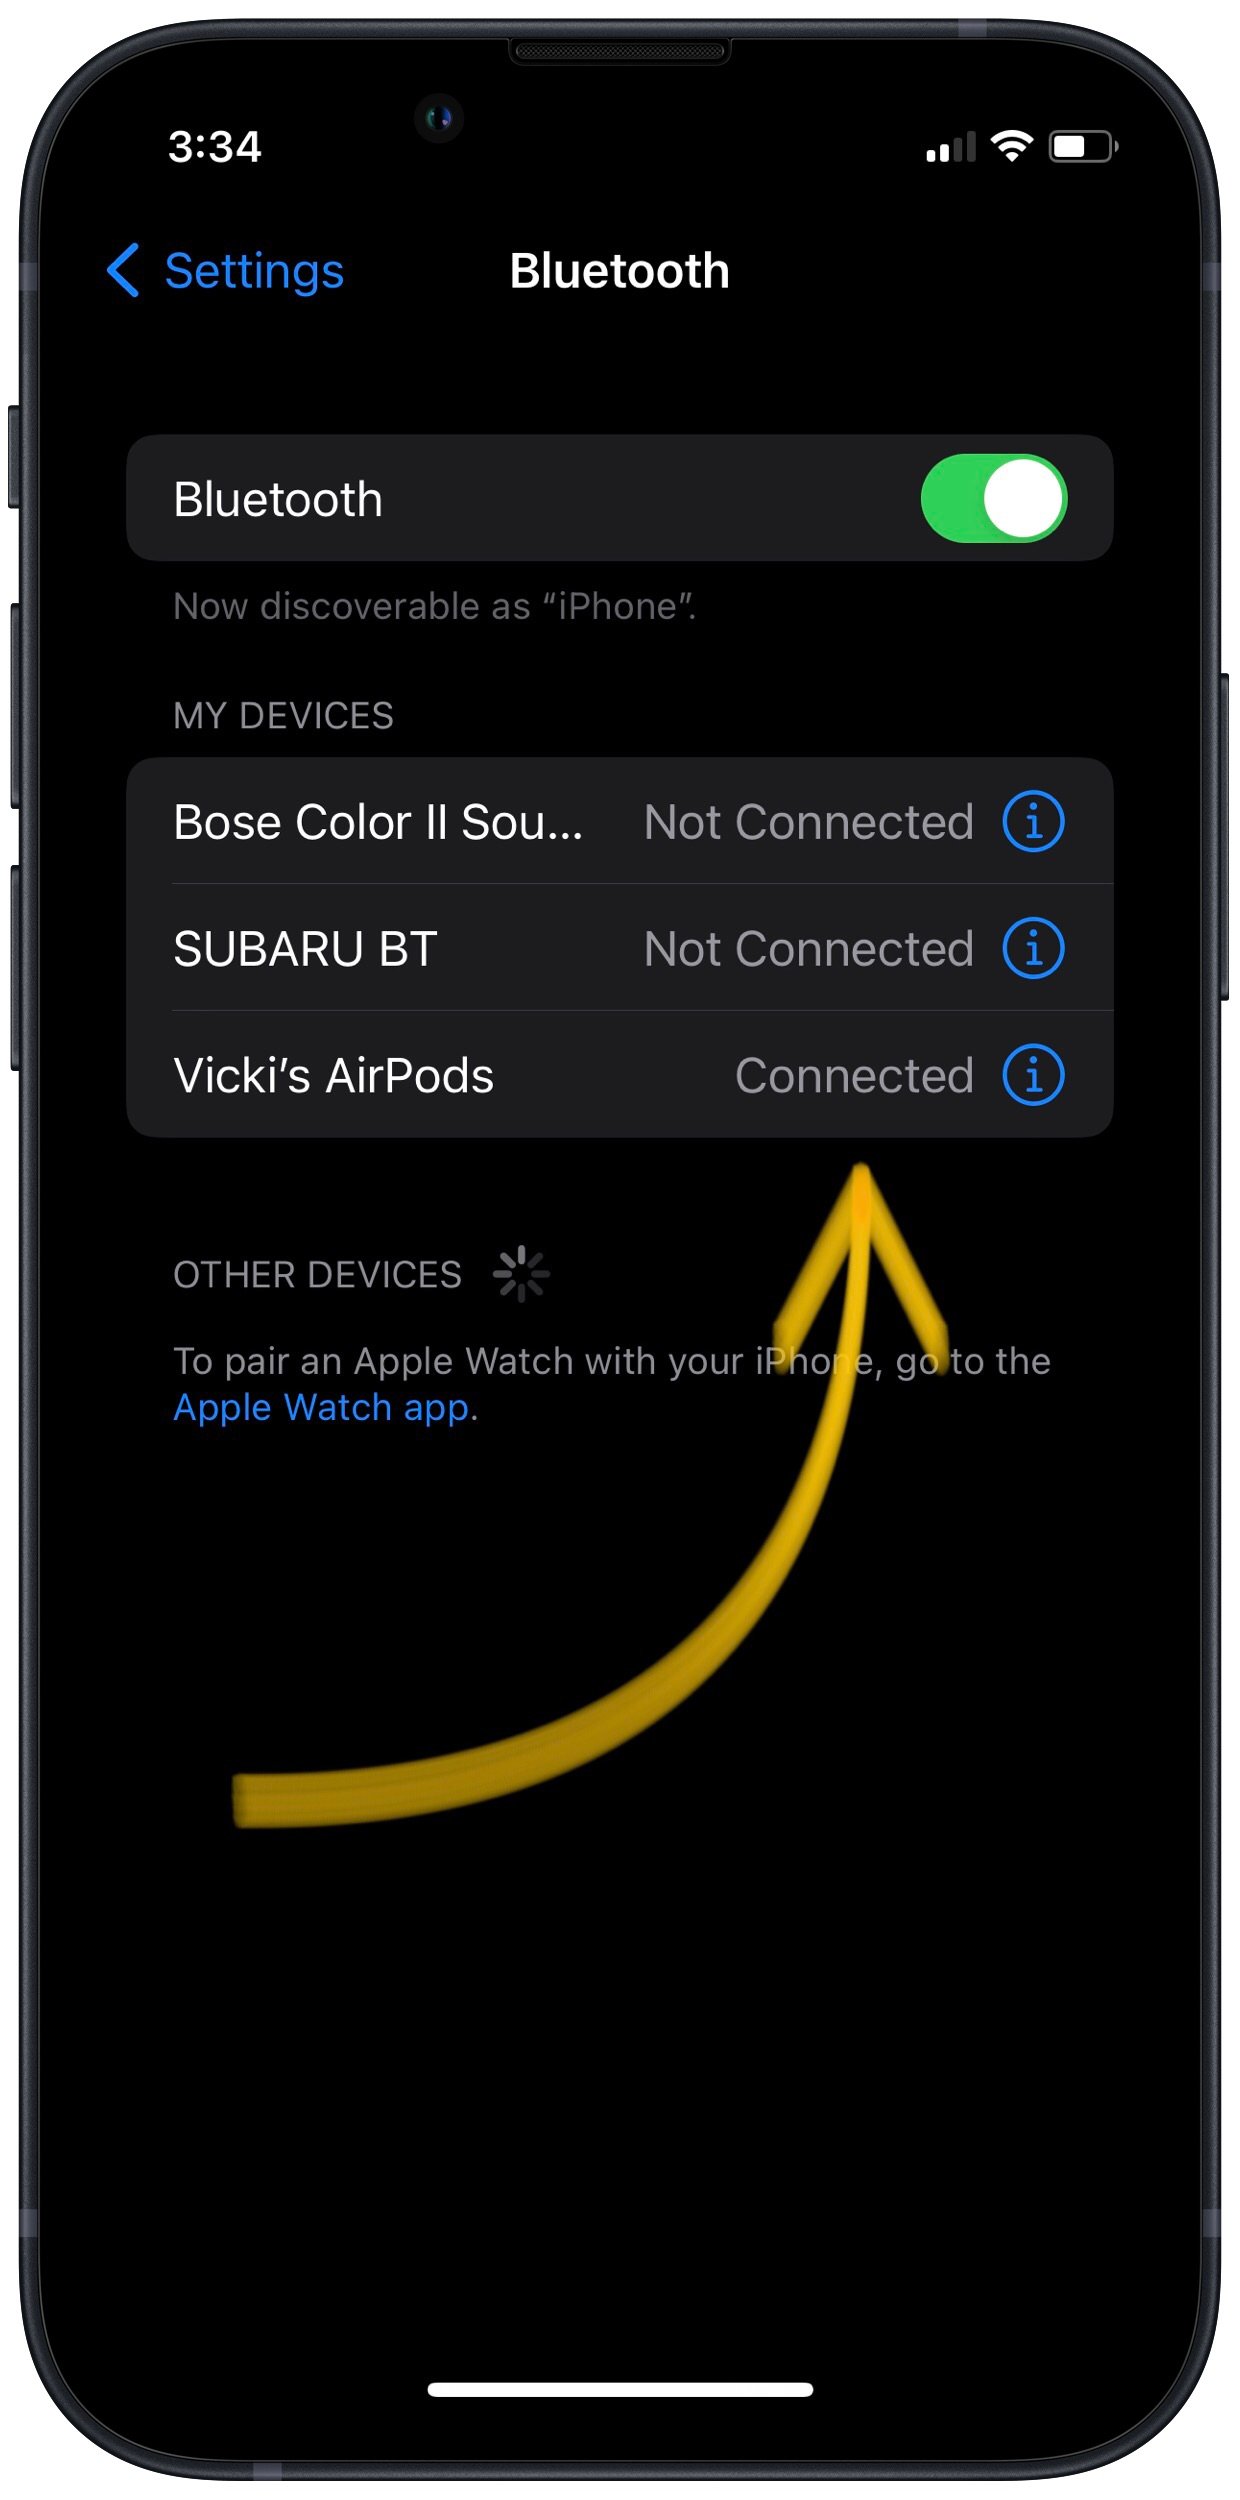
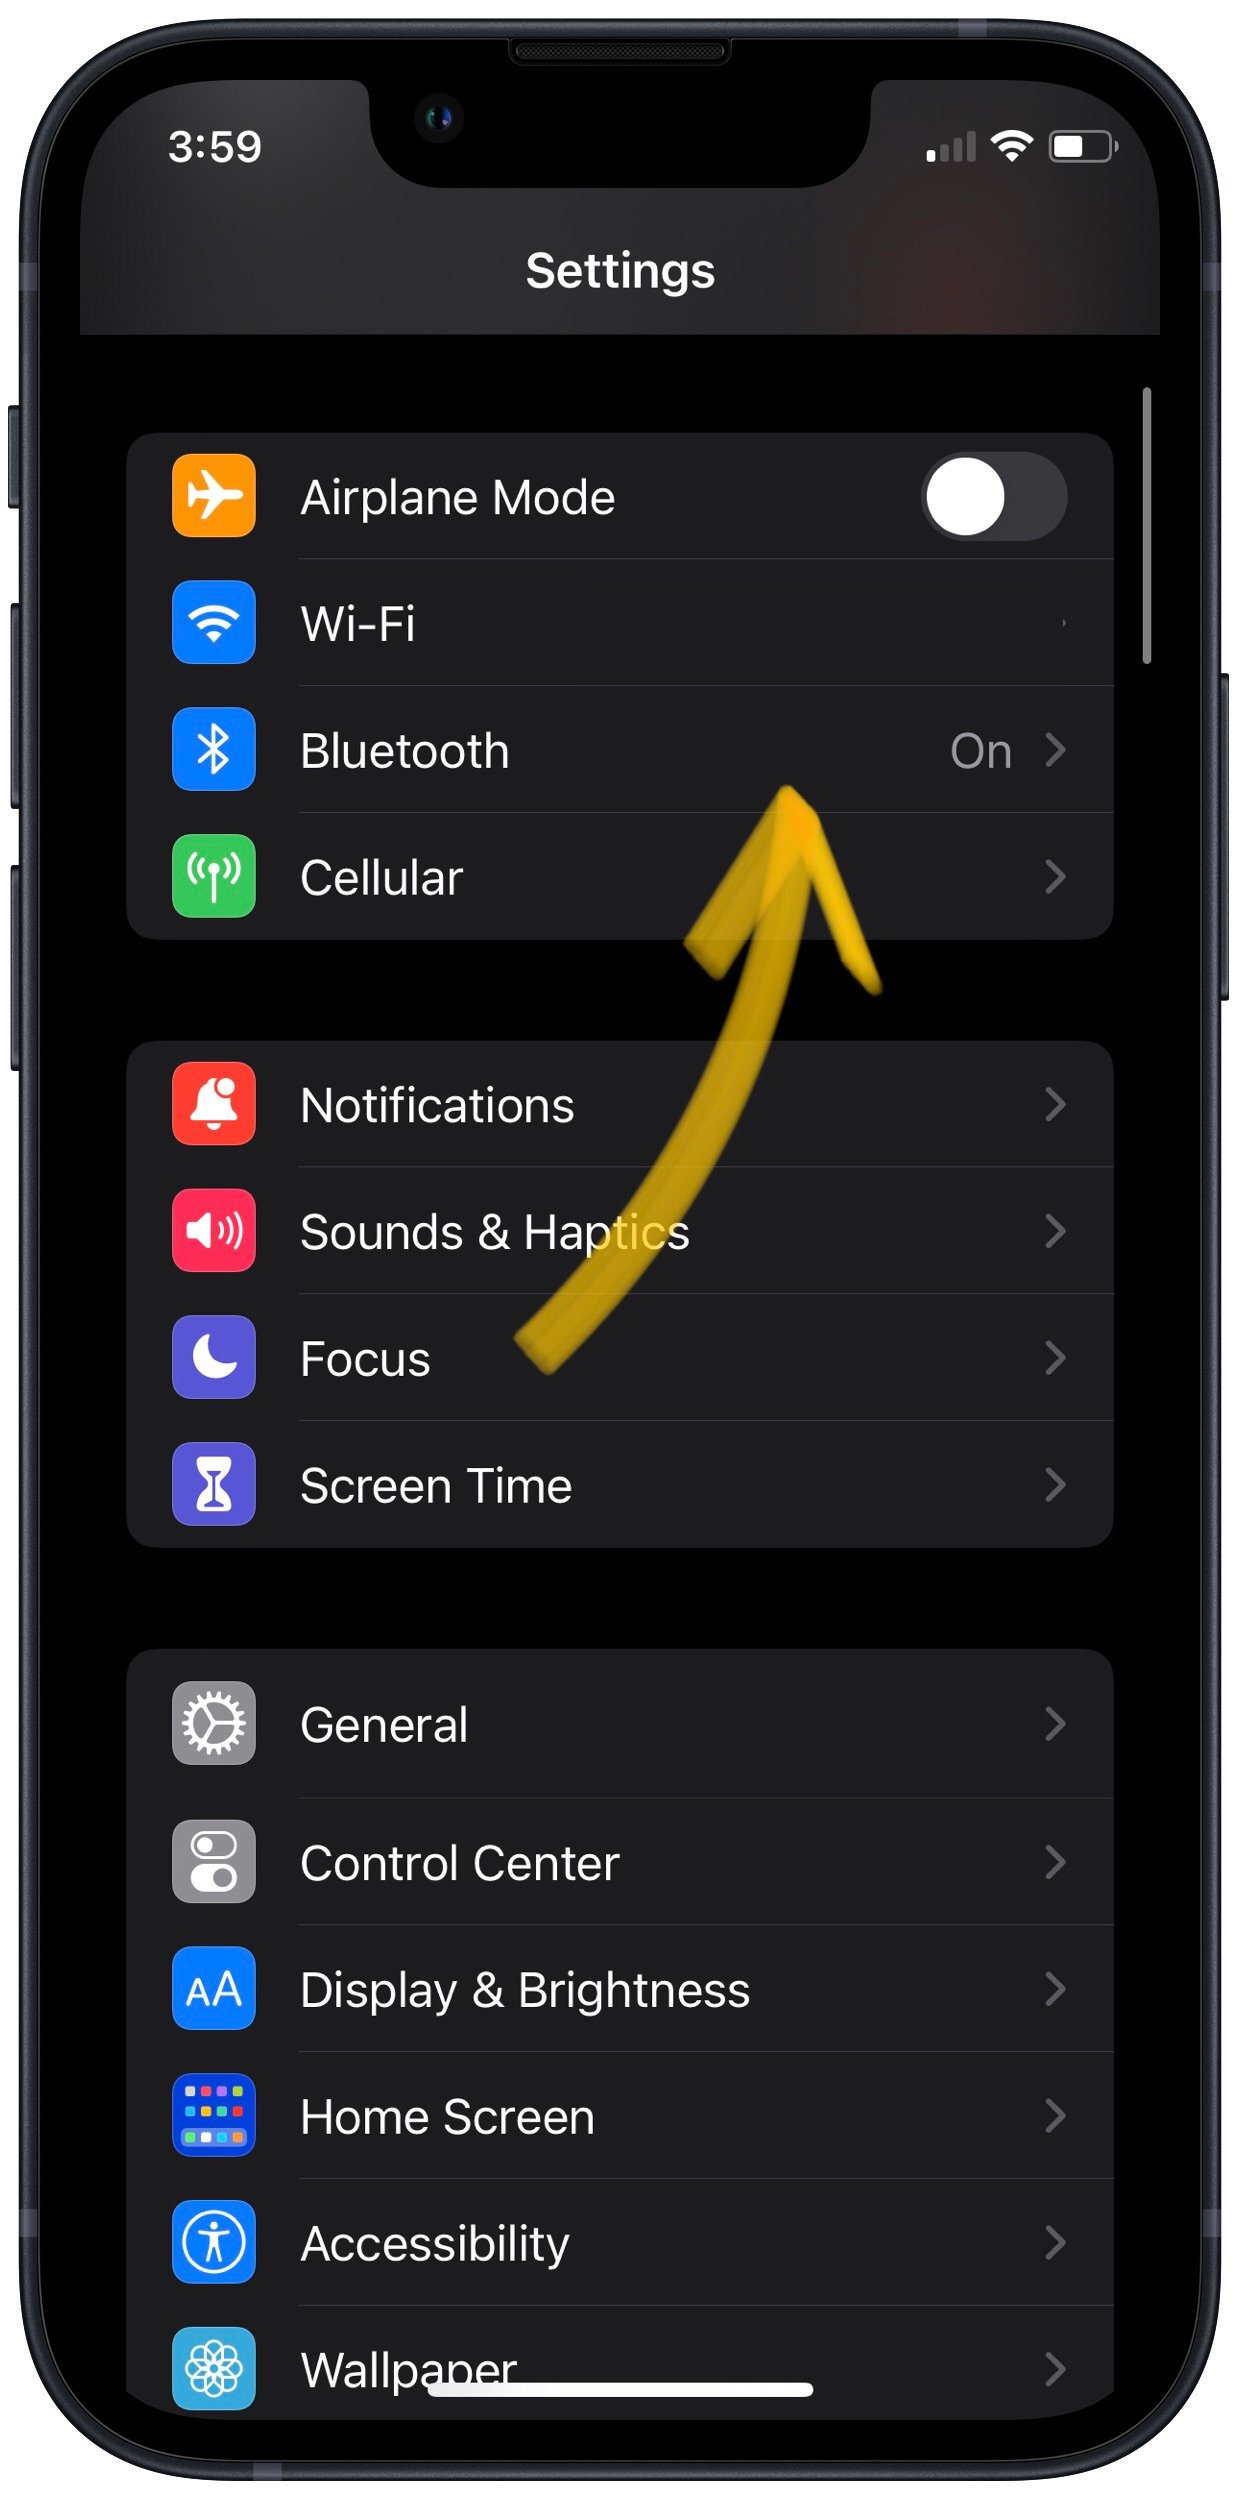
- Open the Settings app.
- Tap Bluetooth.
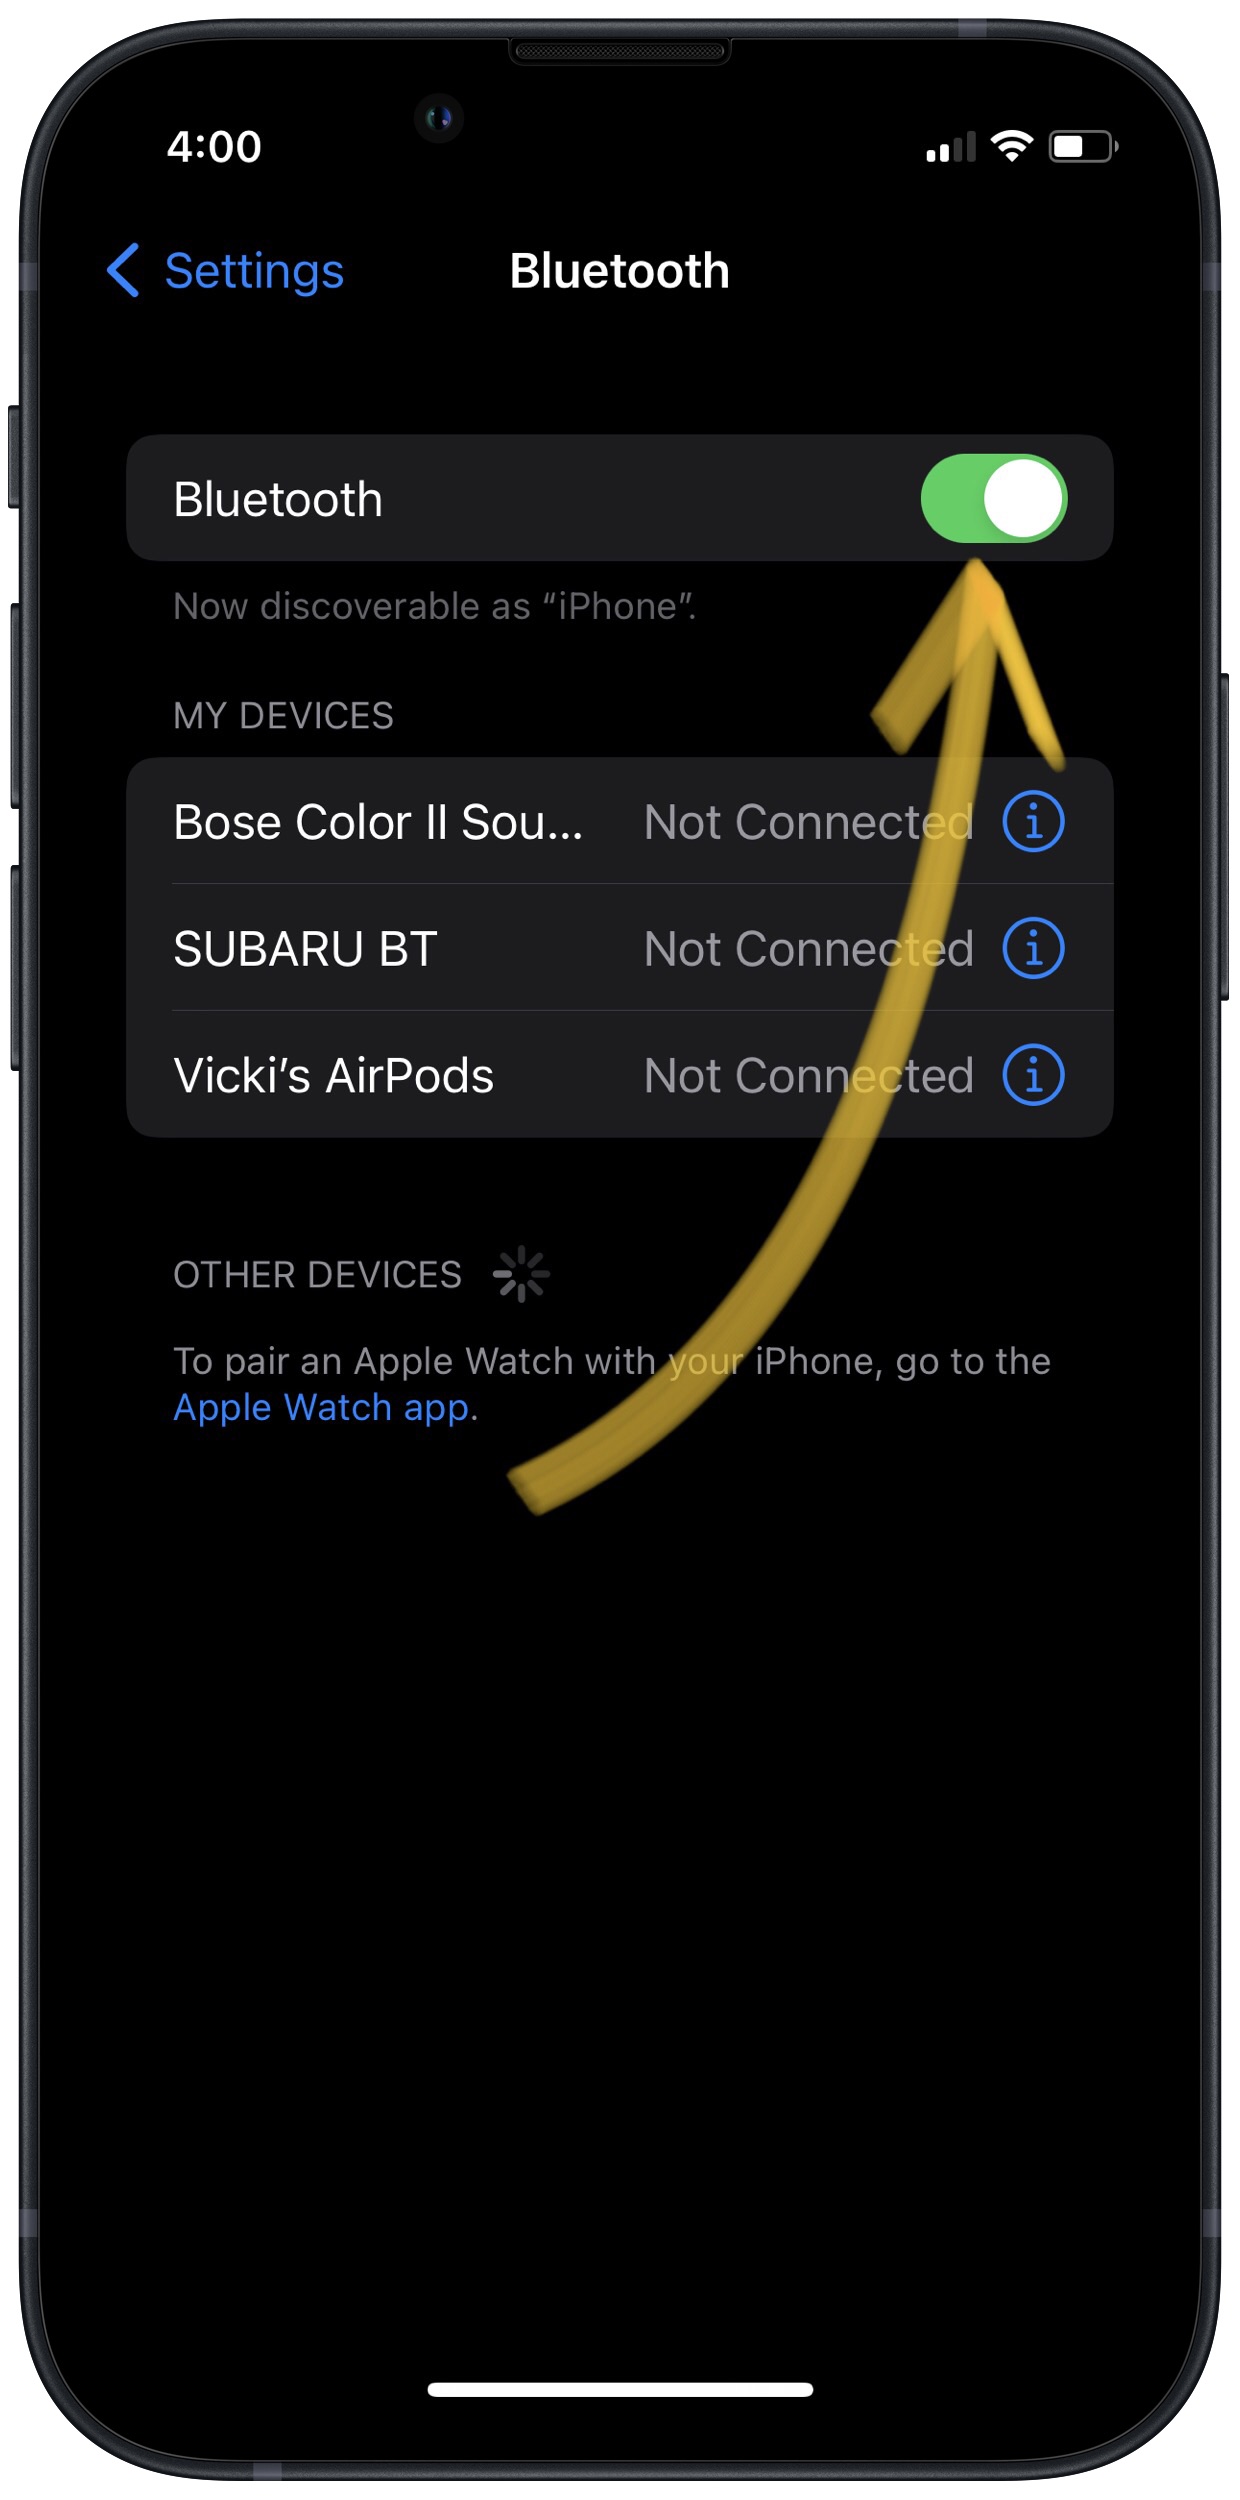
- Tap the green switch next to Bluetooth to turn it off. You'll know Bluetooth is off when the switch is gray.
- Tap the switch again to turn Bluetooth back on. You'll the Bluetooth is on when the switch turns green.
In Control Center
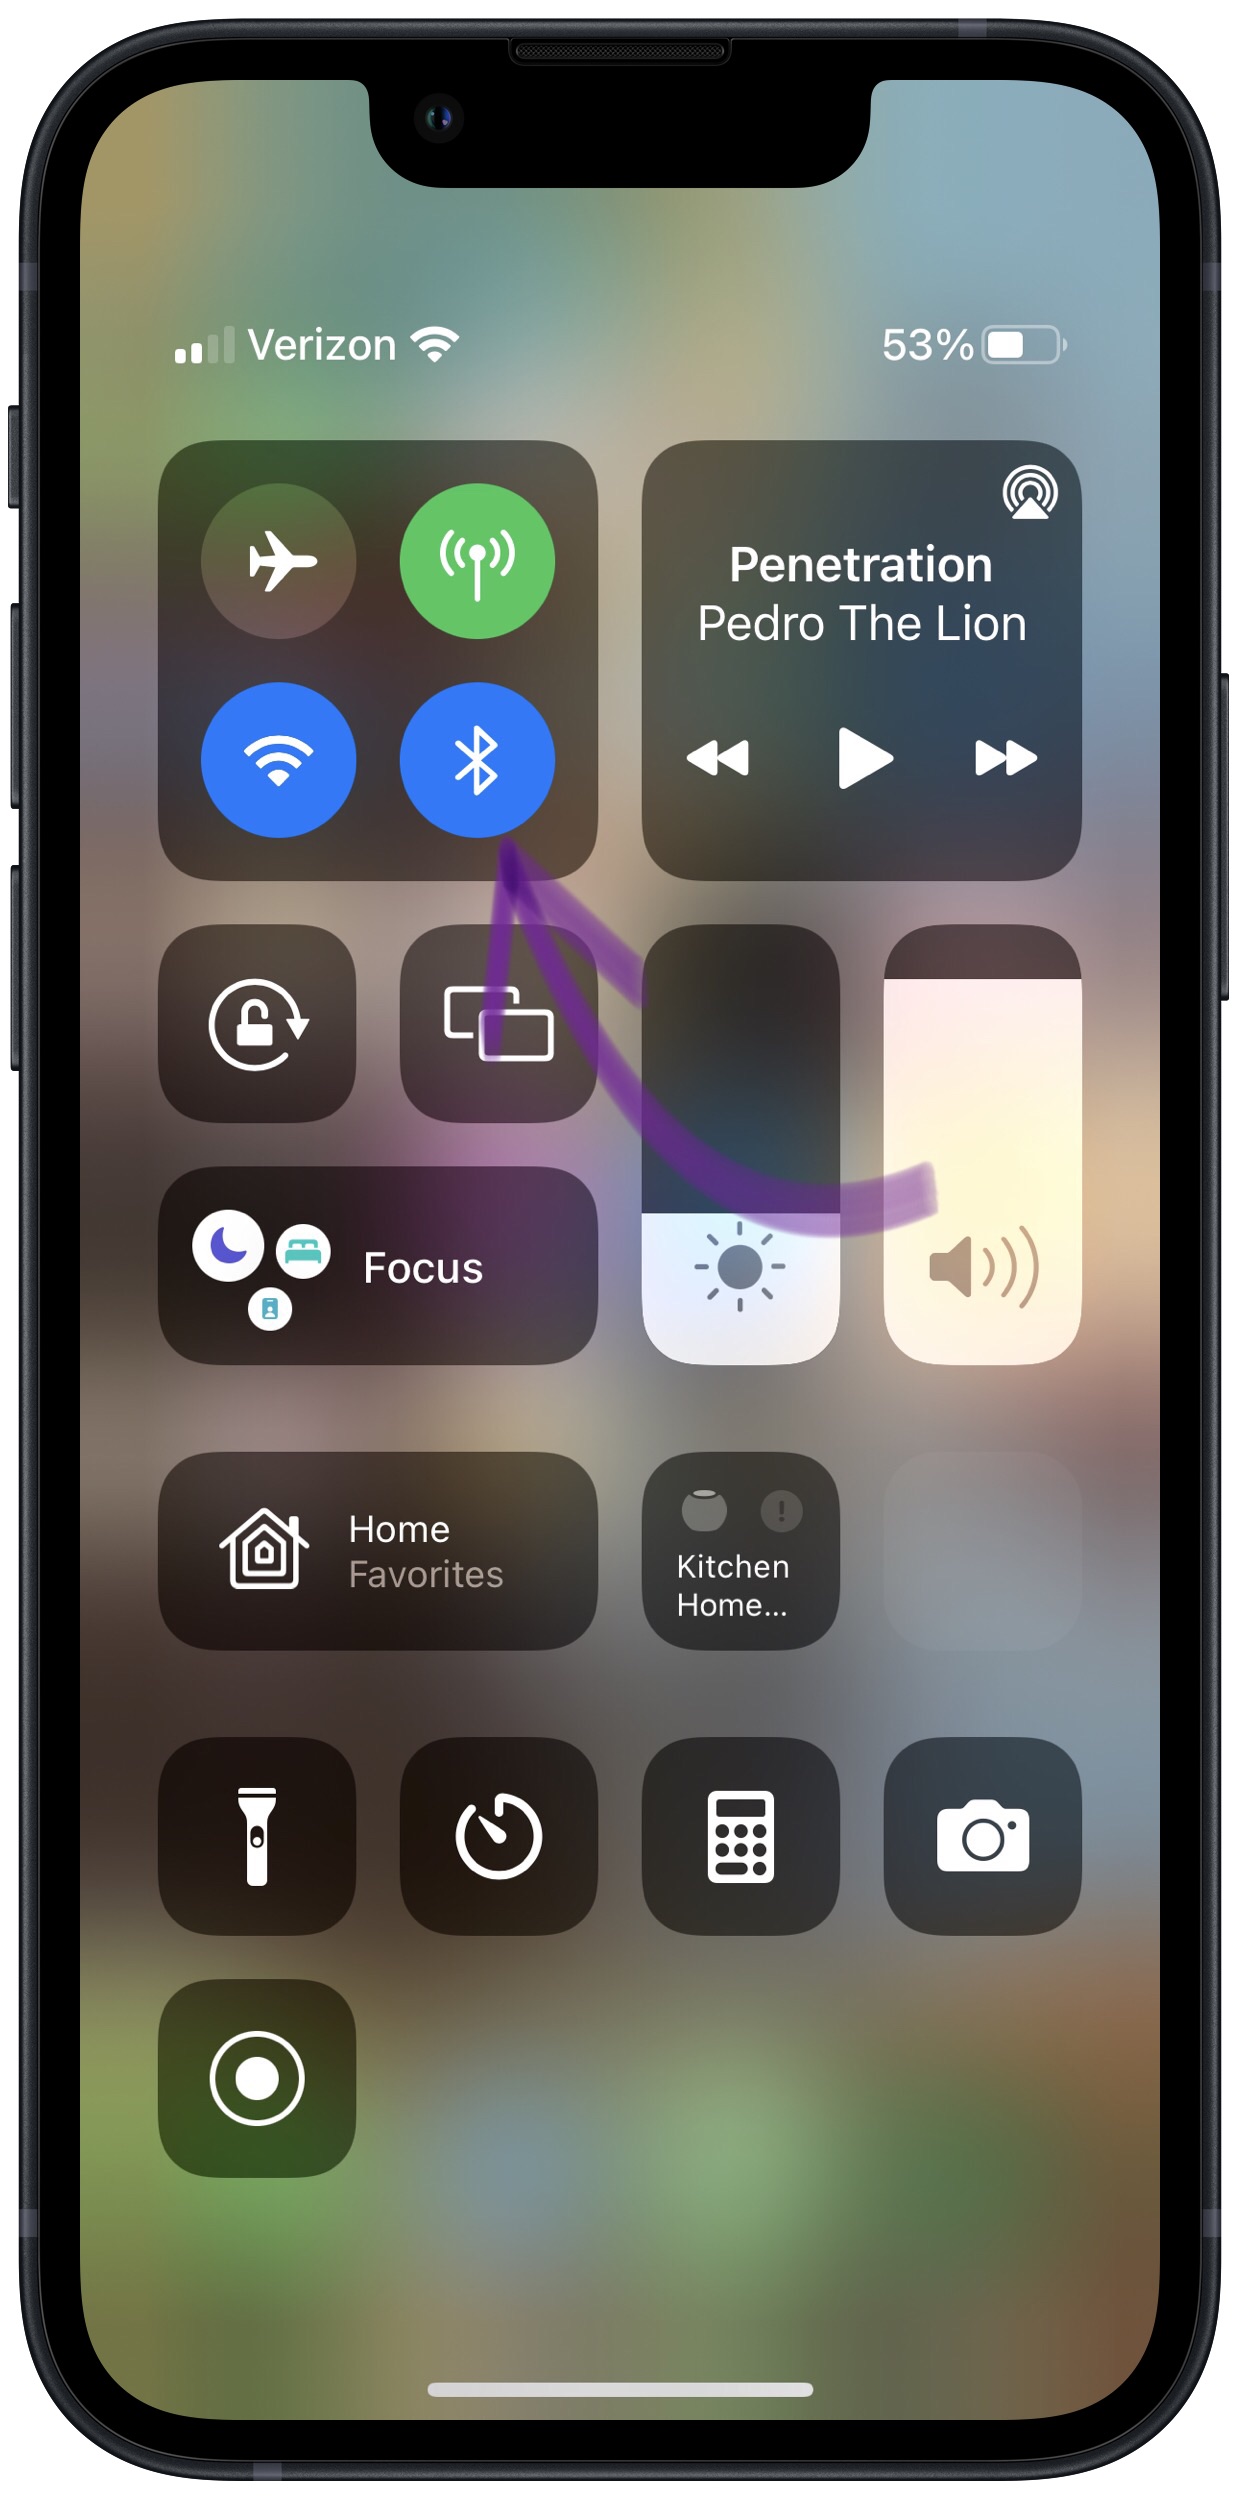
- Open Control Center by swiping up from below the bottom of the screen (iPhones without Face ID) or down from the upper right-hand corner of the screen (iPhones with Face ID).
- Tapap the Bluetooth icon, which looks like a "B" made of triangles. You'll know Bluetooth is off when the icon is black with a gray background.
- To turn Bluetooth back on, tap the Bluetooth icon once again. You'll know Bluetooth is on when the icon is white with a blue background.
Using Siri
- Open Siri by pressing and holding the Home button (iPhones without Face ID) or the side button (iPhones with Face ID) until Siri appears, or by saying, "Hey Siri."
- To turn off Bluetooth, say, "Turn off Bluetooth."
- To turn Bluetooth back on, say, "Turn on Bluetooth."
Applies To: iPhone 5,iPhone 5S,iPhone 5C,iPhone 6,iPhone 6 Plus,iPhone 6S,iPhone 6S Plus,iPhone SE,iPhone 7,iPhone 7 Plus,iPhone 8,iPhone 8 Plus,iPhone X,iPhone XS,iPhone XS Max,iPhone XR,iPhone 11,iPhone 11 Pro,iPhone 11 Pro Max,iPhone SE 2
View MoreUpdate iOS On Your iPhone
If your iPhone is running an outdated version of iOS, you may run into problems that could be fixed simply by updating to the most recent version of iOS.
How Do I Update iOS On My iPhone?
There are two ways to update iOS on your iPhone: in the Settings app and by using iTunes.
Update iOS In The Settings App
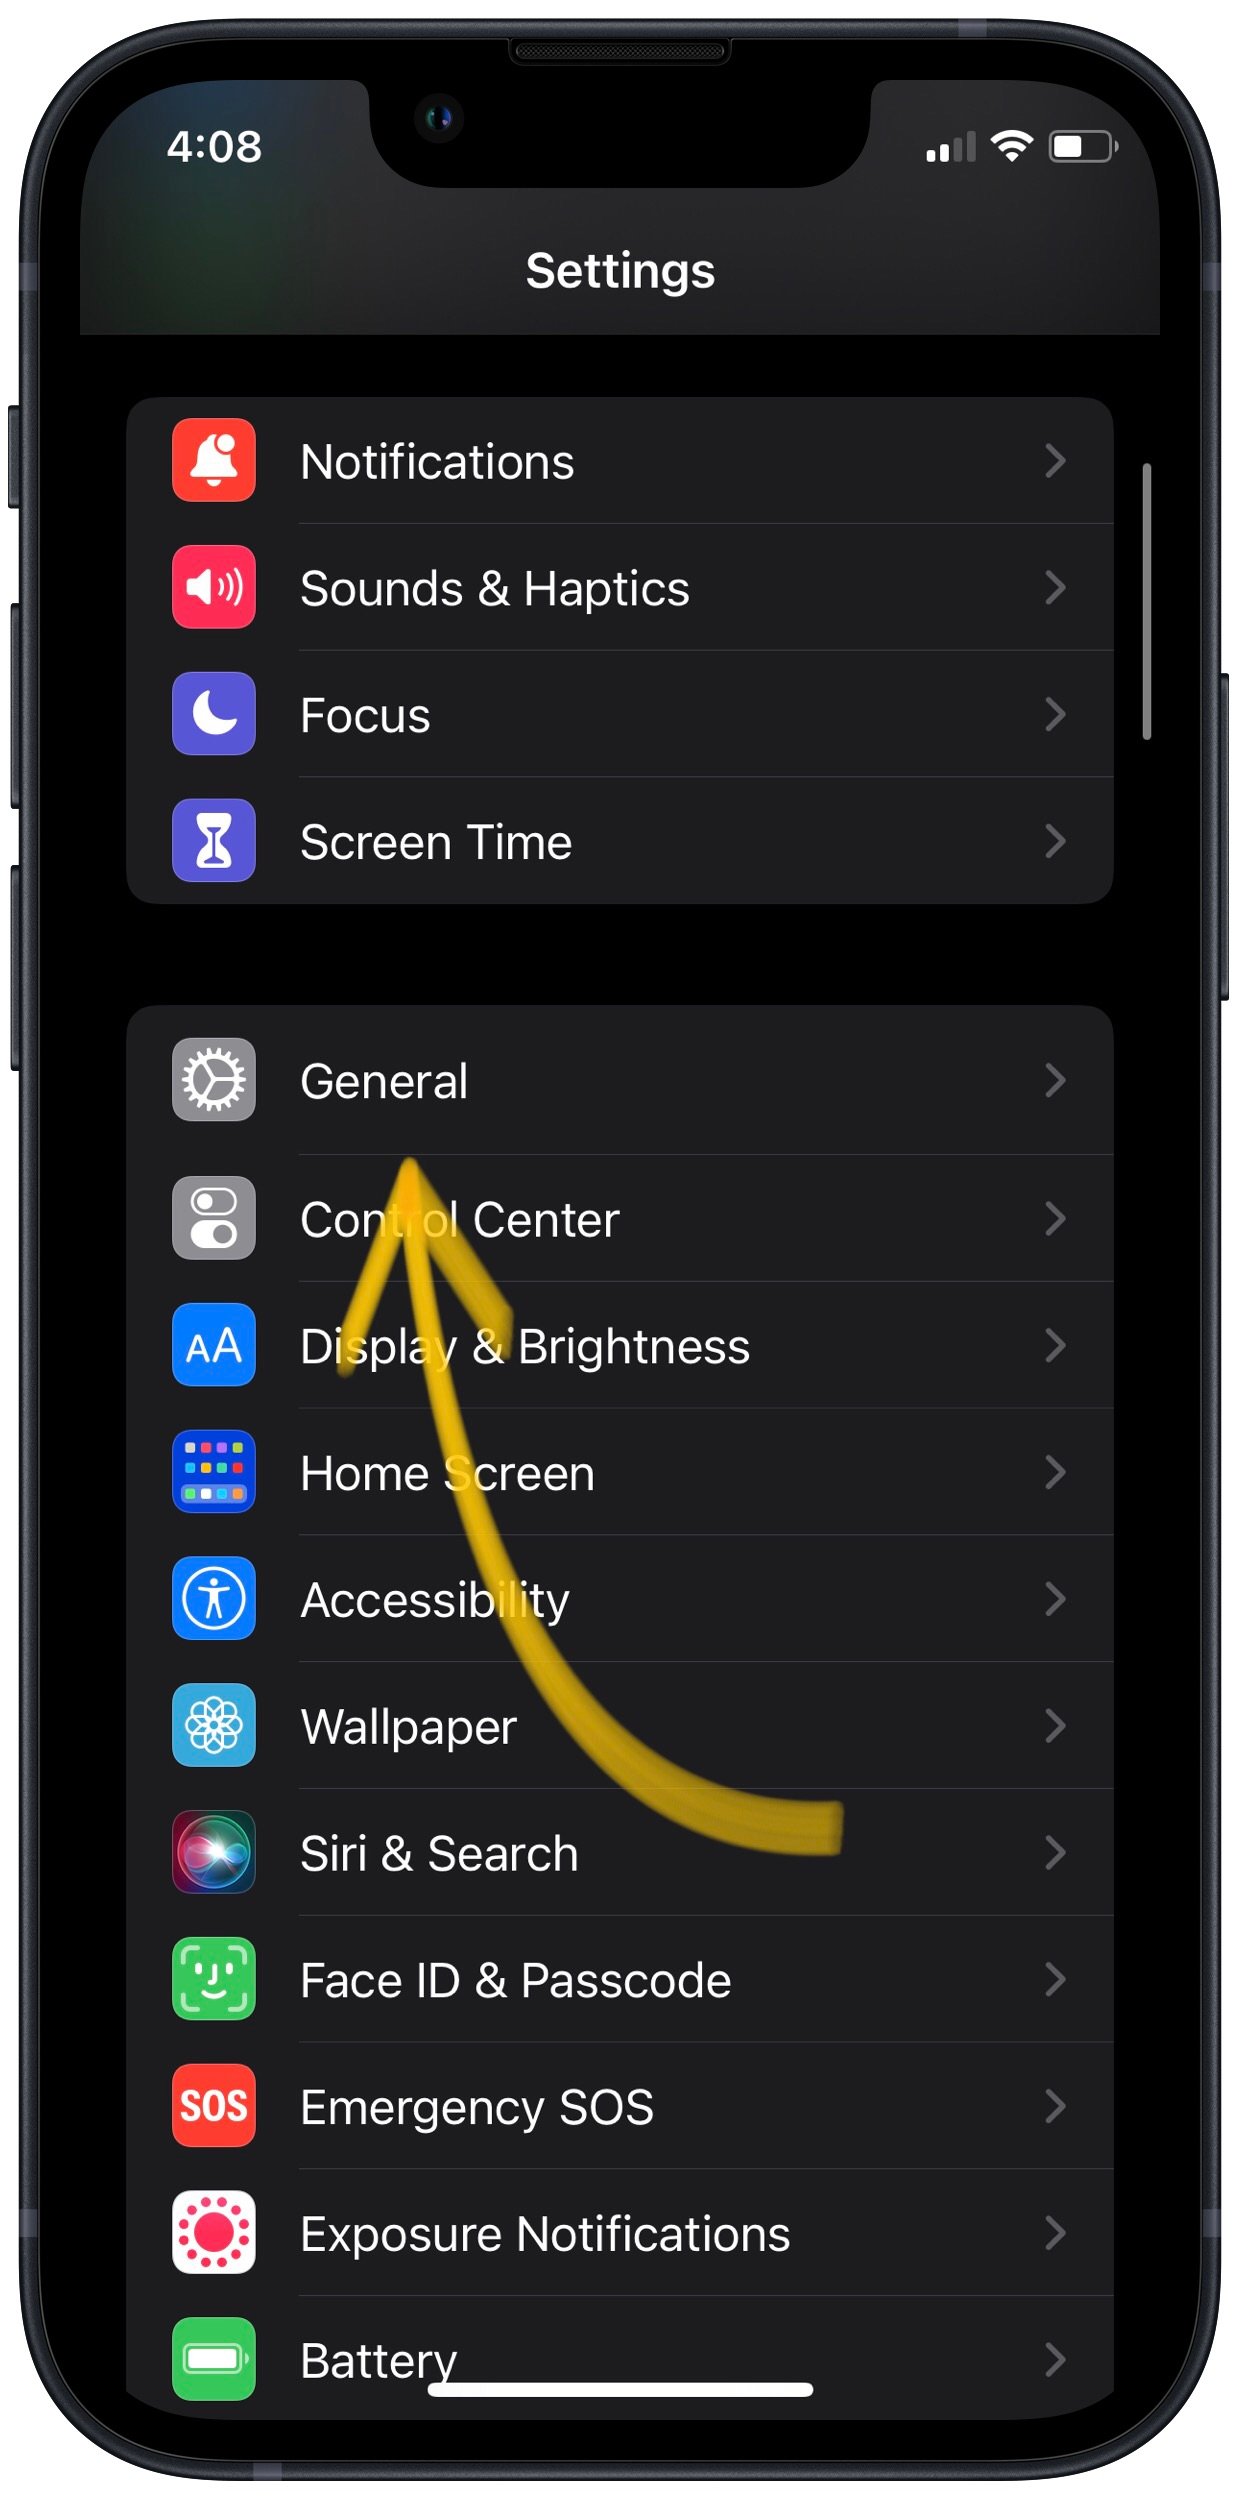
- Open up the Settings app.
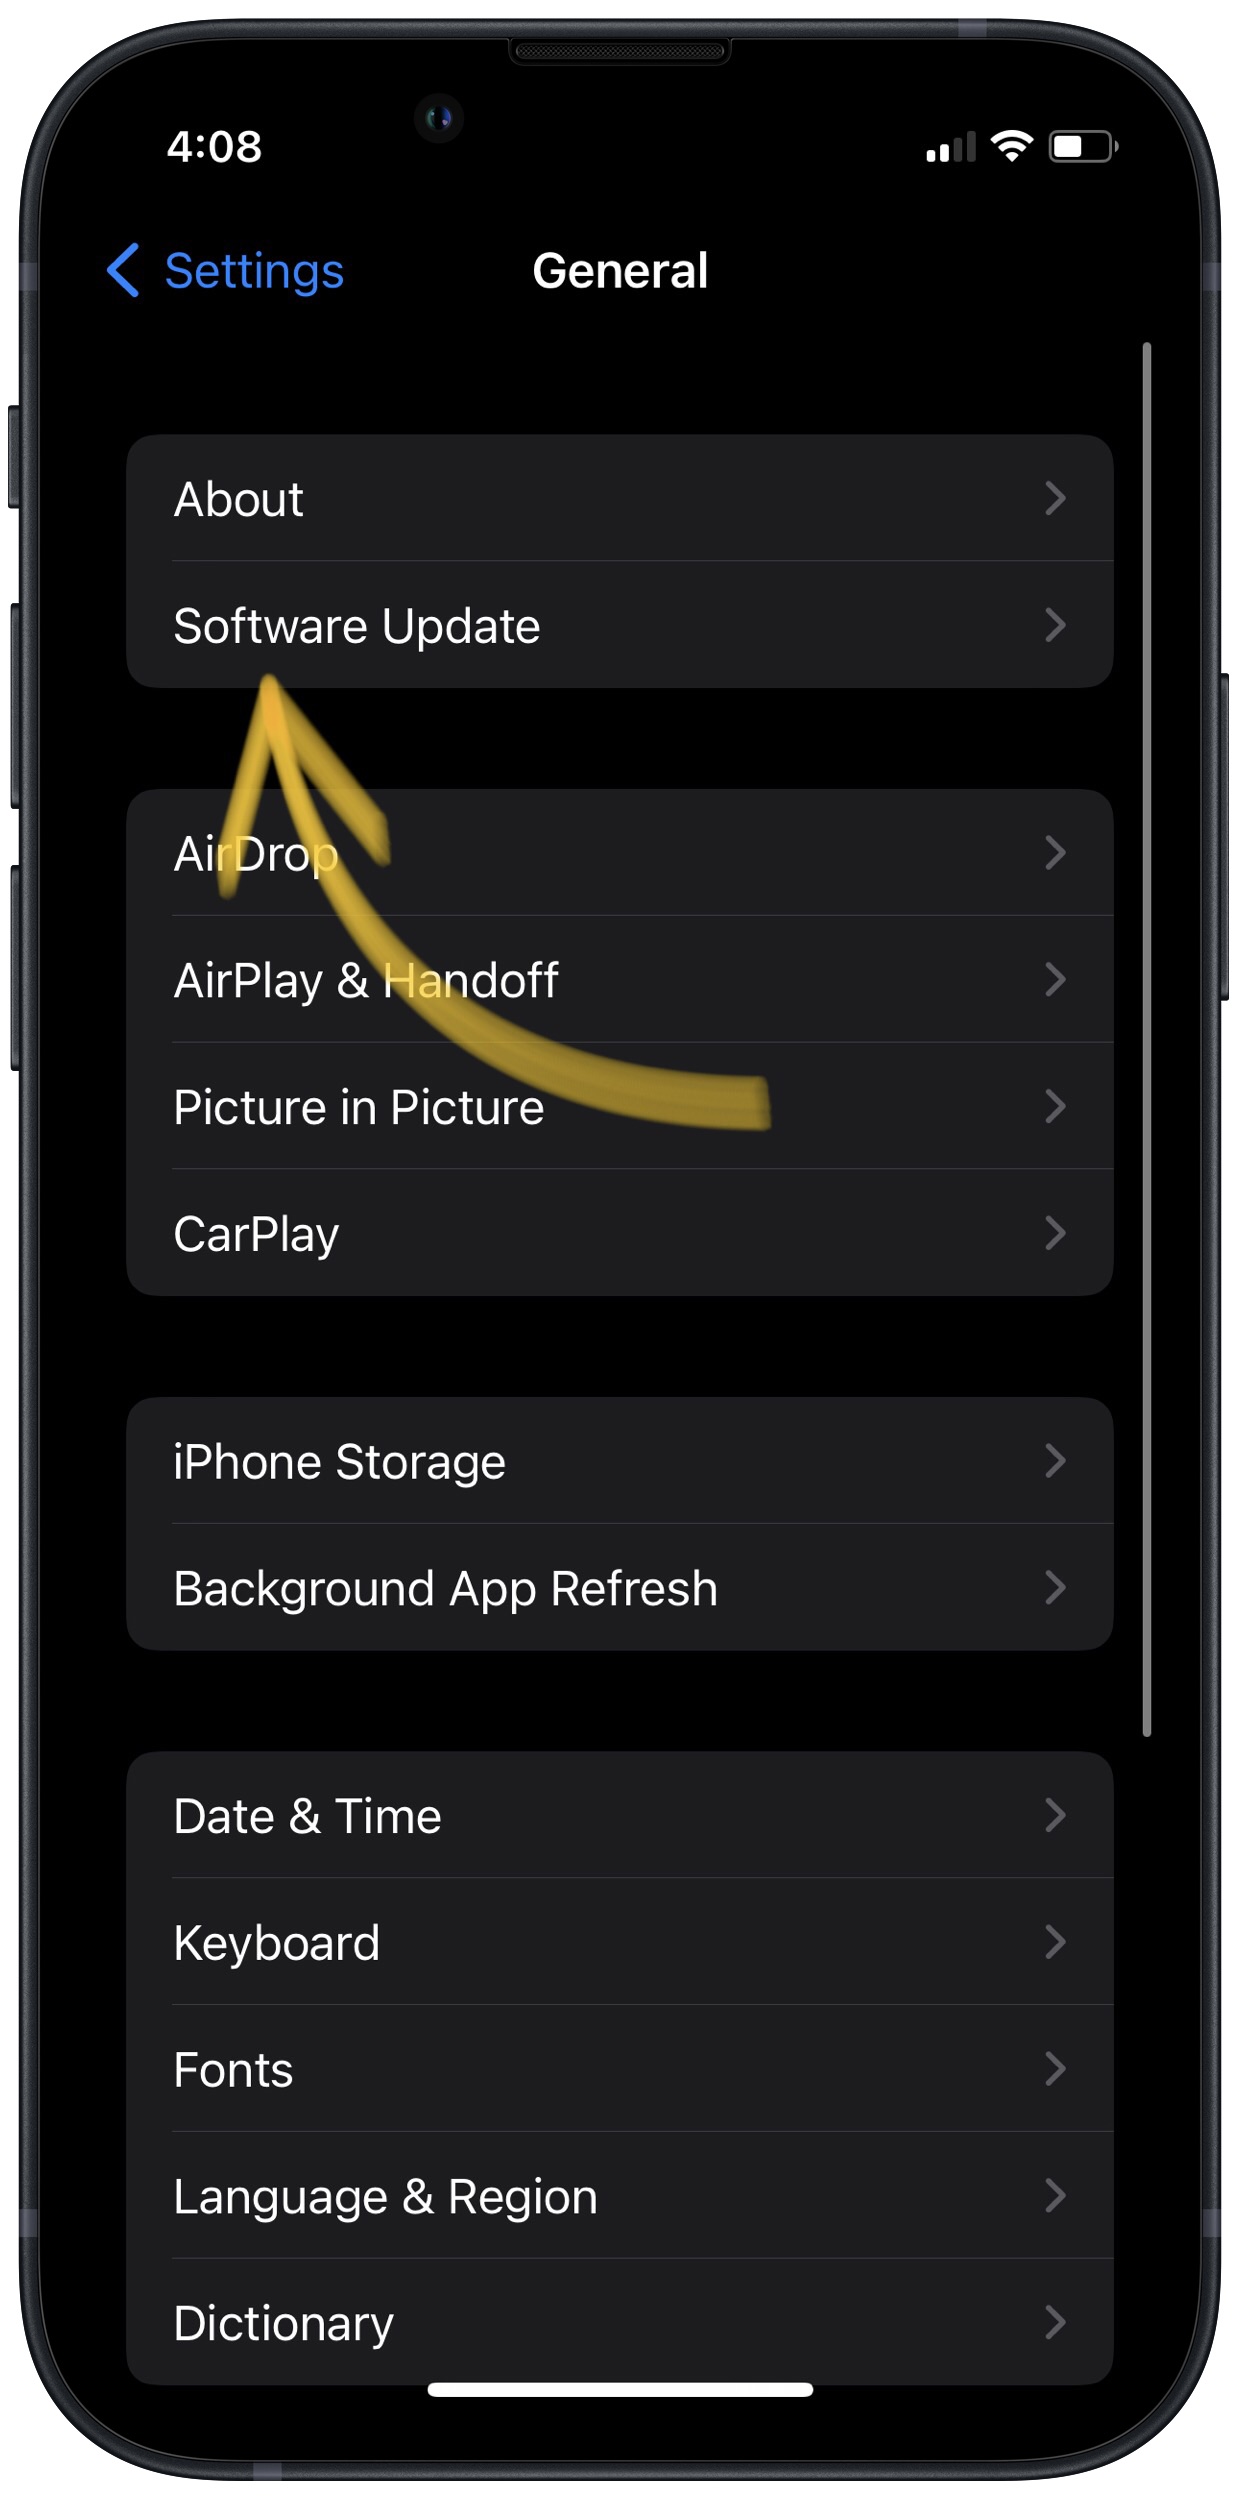
- Tap General.
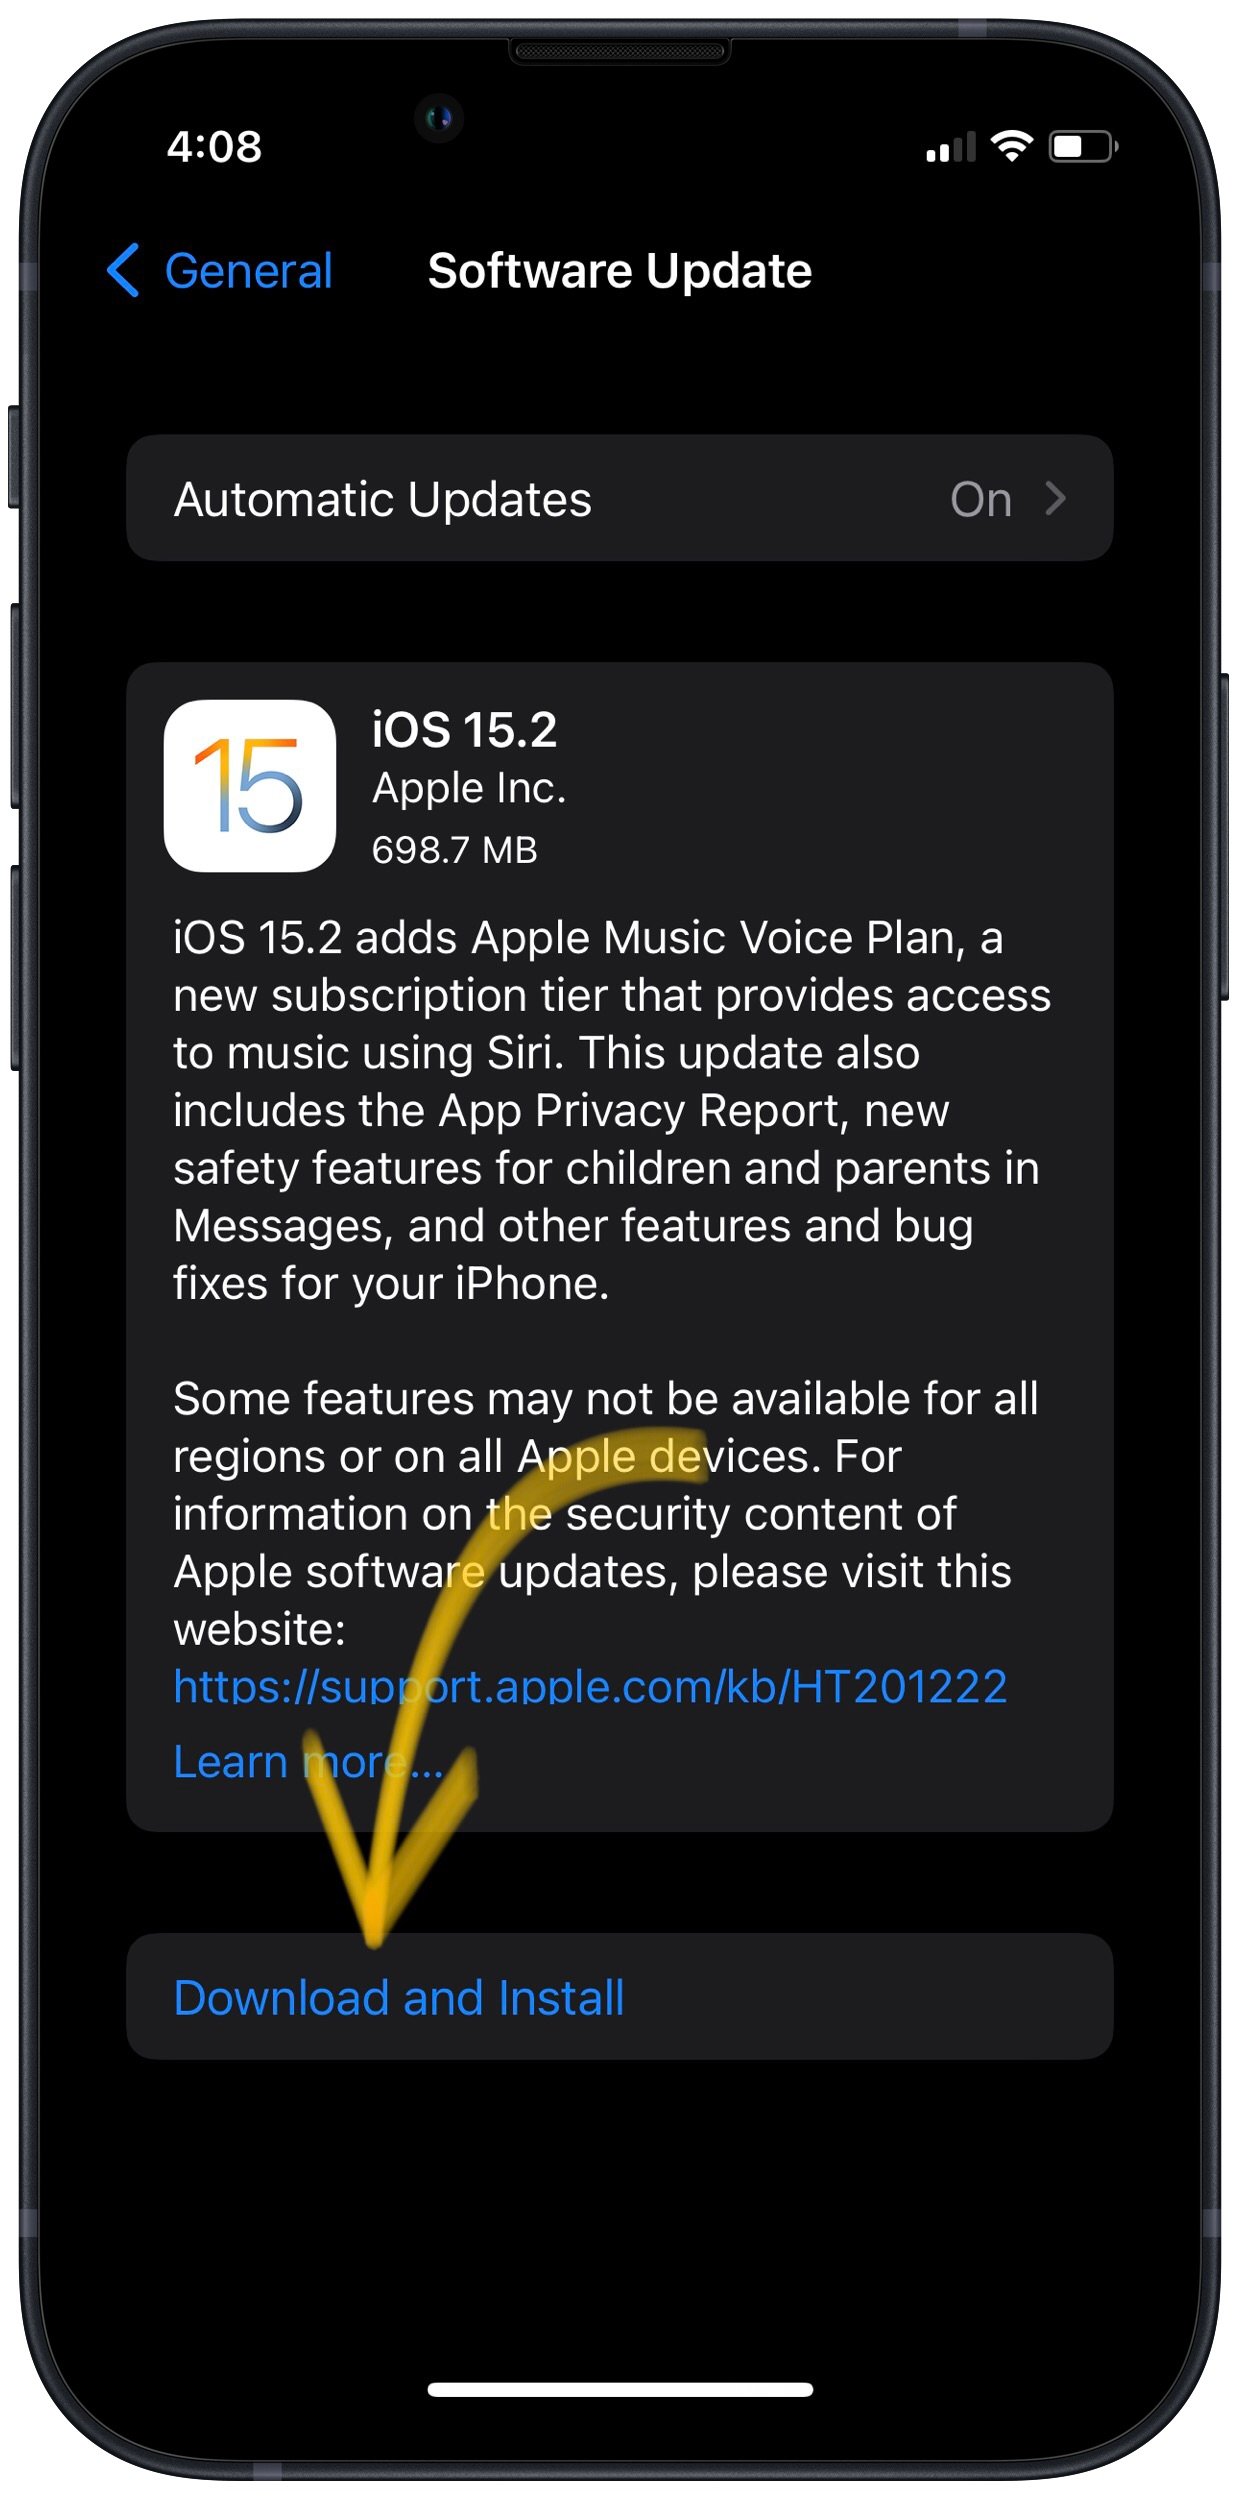
- Tap Software Update.
- If an update is available, tap Install Now or Download and Install.
Update iOS Using iTunes (PCs and Macs running macOS 10.14 or older)
- Connect your iPhone to a computer using a Lightning cable.
- Open iTunes.
- Click the Phone button in the upper left-hand corner of iTunes (see image 3).
- Click Check For Update.
- If an update is available, click Download and Install.
Update iOS Using Finder (Macs running macOS 10.15 or newer)
- Connect your iPhone to your Mac using a charging cable.
- Open Finder.
- Click on your iPhone under Locations.
- Click the General tab.
- Click Check for Update.
- Click Download and Install if an iOS update is available.
Applies To: iPhone 5,iPhone 5S,iPhone 5C,iPhone 6,iPhone 6 Plus,iPhone 6S,iPhone 6S Plus,iPhone SE,iPhone 7,iPhone 7 Plus,iPhone 8,iPhone 8 Plus,iPhone X,iPhone XS,iPhone XS Max,iPhone XR,iPhone 11,iPhone 11 Pro,iPhone 11 Pro Max,iPhone SE 2
View MoreCharge The AirPods Charging Case
It may be a mouthful, but the Charging Case needs to be charged in order to charge your AirPods.
How Do I Charge The AirPods Charging Case?
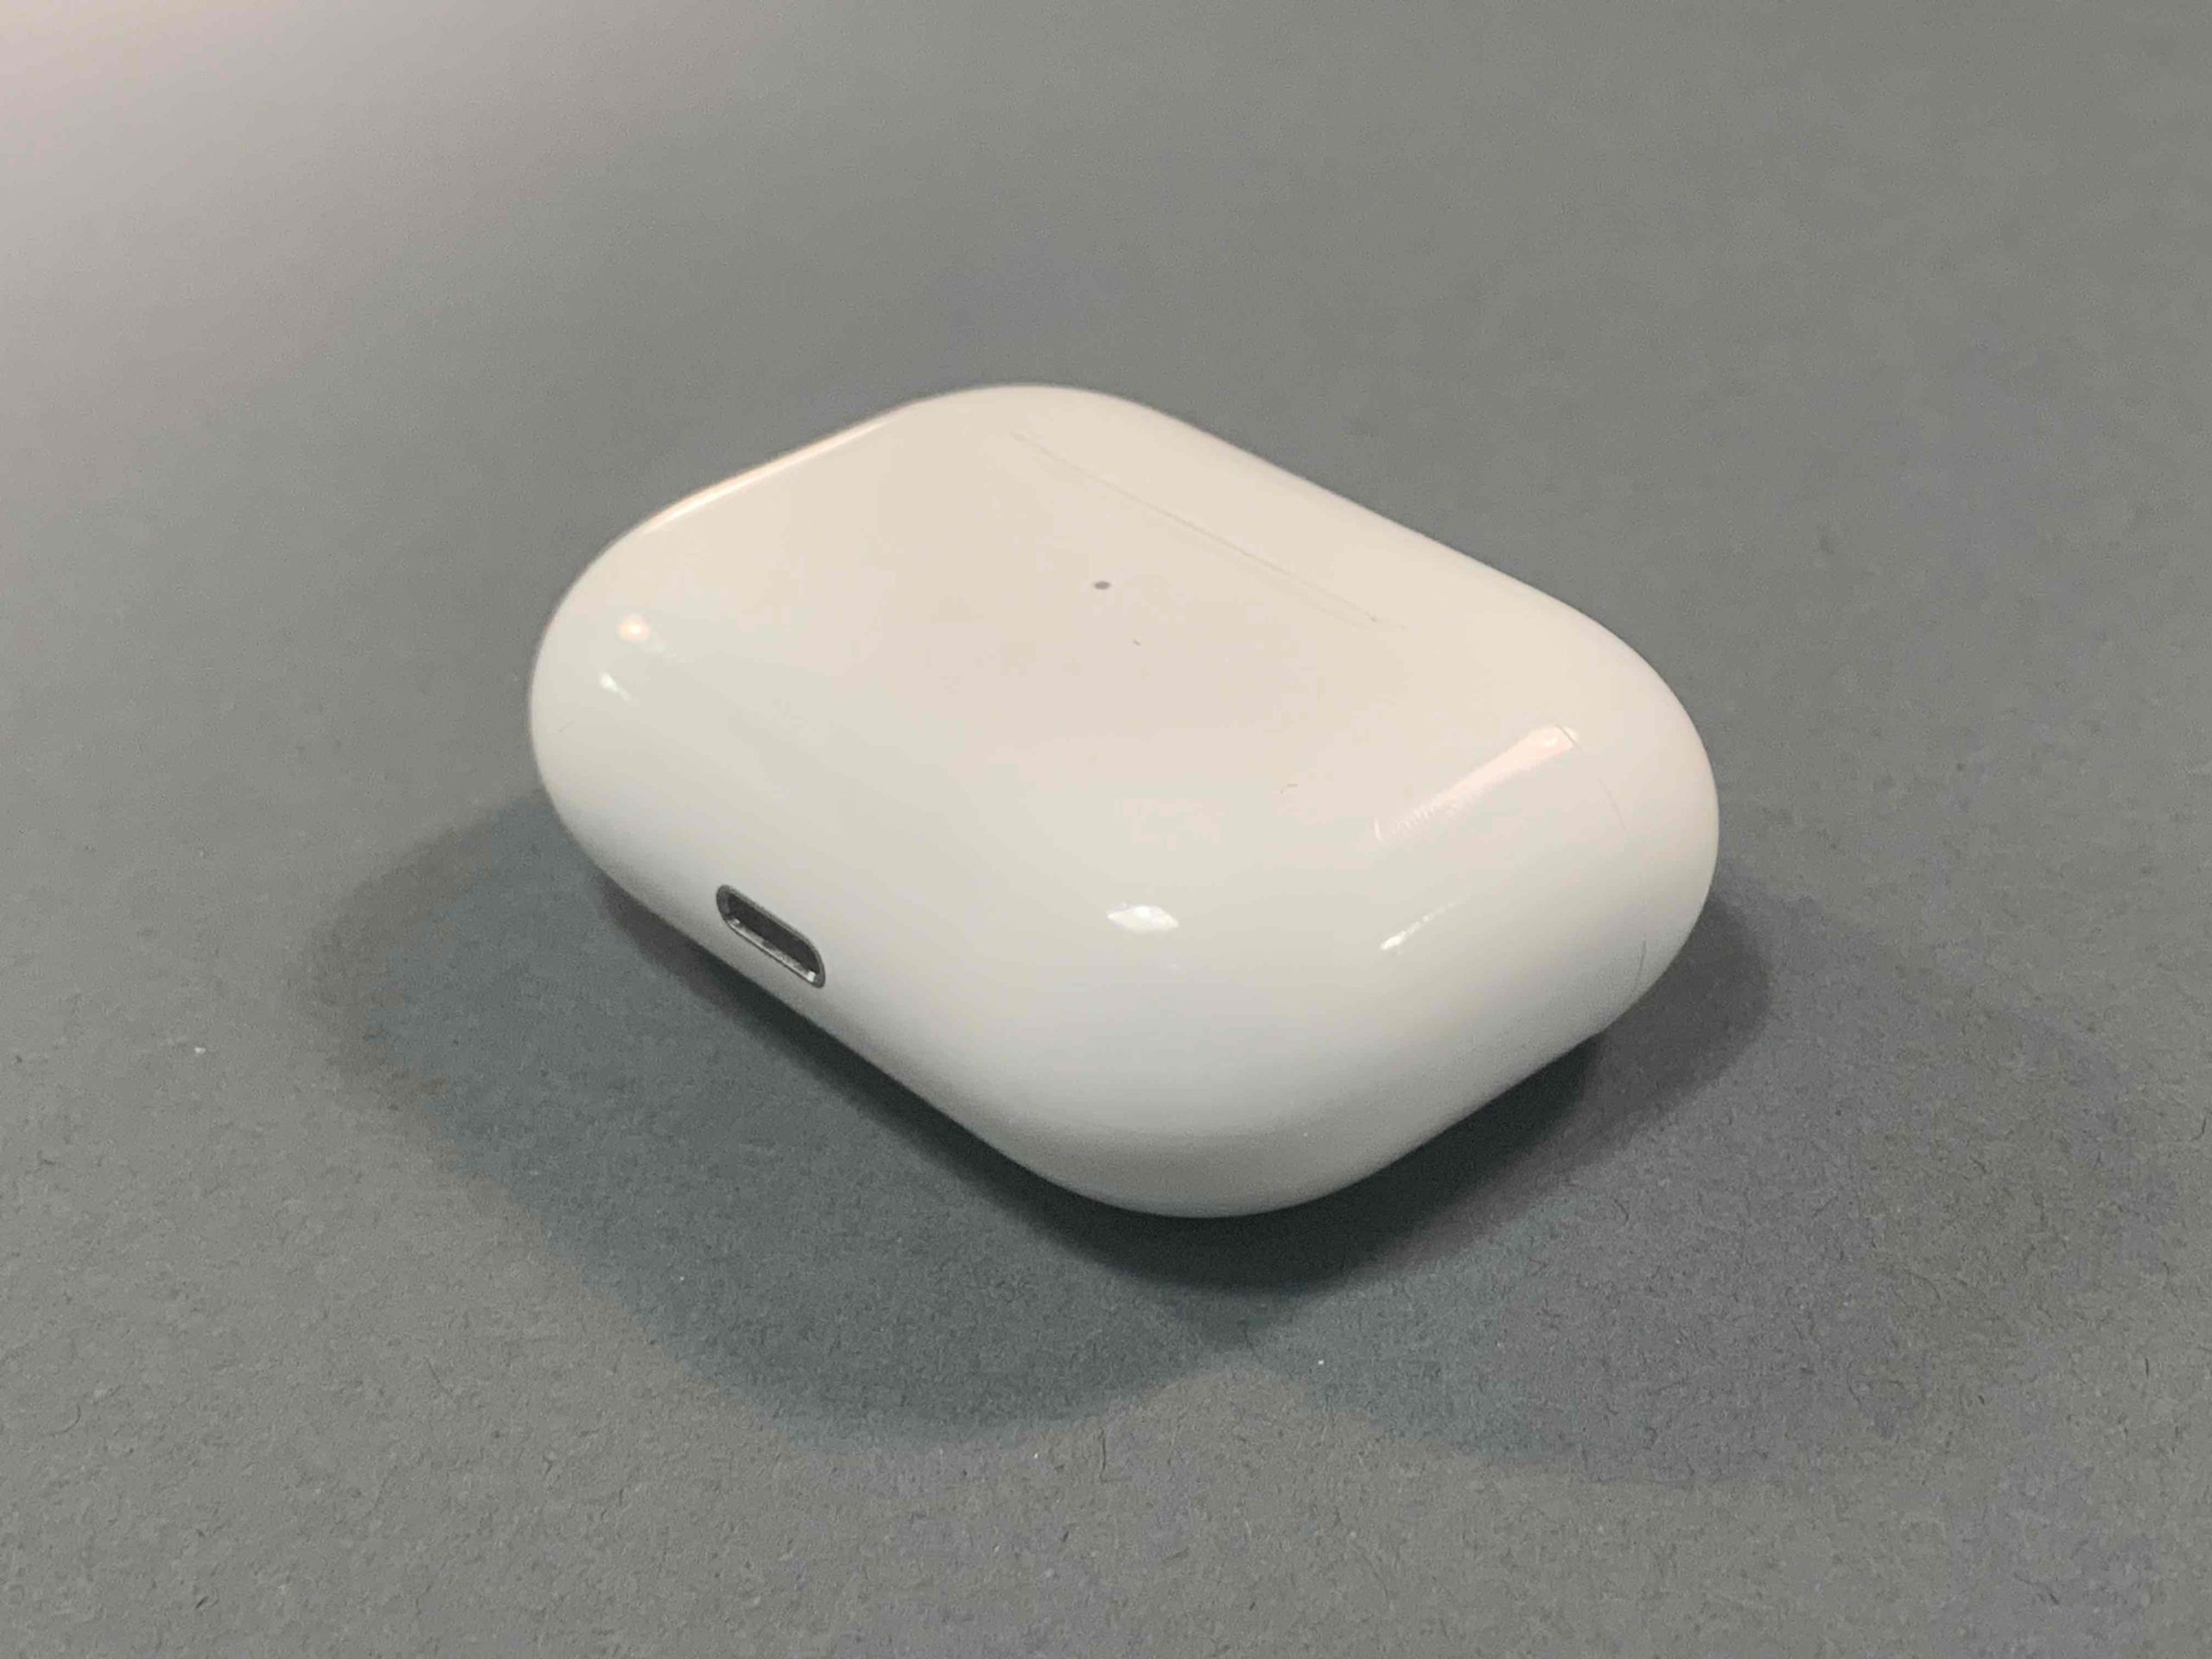
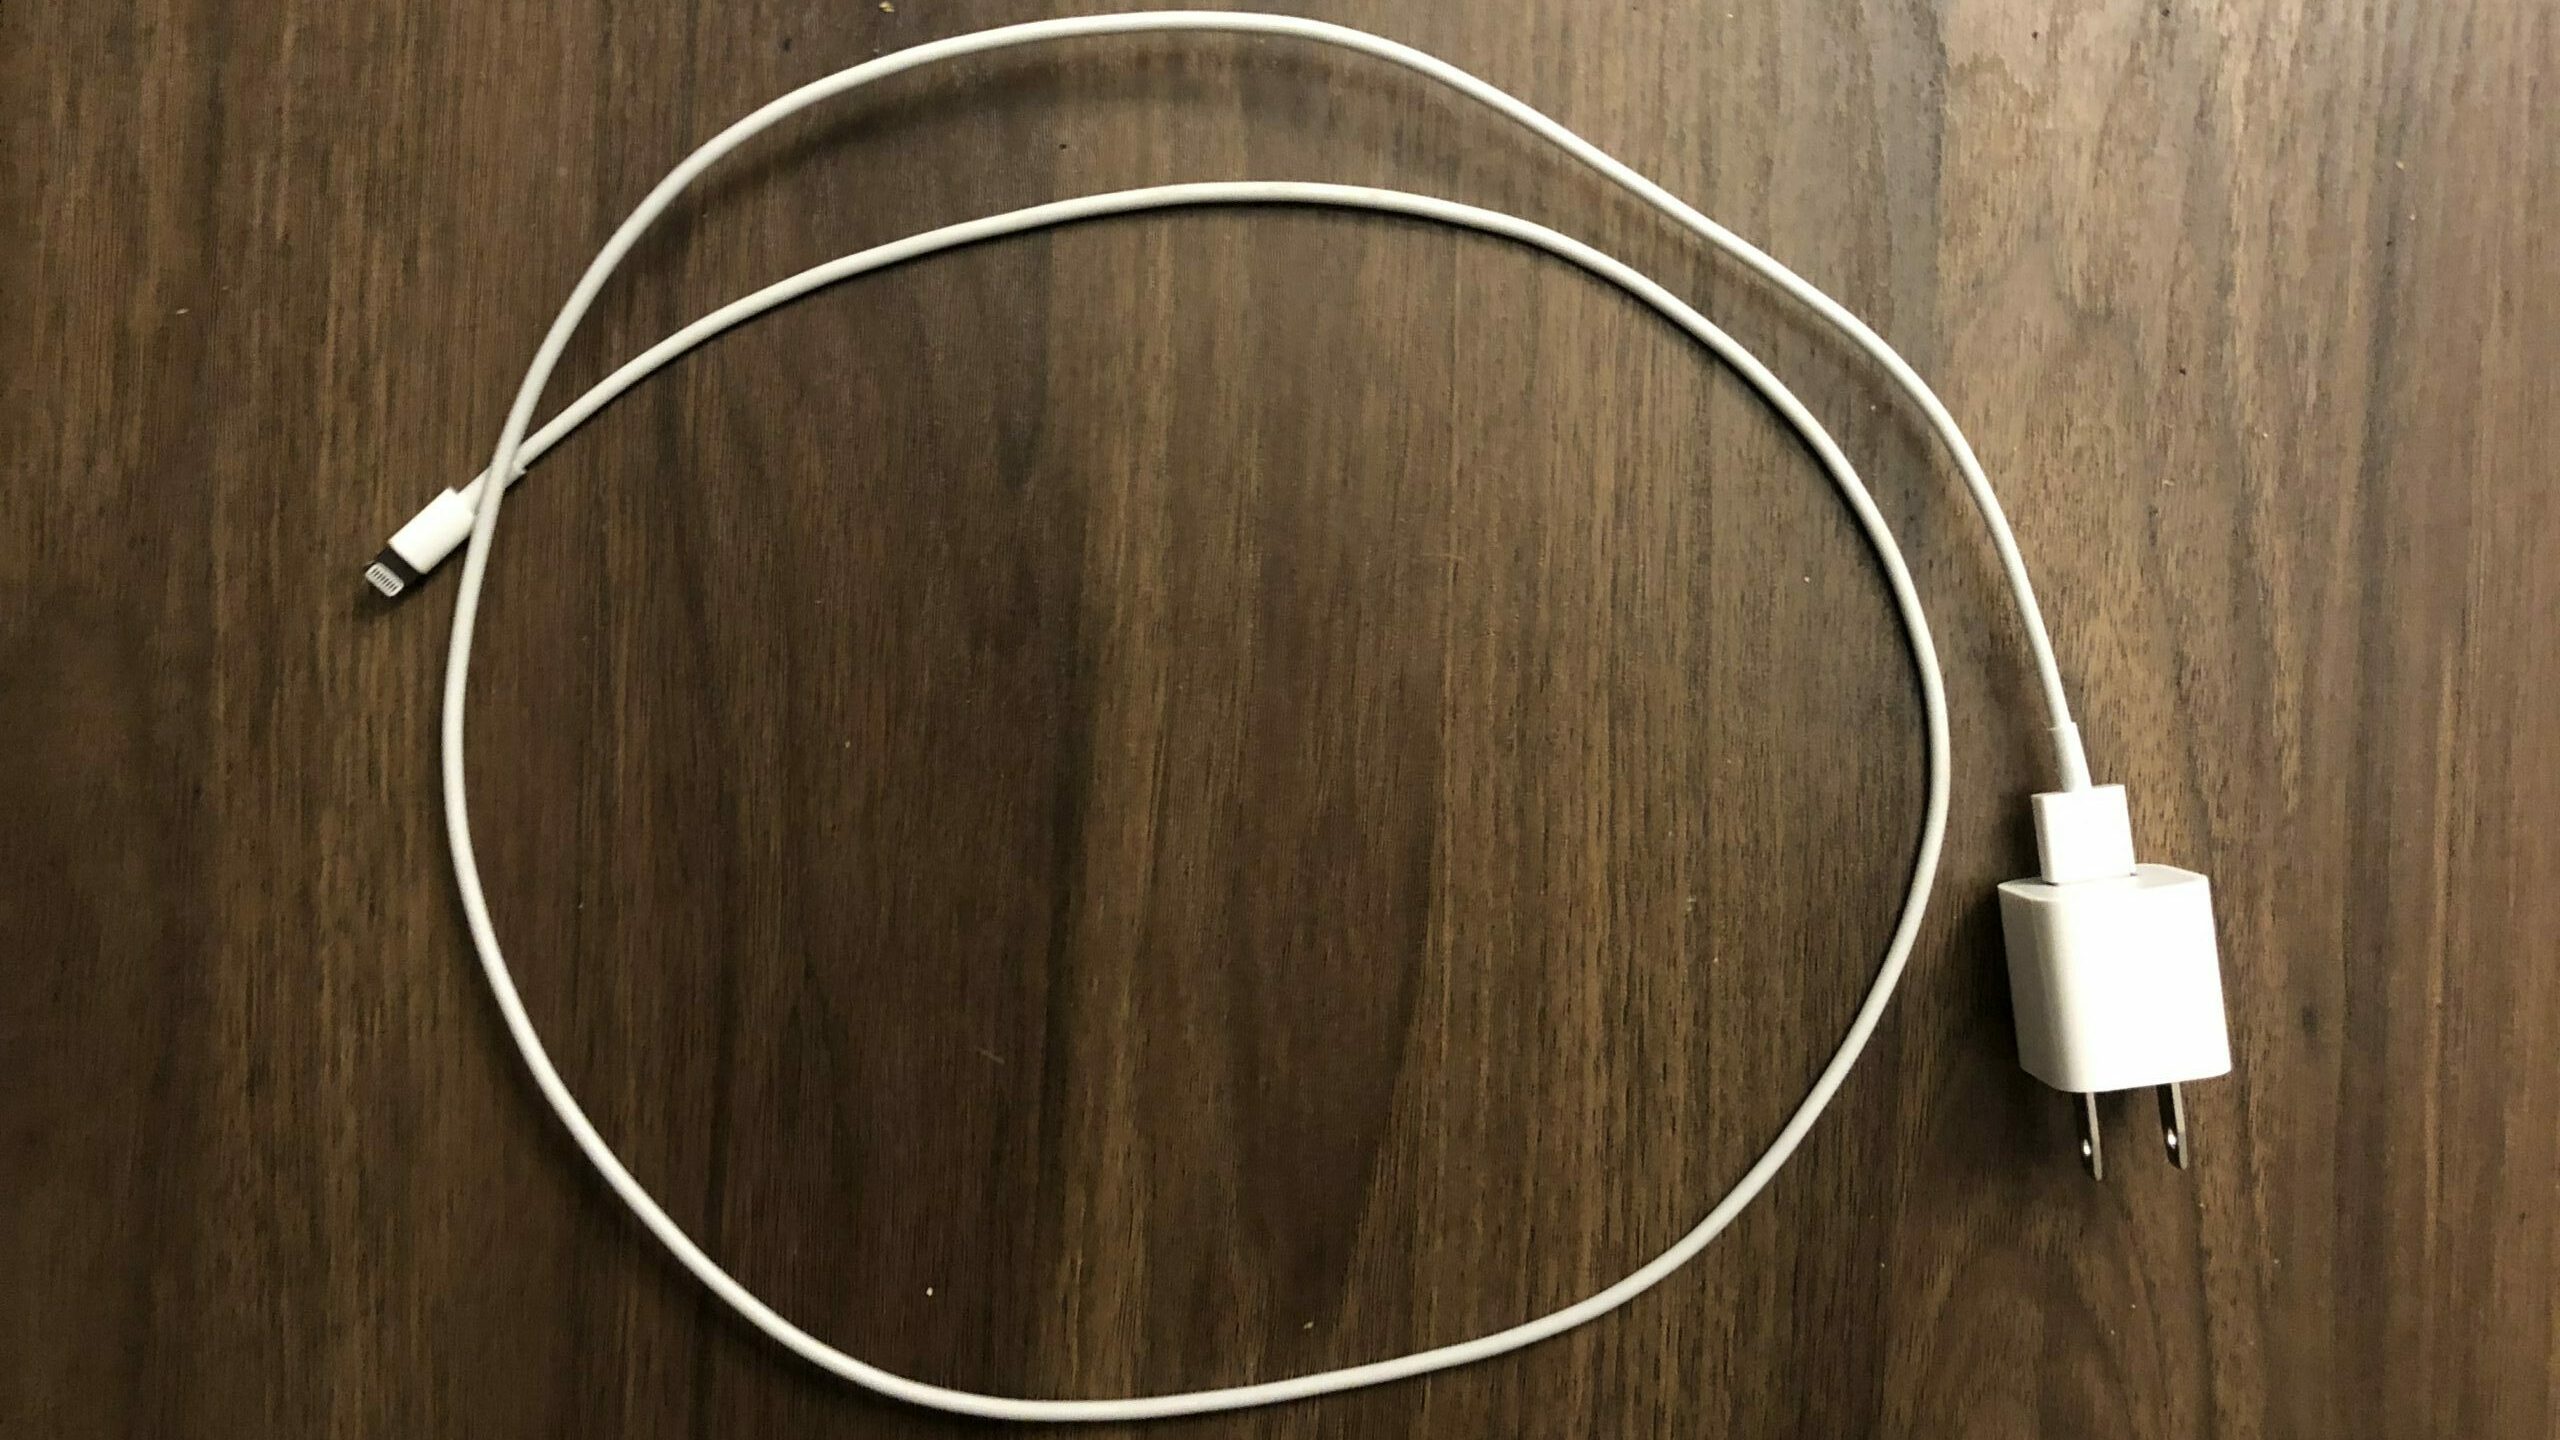
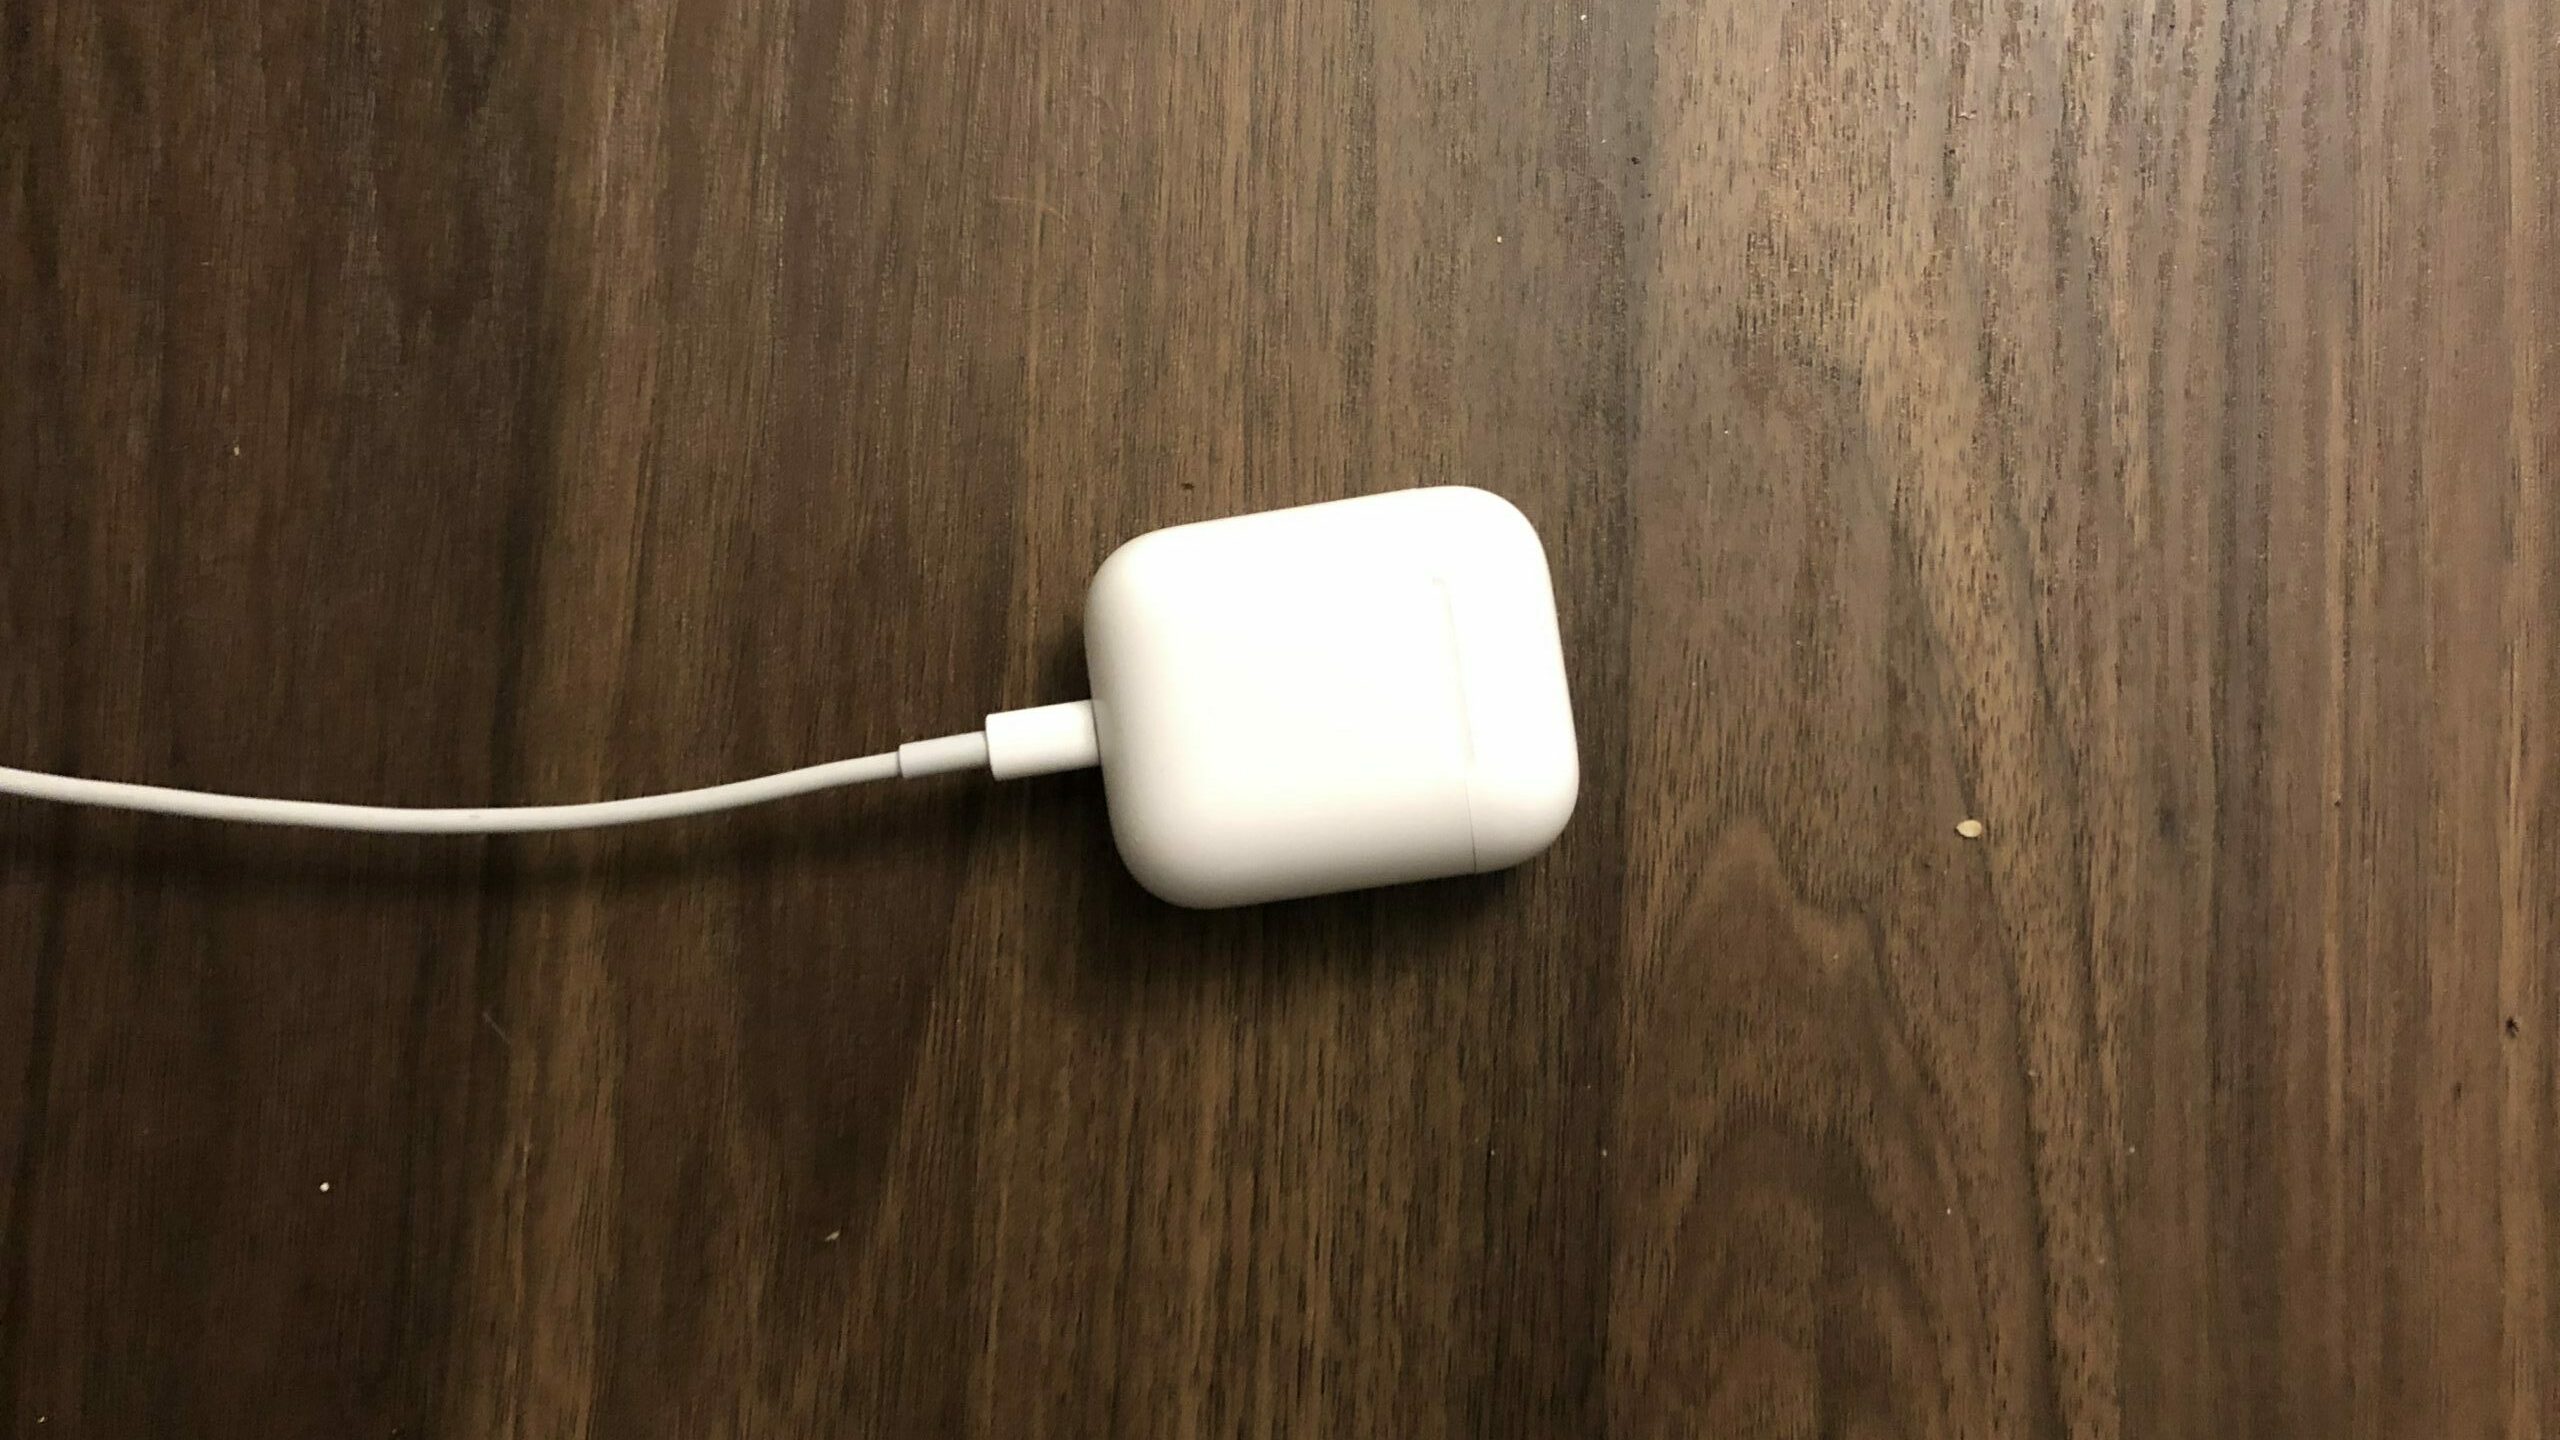
- Plug a Lightning cable into the Lightning connector on your Charging Case.
- Plug the other end of the Lightning cable into a USB port or wall charger.
- It may take a few hours to fully charge your Charging Case.
Applies To: AirPods,AirPods Pro
View MoreCharge Your AirPods
Charging your AirPods ensures that they will have enough battery life to function properly. AirPods are charged using the Charging Case.
How Do I Charge My AirPods?
- Put your AirPods in the Charging Case.
- When your AirPods are in the Charging Case, the Status light will indicate the amount of charge your AirPods have.
- The Status light will turn green when your AirPods are fully charged.
Applies To: AirPods,AirPods Pro
View MoreClean Your AirPods and Charging Case
If dirt, dust, or other debris gets into your AirPods or Charging Case, it can affect their functionality and cause hardware problems. For example, if there is debris in your Charging Case, your AirPods may not charge properly.
- Get a soft, lint-free cloth. Don't use tissue or cloth that will break up inside your devices.
- Gently wipe your AirPods and Charging Case with the cloth.
- For more compact debris, you can use an anti-static brush or new toothbrush to clean it out.
Applies To: AirPods,AirPods Pro
View MoreMake Sure Your AirPods Are In Range Of Your iPhone
If your AirPods aren't within range of your iPhone, the devices won't be able to connect to each other. AirPods connect to your iPhone through Bluetooth, which only works when your devices are within a certain range of each other.
How Do I Make Sure My AirPods Are In Range Of My iPhone?
- Go to the Home screen.
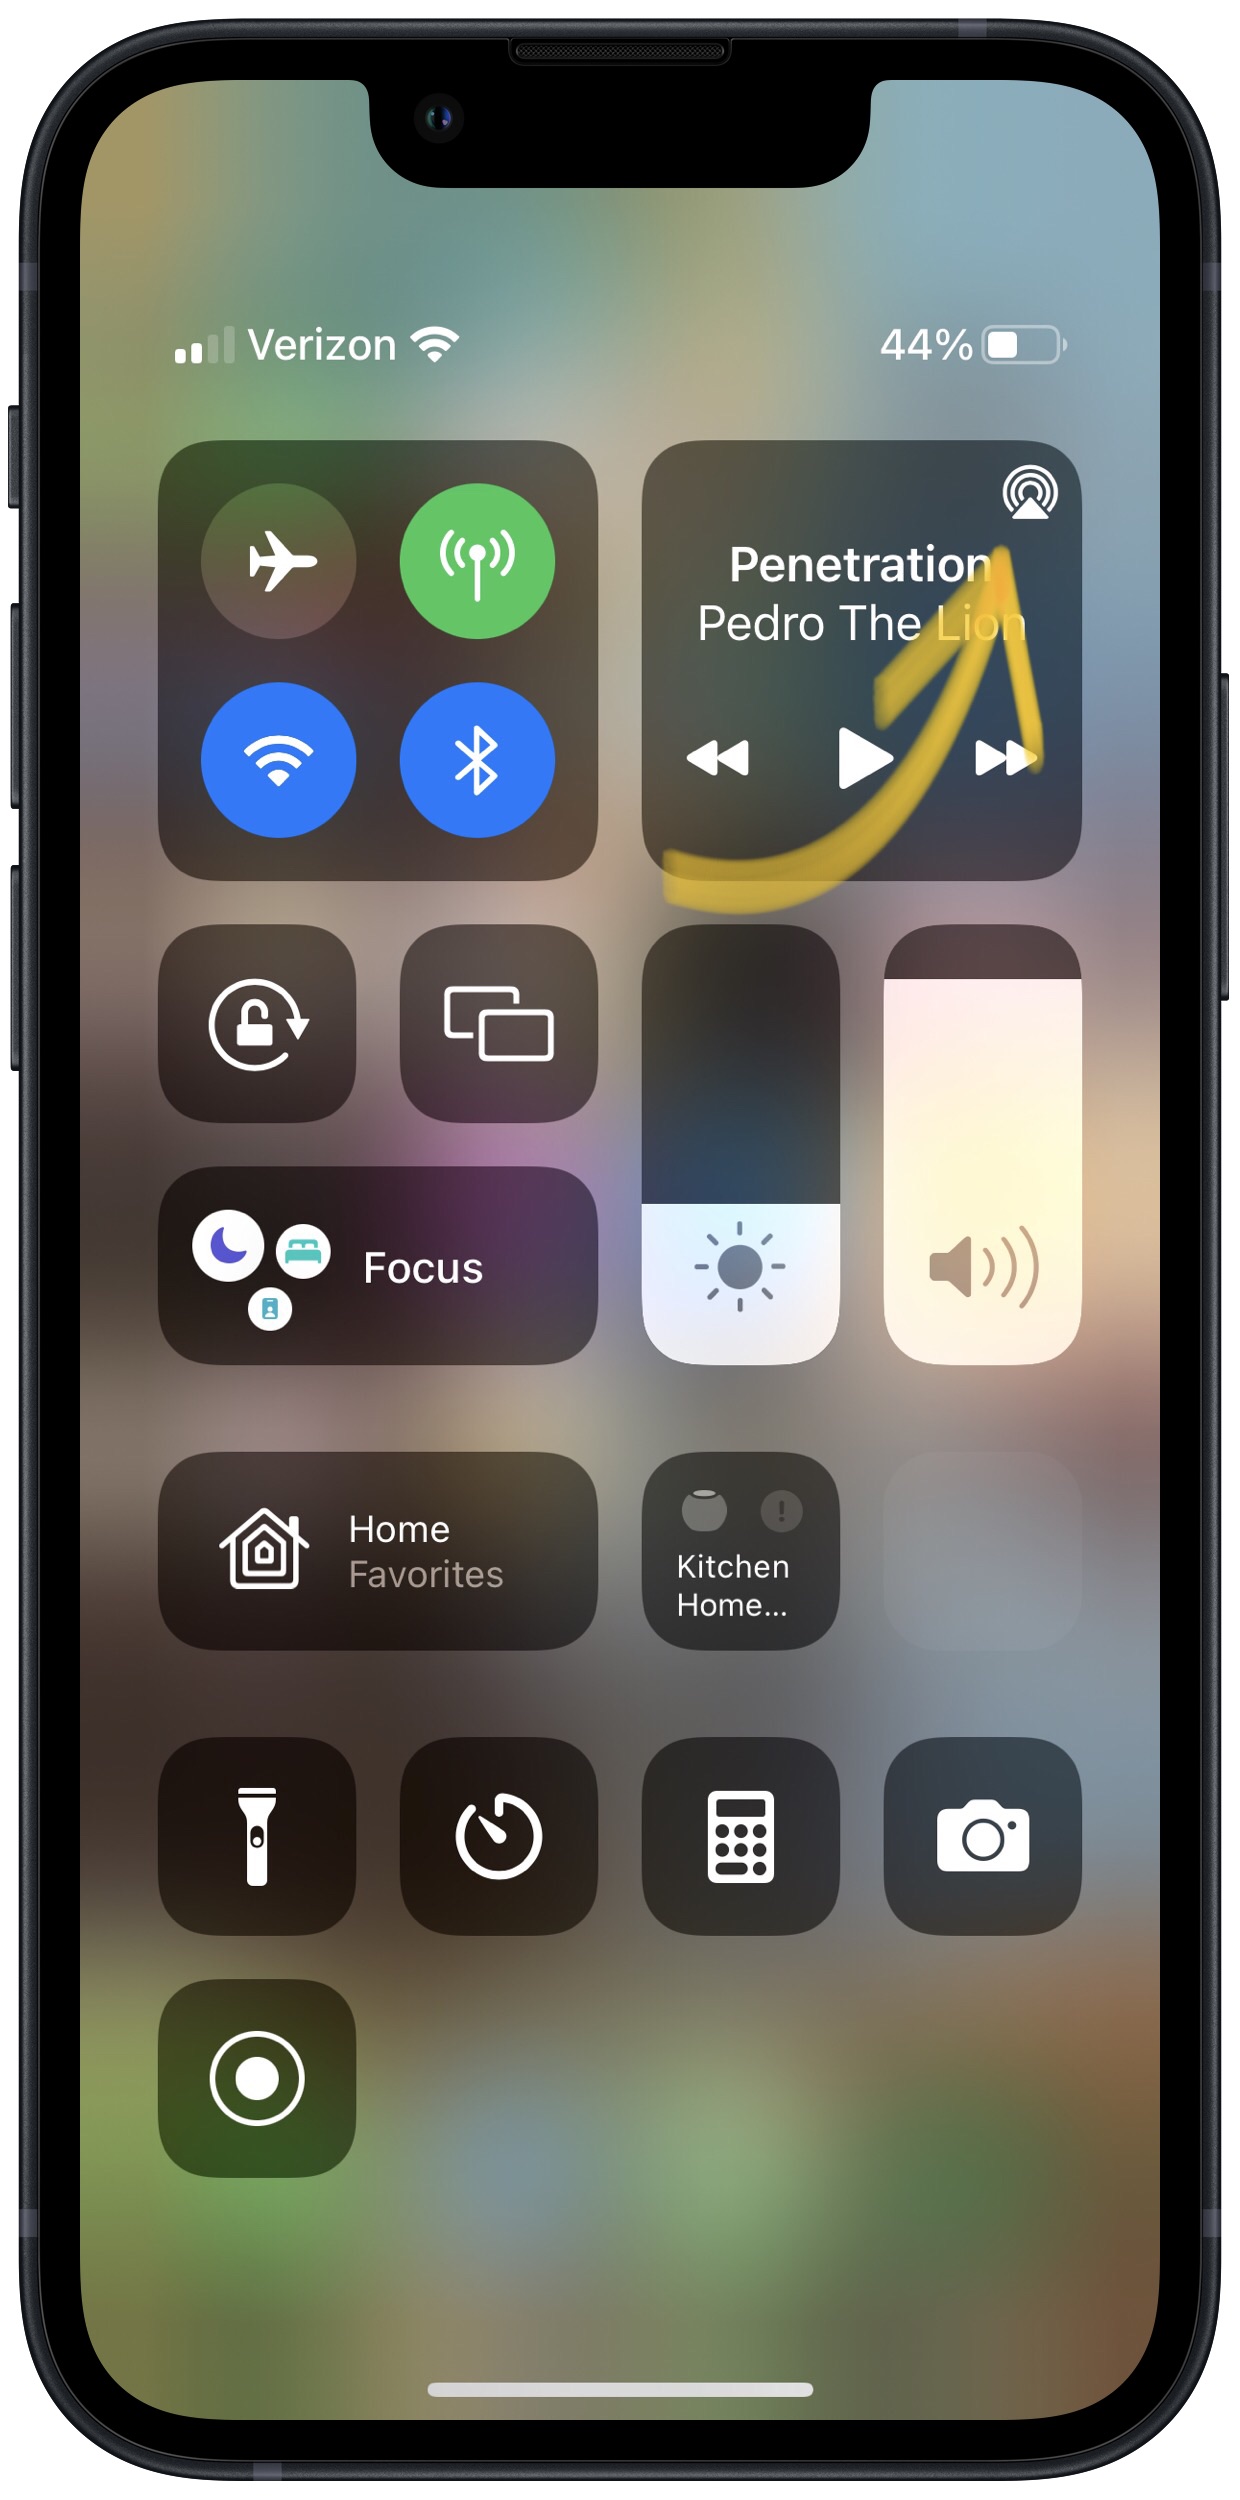
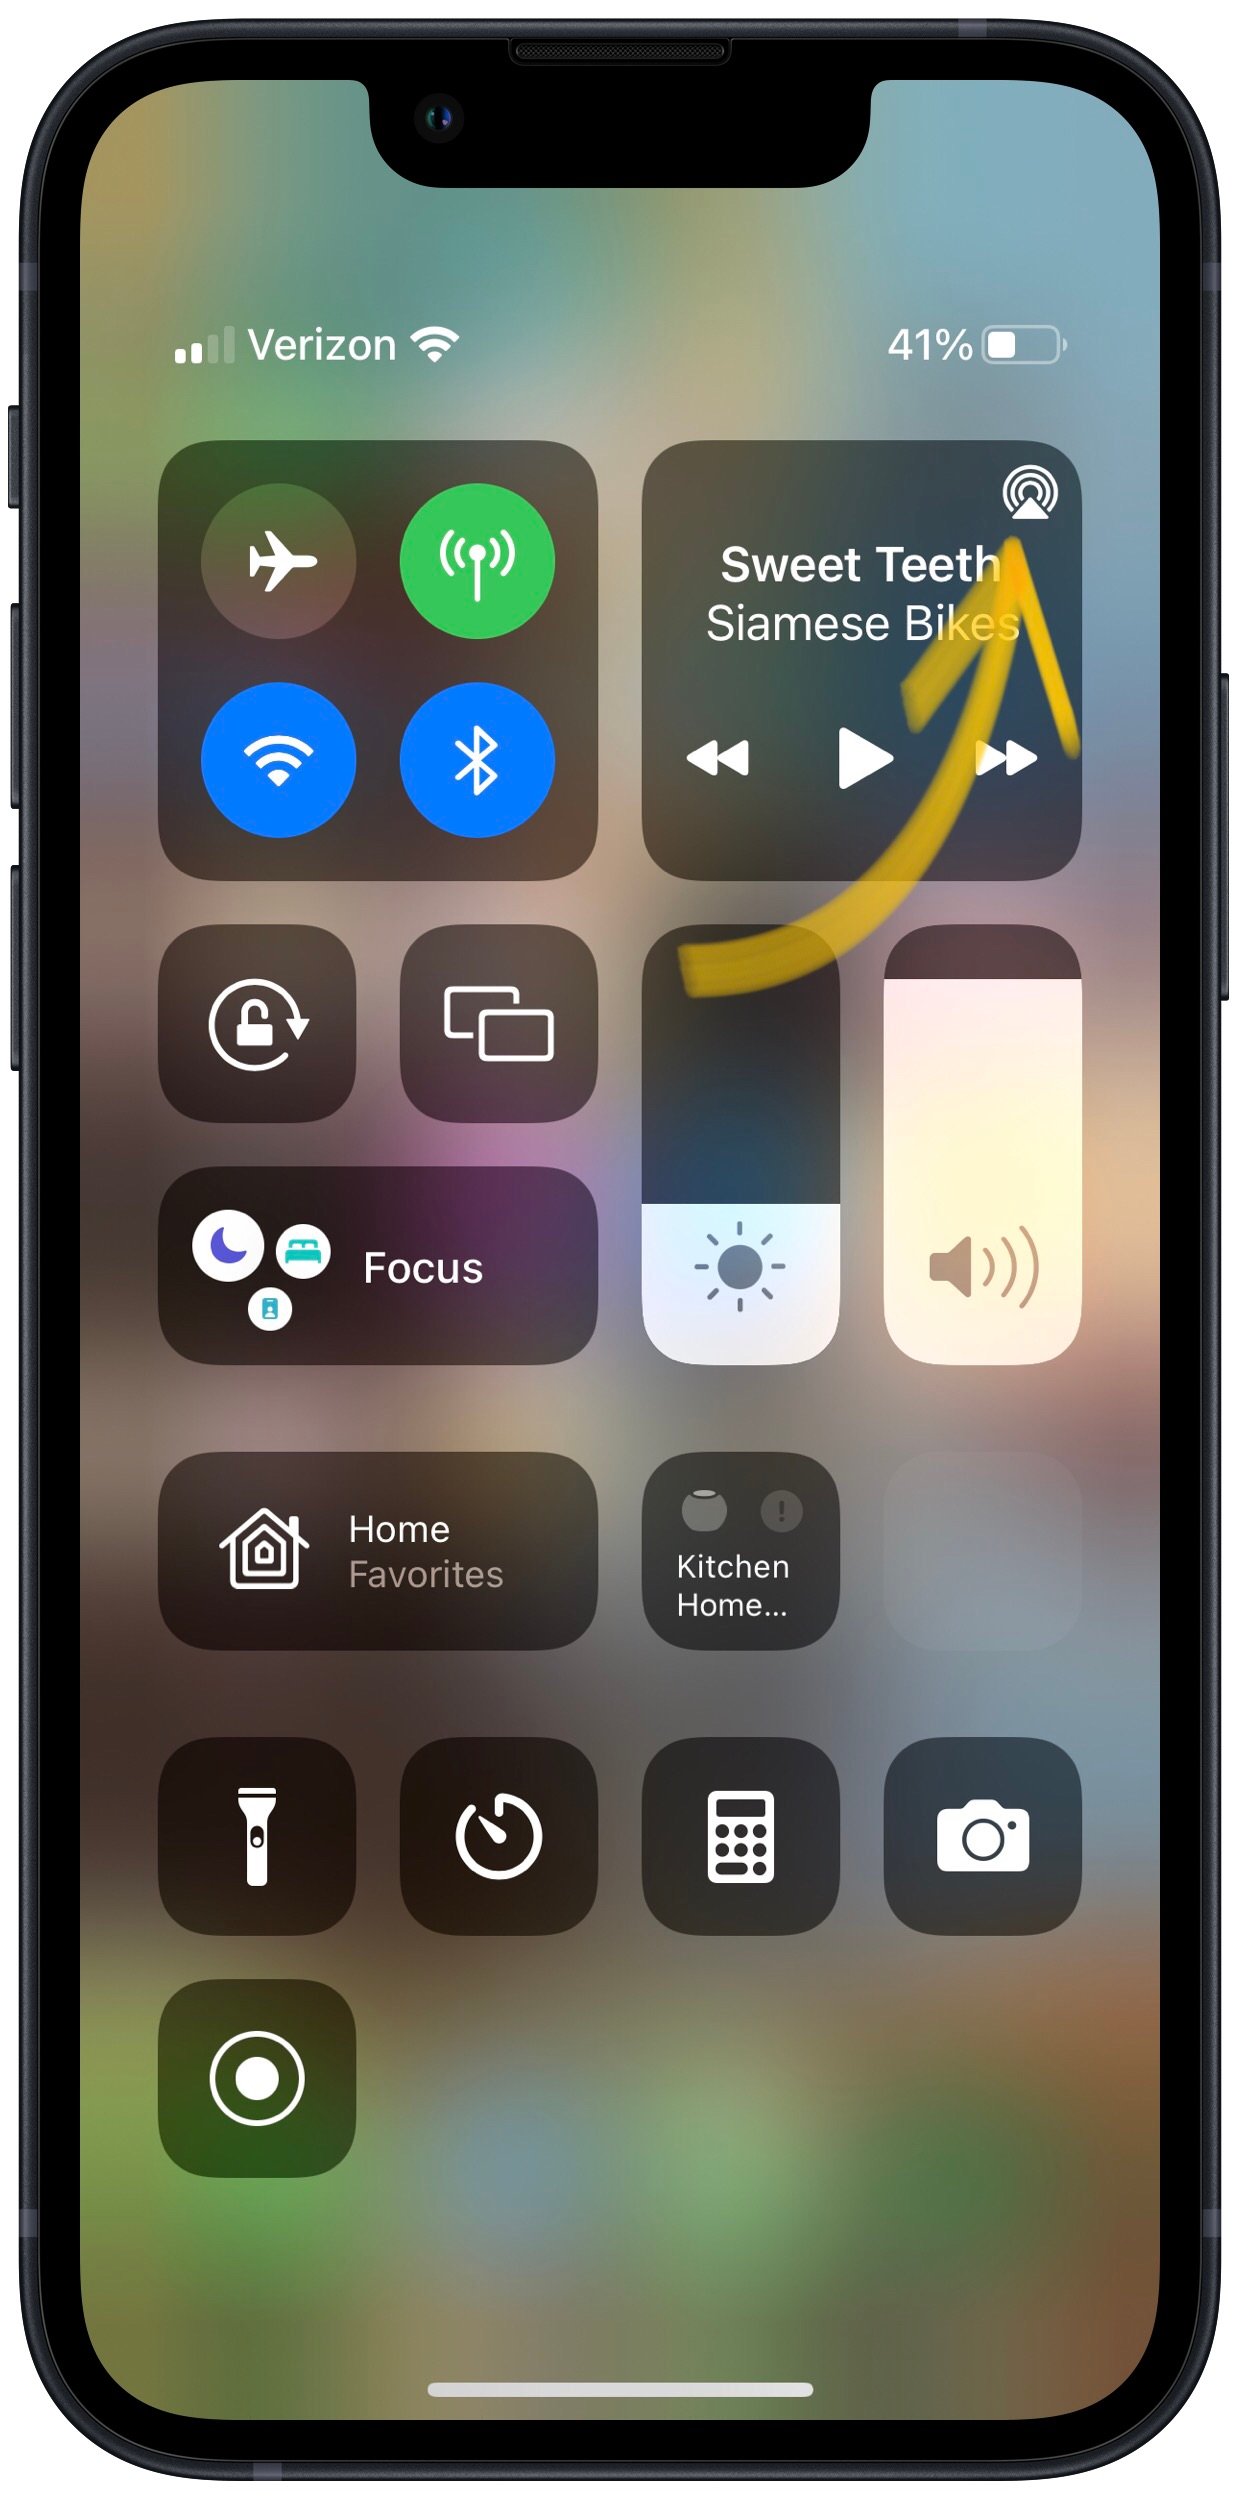
- Open the Control Center by swiping up from below the bottom edge of the screen (iPhones without Face ID) or down from the upper right-hand corner of the screen (iPhones with Face ID).
- Tap the audio output button
 , which looks like a triangle with three circles coming out of it.
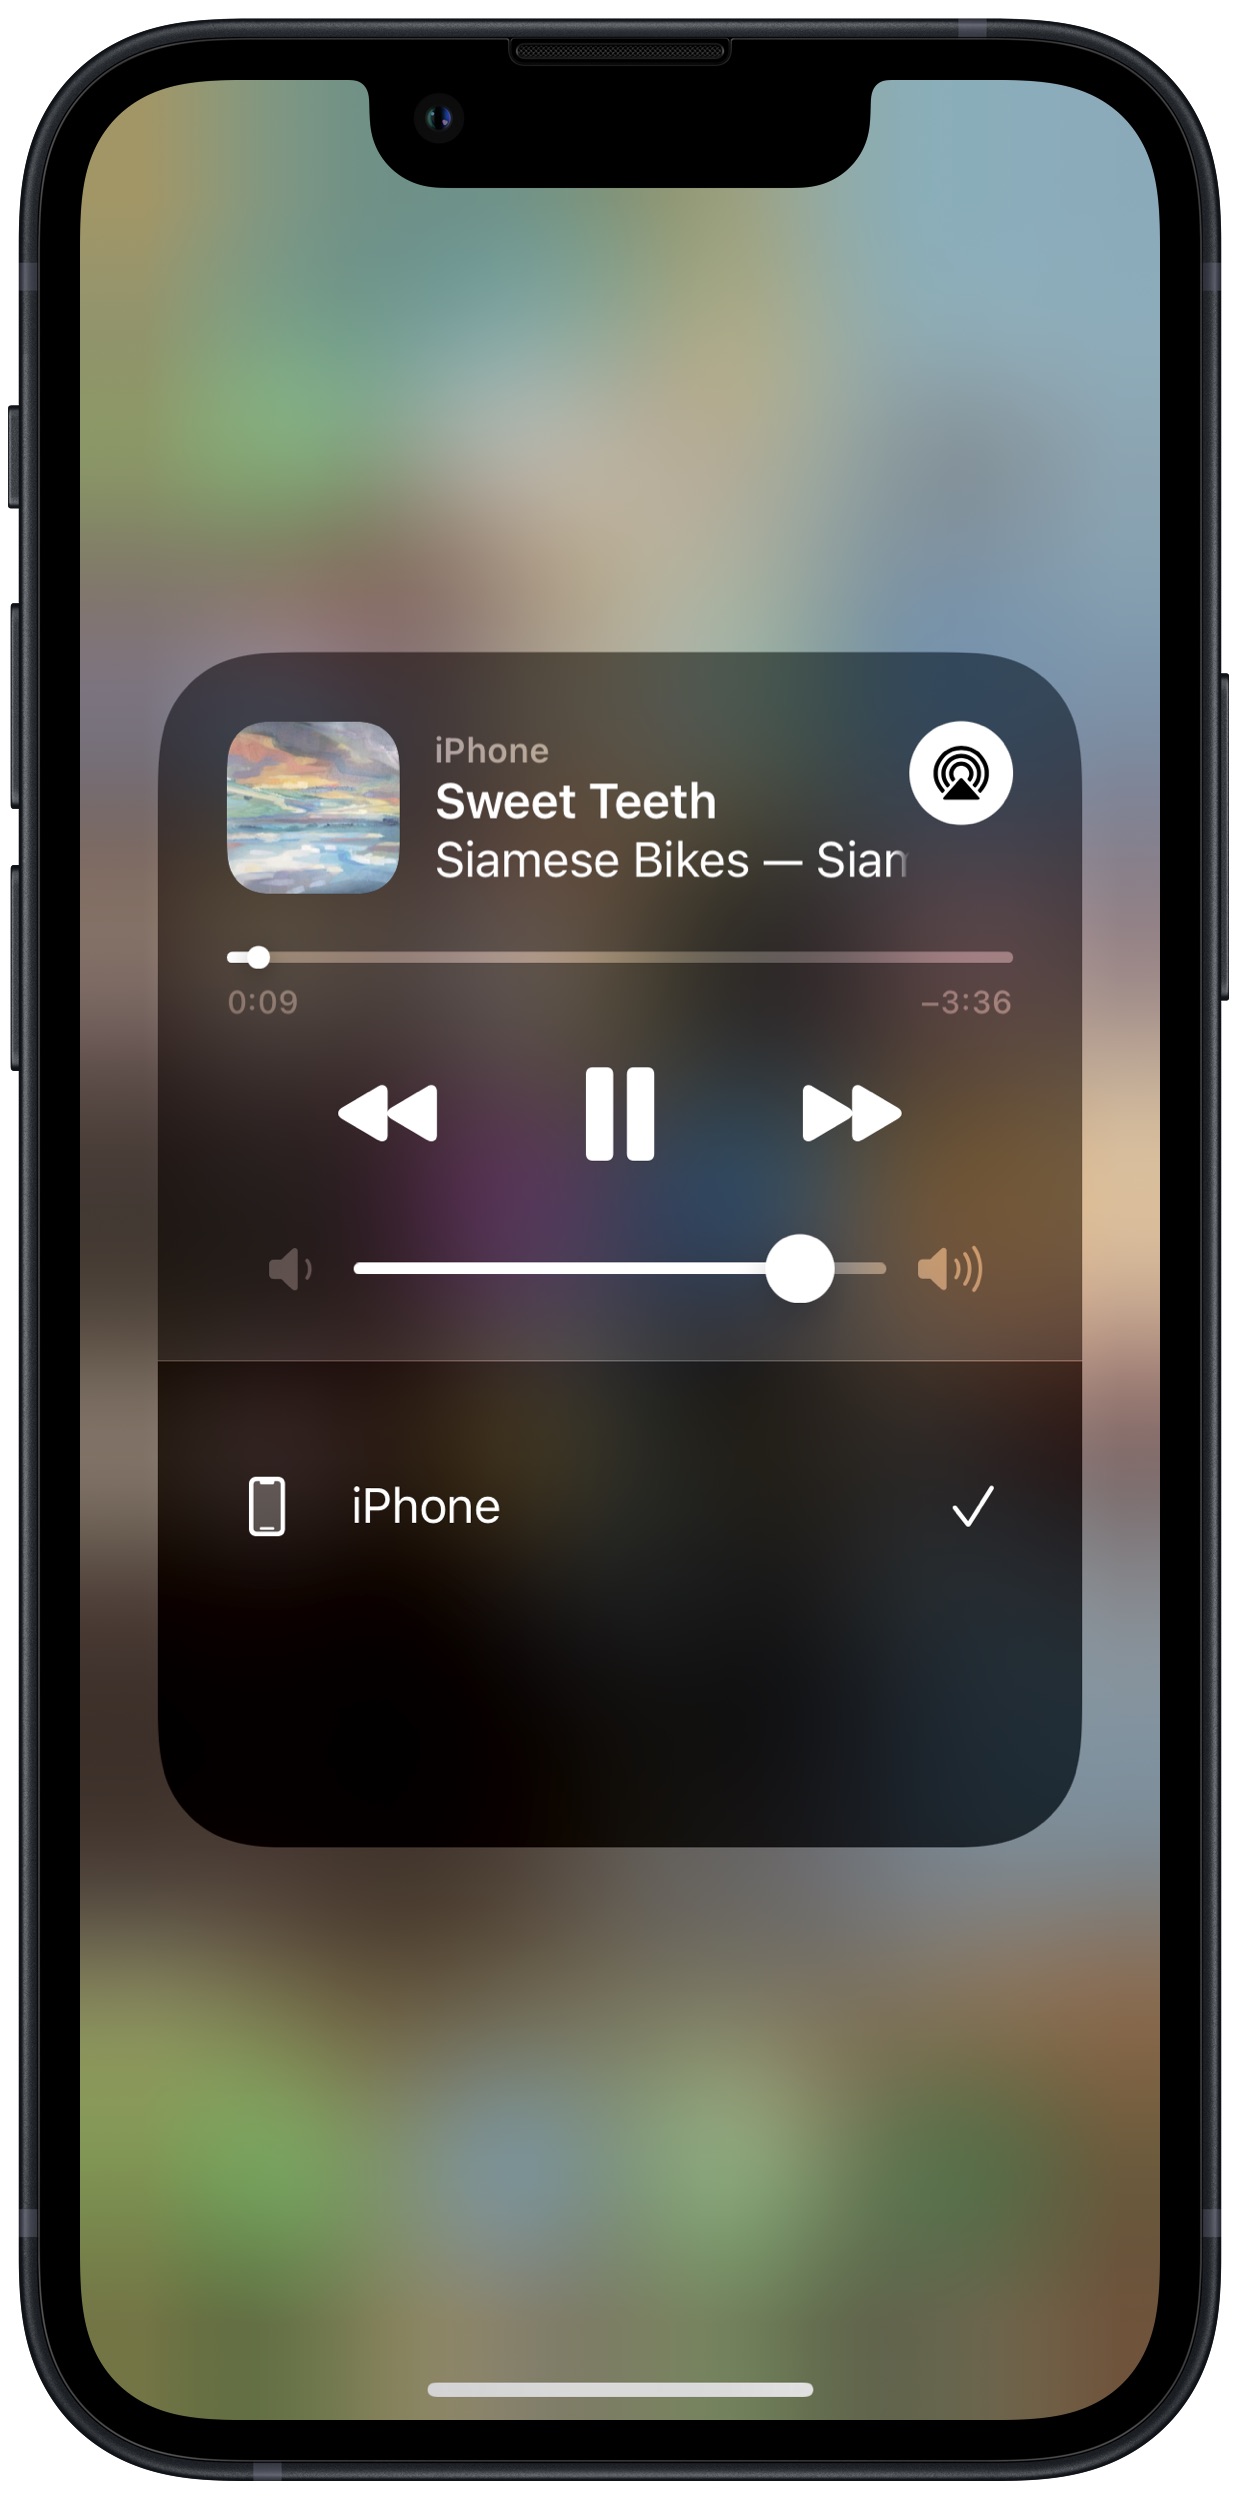
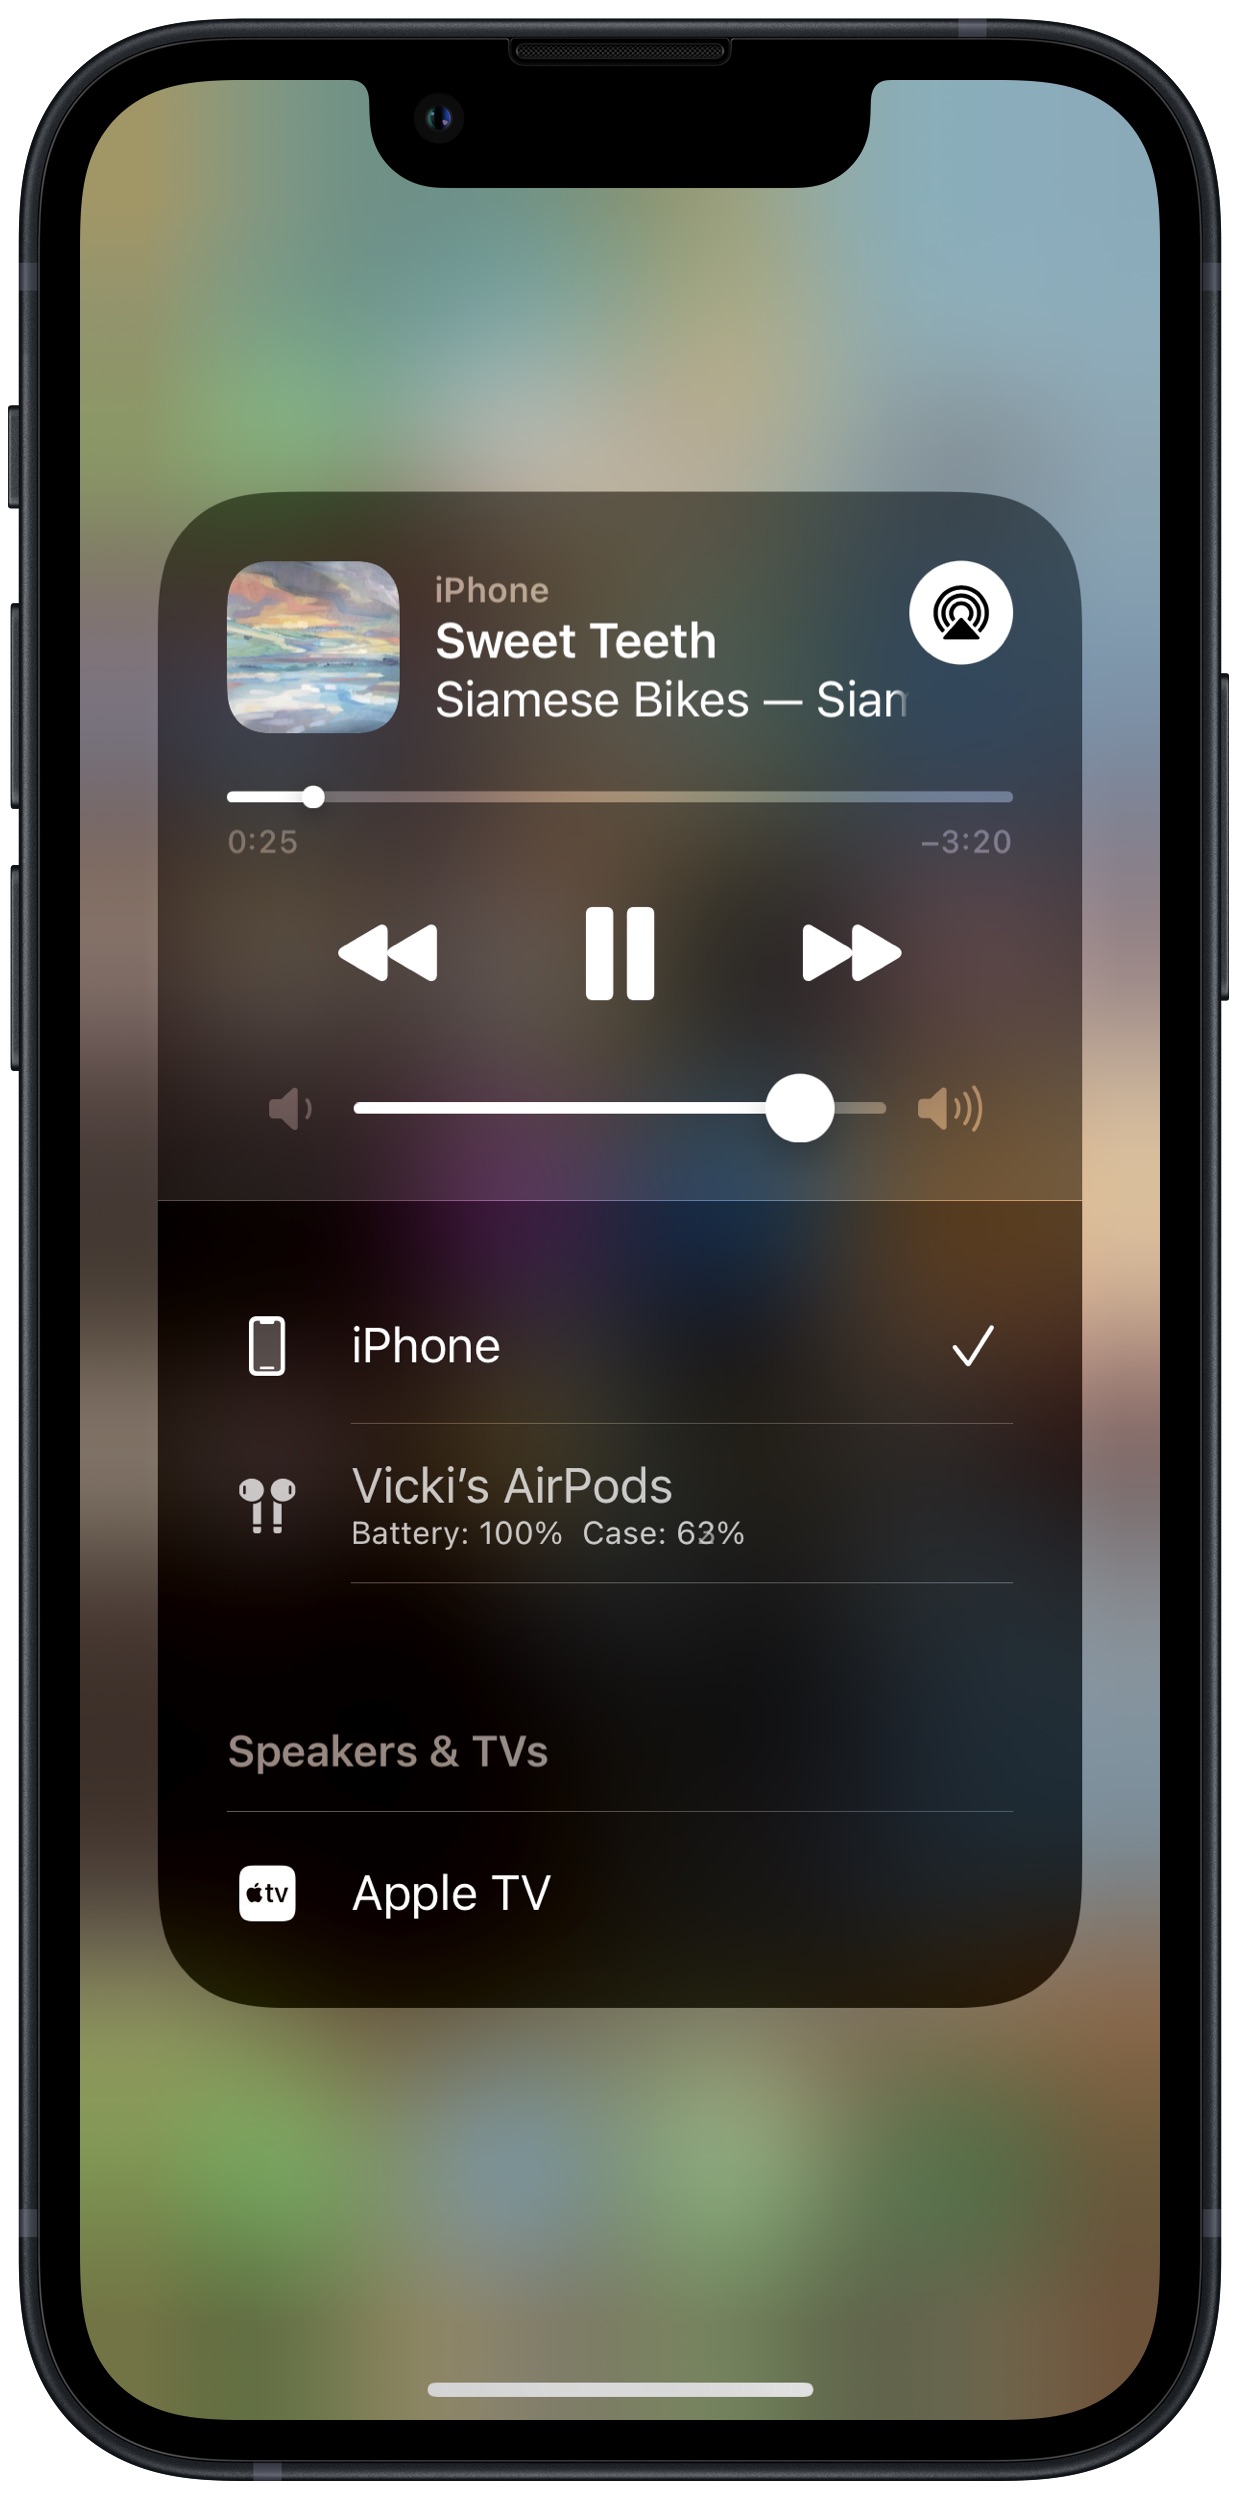
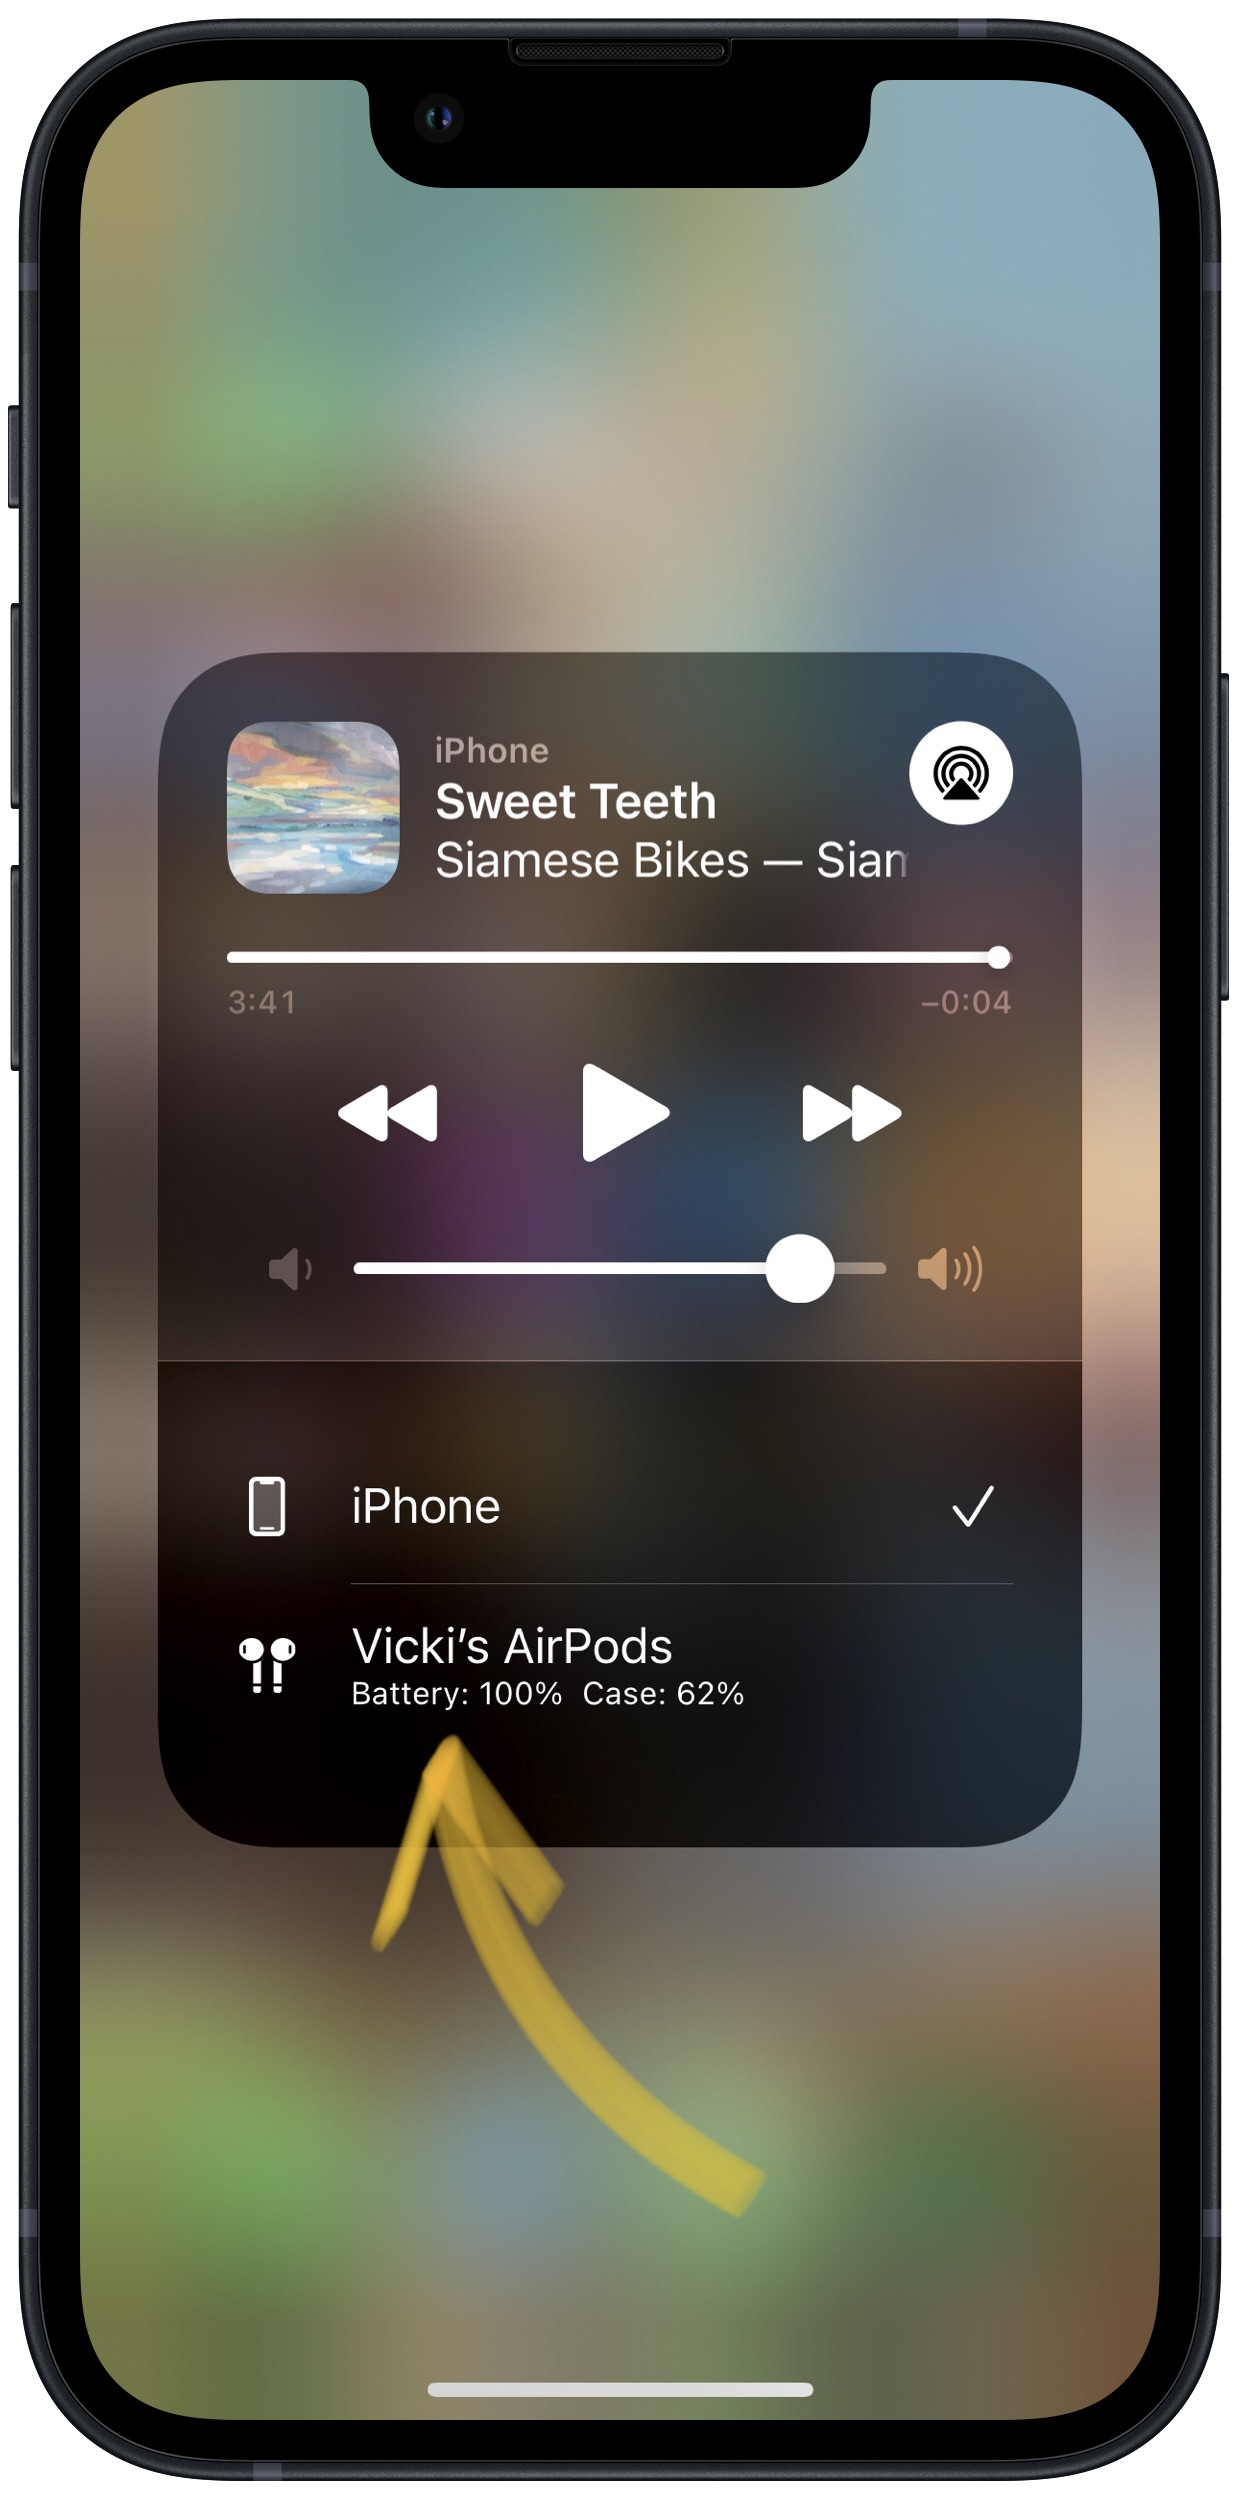
 - If your AirPods are not listed here as an audio output source, then your AirPods are out of range.
Applies To: AirPods,AirPods Pro,iPhone 5,iPhone 5S,iPhone 5C,iPhone 6,iPhone 6 Plus,iPhone 6S,iPhone 6S Plus,iPhone SE,iPhone 7,iPhone 7 Plus,iPhone 8,iPhone 8 Plus,iPhone X,iPhone XS,iPhone XS Max,iPhone XR,iPhone 11,iPhone 11 Pro,iPhone 11 Pro Max,iPhone SE 2
View MoreMake Sure Your AirPods Are Connected To The Correct Device
If your AirPods are connected to a different device, they may be receiving audio output from the other device. AirPods are not designed to receive audio output from two devices at the same time.
How Do I Make Sure My AirPods Are Connected To The Correct Device?
- Go to the Home screen.
- Open Control Center.
- Tap the audio output button, which looks like a small triangle with three circles coming out of it.
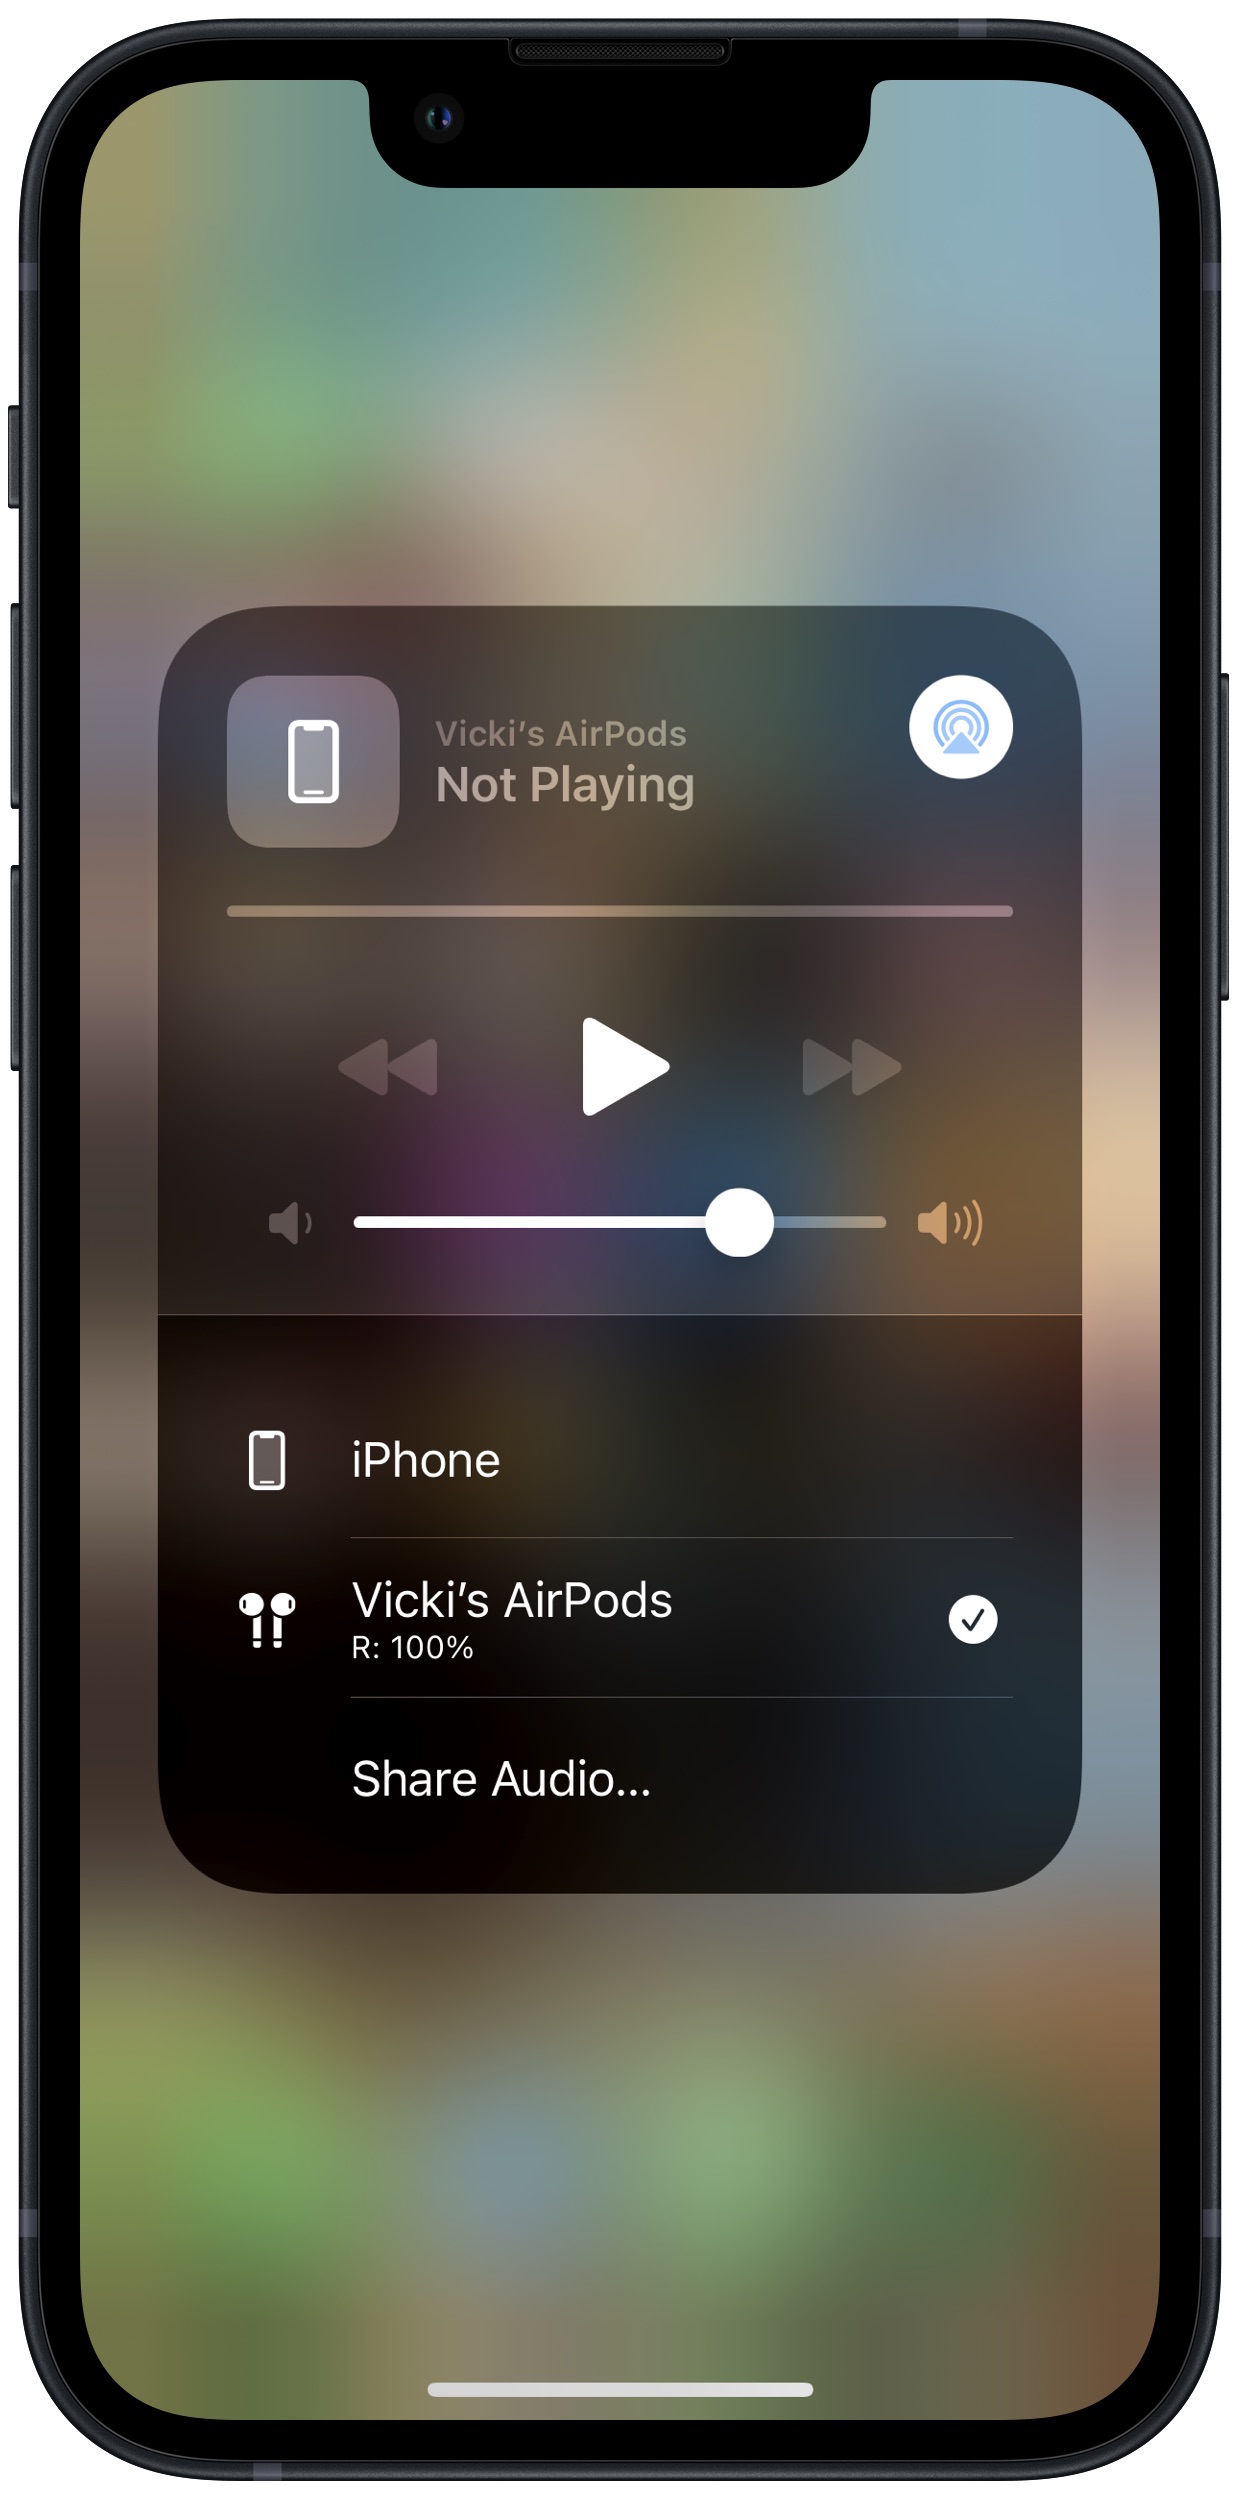
- Tap AirPods to connect your iPhone to your AirPods.
- If you do not see AirPods listed, they are out of range.
Applies To: AirPods,AirPods Pro,iPhone 5,iPhone 5S,iPhone 5C,iPhone 6,iPhone 6 Plus,iPhone 6S,iPhone 6S Plus,iPhone SE,iPhone 7,iPhone 7 Plus,iPhone 8,iPhone 8 Plus,iPhone X,iPhone XS,iPhone XS Max,iPhone XR,iPhone 11,iPhone 11 Pro,iPhone 11 Pro Max,iPhone SE 2
View MoreReset Network Settings
When your iPhone connects to a Wi-Fi or Bluetooth device for the first time, it saves information about how to connect to that network or device. If something changes with that process, it may cause connectivity issues.
Deep software problems, especially with network settings, can be difficult to track down. Rather than trying to track an issue down, we're going to reset all network settings and give your iPhone a fresh start.
How Do I Reset Network Settings?
- Open the Settings app.
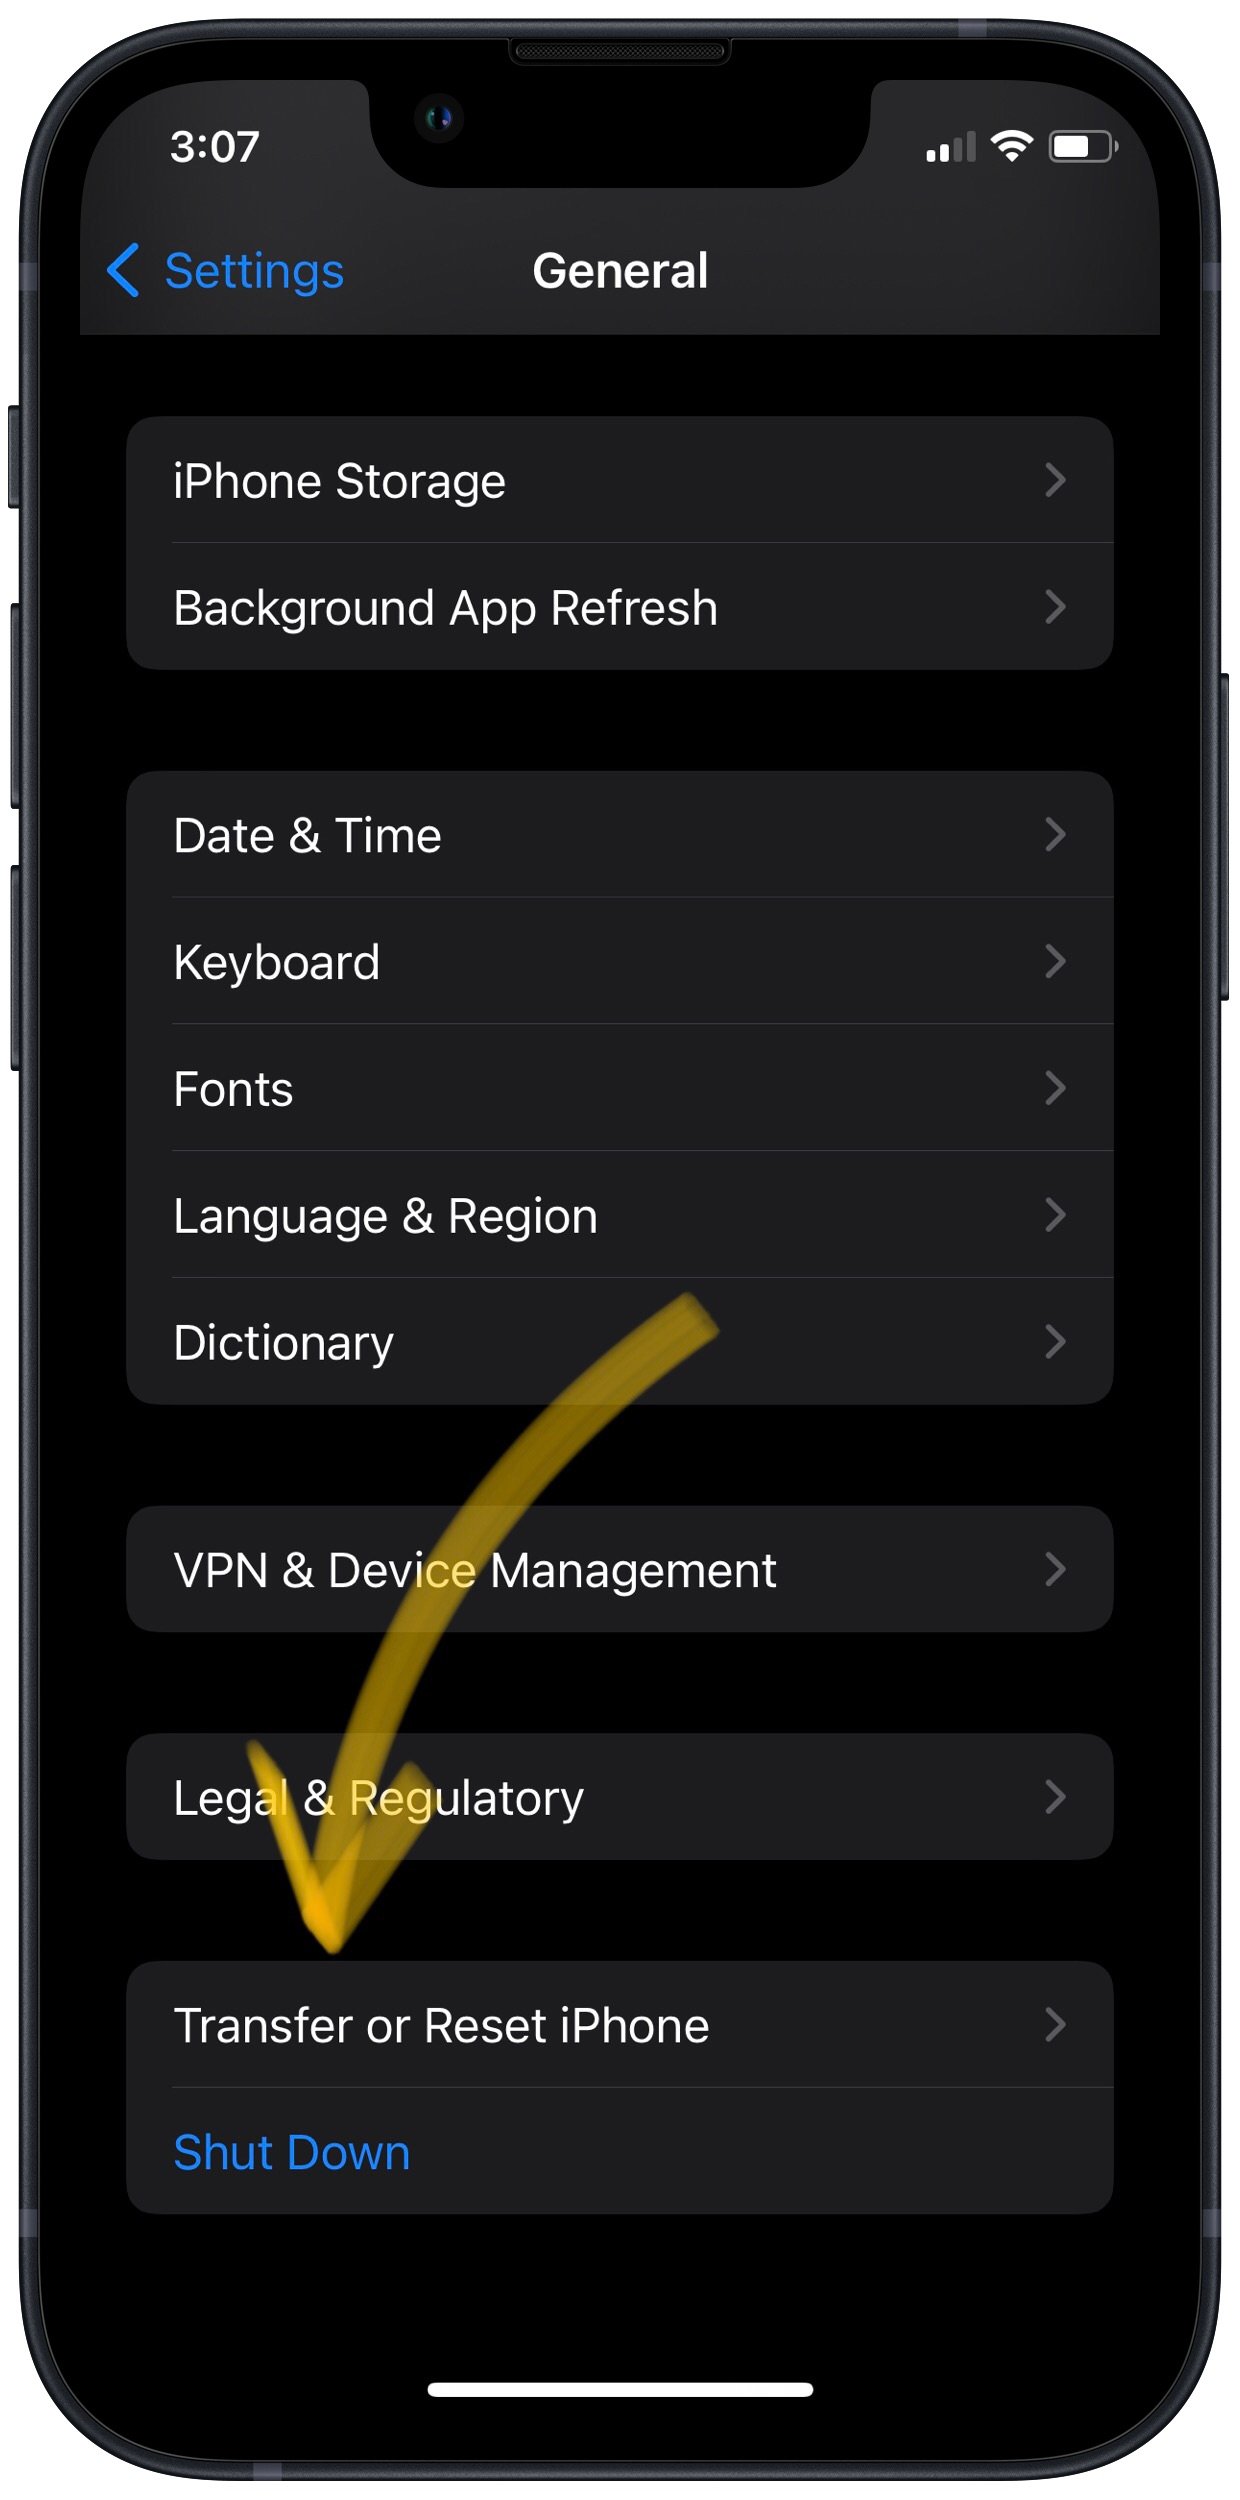
- Tap General.
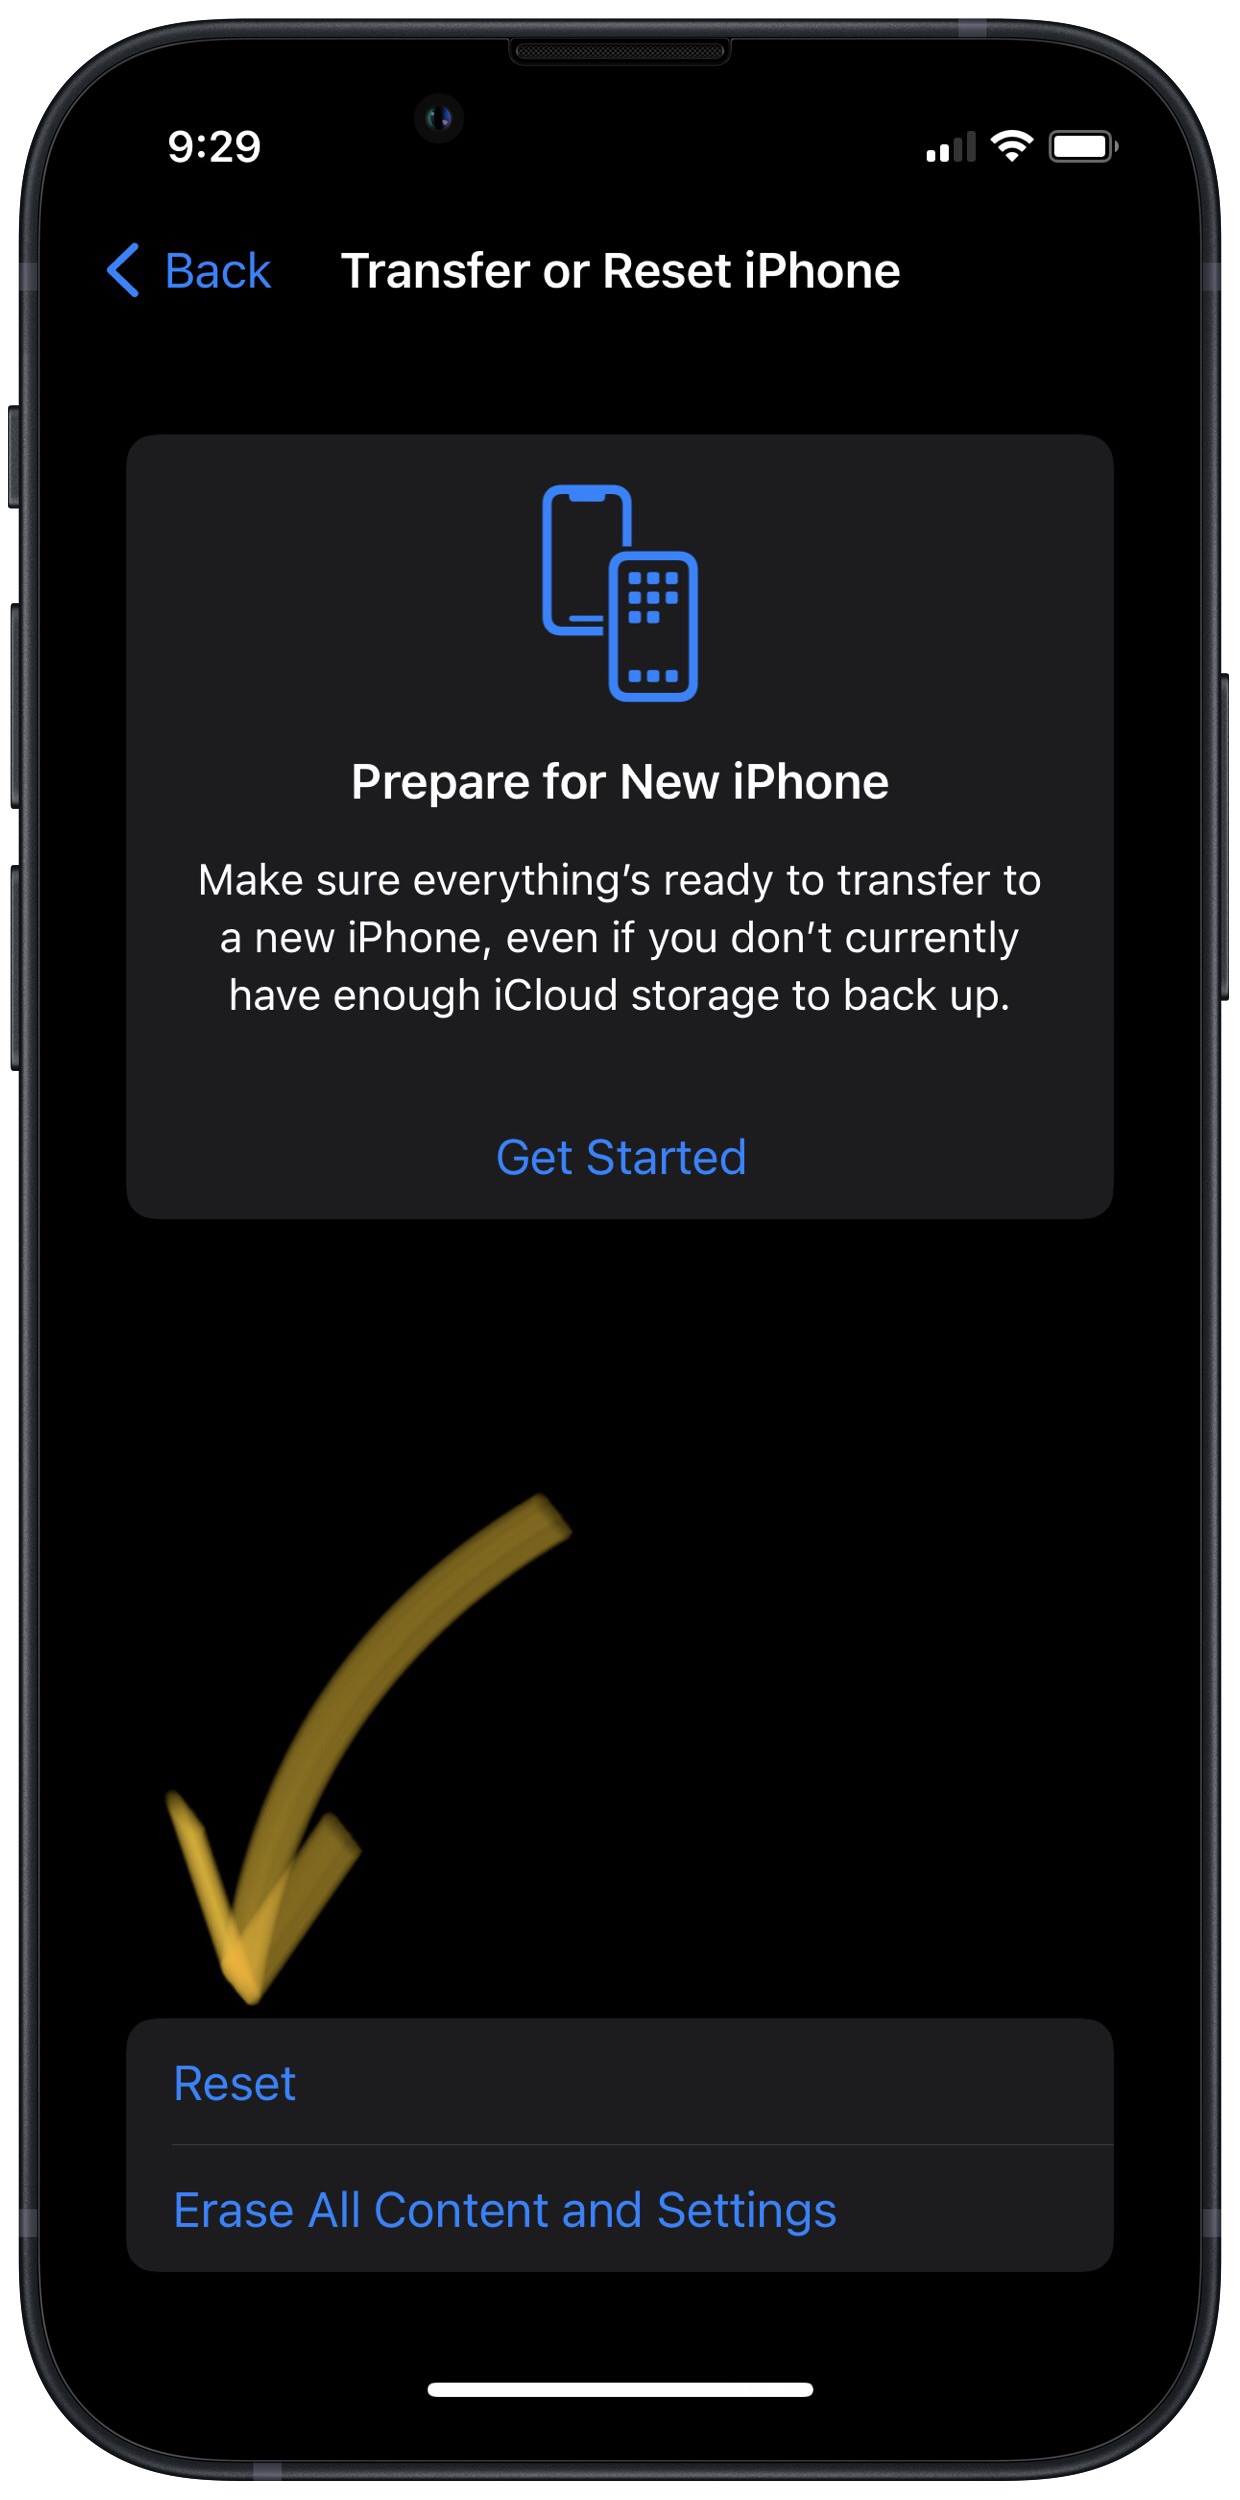
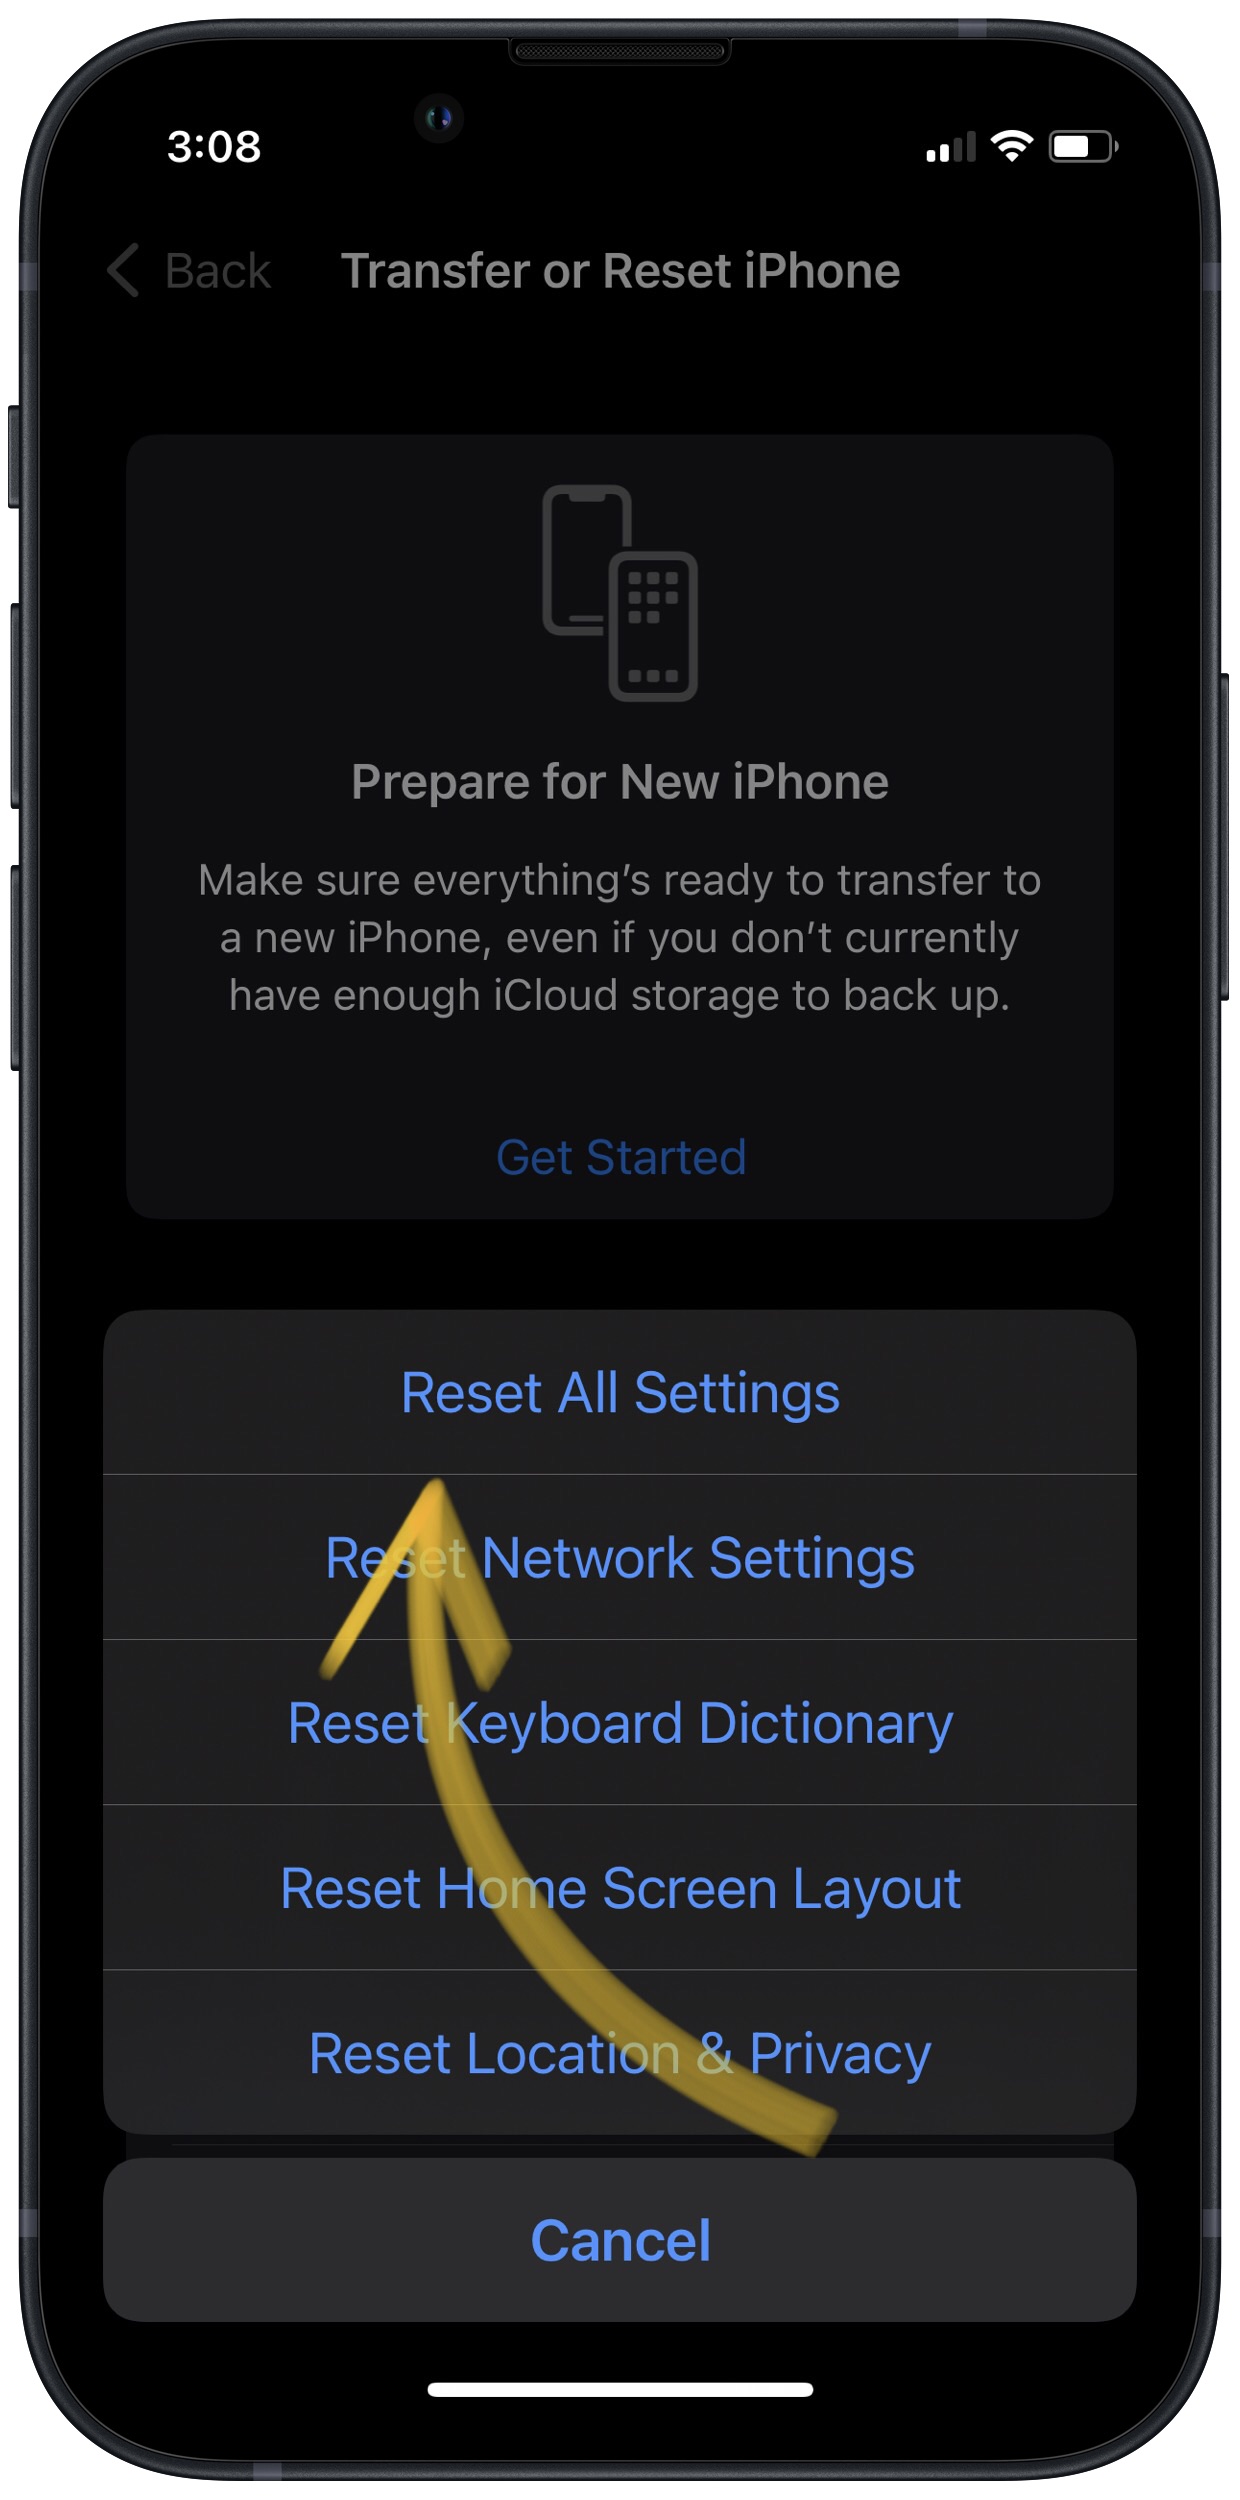
- Scroll down and tap Transfer Or Reset iPhone.
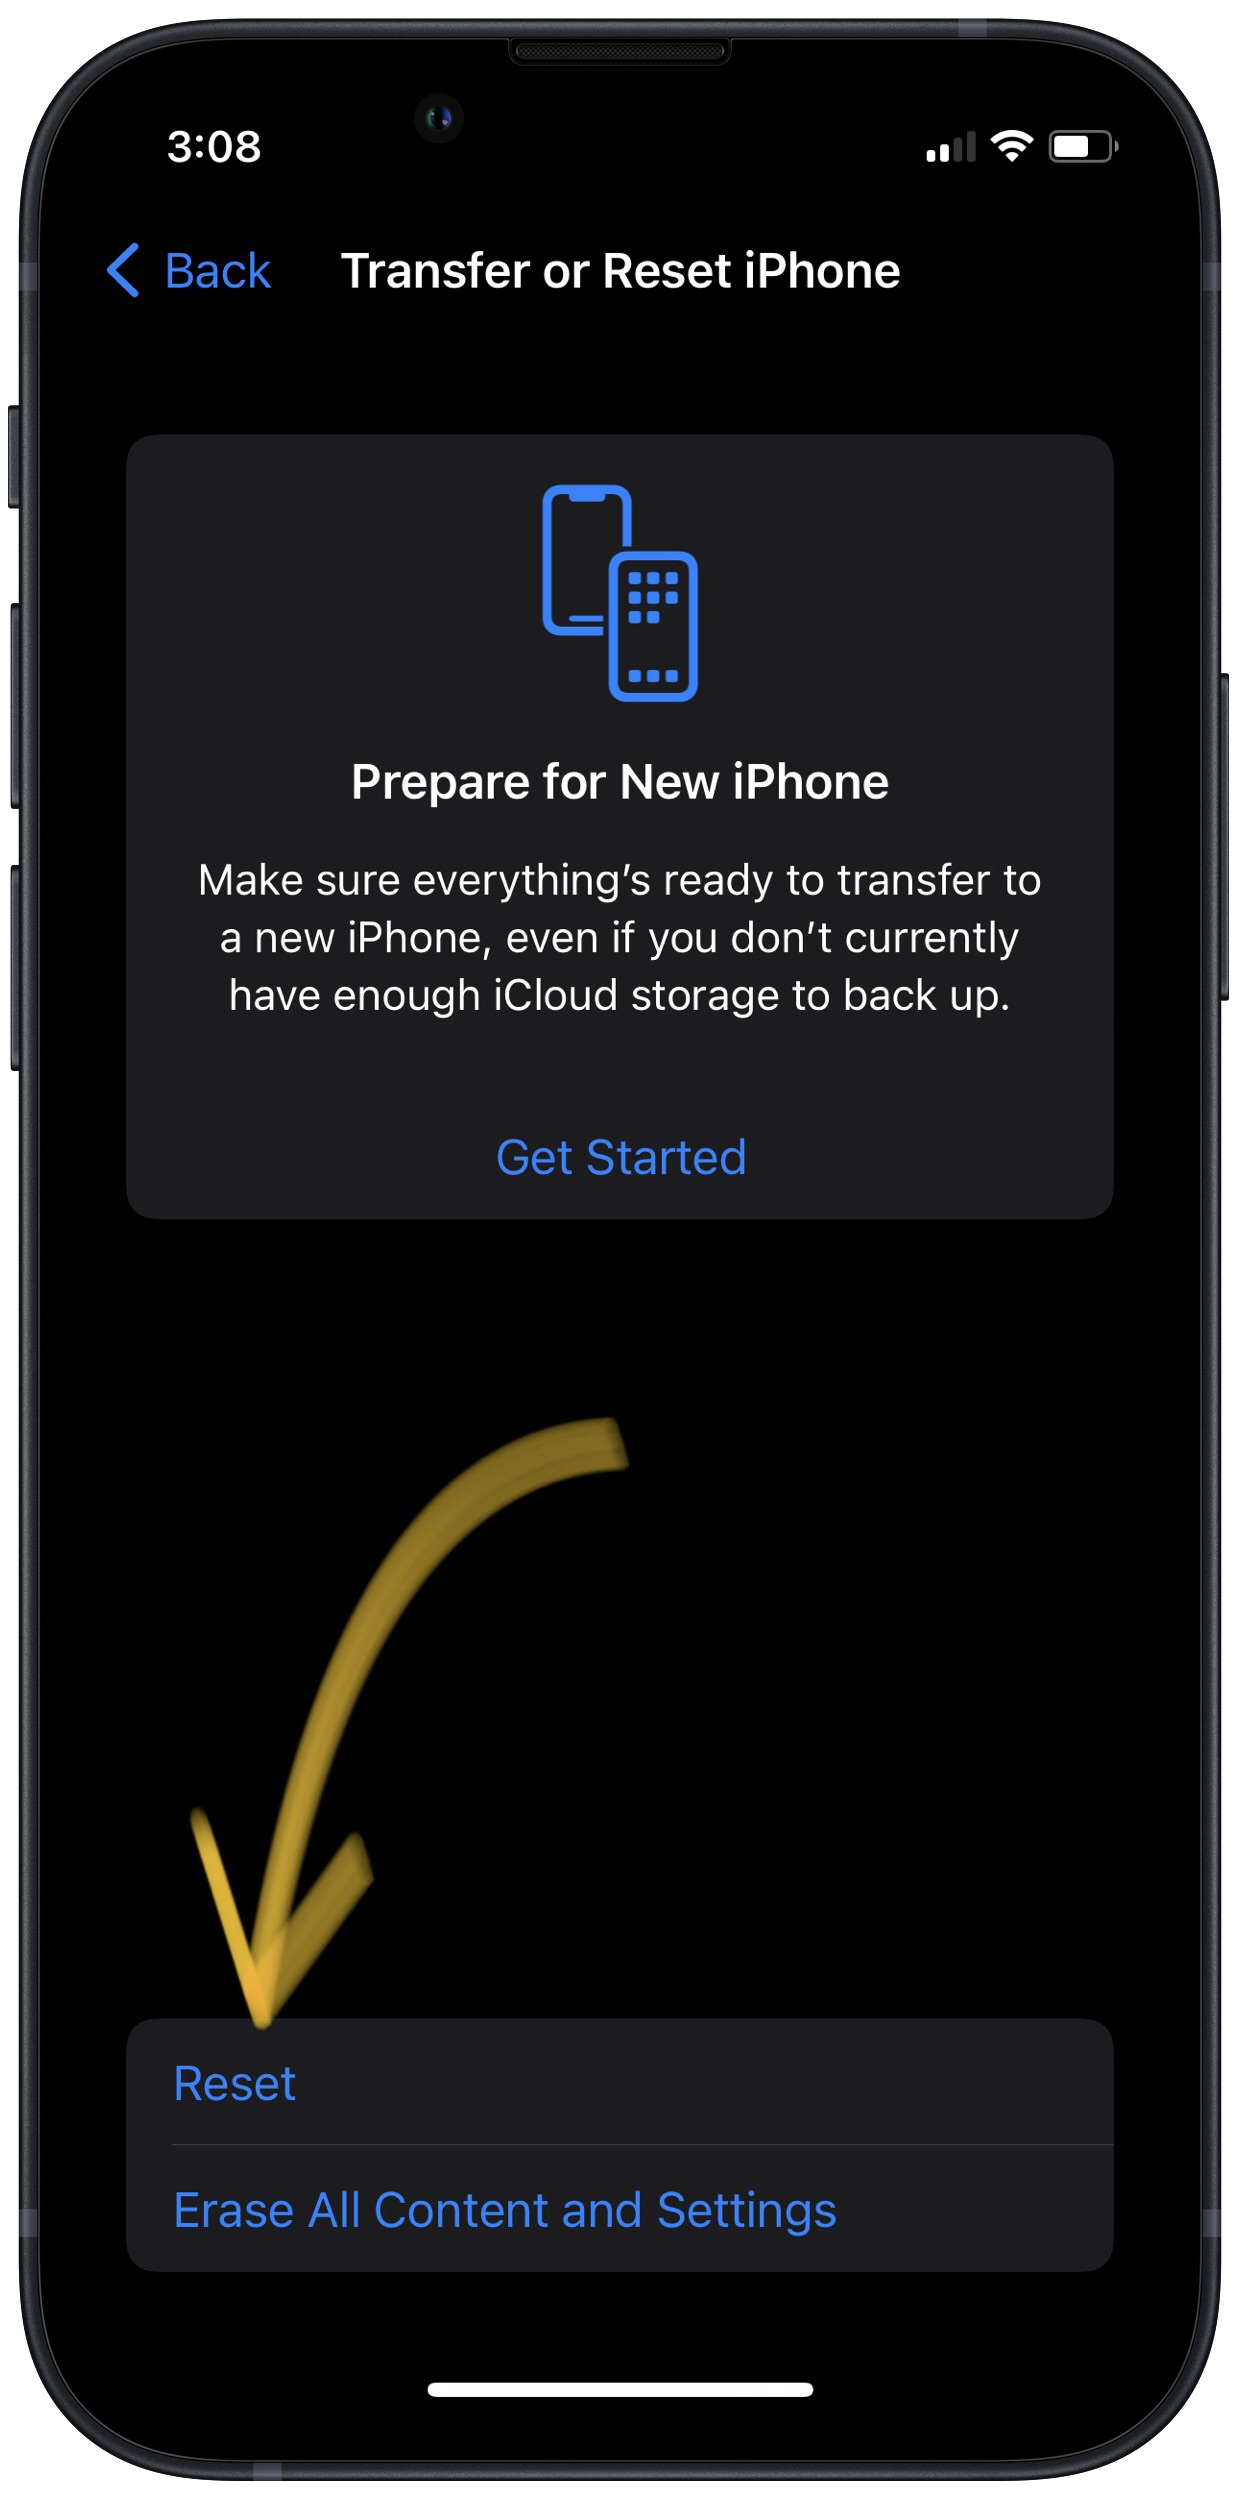
- Tap Reset.
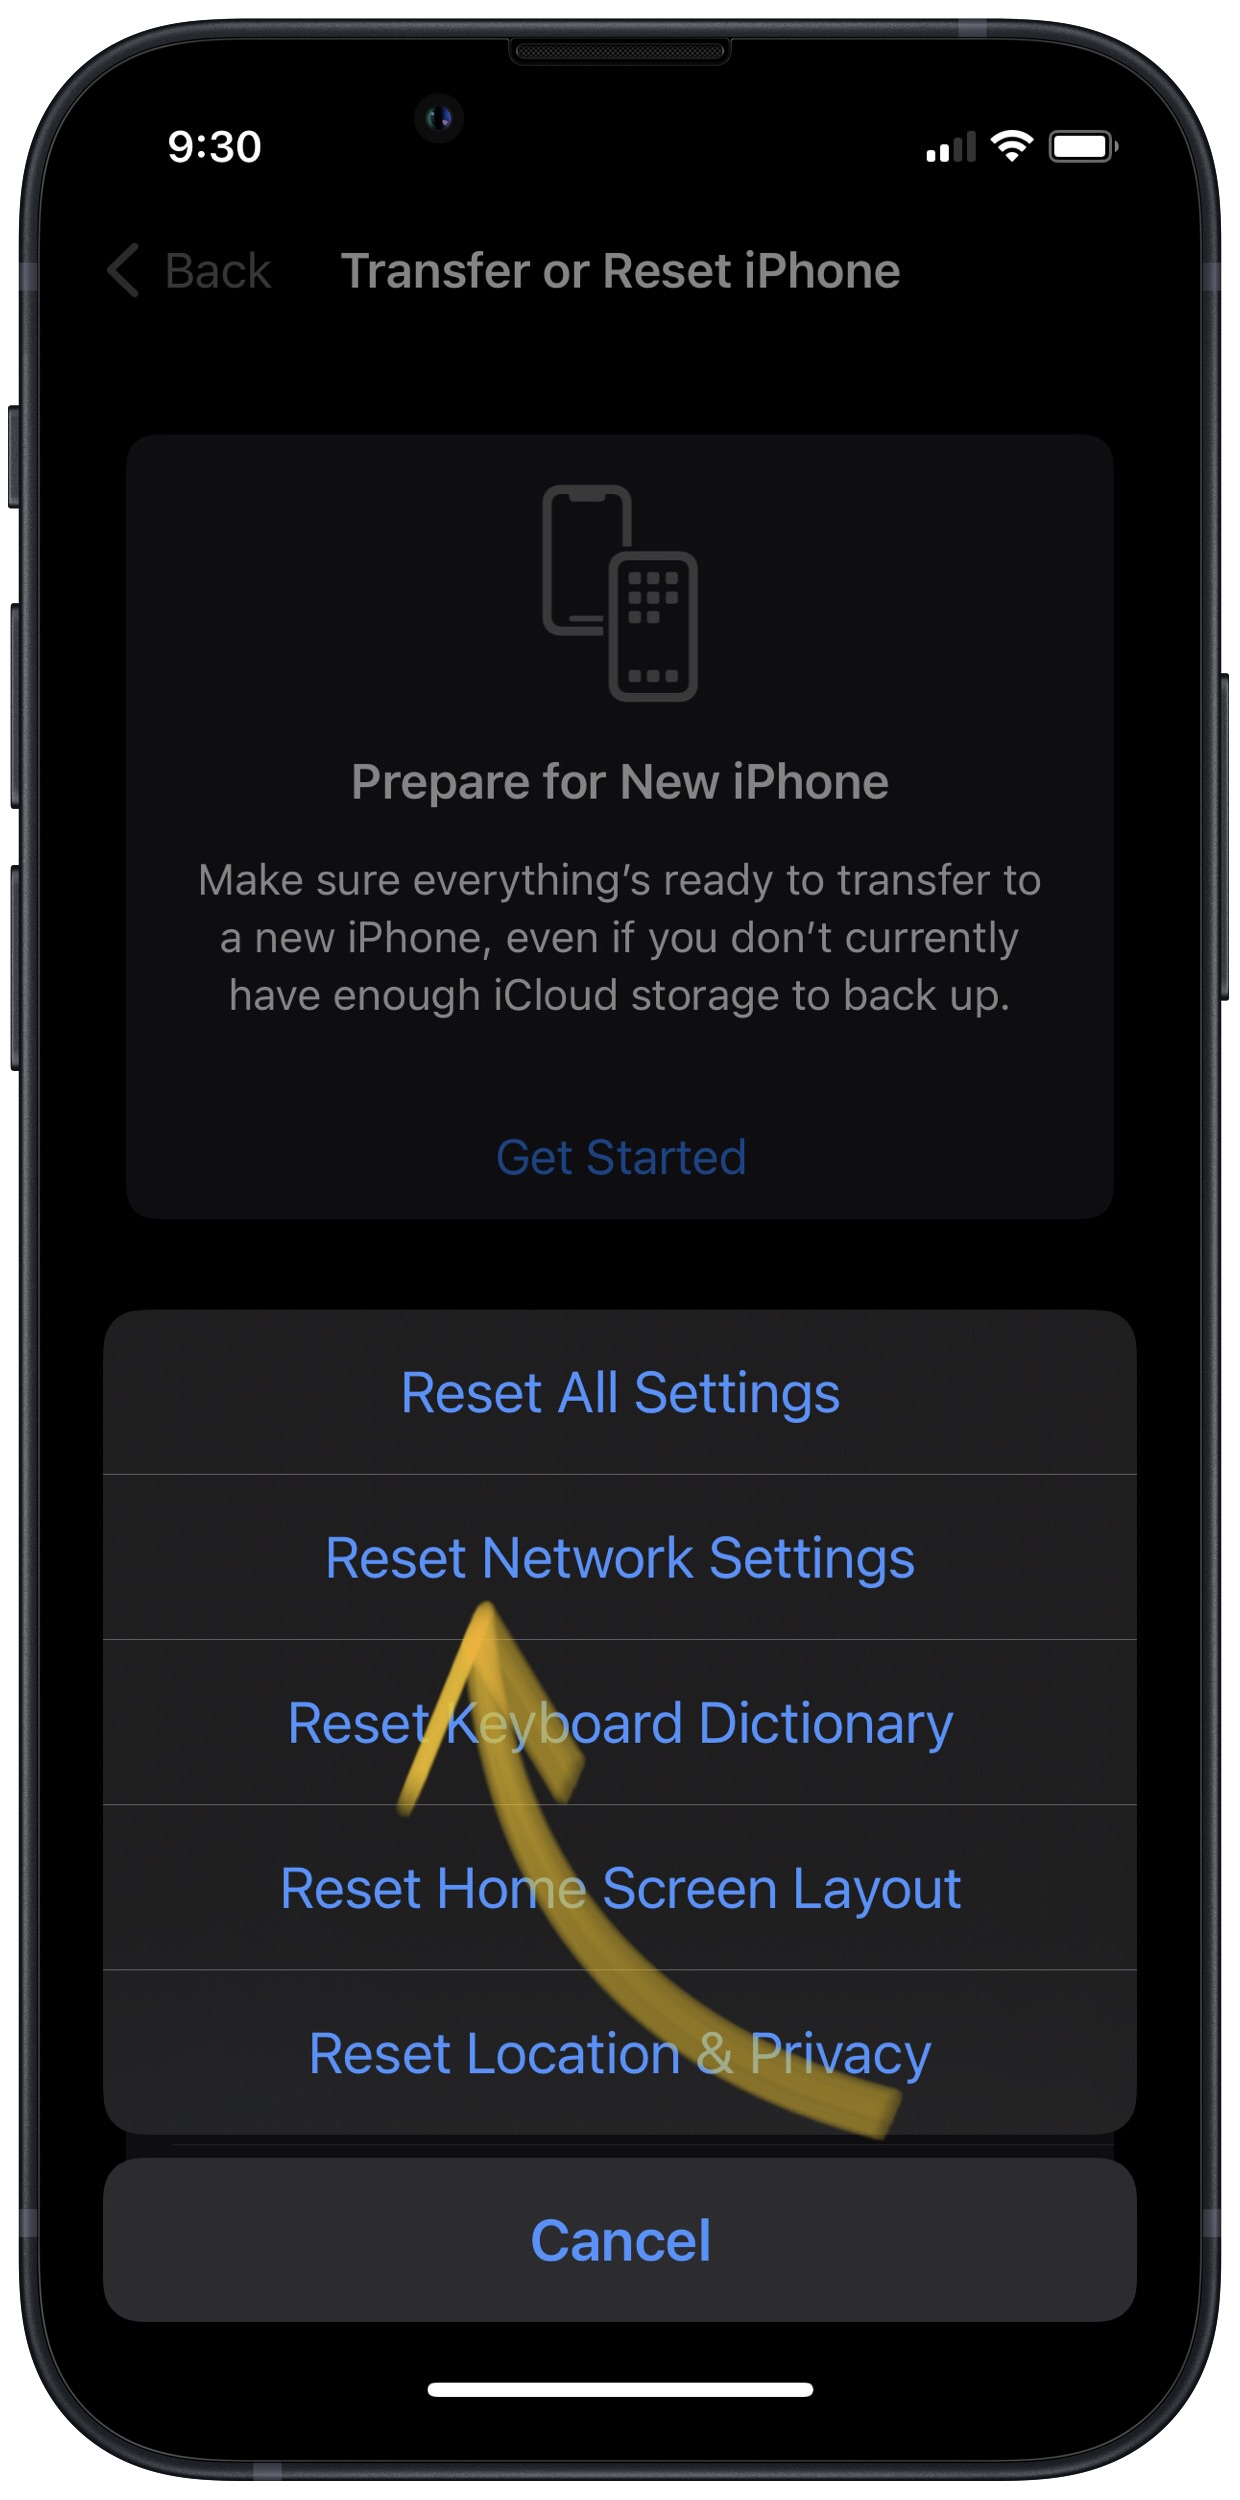
- Tap Reset Network Settings.
- Enter your passcode if prompted.
- Your iPhone will shut down, reset, and turn itself on again when the reset is complete.
Applies To: iPhone 5,iPhone 5S,iPhone 5C,iPhone 6,iPhone 6 Plus,iPhone 6S,iPhone 6S Plus,iPhone SE,iPhone 7,iPhone 7 Plus,iPhone 8,iPhone 8 Plus,iPhone X,iPhone XS,iPhone XS Max,iPhone XR,iPhone 11,iPhone 11 Pro,iPhone 11 Pro Max,iPhone SE 2
View MoreReset All Settings
Many iPhone problems are caused when Settings isn't set up correctly or by corruption within individual Settings app files. Restoring the Settings app back to factory defaults doesn't fix every iPhone software problem, but it is a go-to fix for Apple technicians because it does solve a lot of problems that would be very difficult to to track down by hand.
How Do I Reset All Settings?
- Open the Settings app.
- Tap General.
- Scroll down and tap Transfer Or Reset iPhone.
- Tap Reset.
- Tap Reset All Settings.
- Enter your passcode, if prompted.
- Tap Reset All Settings again to confirm your decision.
- Your iPhone will shut down, complete the reset, and turn itself on again will automatically turn back on when the reset finishes.
Applies To: iPhone 5,iPhone 5S,iPhone 5C,iPhone 6,iPhone 6 Plus,iPhone 6S,iPhone 6S Plus,iPhone SE,iPhone 7,iPhone 7 Plus,iPhone 8,iPhone 8 Plus,iPhone X,iPhone XS,iPhone XS Max,iPhone XR,iPhone 11,iPhone 11 Pro,iPhone 11 Pro Max,iPhone SE 2
View MoreDFU Restore Your iPhone
A DFU restore has the potential to fix software problems by completely erasing the code which may be causing your problem. The code is rewritten as if your iPhone is brand new, so the software problem may get solved.
Think of it like a house that has cracks in the foundation. Rather than try and fix the cracks, we are building an entirely new foundation.
If you can, back up your iPhone before completing a DFU restore. Any time you do a restore, it erases everything from your iPhone. However, after the restore is completed, you restore all your backed up data back onto your iPhone.
How Do I DFU Restore My iPhone?
How To DFU Restore An iPhone SE, 6s, Or Older
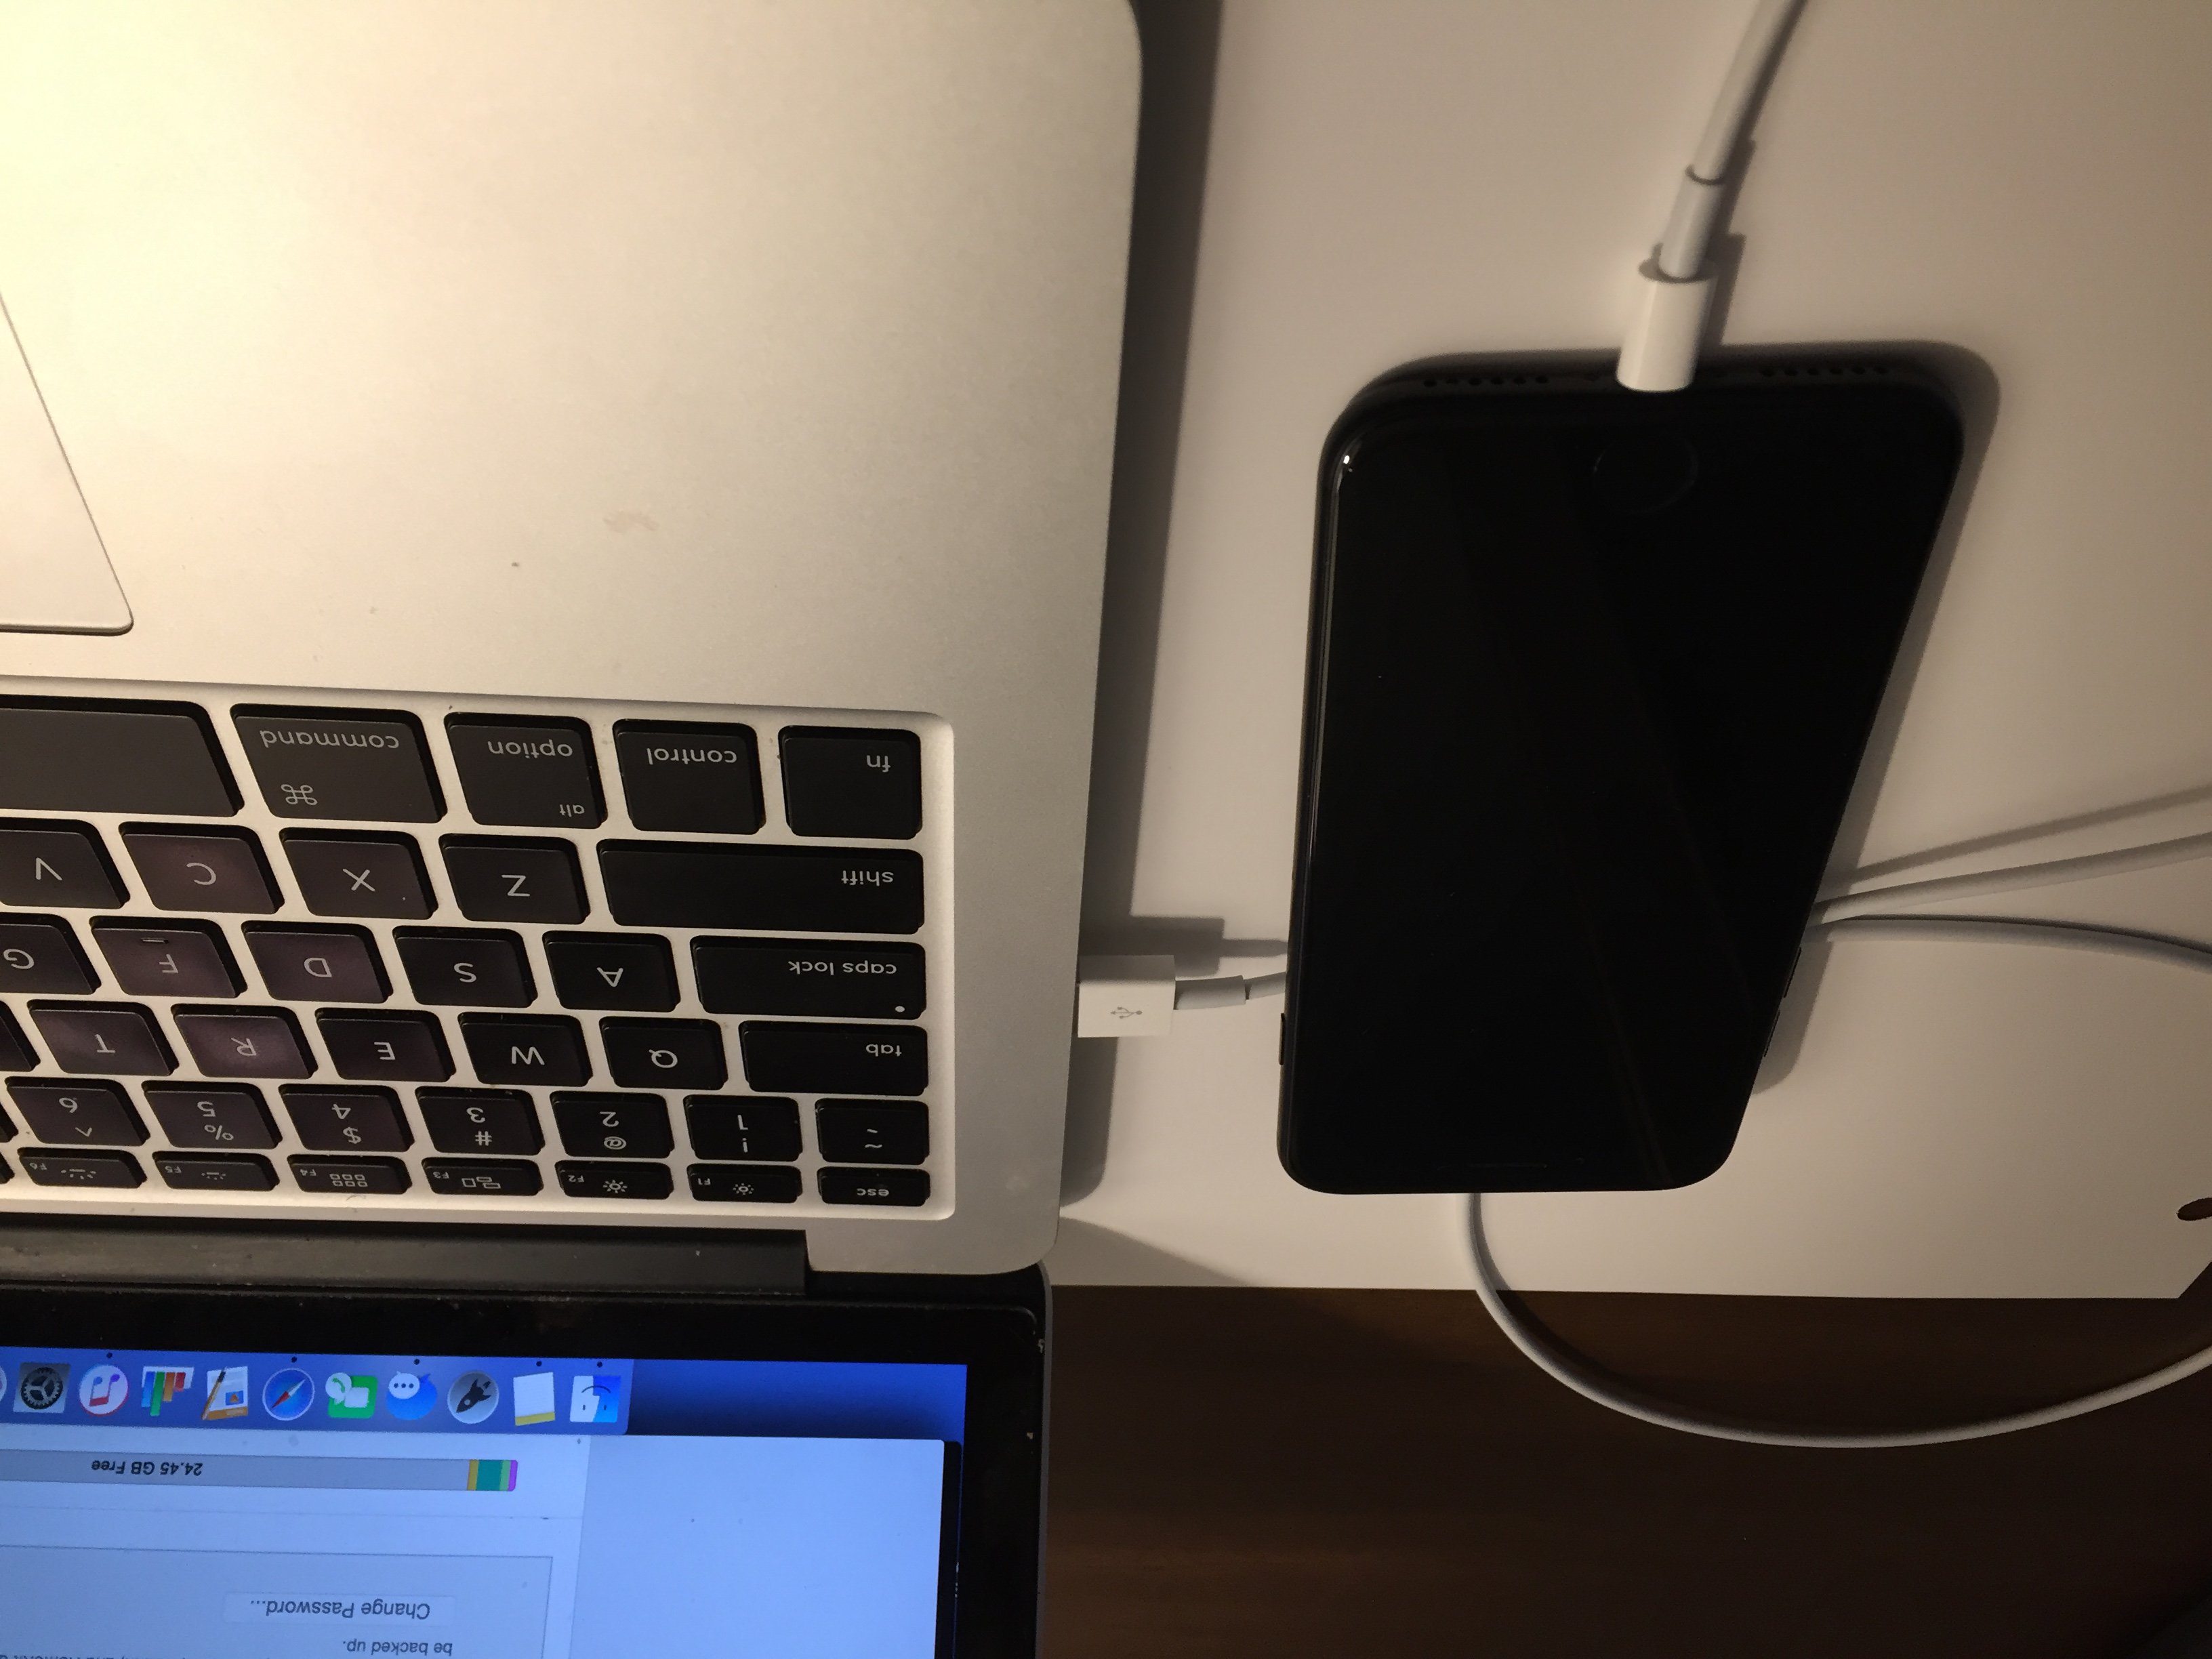
- Using a Lightning cable, plug your iPhone into a USB port on your computer.
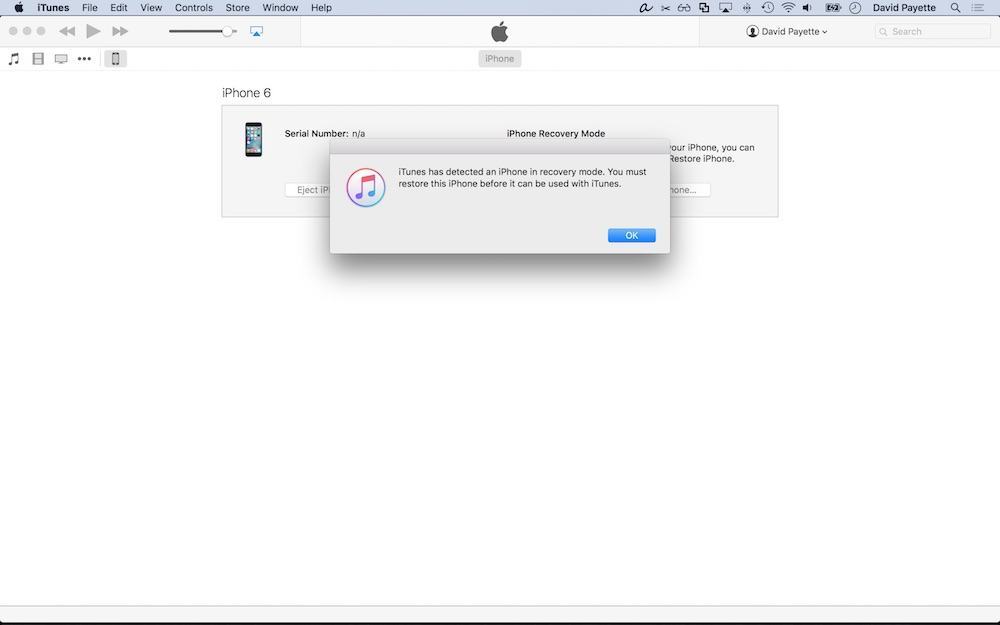
- Open iTunes if you have a PC or Mac running Mojave 10.14 or earlier. Open Finder if you have a Mac running Catalina 10.15 or newer. It doesn’t matter if your iPhone is on or off.
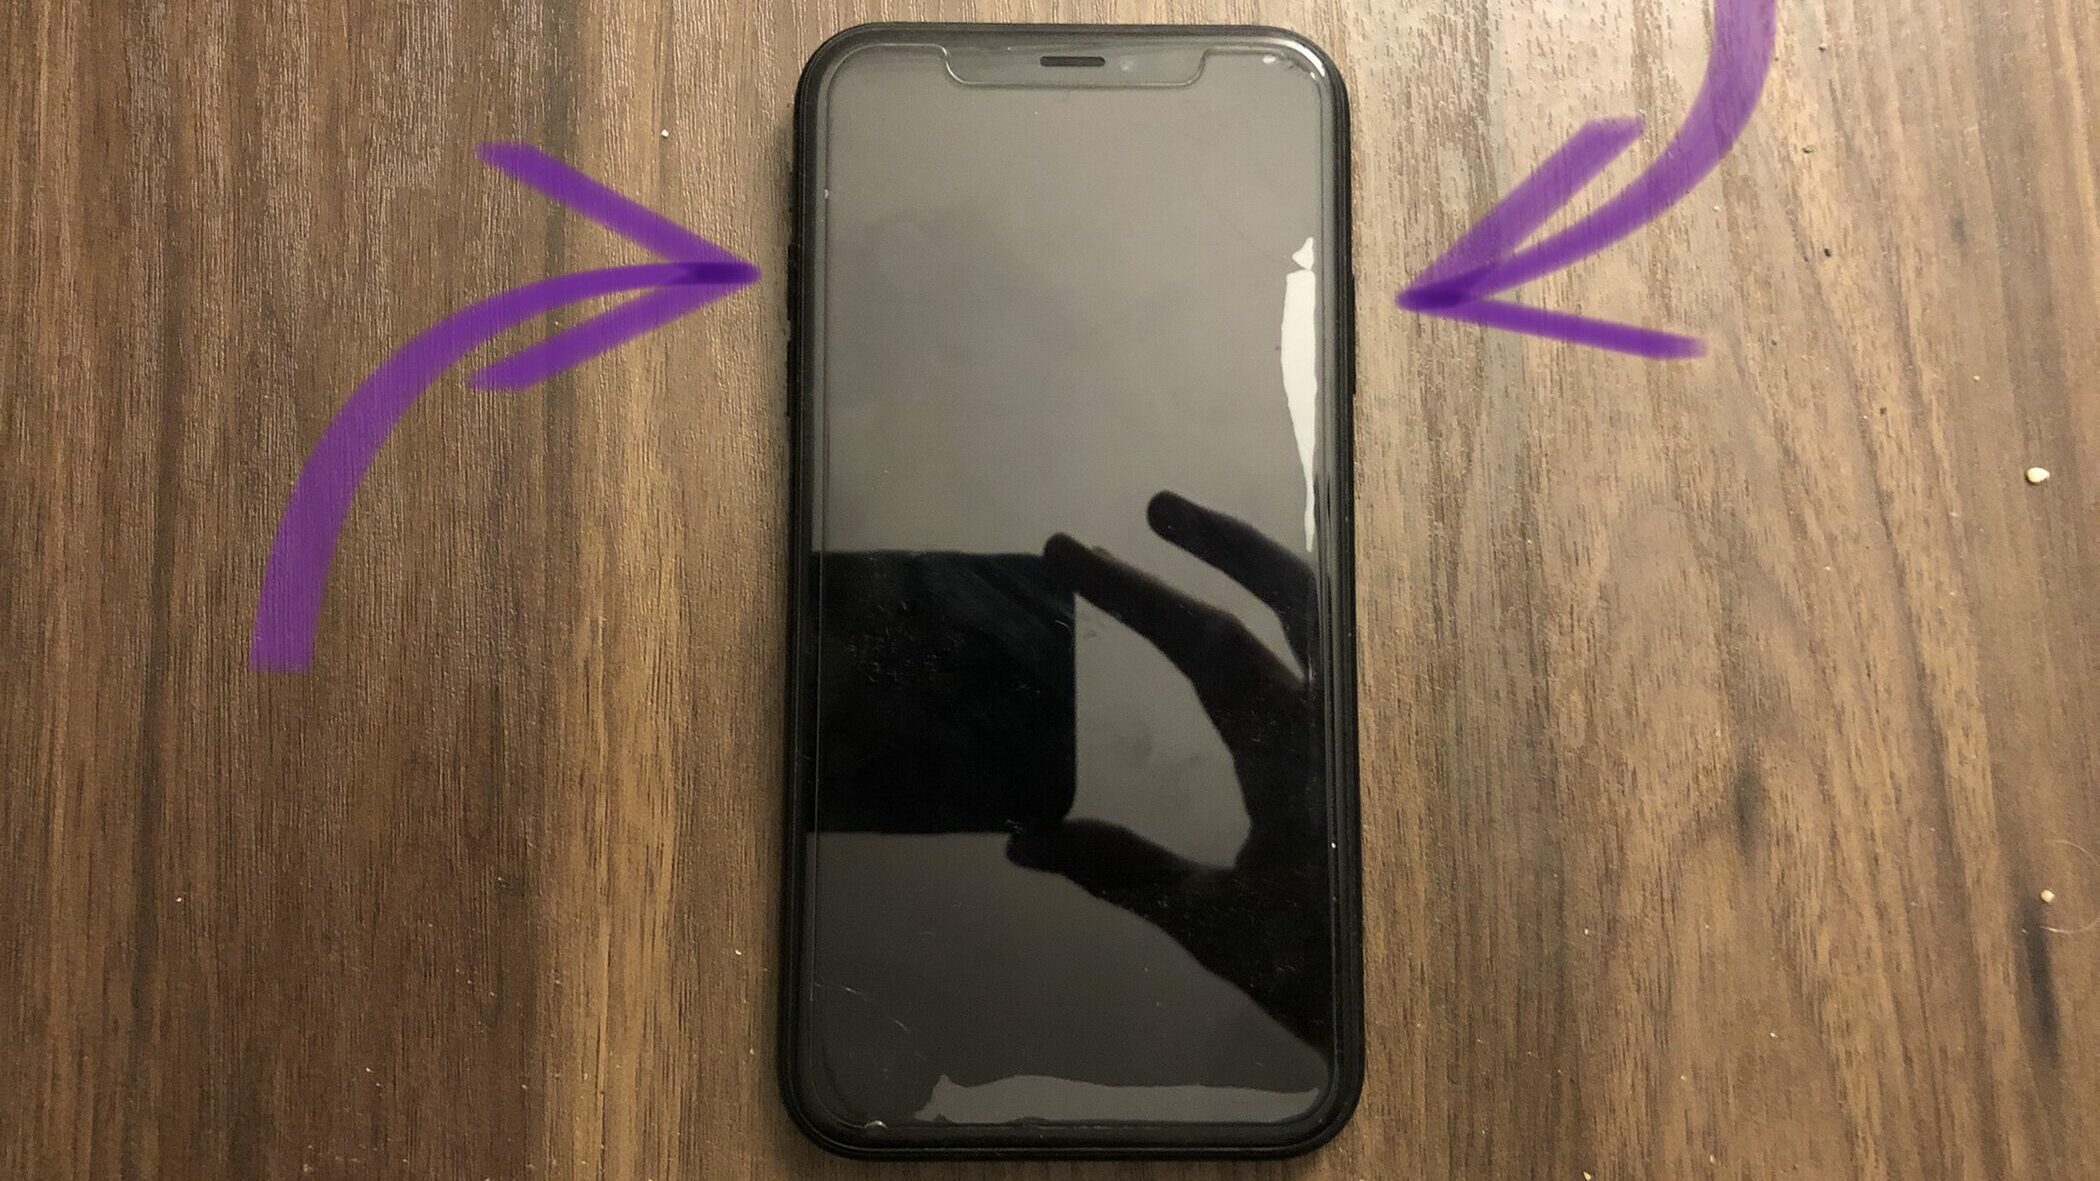
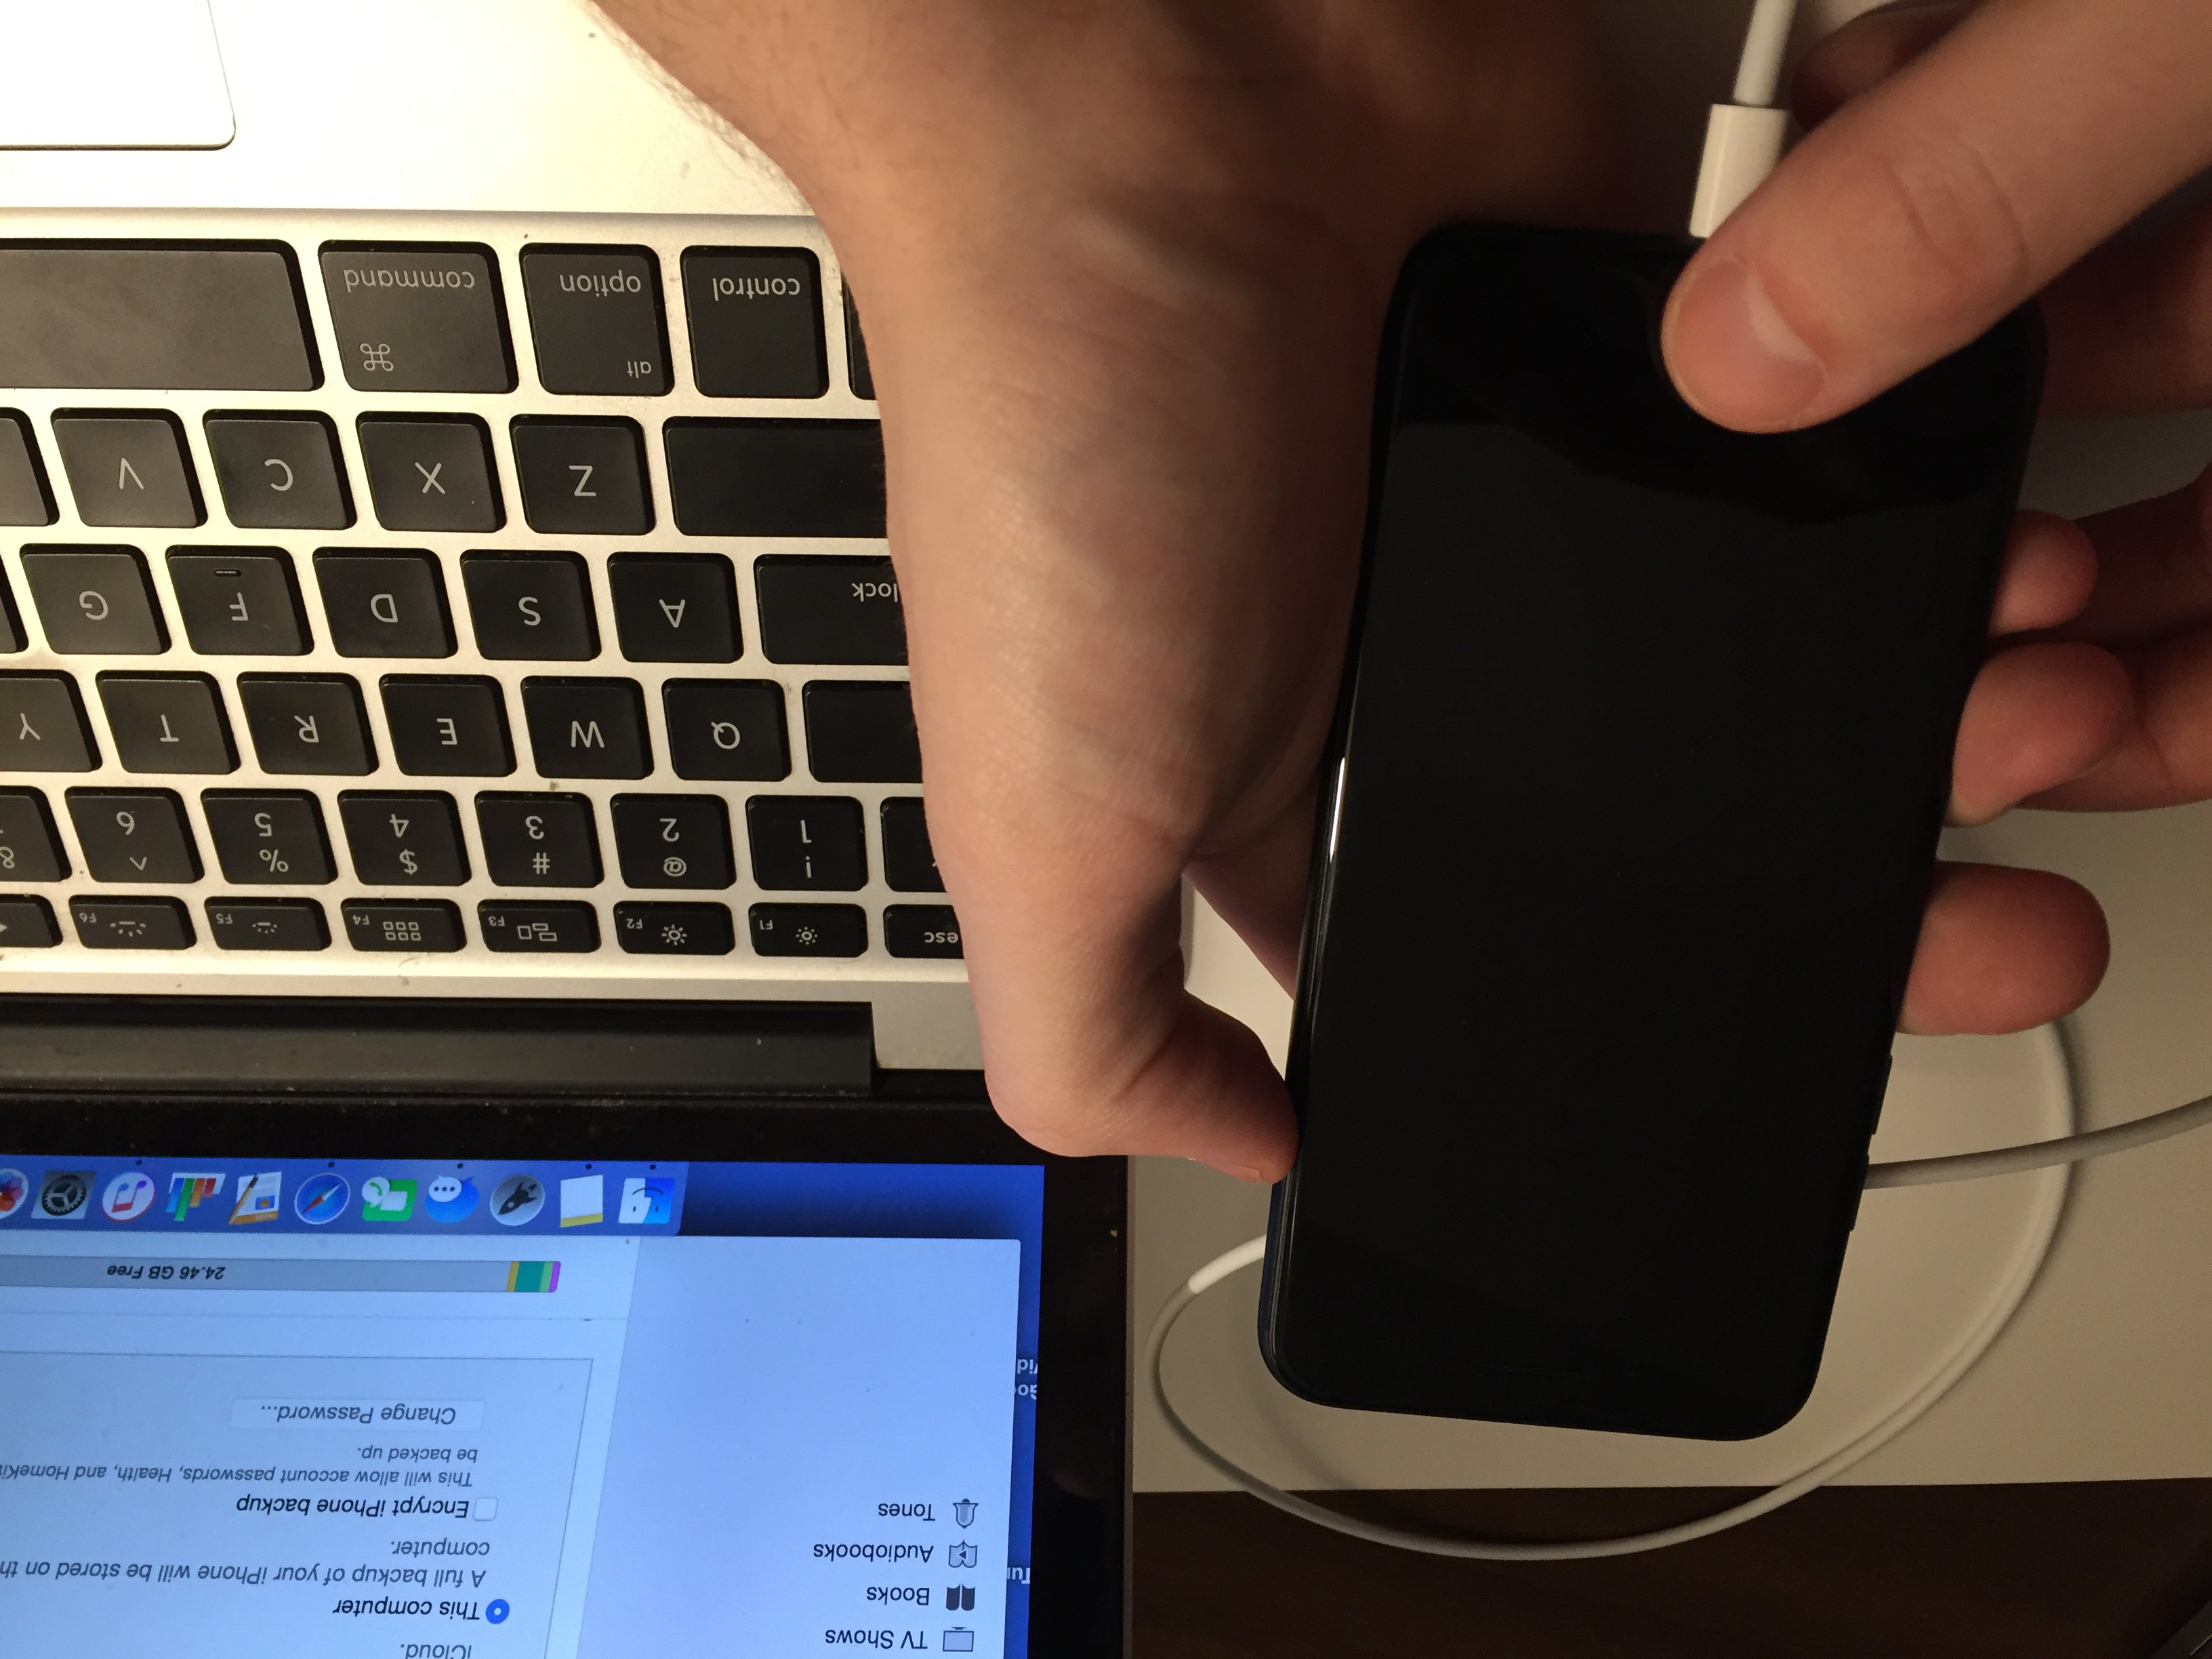
- Press and hold the Home button and the power button simultaneously.
- After 8 seconds, release the power button, but continue to hold the Home button.
- Let go of the power button when your iPhone appears in iTunes or Finder.
- Your iPhone’s display will be completely black if you’ve successfully entered DFU mode. If it’s not, try again from the beginning.
- Restore your iPhone using iTunes or Finder.
How To DFU Restore An iPhone 7 Or 7 Plus
- Using a Lightning cable, plug your iPhone into a USB port on your computer.
- Open iTunes if you have a PC or Mac running Mojave 10.14 or earlier. Open Finder if you have a Mac running Catalina 10.15 or newer. It doesn’t matter if your iPhone is on or off.
- Press and hold the power and volume down button simultaneously.
- After 8 seconds, release the power button, but continue to hold the volume down button.
- Release the volume down button when your iPhone appears in iTunes or Finder.
- You'll know your iPhone is in DFU mode if the display is completely black.
- Restore your iPhone using iTunes or Finder.
How To DFU Restore An iPhone 8 Or Newer
- Connect your iPhone to your computer using a charging cable.
- Open iTunes (PCs and Macs running macOS 10.14 or older) or Finder (Macs running macOS 10.15 or newer).
- Quickly press and release the volume up button.
- Quickly press and release the volume down button.
- Press and hold the side button until the screen goes black.
- When the screen goes black, press and hold the volume down button while continuing to press and hold the side button.
- Hold both buttons for five seconds.
- After five seconds, release the side button while continuing to hold the volume down button.
- Keep holding the volume down button until your iPhone appears in Finder or iTunes.
- Restore your iPhone using iTunes or Finder.
Applies To: iPhone 5,iPhone 5S,iPhone 5C,iPhone 6,iPhone 6 Plus,iPhone 6S,iPhone 6S Plus,iPhone SE,iPhone 7,iPhone 7 Plus,iPhone 8,iPhone 8 Plus,iPhone X,iPhone XS,iPhone XS Max,iPhone XR,iPhone 11,iPhone 11 Pro,iPhone 11 Pro Max,iPhone SE 2
View MoreRepair Your AirPods With Apple
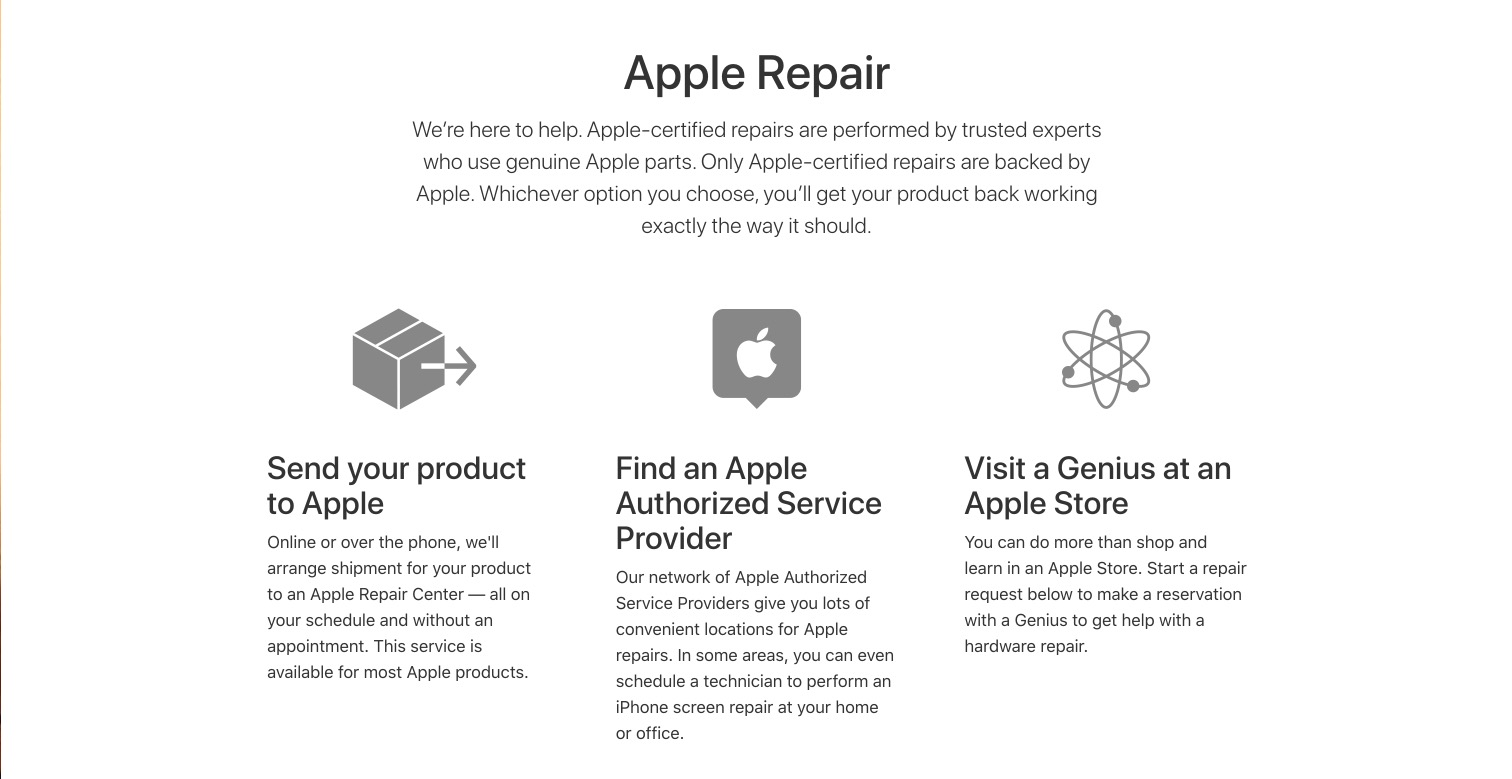
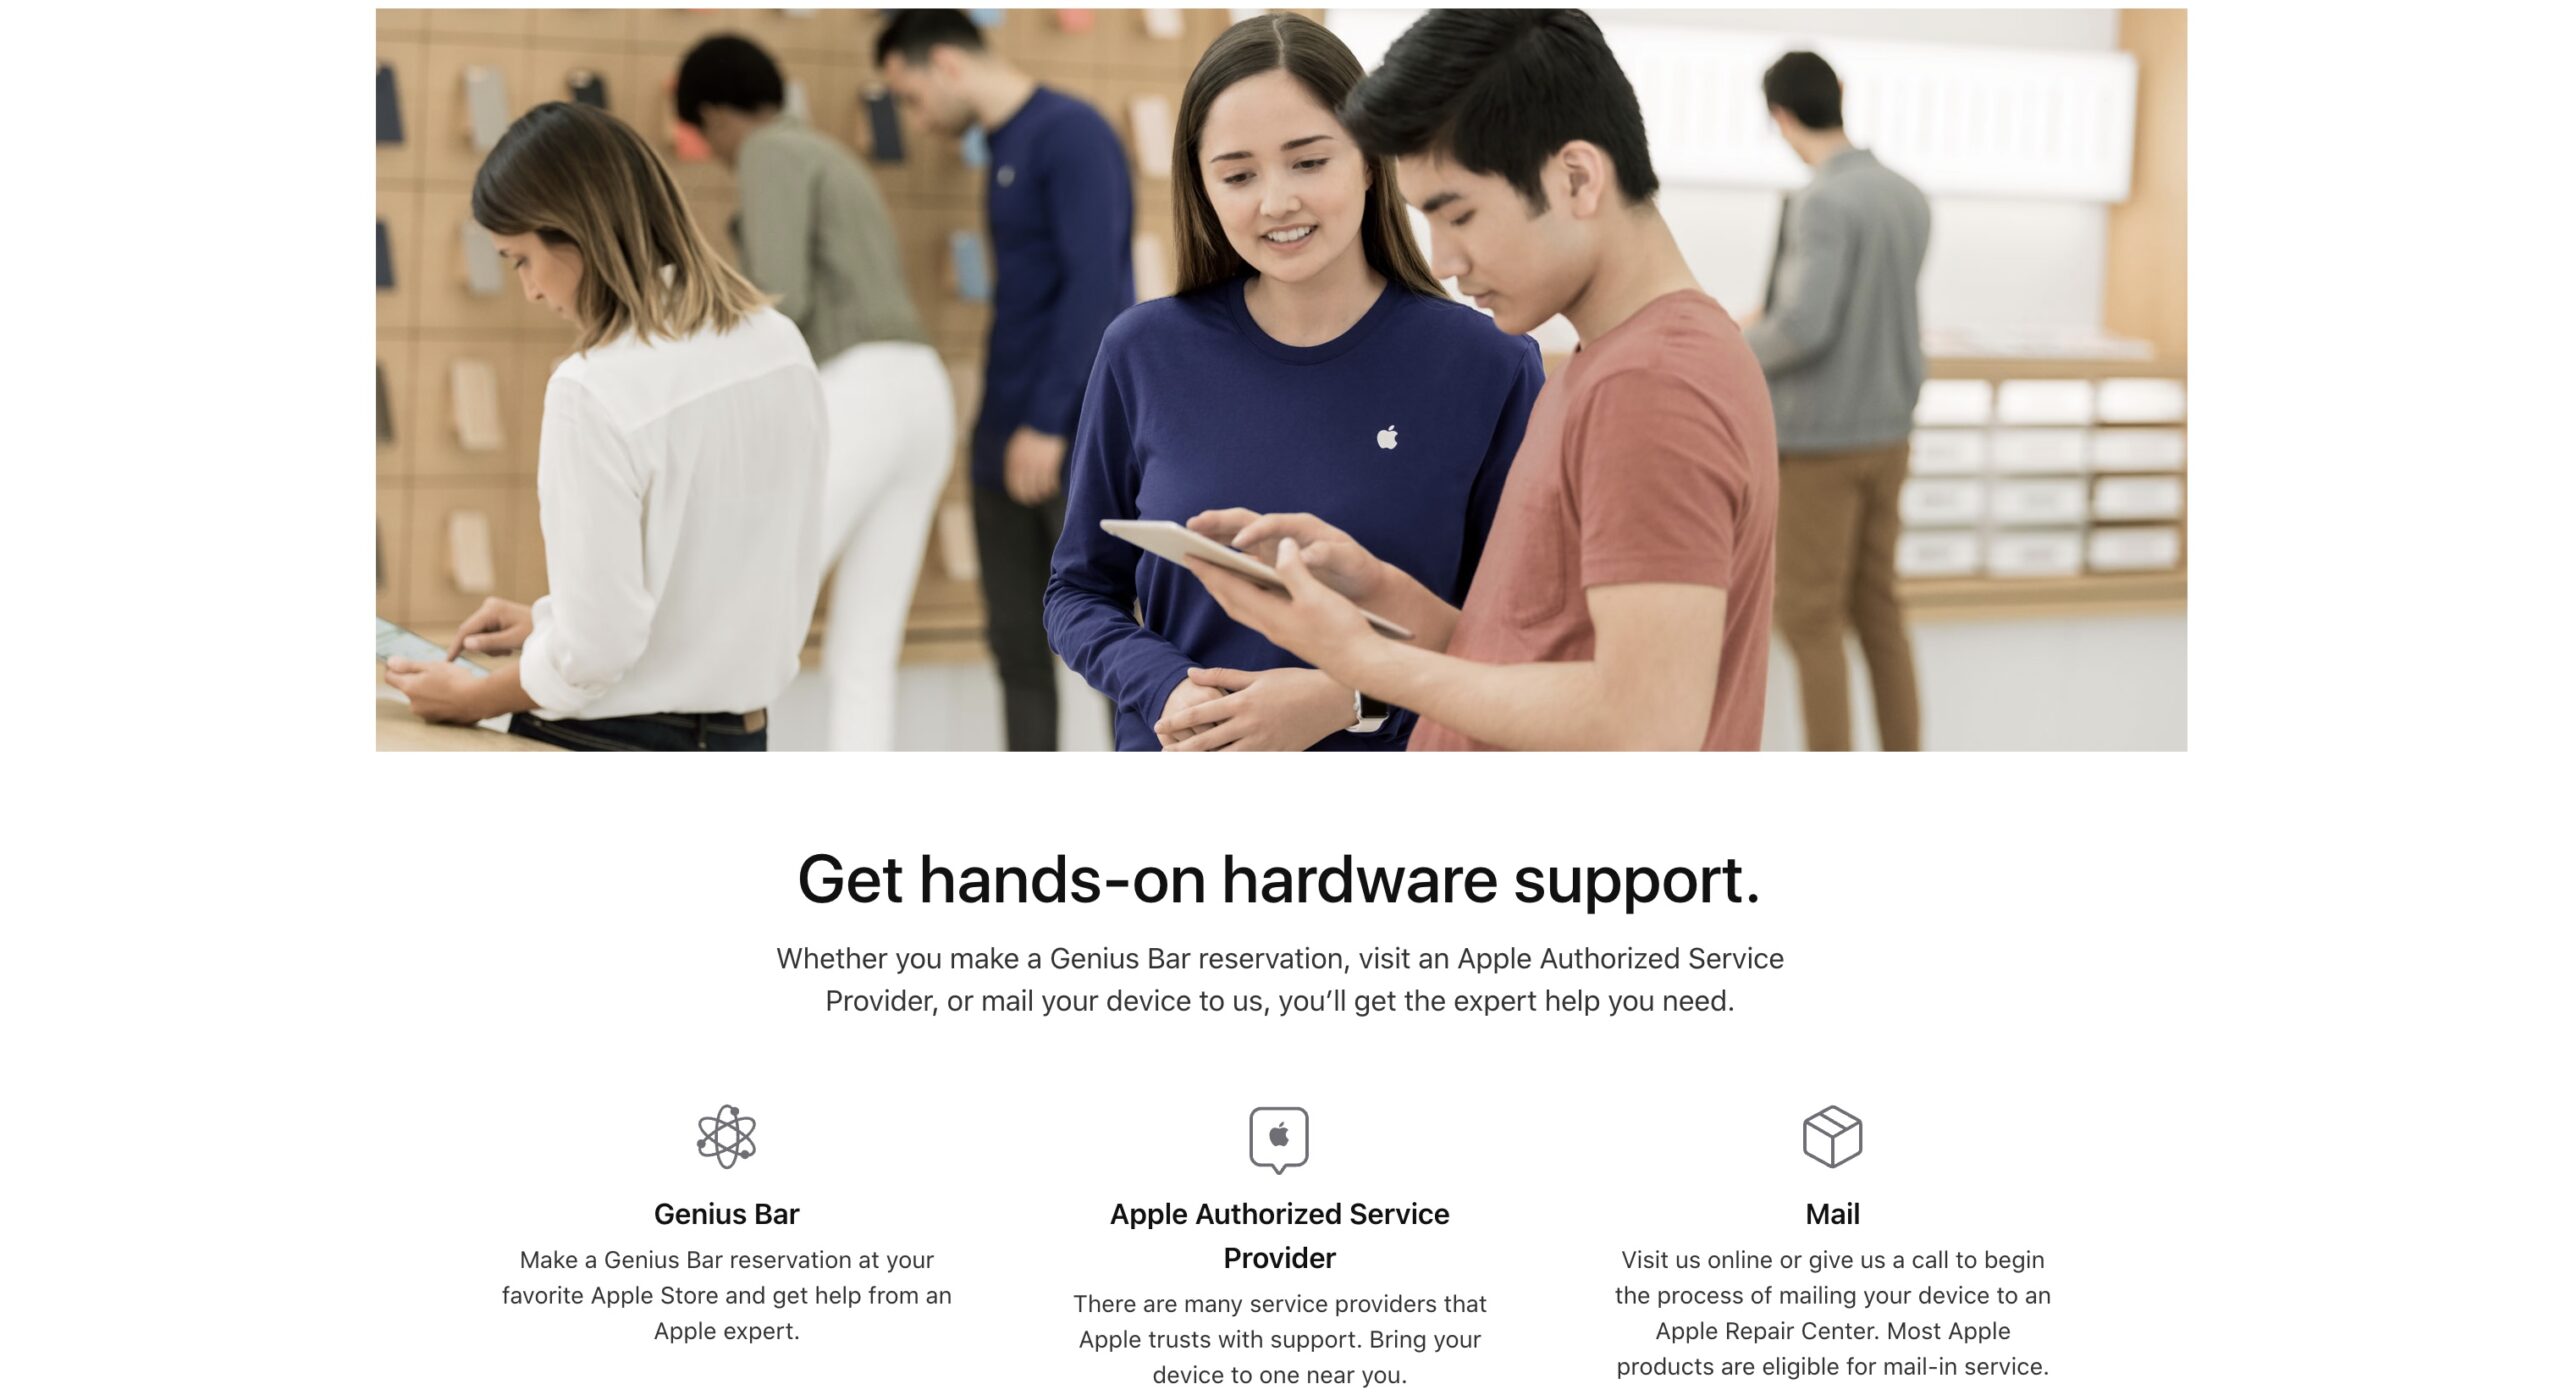
At this point, Apple is the only place in town that can repair AirPods. So, if your AirPods are broken, you have only one question to ask yourself: Do I visit the Genius Bar at an Apple Store to repair my AirPods or do I use Apple's mail-in repair service?
How Do I Repair My AirPods With Apple?
How To Repair Your AirPods At The Genius Bar In An Apple Store
- Visit Apple's website to make an appointment at the Genius Bar at your local Apple Store.
- Make sure to check in at the Genius Bar when you arrive.
How To Repair Your AirPods Using Apple's Mail-In Repair Service
- Visit Apple's online support website to set up a mail-in repair or get phone support.
Applies To: AirPods,AirPods Pro
View MoreAirPods Pro: Connected Again!
You've fixed the problem with your AirPods Pro and they're connecting to your iPhone once again.
Make sure to share this article on social media to teach your family, friends, and followers what to do when their AirPods Pro are not connecting to their iPhone.
Leave any other questions you have about your AirPods in the comments section below!

Airpods Pro user here: I selected “Forget the Device” in my Bluetooth Settings. And now my Iphone is unable to detect my Airpods Pro. Sorry if you discussed this topic already, but I went through all the above steps (except for the “Reset Settings” and “Restore…” options.
Is there an alternative way to have my Iphone detect my Airpods again after selecting “forget this device?” Side note, I lost the right Airpod so I’m only using the left one. Don’t know if this makes any difference.
Did you ever get the reconnected?
After trying all the solutions posted above, my Airpods Pro (Left Side) still won’t connect with my iPhone. However, I can only hear clicks whenever I tried to do so – that’s it. no sounds, no connect budge alert.
Hi Ishi, I’m sorry to hear that! Have you tried adjusting the balance of your AirPods in Settings? On your iPhone, open Settings > Accessibility > Audio/Visual > Balance. On the Balance page, make sure that your AirPods balance is set to the center.
I hope this helps!
2) Restart Your iPhone
That did it. Thank you. Connected right away. Woo hoo.
Good Evening David; I have recently been unable to pair my AirPod Pros to my IPhone. They had been working fine until yesterday. I have tried all of the above fixs and nothing has worked.
Hey just bought some today and they won’t connect like they turn green when you open the case. It nothing pops up on my phone it’s like they aren’t even trying to connect
Check to make sure that the case is charged. If it’s still not working after trying to charge it, then you might need to contact the seller and get a replacement set of AirPods.
I had this same issue and it is so frustrating. After much research I found out that the problem lies with the Apple Watch. For some reason the AirPods will not connect while the AppleWatch is connected. So in order to get it to connect you have to disconnect the AppleWatch from the Bluetooth. Once that’s disconnected then try and use your AirPods.
You just saved me from returning these things….it connected in the car, but when I got home and close to my watch..it was gone. How can I use my watch AND AirPods?
Dear Chelle, I have been trying to pair my AirPods Pro to my iPhone. I did everything that everyone advised. NOTHING. I can’t believe that I found you, but thank goodness I did. I turned off the bluetooth on my watch and VOILA: paired. Then I turned my bluetooth back on and everything is working. You are my hero 3.5 hours later. Bless your heart!
My Airpod Pro didnt connect to my iphone 12
Brand new. Won’t connect
Have you made sure that Bluetooth is on? Are your AirPods charged? Make sure you follow the steps in this article and you should be able to get back on track.
Same issue — won’t connect to my MacBook Pro either — both purchased this year. I have been through all the steps and nothing.
Today my AirPods Pro won’t connect to my phone. It has worked perfectly for the past two months until today. I have an iPhone 10.