iPhone 7 Plus Screen Not Responding To Touch? Here's The Real Fix.
Your iPhone 7 Plus touch screen is not working and you're starting to get worried. You really can't do much on an iPhone if the screen is unresponsive! In this article, I'll explain why your iPhone 7 Plus screen is not responding to touch, show you how to fix the problem, and recommend repair options if there's a hardware issue.
Is The Screen Broken On My iPhone 7 Plus?
Right now, we can't say whether your iPhone 7 Plus screen is not responding to touch because of a software or hardware issue. Let's talk about the possibilities below:
Software: There's a possibility that your iPhone's software crashed, or that a specific app open on your iPhone has crashed, causing the touch screen to stop working.
Hardware: Most of the time when an iPhone 7 Plus screen is not working, there's a problem with the digitizer — the hardware component inside of your iPhone 7 Plus which makes the touch screen work.
The troubleshooting steps below will help you diagnose and fix the real reason why your iPhone 7 Plus screen is not responding to touch.
How To Fix An iPhone 7 Plus Screen Not Responding To Touch
5 Steps TotalHard Reset Your iPhone
A hard reset is usually a temporary solution to a software problem. It doesn't change anything at all — it just forces your iPhone to start from scratch, and often times the problem comes back.
How Do I Hard Reset My iPhone?
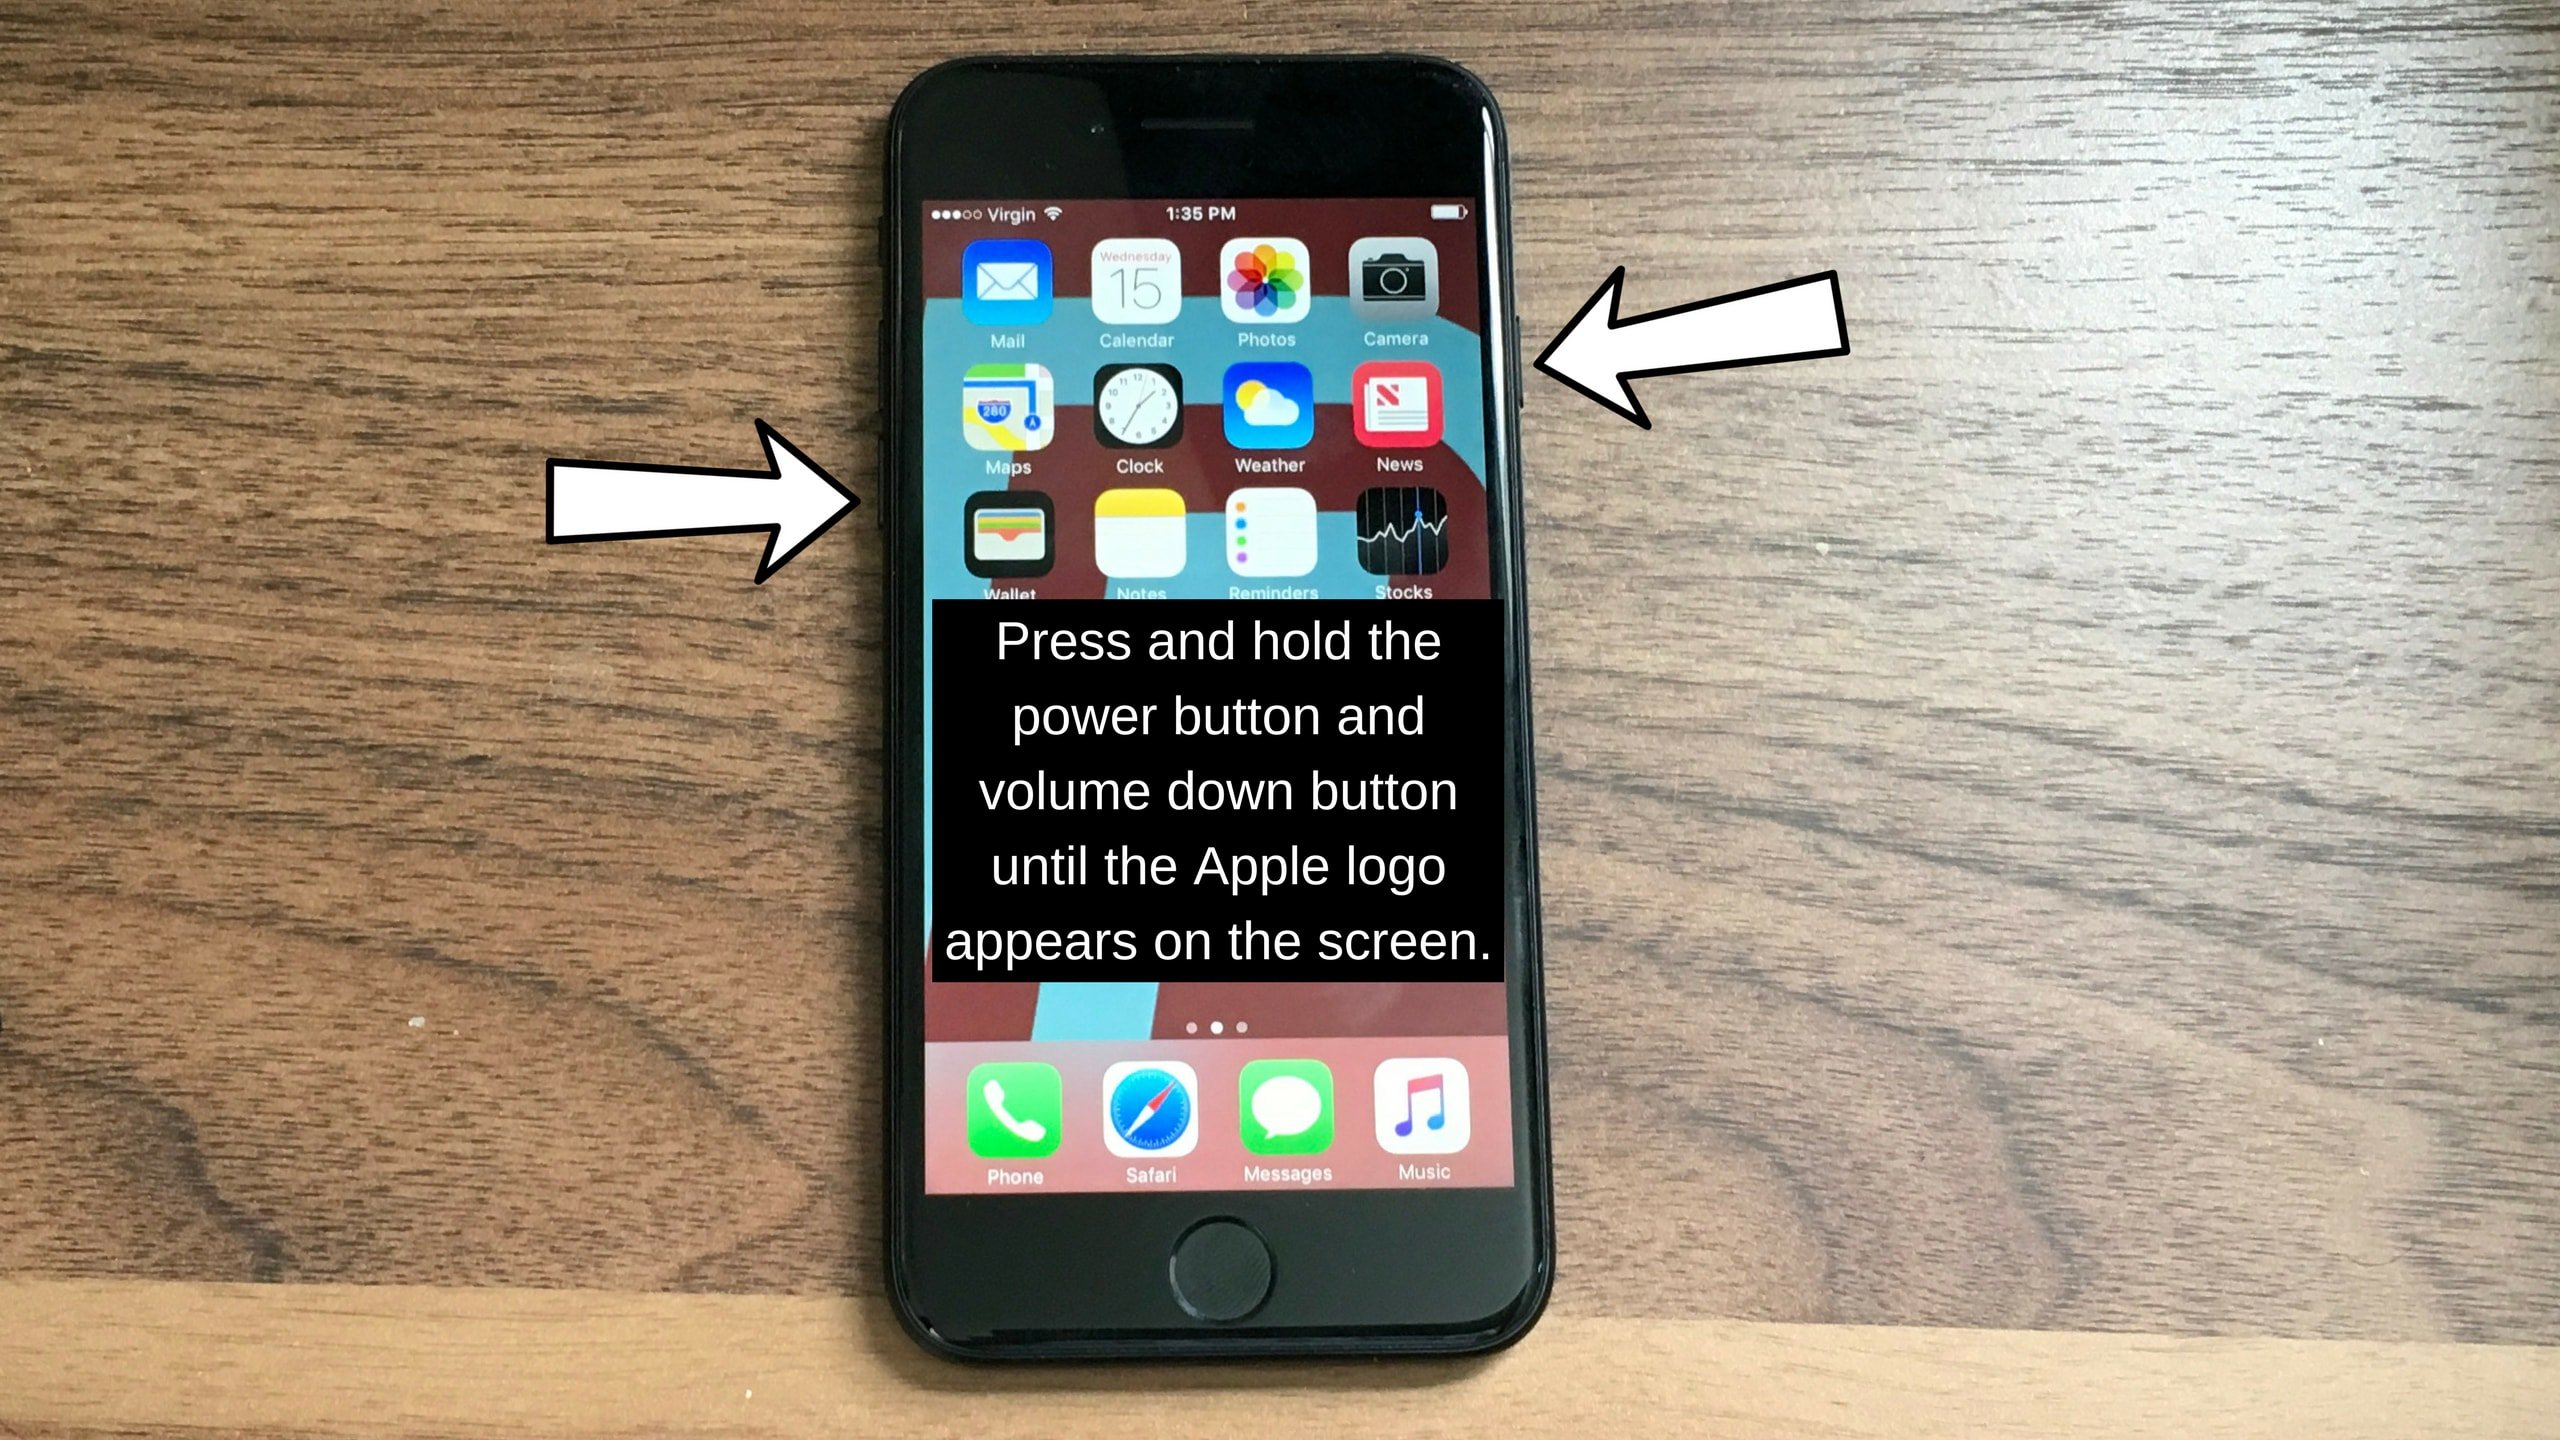
- Press and hold the power button and the volume down button together until the screen goes blank and the Apple logo appears on the screen.
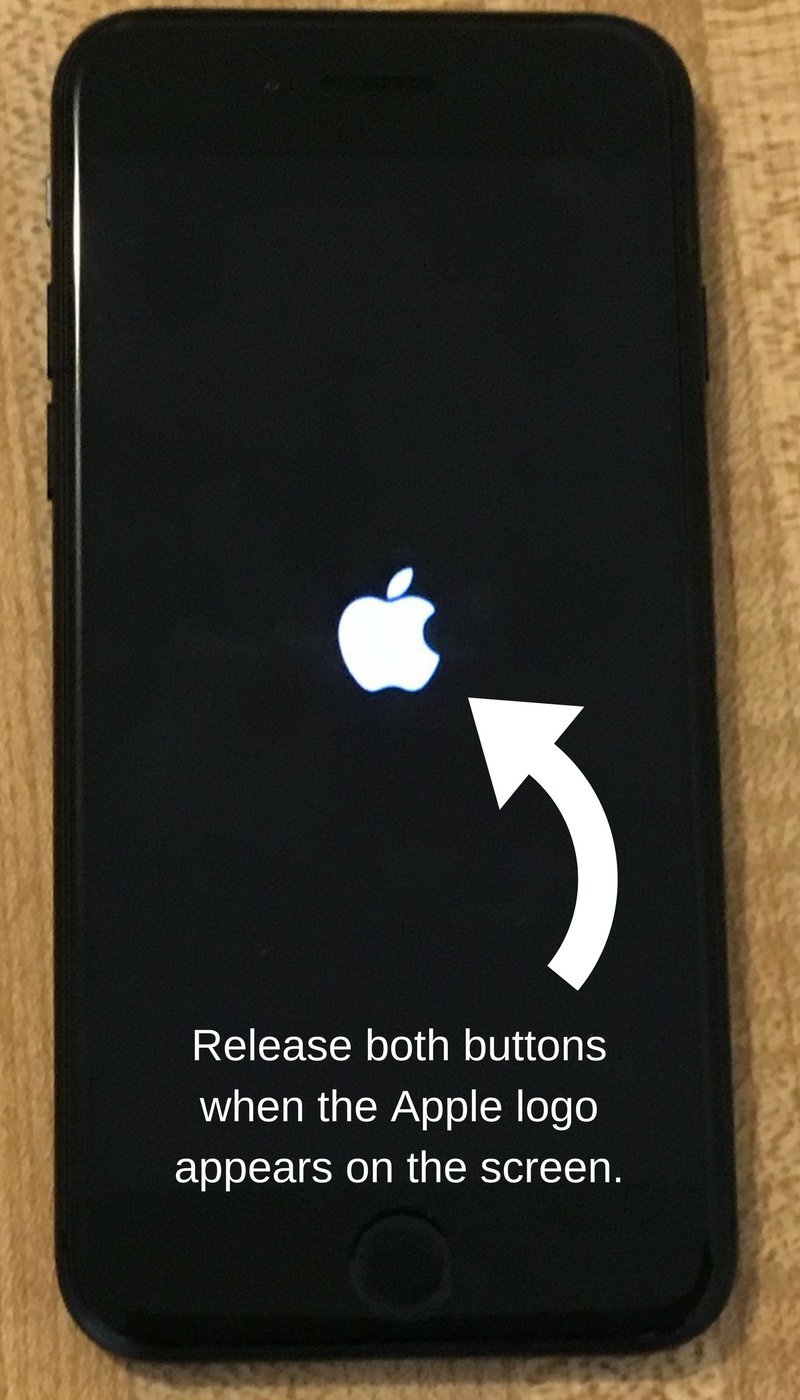
- When the Apple logo reappears, let go of both buttons.
- When your iPhone turns back on, the hard reset is complete.
Hard Reset On iPhone X or Newer
Hard reseting an iPhone X is slightly different than other models of the iPhone.
- Quickly press the volume up button.
- Quickly press the volume down button.
- Press and hold down the Side button.
- Release the Side button when the Apple logo appears on the center of the screen.
Applies To: iPhone 5,iPhone 5S,iPhone 5C,iPhone 6,iPhone 6 Plus,iPhone 6S,iPhone 6S Plus,iPhone SE,iPhone 7,iPhone 7 Plus,iPhone 8,iPhone 8 Plus,iPhone X,iPhone XS,iPhone XS Max,iPhone XR,iPhone 11,iPhone 11 Pro,iPhone 11 Pro Max,iPhone SE 2
View MorePress Down On The Screen Directly Over Logic Board Connecting Cables
Have you recently dropped your iPhone 7? Even the slightest drop can cause the small cables that connect the logic board to your iPhone's display to come loose. If those cables were dislodged, it could be the reason why your iPhone 7 touch screen is not working. Sometimes, it's possible to reconnect them without having to open your iPhone.
- Press down on the part of your iPhone's screen where the small cables connect to the logic board (use the image above as a guide if you need to).
- Be careful not to press down on the display of your iPhone 7 too hard, as it could cause the screen to crack.
Applies To: iPhone 5,iPhone 5S,iPhone 5C,iPhone 6,iPhone 6 Plus,iPhone 6S,iPhone 6S Plus,iPhone SE,iPhone 7,iPhone 7 Plus,iPhone 8,iPhone 8 Plus,iPhone X,iPhone XS,iPhone XS Max,iPhone XR,iPhone 11,iPhone 11 Pro,iPhone 11 Pro Max,iPhone SE 2
View MoreDFU Restore Your iPhone
A DFU restore has the potential to fix software problems by completely erasing the code which may be causing your problem. The code is rewritten as if your iPhone is brand new, so the software problem may get solved.
Think of it like a house that has cracks in the foundation. Rather than try and fix the cracks, we are building an entirely new foundation.
If you can, back up your iPhone before completing a DFU restore. Any time you do a restore, it erases everything from your iPhone. However, after the restore is completed, you restore all your backed up data back onto your iPhone.
How Do I DFU Restore My iPhone?
How To DFU Restore An iPhone SE, 6s, Or Older
- Using a Lightning cable, plug your iPhone into a USB port on your computer.
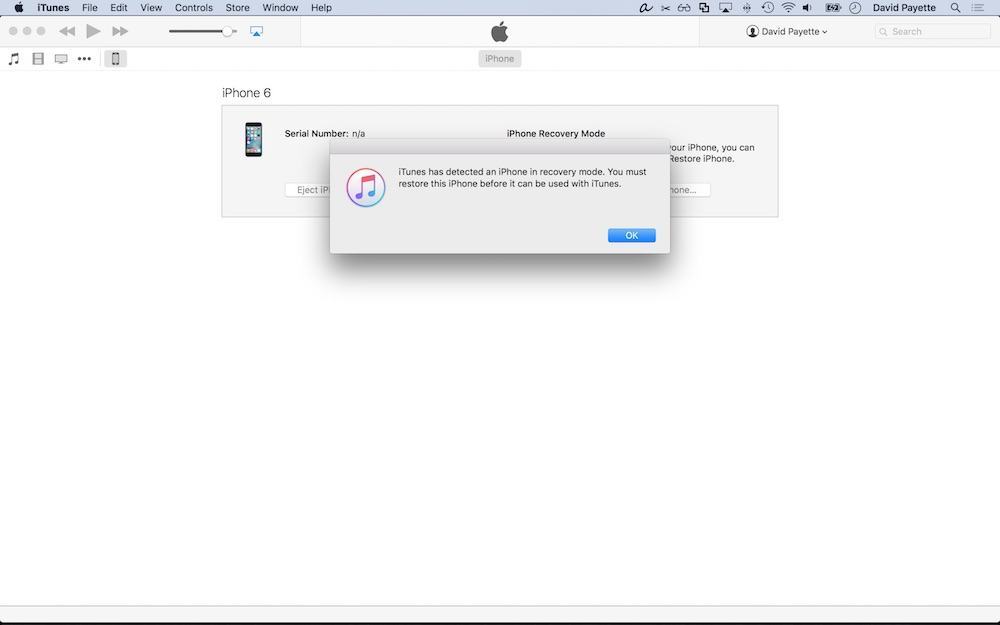
- Open iTunes if you have a PC or Mac running Mojave 10.14 or earlier. Open Finder if you have a Mac running Catalina 10.15 or newer. It doesn’t matter if your iPhone is on or off.
- Press and hold the Home button and the power button simultaneously.
- After 8 seconds, release the power button, but continue to hold the Home button.
- Let go of the power button when your iPhone appears in iTunes or Finder.
- Your iPhone’s display will be completely black if you’ve successfully entered DFU mode. If it’s not, try again from the beginning.
- Restore your iPhone using iTunes or Finder.
How To DFU Restore An iPhone 7 Or 7 Plus
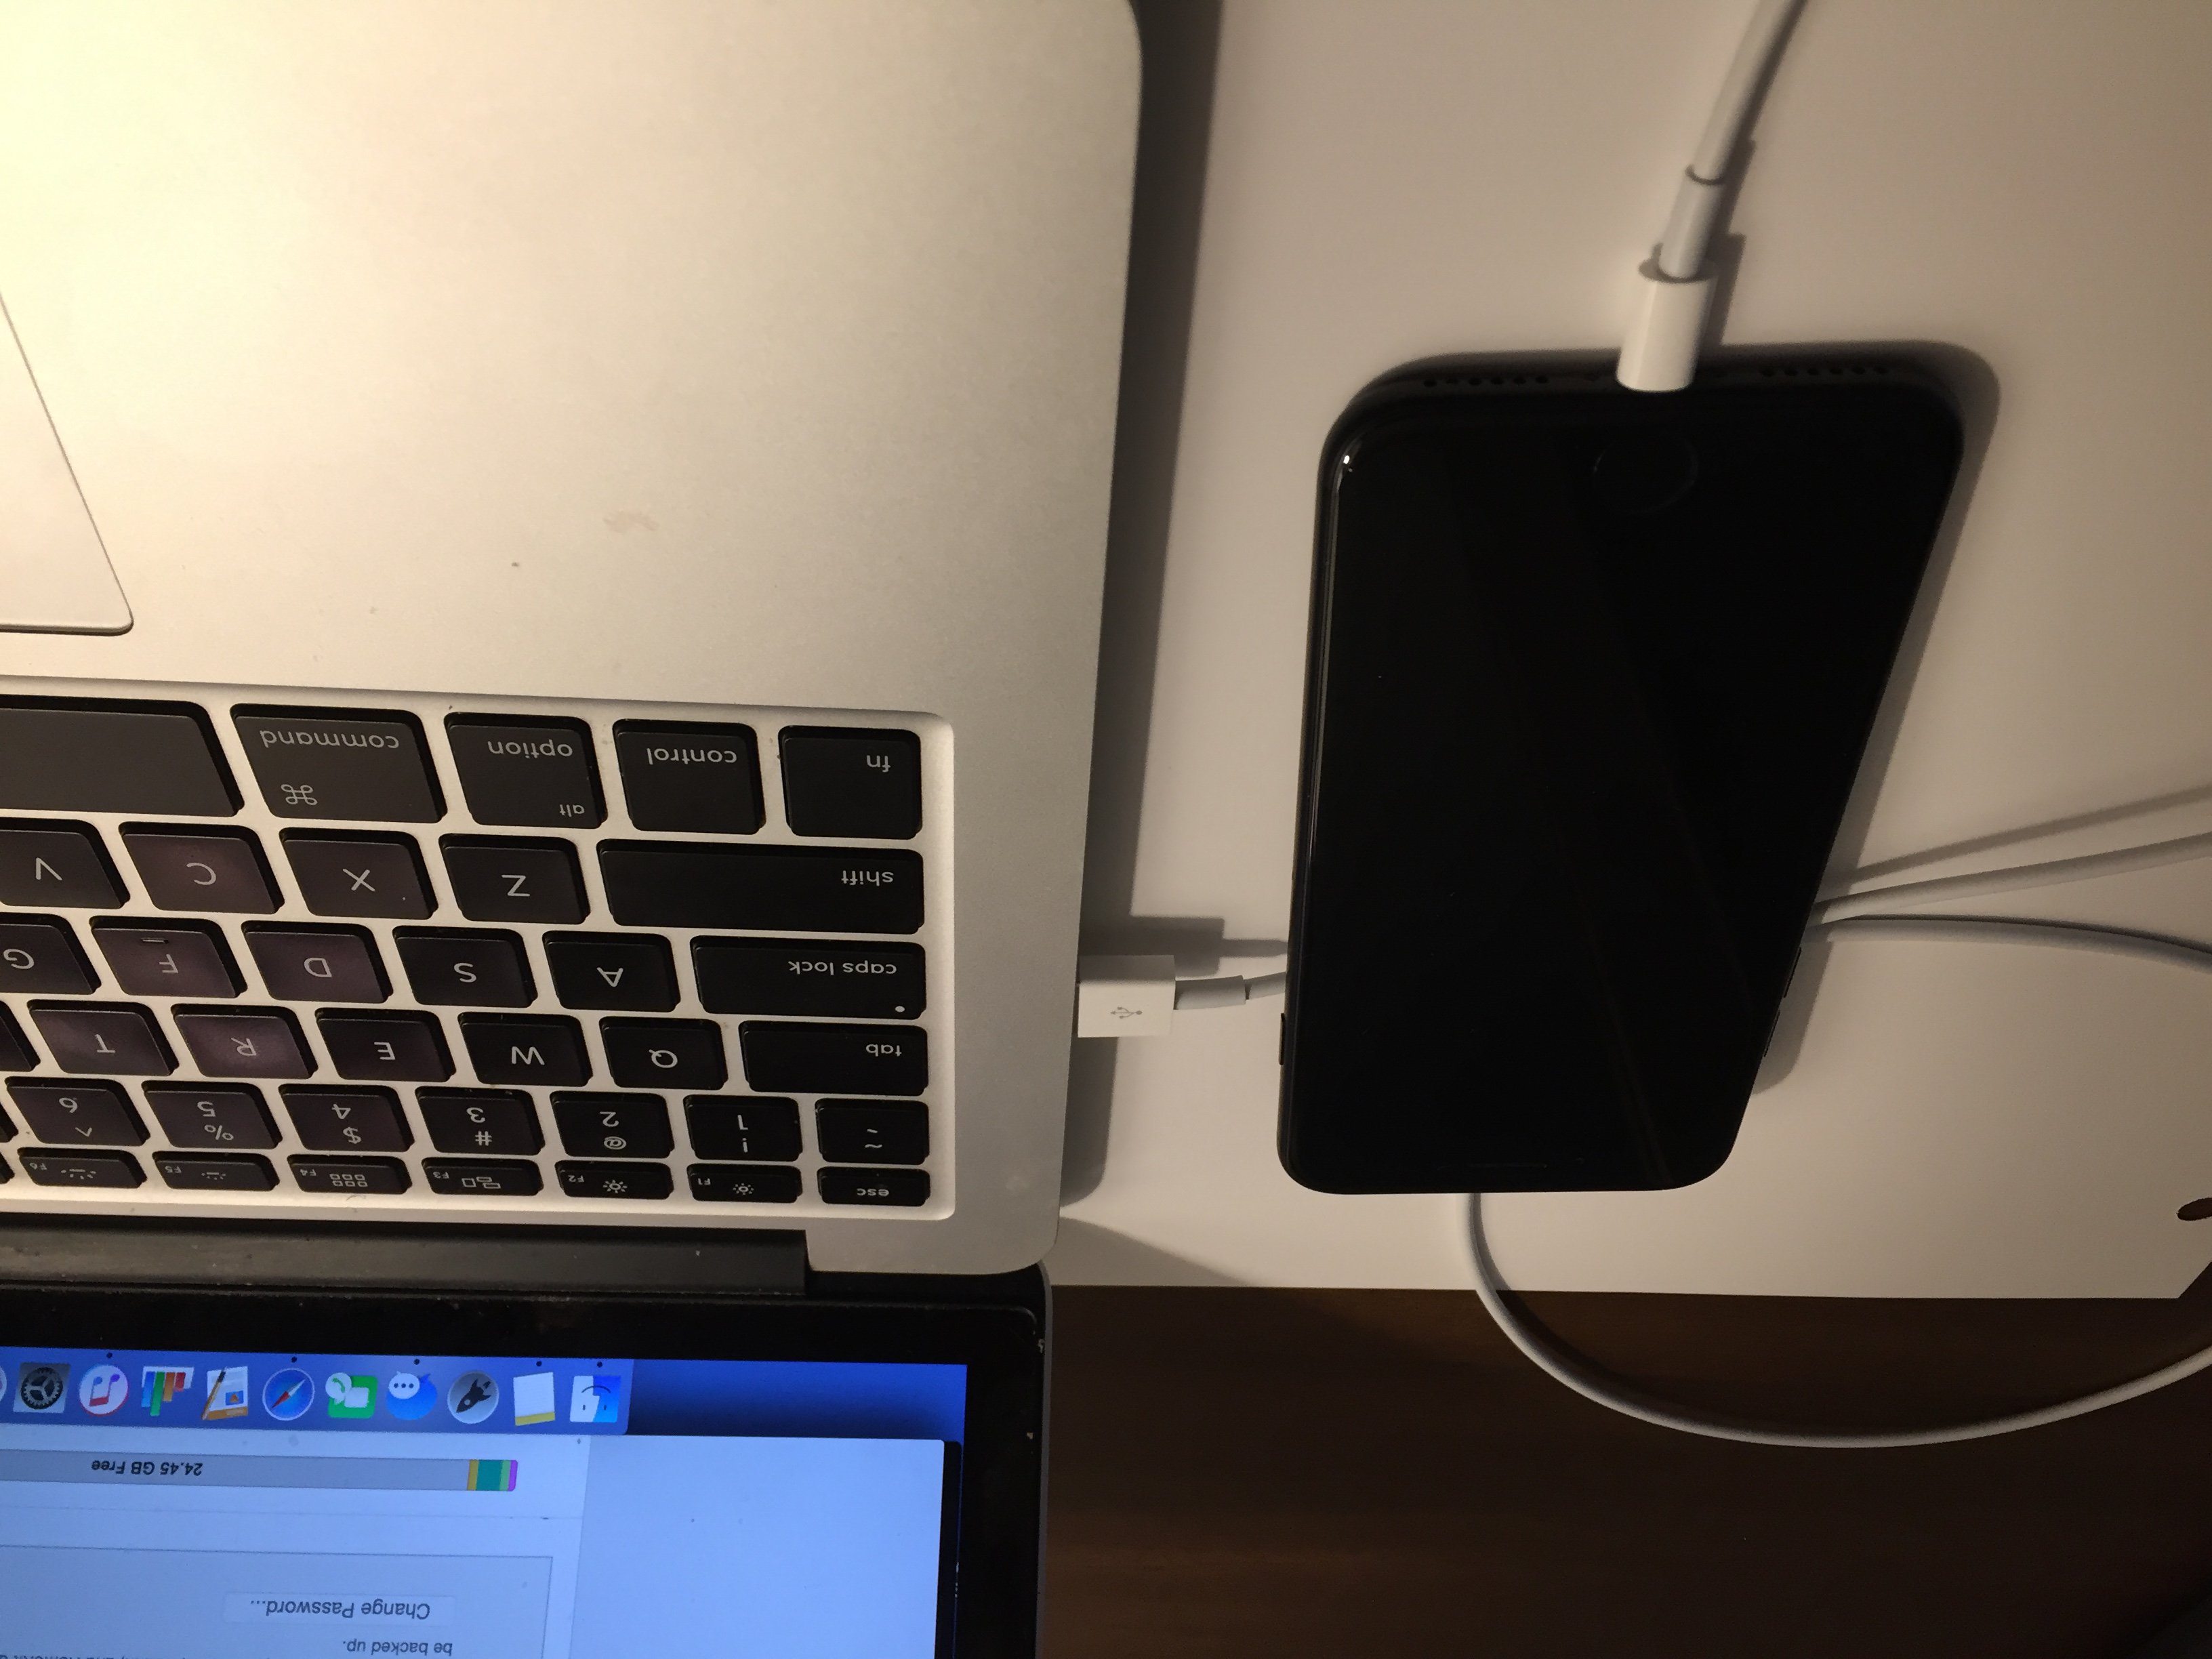
- Using a Lightning cable, plug your iPhone into a USB port on your computer.
- Open iTunes if you have a PC or Mac running Mojave 10.14 or earlier. Open Finder if you have a Mac running Catalina 10.15 or newer. It doesn’t matter if your iPhone is on or off.
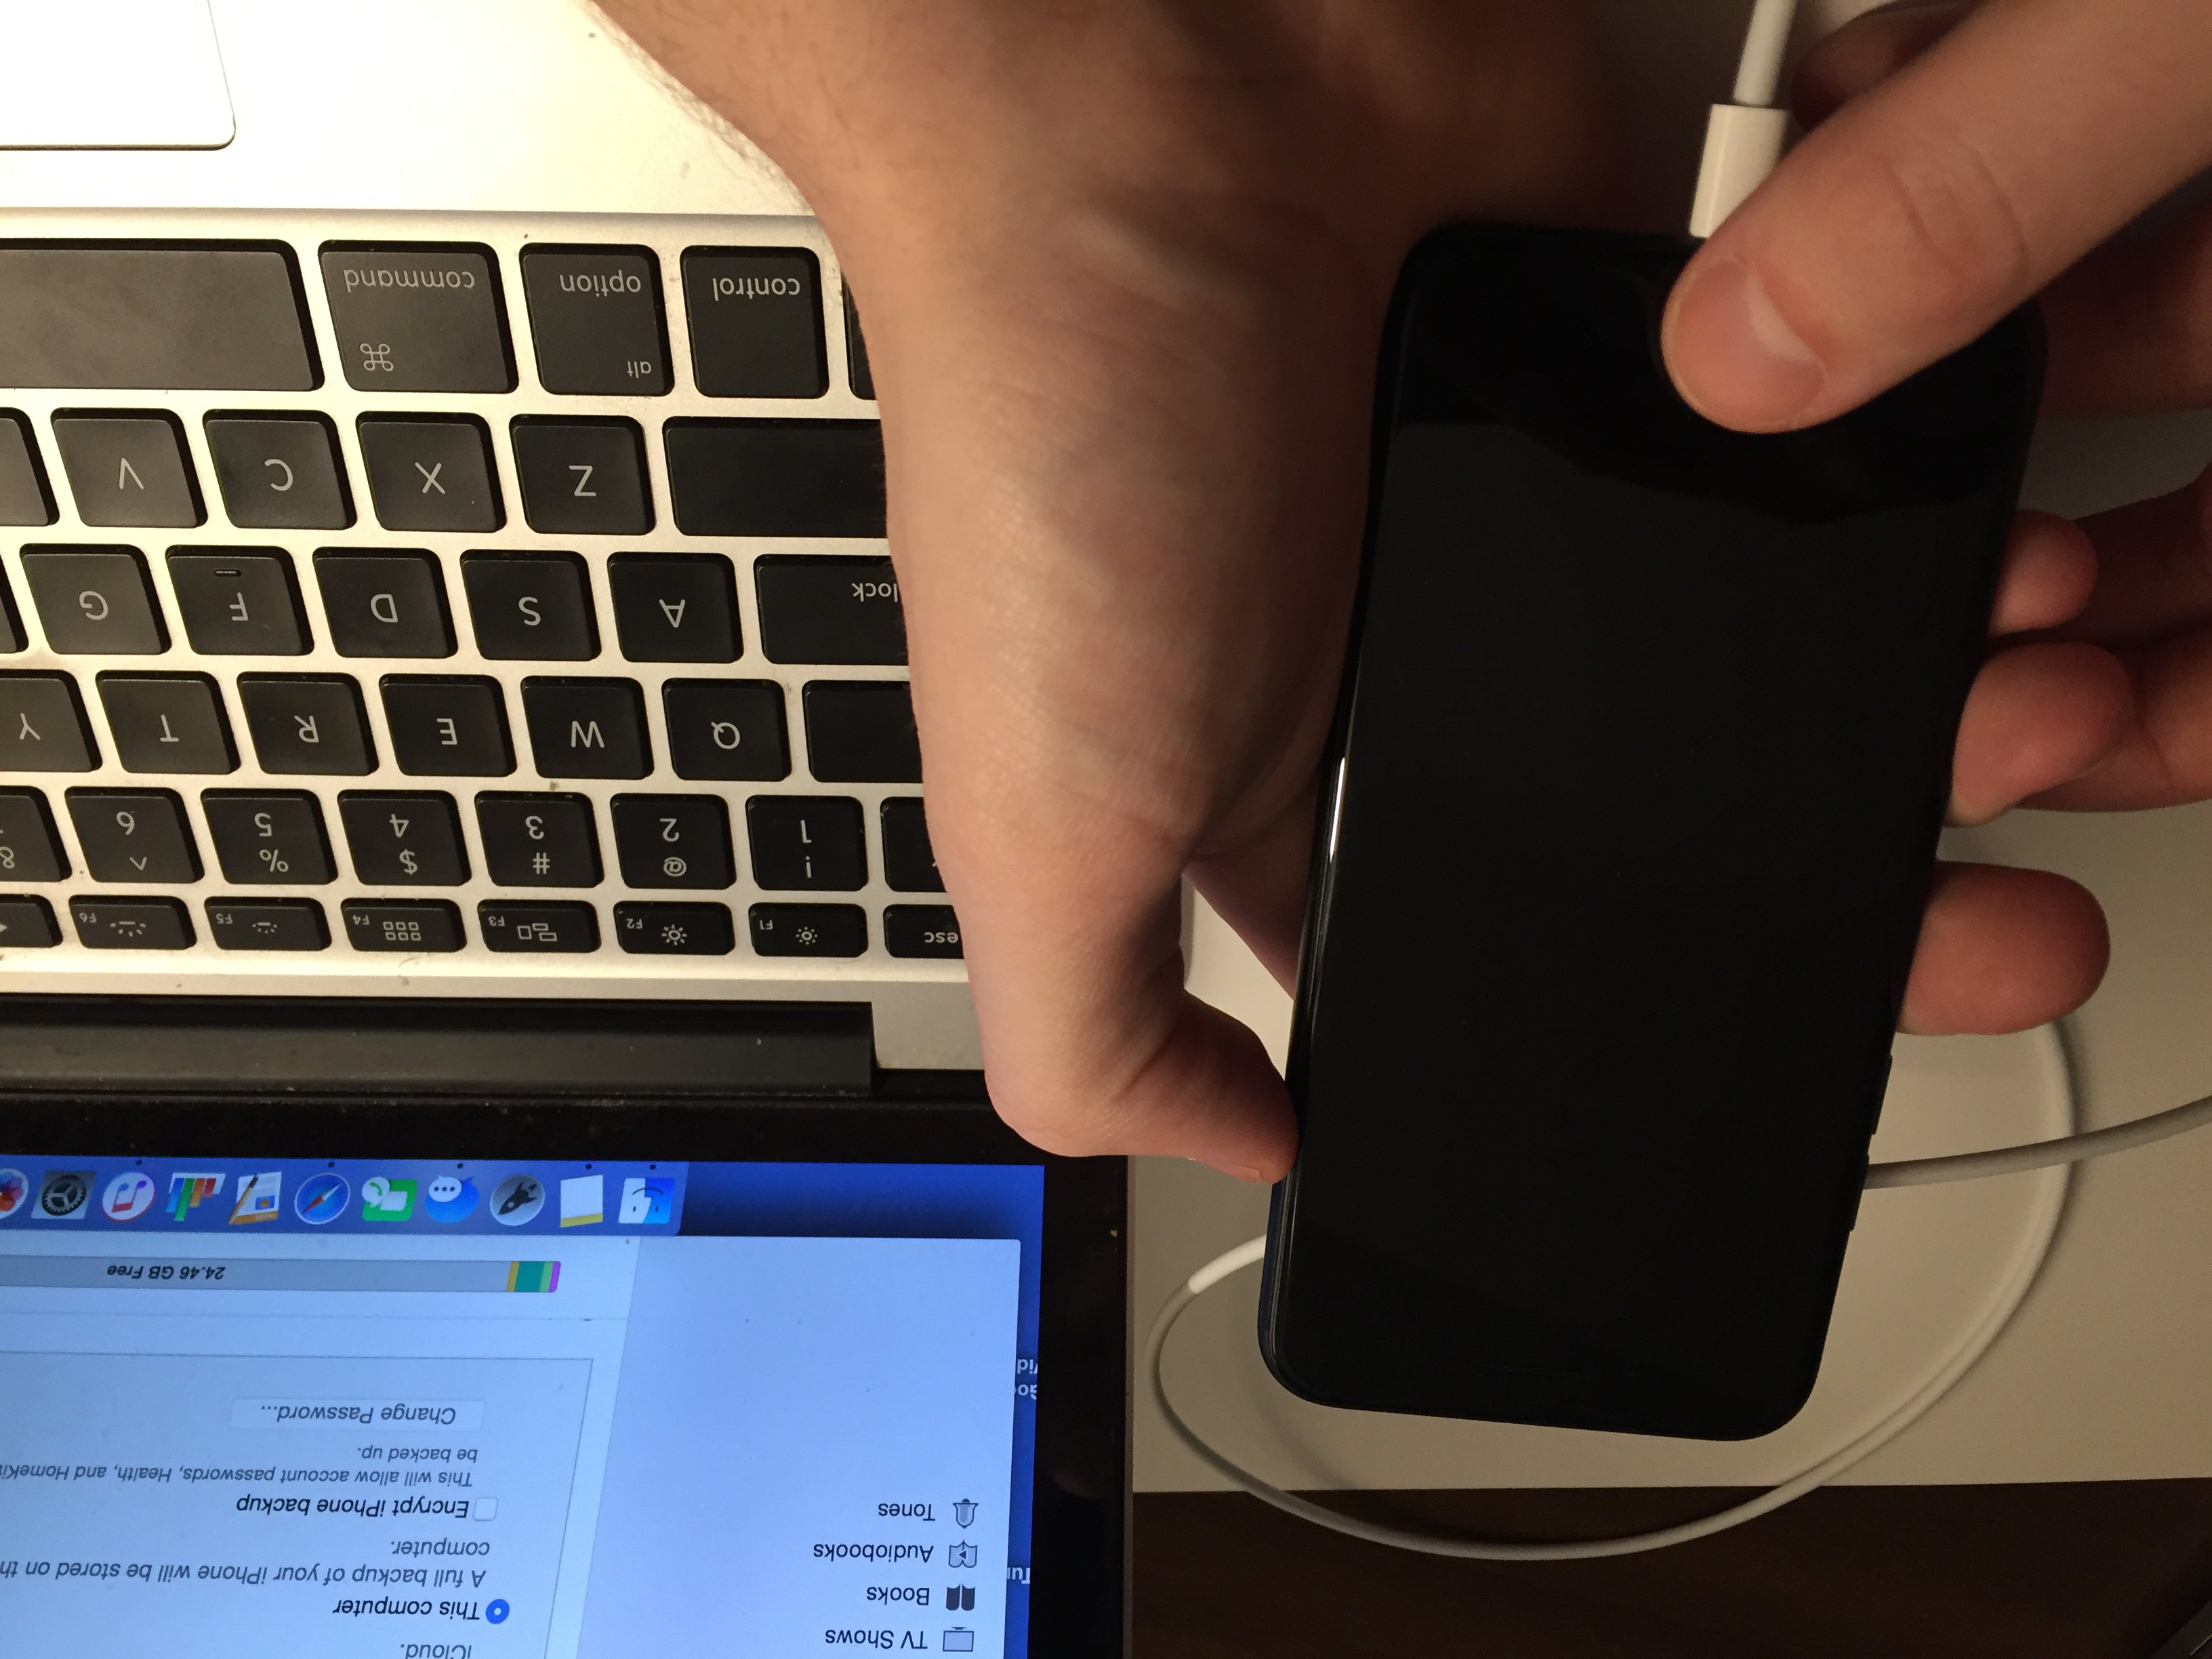
- Press and hold the power and volume down button simultaneously.
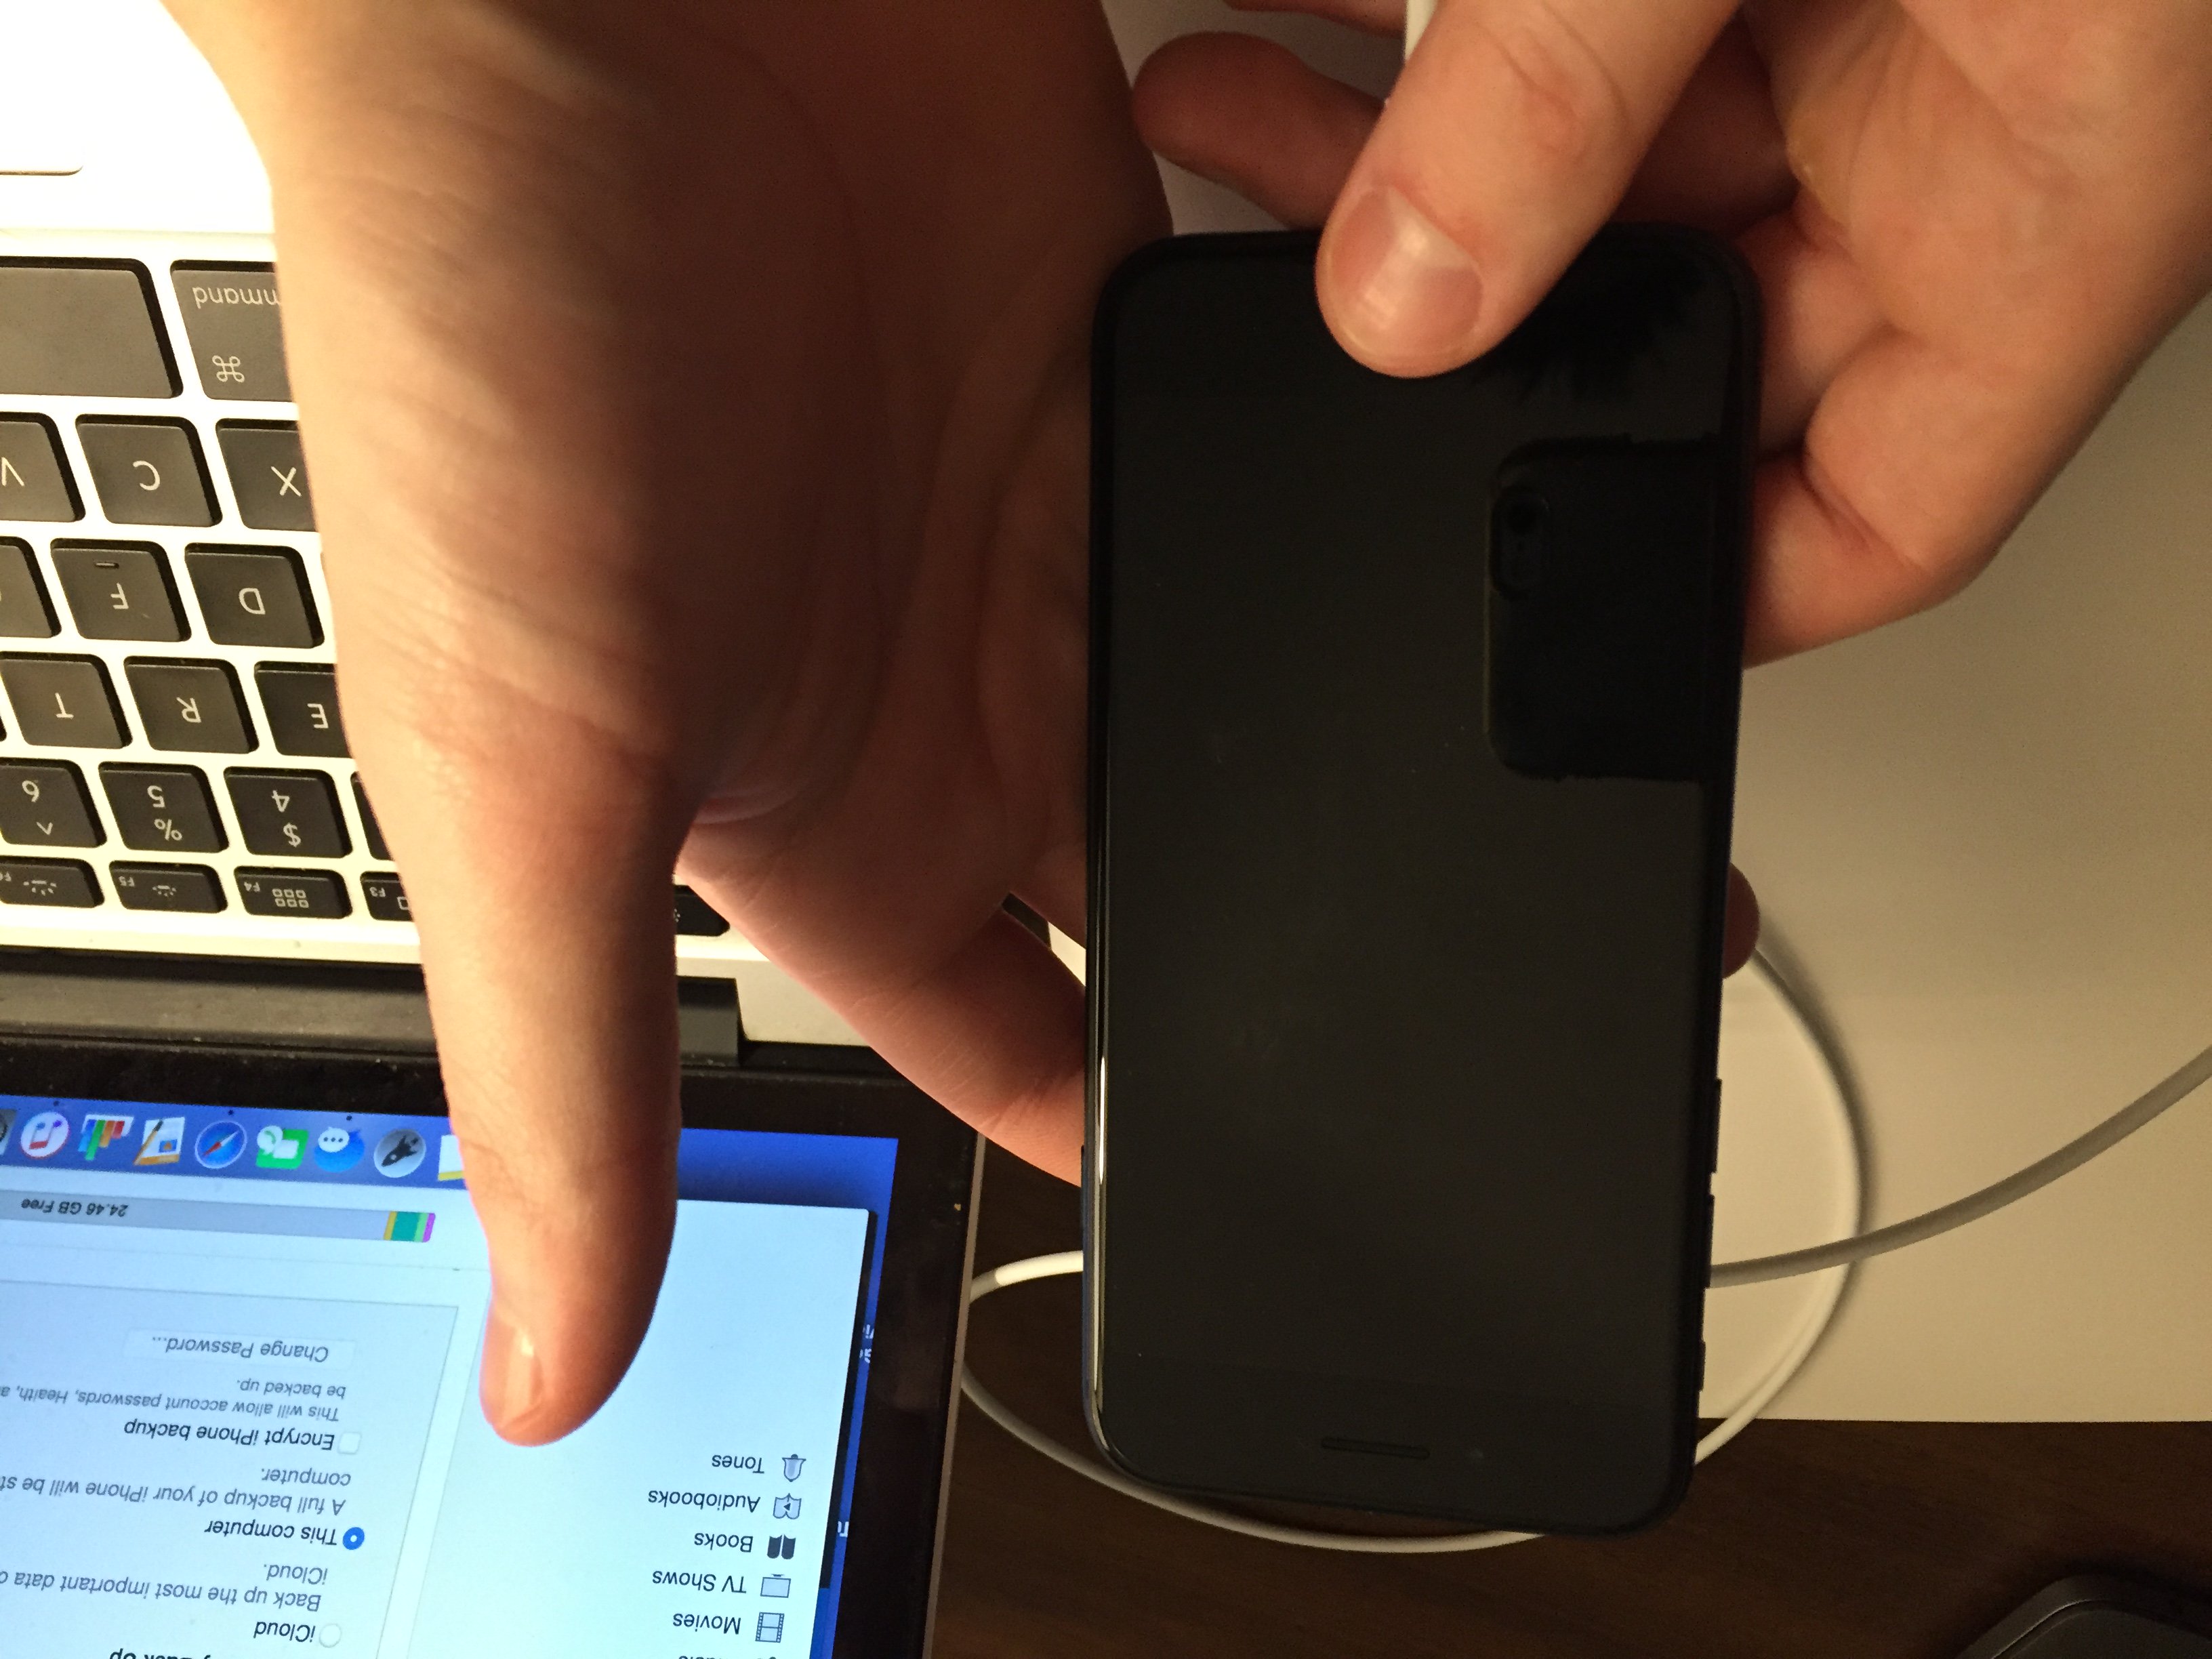
- After 8 seconds, release the power button, but continue to hold the volume down button.
- Release the volume down button when your iPhone appears in iTunes or Finder.
- You'll know your iPhone is in DFU mode if the display is completely black.
- Restore your iPhone using iTunes or Finder.
How To DFU Restore An iPhone 8 Or Newer
- Connect your iPhone to your computer using a charging cable.
- Open iTunes (PCs and Macs running macOS 10.14 or older) or Finder (Macs running macOS 10.15 or newer).
- Quickly press and release the volume up button.
- Quickly press and release the volume down button.
- Press and hold the side button until the screen goes black.
- When the screen goes black, press and hold the volume down button while continuing to press and hold the side button.
- Hold both buttons for five seconds.
- After five seconds, release the side button while continuing to hold the volume down button.
- Keep holding the volume down button until your iPhone appears in Finder or iTunes.
- Restore your iPhone using iTunes or Finder.
Applies To: iPhone 5,iPhone 5S,iPhone 5C,iPhone 6,iPhone 6 Plus,iPhone 6S,iPhone 6S Plus,iPhone SE,iPhone 7,iPhone 7 Plus,iPhone 8,iPhone 8 Plus,iPhone X,iPhone XS,iPhone XS Max,iPhone XR,iPhone 11,iPhone 11 Pro,iPhone 11 Pro Max,iPhone SE 2
View MoreRepair Your iPhone With Apple
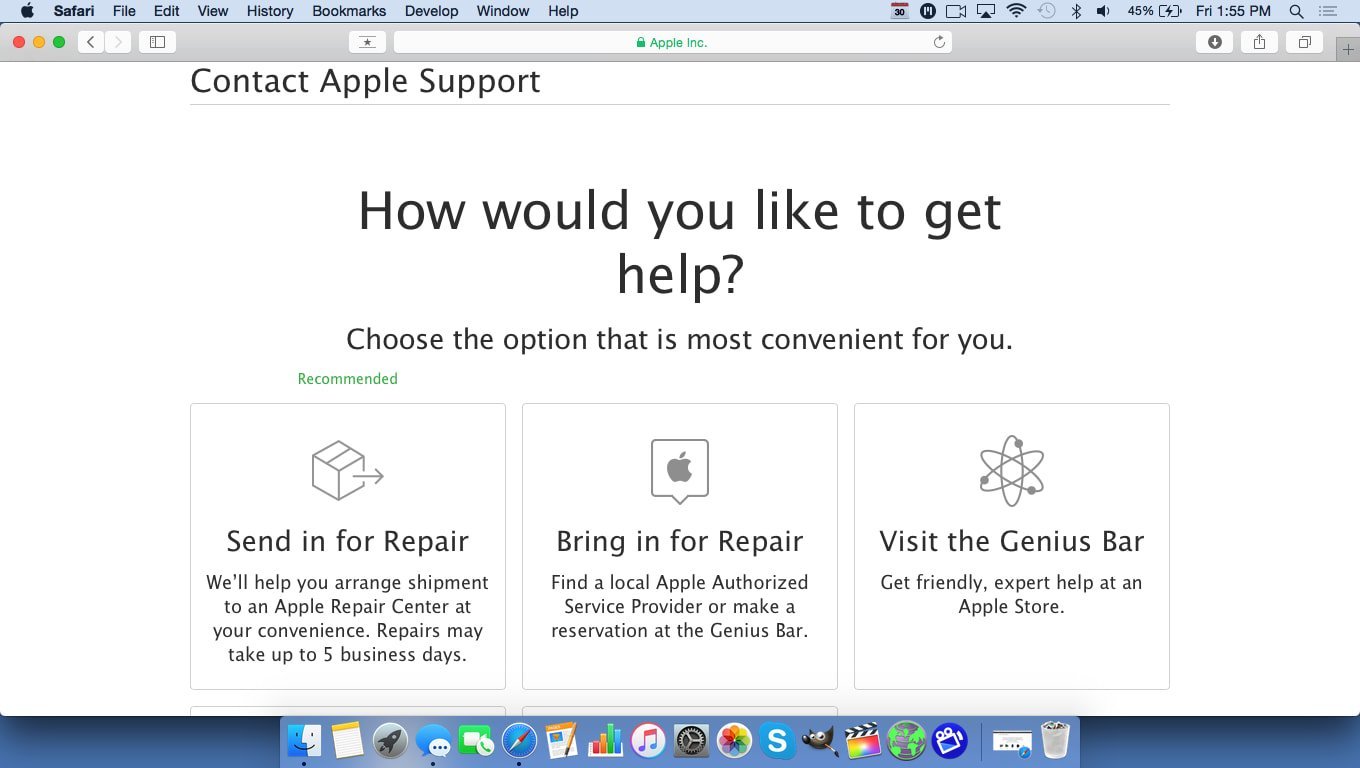
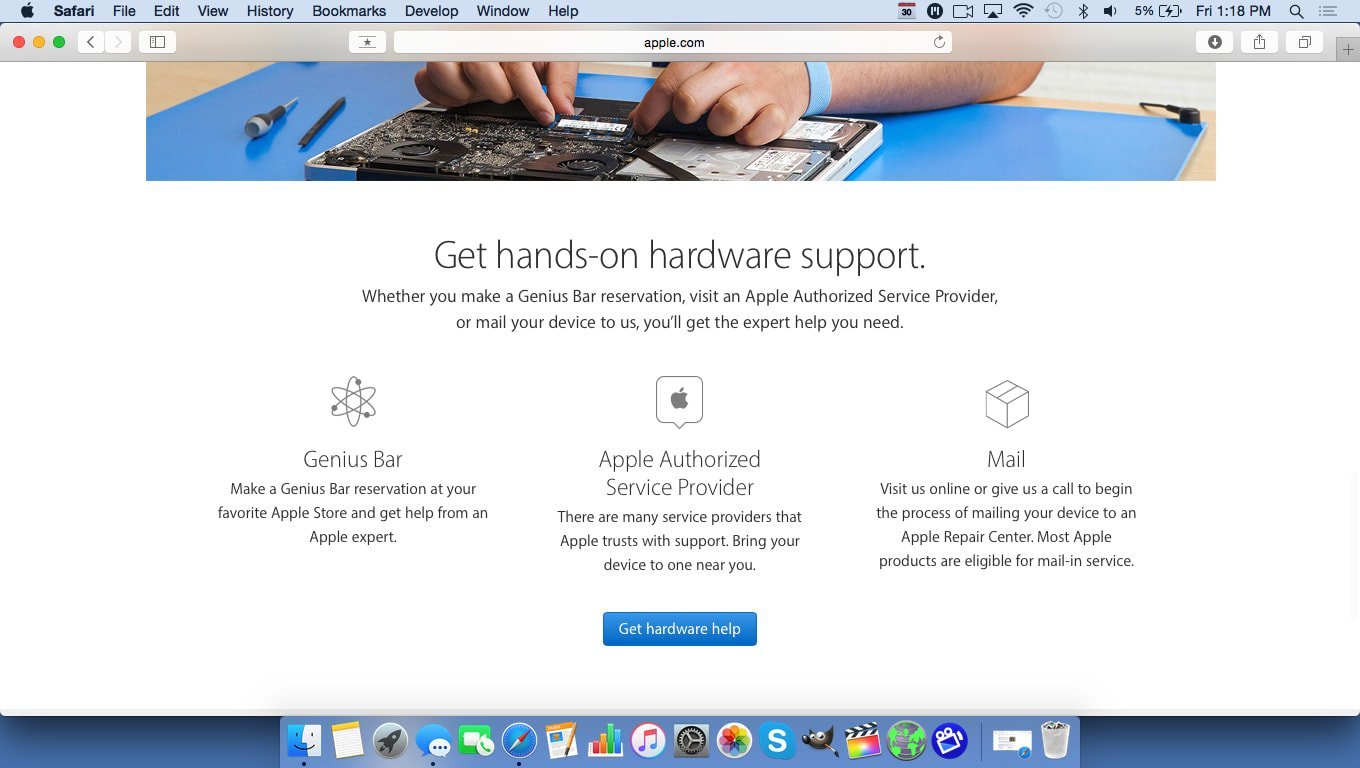
Apple repairs iPhones at the Genius Bar in Apple Stores and through their online mail-in repair service. Apple repairs are high-quality, but out-of-warranty repairs can be much more expensive than third-party solutions. If you're looking to save some money you're not covered by Apple's warranty, you may want to check out our other recommendations.
How Do I Repair My iPhone With Apple?
How To Repair Your iPhone With Apple's Mail-In Service
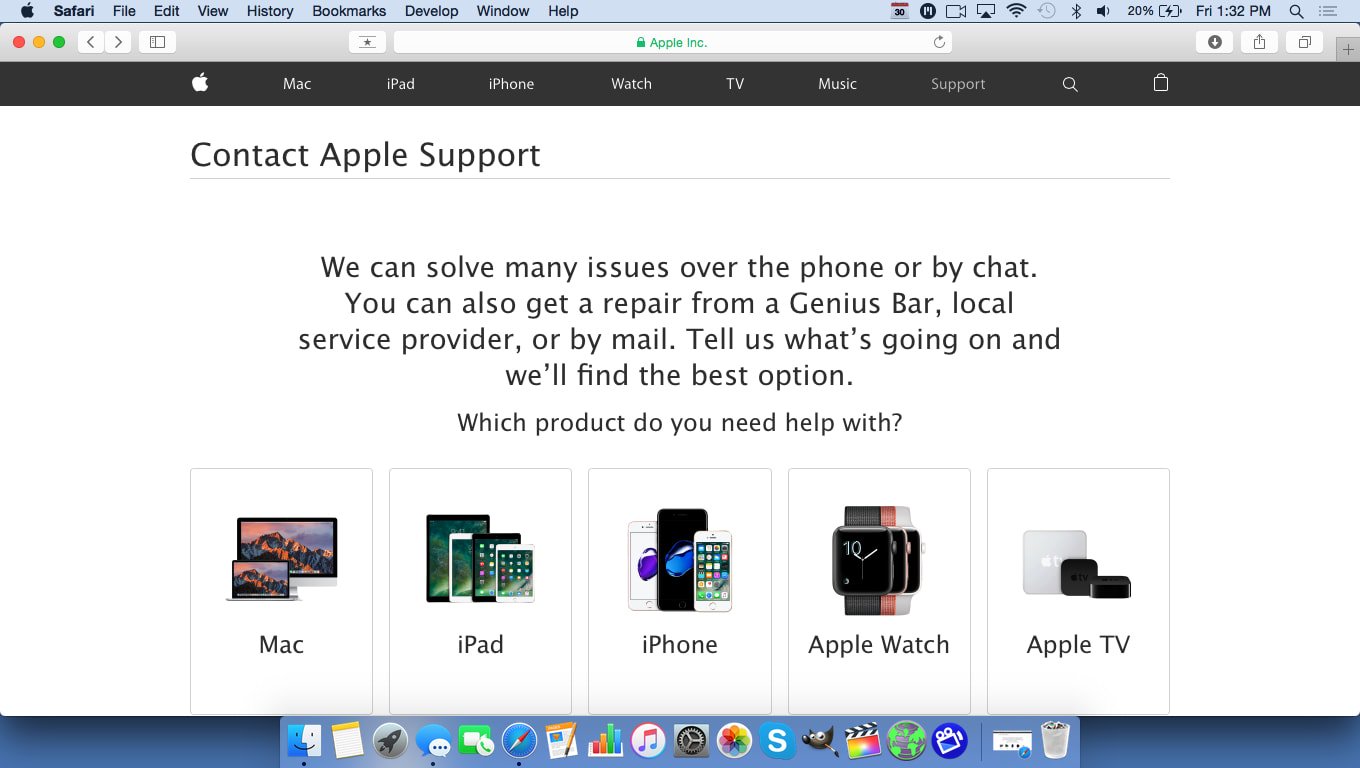
- Visit Apple's support website to begin the online mail-in repair process.
- Alternatively, call 1-800-MY-APPLE (1-800-692-7753) to set up a repair.
How To Repair Your iPhone At The Genius Bar Inside Your Local Apple Store
- Visit Apple's website to make a Genius Bar appointment before you go into the store. Apple Stores are extremely busy, and if you don't have an appointment, you may have to wait for hours or end up being turned away. (Editor's note: I'm a former Apple tech and we're not exaggerating — please, do yourself a favor and make an appointment first!)
- When you arrive, go to the Genius Bar to check in for your appointment.
- Genius Bar appointments always include free diagnosis. If you're under warranty, many repairs can be done on the spot, but it all depends upon which parts are in stock. If you're not under warranty, the Genius will give you a quote for the cost of a repair.
Applies To: iPhone 5,iPhone 5S,iPhone 5C,iPhone 6,iPhone 6 Plus,iPhone 6S,iPhone 6S Plus,iPhone SE,iPhone 7,iPhone 7 Plus,iPhone 8,iPhone 8 Plus,iPhone X,iPhone XS,iPhone XS Max,iPhone XR,iPhone 11,iPhone 11 Pro,iPhone 11 Pro Max,iPhone SE 2
View MoreRepair Your iPhone Through Amazon Home Services
Amazon Home Services sends a vetted technician directly to you, whether you're at home or the office. They'll fix your iPhone directly on the spot. Amazon Home Services repairs typically take between 30–60 minutes.
- Go to Amazon's Home Service web page.
- Select your iPhone model.
- Choose the address you'd like the technician to come to.
- Select a date and time to schedule your appointment.
Applies To: Galaxy S20+,Samsung Galaxy Z Flip,Samsung Galaxy Z Flip 5G,Samsung Galaxy Z Fold,Samsung Galaxy Z Fold 2,Samsung Galaxy S7,Samsung Galaxy S7 edge,Samsung Galaxy S7 Active,Samsung Galaxy S8,Samsung Galaxy S8+,Samsung Galaxy S9,Samsung Galaxy S9+,Samsung Galaxy S10,Samsung Galaxy S10+,Samsung Galaxy S10e,Samsung Galaxy S10 5g,Samsung Galaxy S20,Samsung Galaxy S10,Samsung Galaxy S9,Samsung Galaxy S20,Google Pixel 3,Google Pixel 4,Google Pixel 4a,Google Pixel 3a,Google Pixel 5,Samsung Galaxy Note 8,Samsung Galaxy Note 9,Samsung Galaxy Note 10,Samsung Galaxy Note 20,OnePlus 8,OnePlus 6,OnePlus 6T,OnePlus 7,OnePlus 7 Pro,OnePlus 7T,OnePlus 7T Pro,OnePlus 8 Pro,Microsoft Surface Duo
View MoreTap, Tap, Tap. Your iPhone's Touch Screen Is Working!
You successfully fixed the problem with your iPhone's screen, or you have a repair option in mind so you can get it fixed as soon as possible. I encourage you to share this article on social media so your friends and family know what to do when their iPhone 7 screen is not responding to touch. Thanks for reading, and feel free to leave a comment down below if you have any other questions for the iPhone experts!

Thank youuuuu so much it worked perfectly in my iphone 7plus
Ur a life saver
no it did not u liar