My iPhone 13 Touch Screen Is Not Working! Here's The Real Fix.
You went to use your iPhone 13, but suddenly it stopped responding. No matter where you tap on your iPhone's screen, nothing seems to happen. In this article, I'll explain what to do if your iPhone 13 touch screen won't work.
Could The Problem Be One App?
Before you start trying to fix your iPhone, you may want to make sure that your iPhone's unresponsive display isn't being caused by a specific app.
Does your iPhone screen stop working only when you open a certain app? If so, it's possible that this app is what's causing the problem, rather than your iPhone's hardware or software.
Some apps — especially apps designed by smaller developers — have bugs that can seriously interfere with an iPhone's processing. Some of the steps below will show you how to identify these apps, and what to do when you find them!
How To Fix An iPhone 13 Touch Screen That's Not Working
6 Steps TotalHard Reset Your iPhone
A hard reset is usually a temporary solution to a software problem. It doesn't change anything at all — it just forces your iPhone to start from scratch, and often times the problem comes back.
How Do I Hard Reset My iPhone?
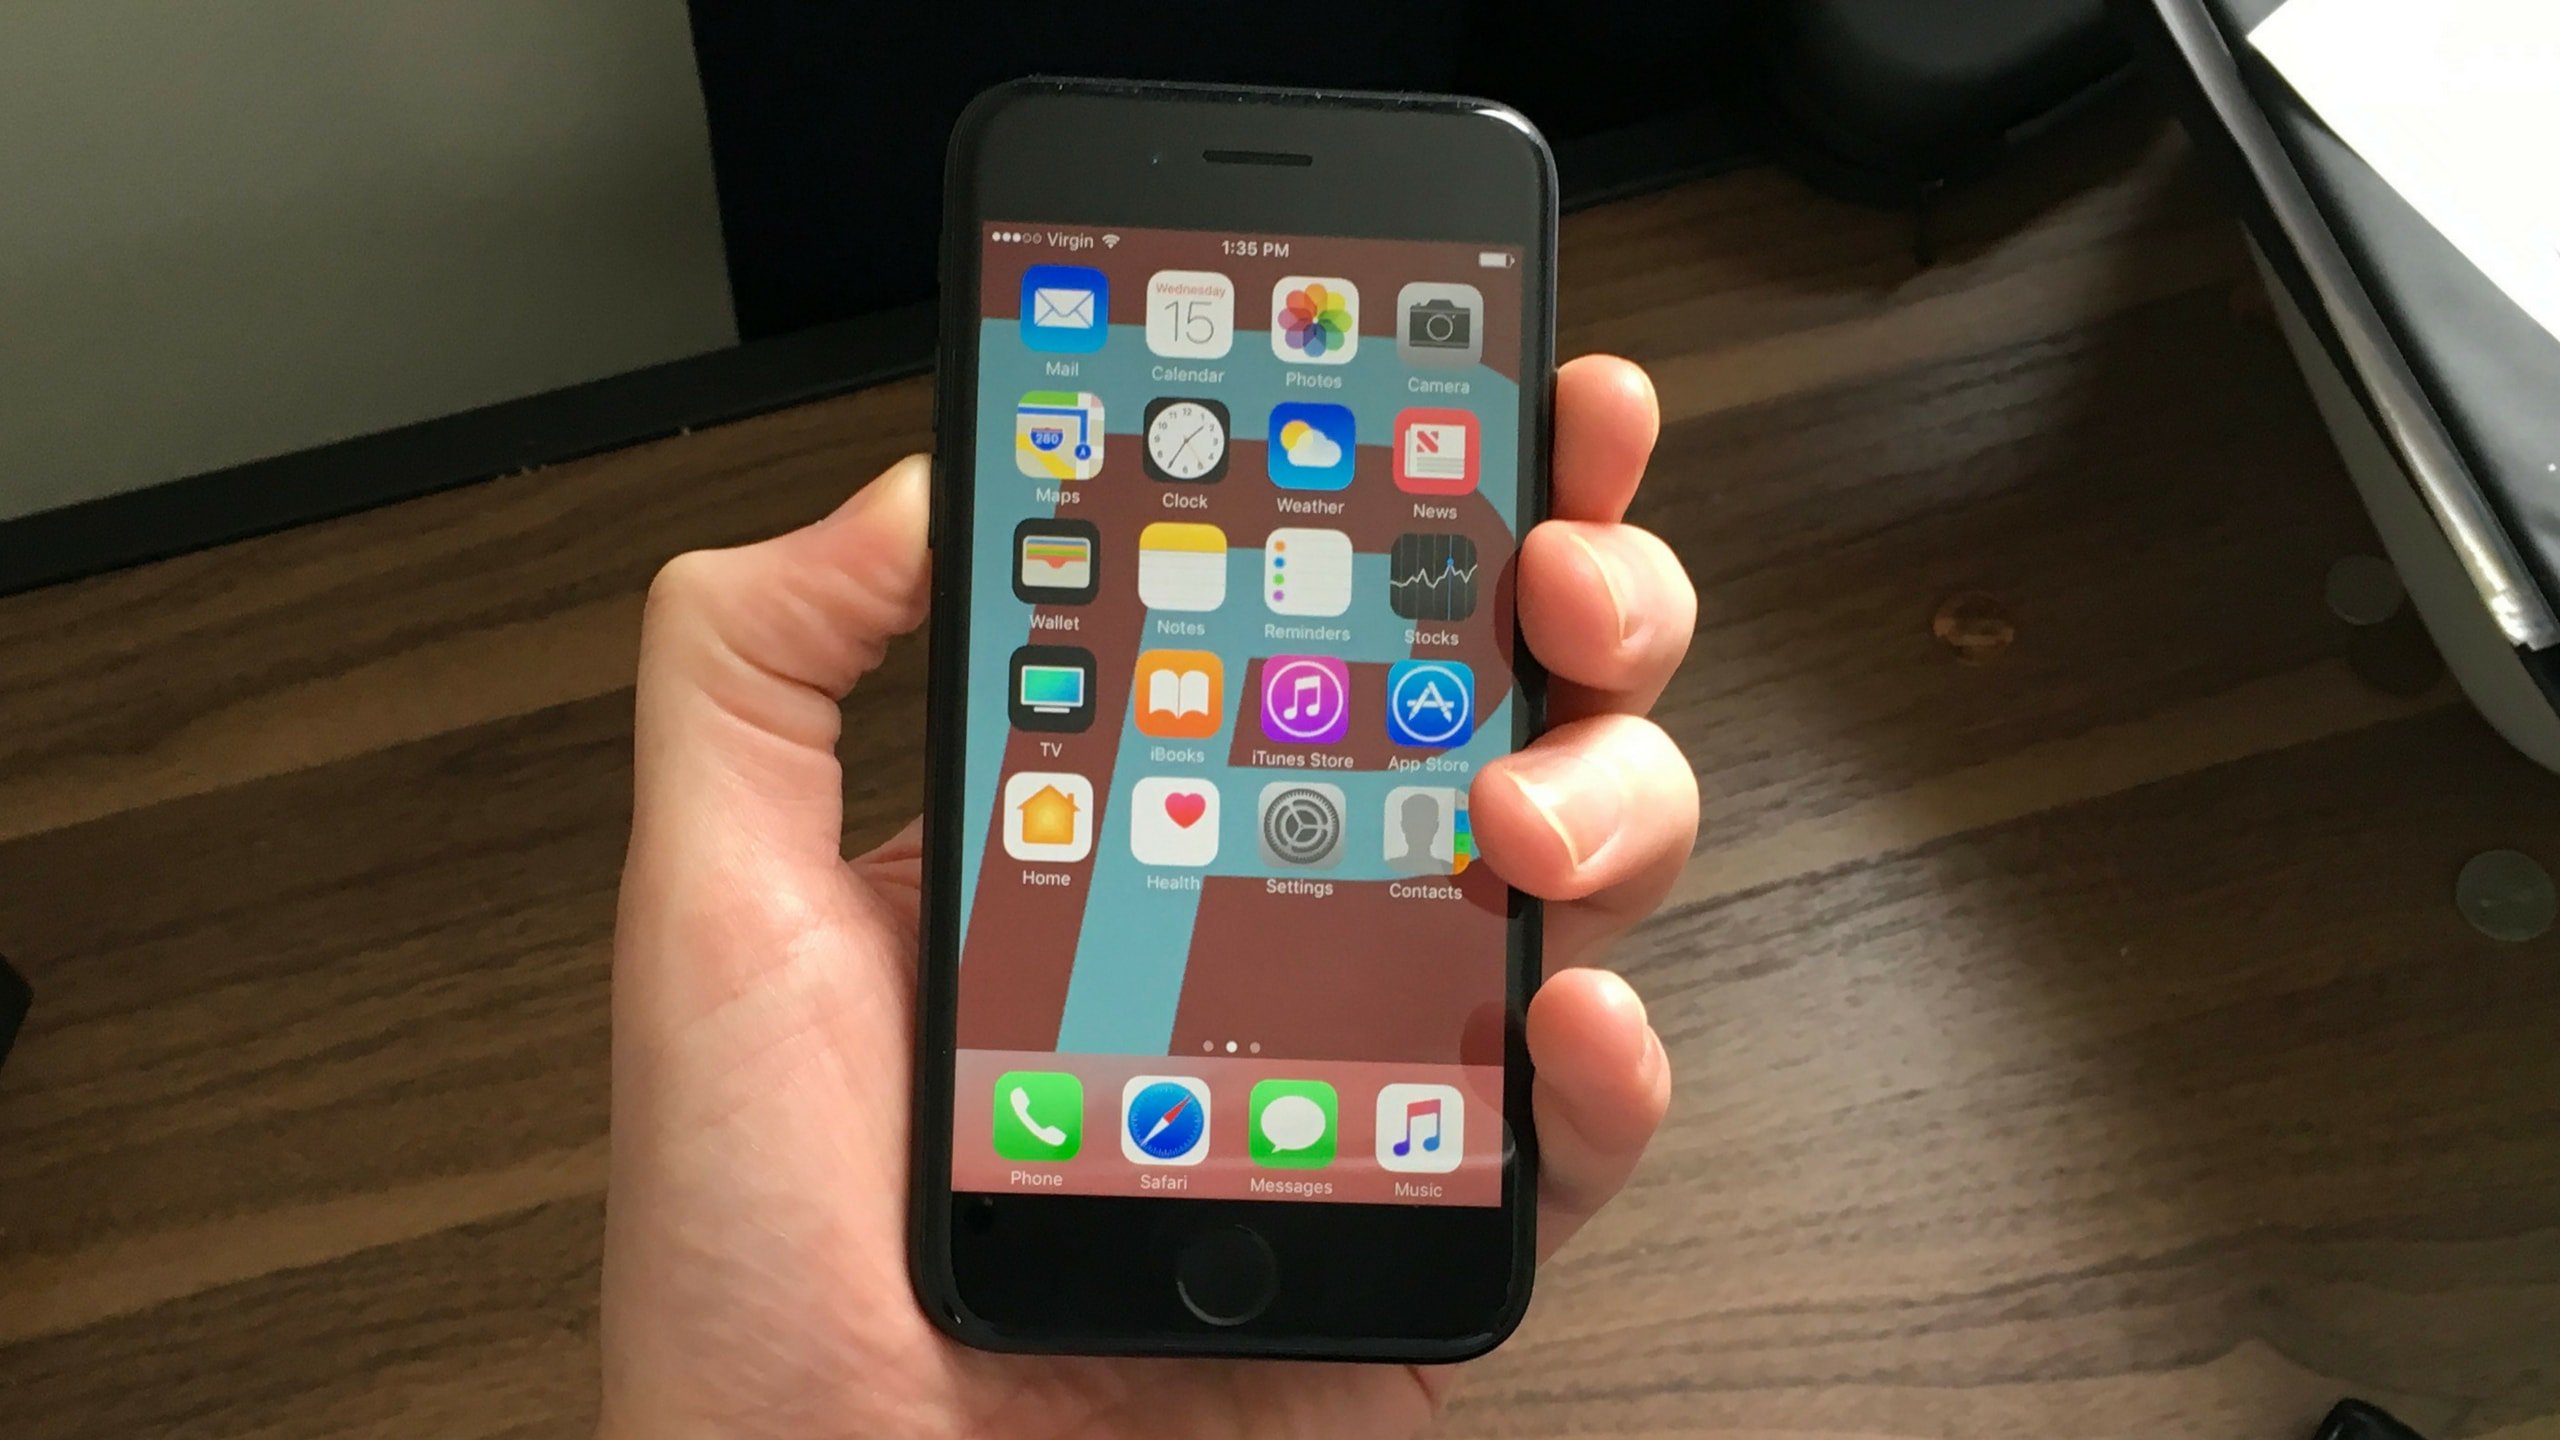
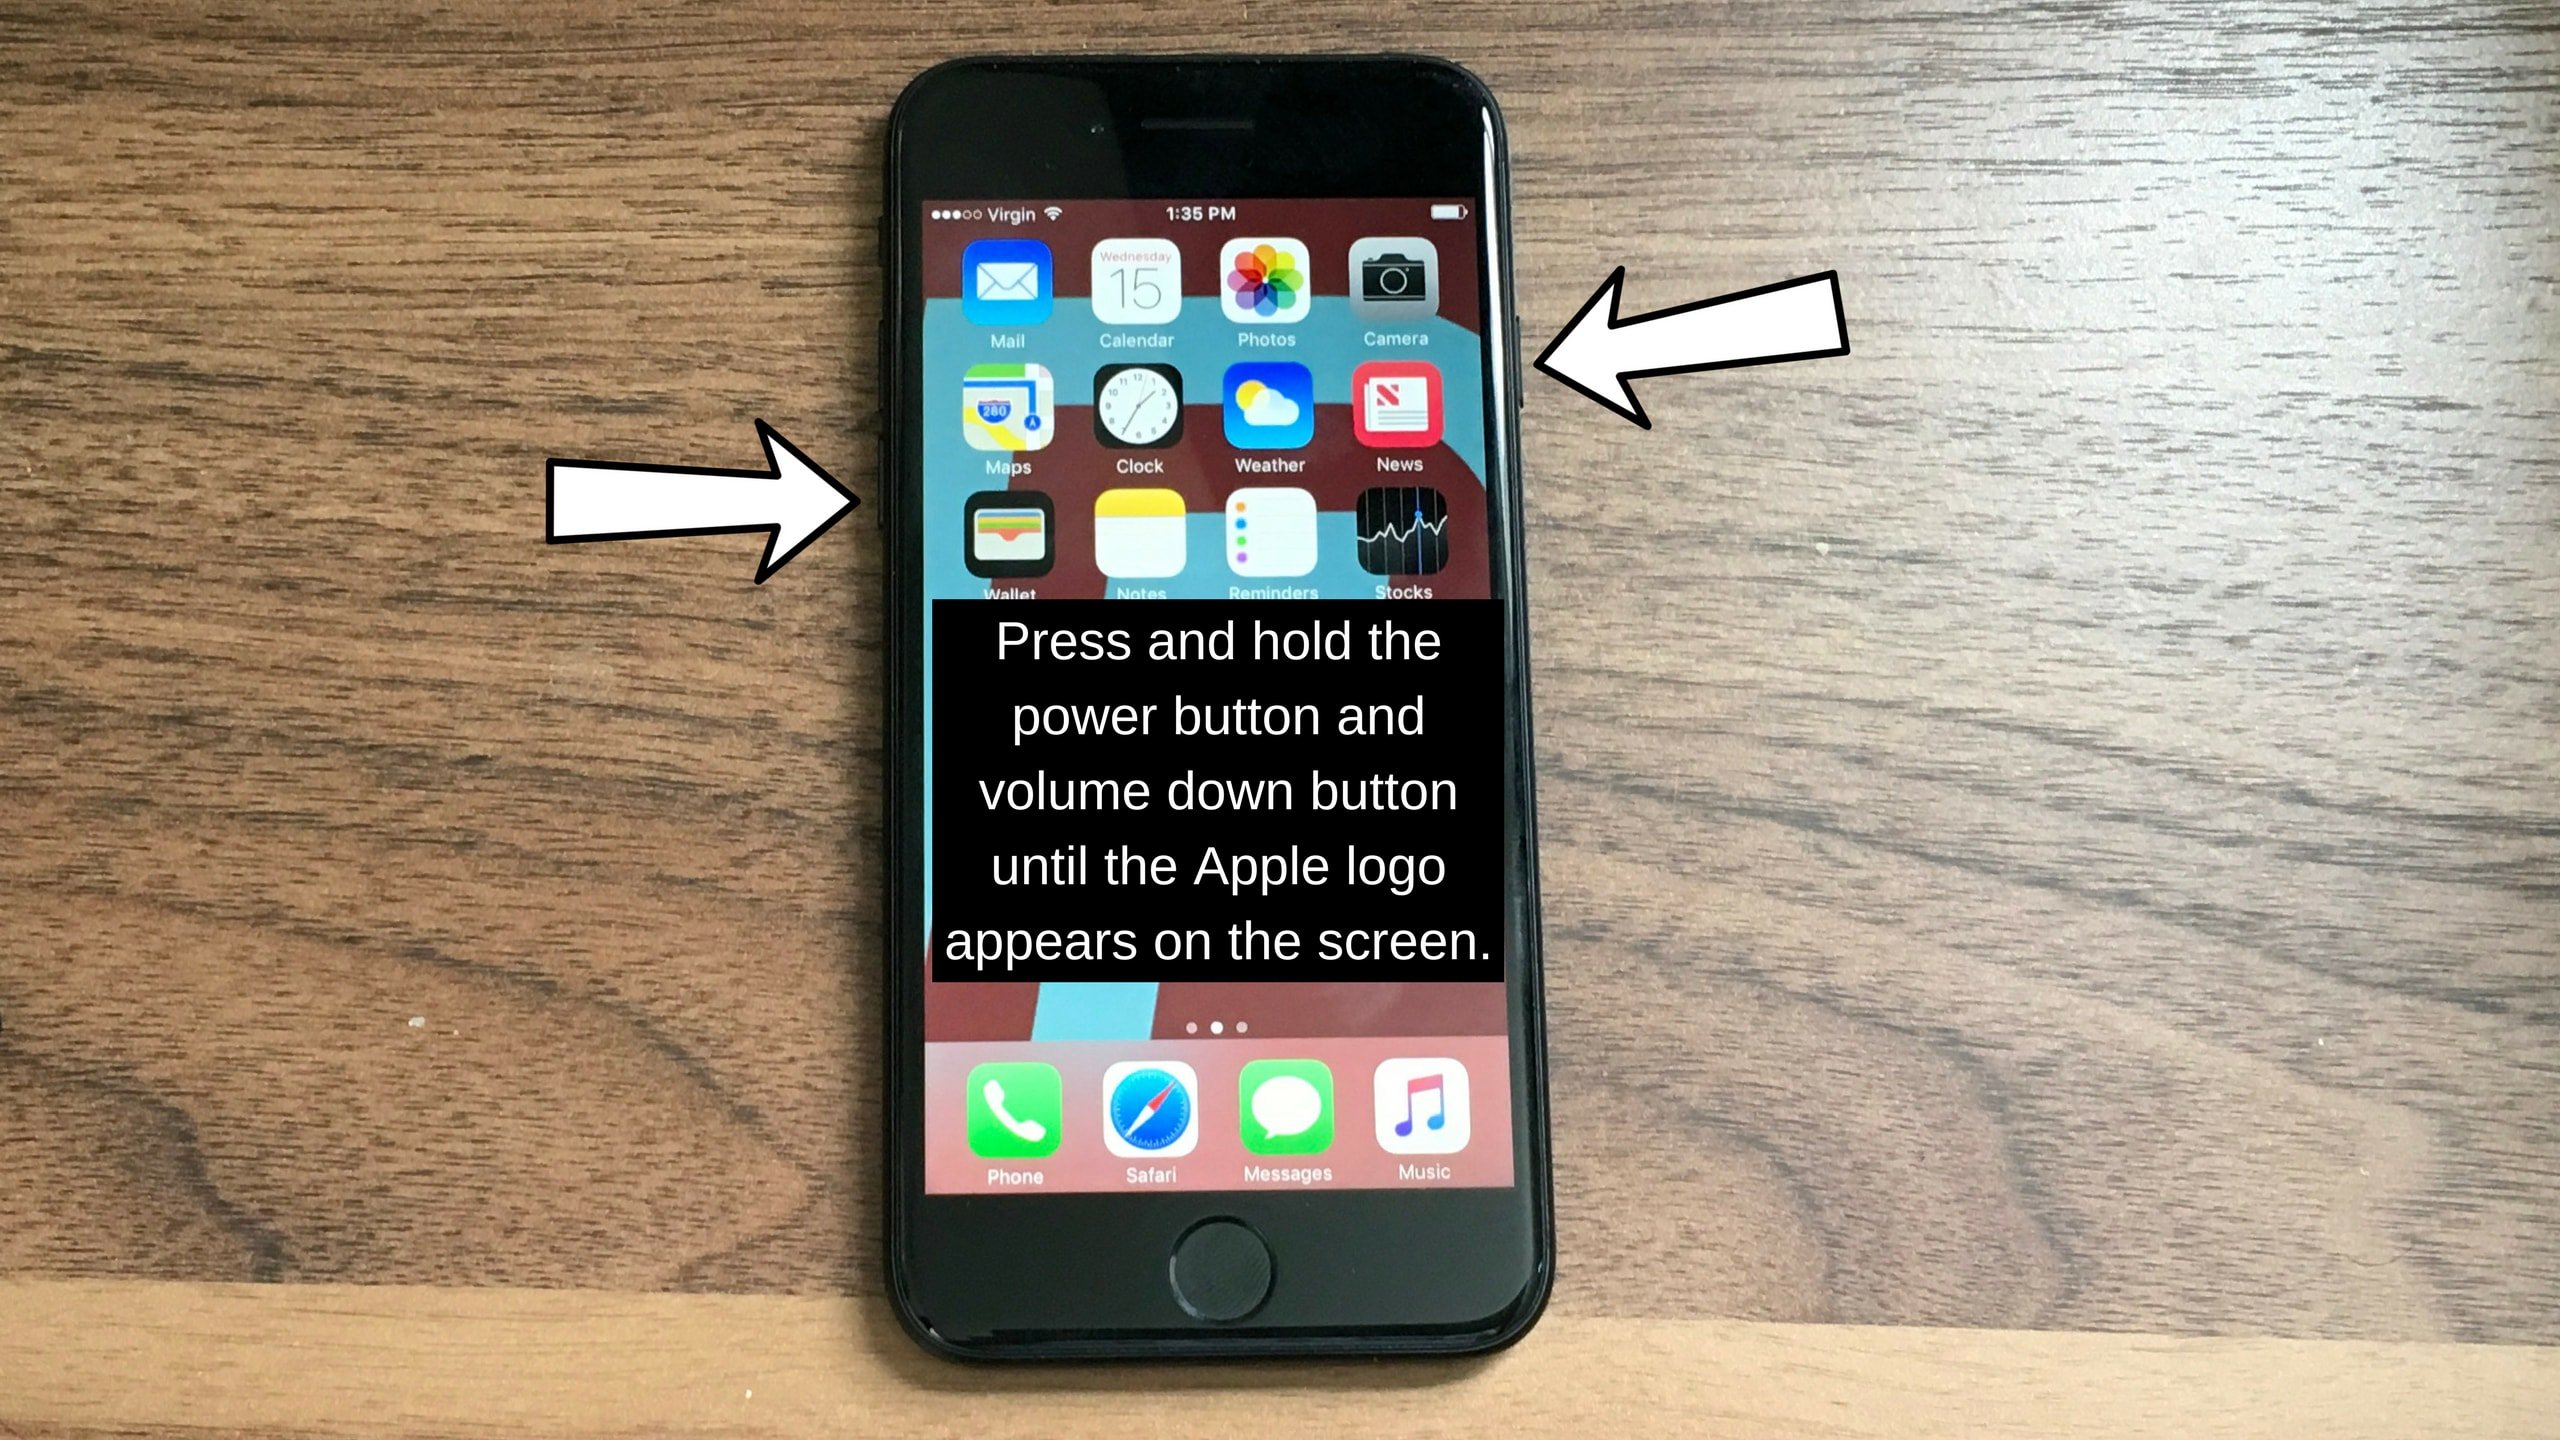
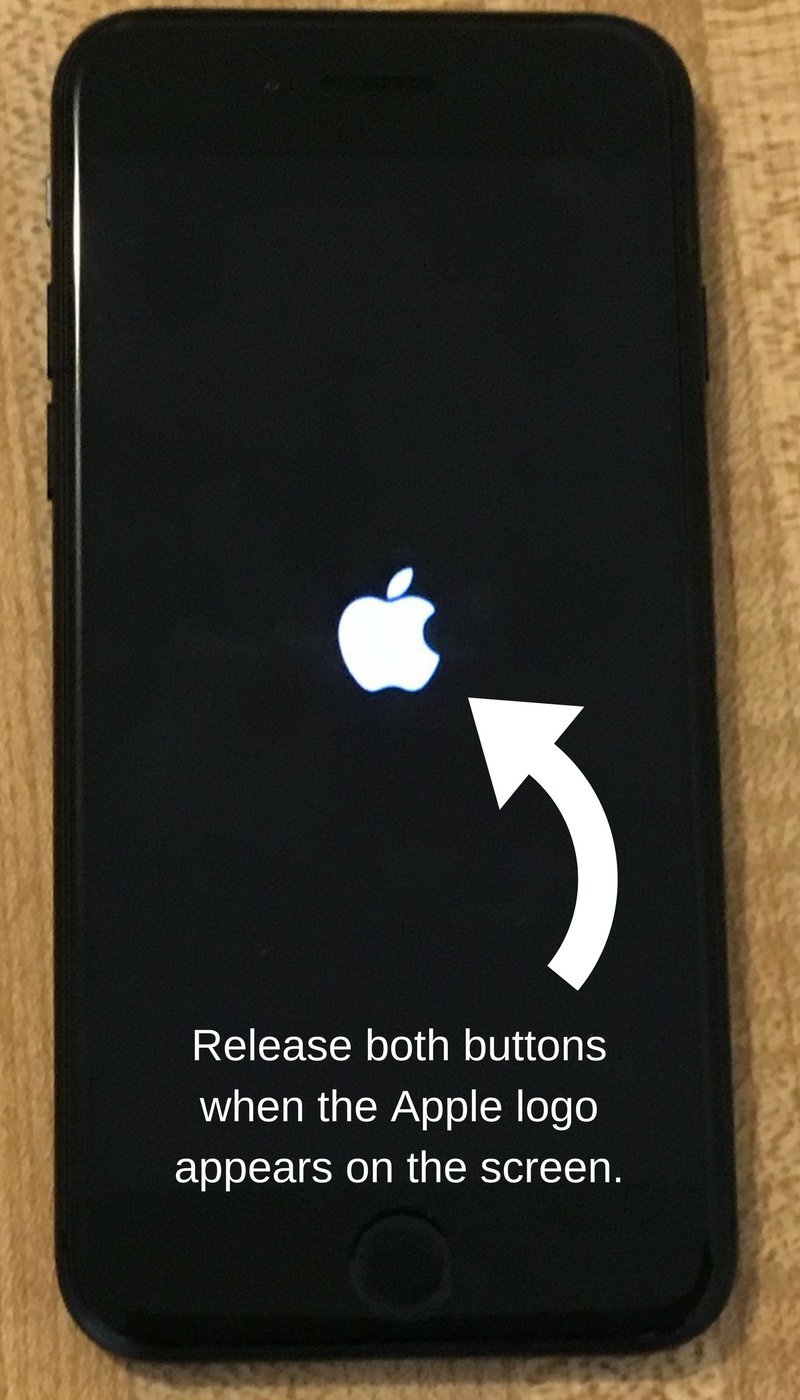
- Press and hold the power button and the volume down button together until the screen goes blank and the Apple logo appears on the screen.
- When the Apple logo reappears, let go of both buttons.
- When your iPhone turns back on, the hard reset is complete.
Hard Reset On iPhone X or Newer
Hard reseting an iPhone X is slightly different than other models of the iPhone.
- Quickly press the volume up button.
- Quickly press the volume down button.
- Press and hold down the Side button.
- Release the Side button when the Apple logo appears on the center of the screen.
Applies To: iPhone 5,iPhone 5S,iPhone 5C,iPhone 6,iPhone 6 Plus,iPhone 6S,iPhone 6S Plus,iPhone SE,iPhone 7,iPhone 7 Plus,iPhone 8,iPhone 8 Plus,iPhone X,iPhone XS,iPhone XS Max,iPhone XR,iPhone 11,iPhone 11 Pro,iPhone 11 Pro Max,iPhone SE 2
View MoreClose Out Of All Of Your Apps
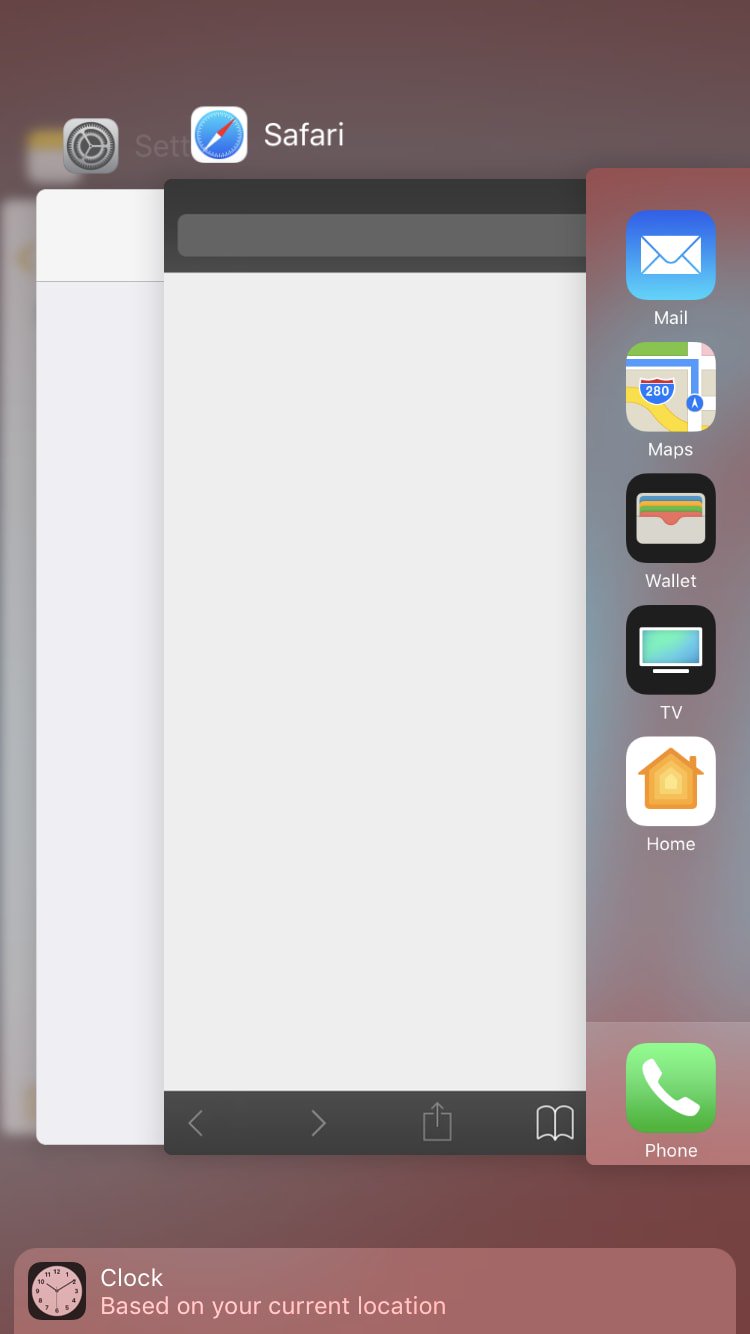
Closing out of your apps is like turning your iPhone off and back on — it gives your apps a fresh start. If one of the apps that you have open crashes in the background, it may prevent other apps you have open from functioning properly. It can be difficult to identify which specific app or apps are malfunctioning, so we'll close them all to save time.
How Do I Close Out Of All Of My Apps?
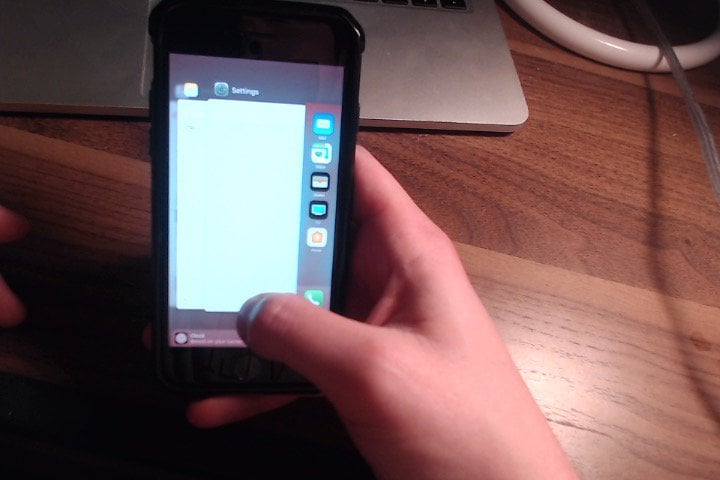
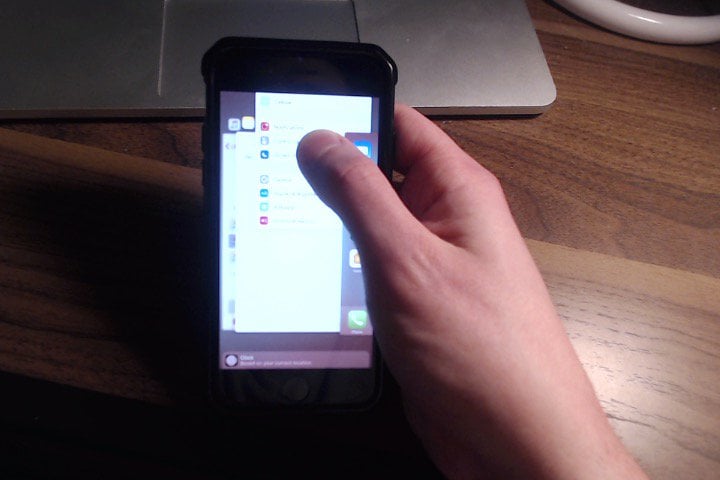
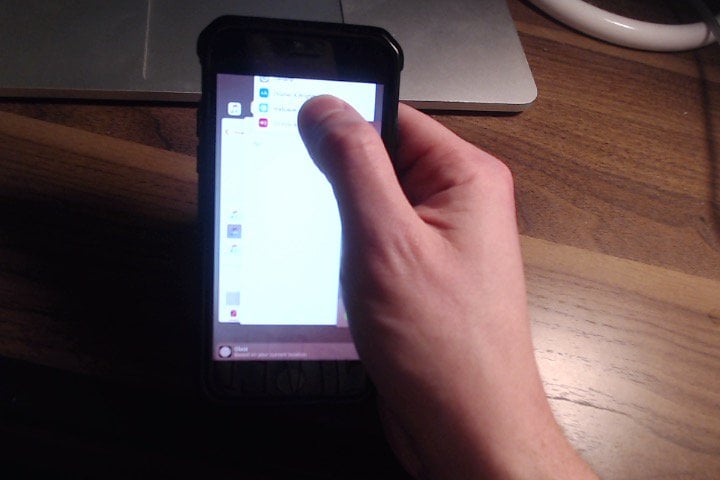
- Double-press the Home button to view the apps your currently have open.
- Use your finger to swipe up on the apps to close them.
- You'll know all your apps are closed when you only see a preview of your lock screen.
Applies To: iPhone 5,iPhone 5S,iPhone 5C,iPhone 6,iPhone 6 Plus,iPhone 6S,iPhone 6S Plus,iPhone SE,iPhone 7,iPhone 7 Plus,iPhone 8,iPhone 8 Plus,iPhone X,iPhone XS,iPhone XS Max,iPhone XR,iPhone 11,iPhone 11 Pro,iPhone 11 Pro Max,iPhone SE 2
View MoreDelete The App That's Not Working
Poorly coded apps can sometimes cause problems with on your iPhone. If your iPhone crashes or becomes unresponsive any time you open a specific app, try deleting the app and reinstalling it.
How Do I Delete The App That's Not Working?
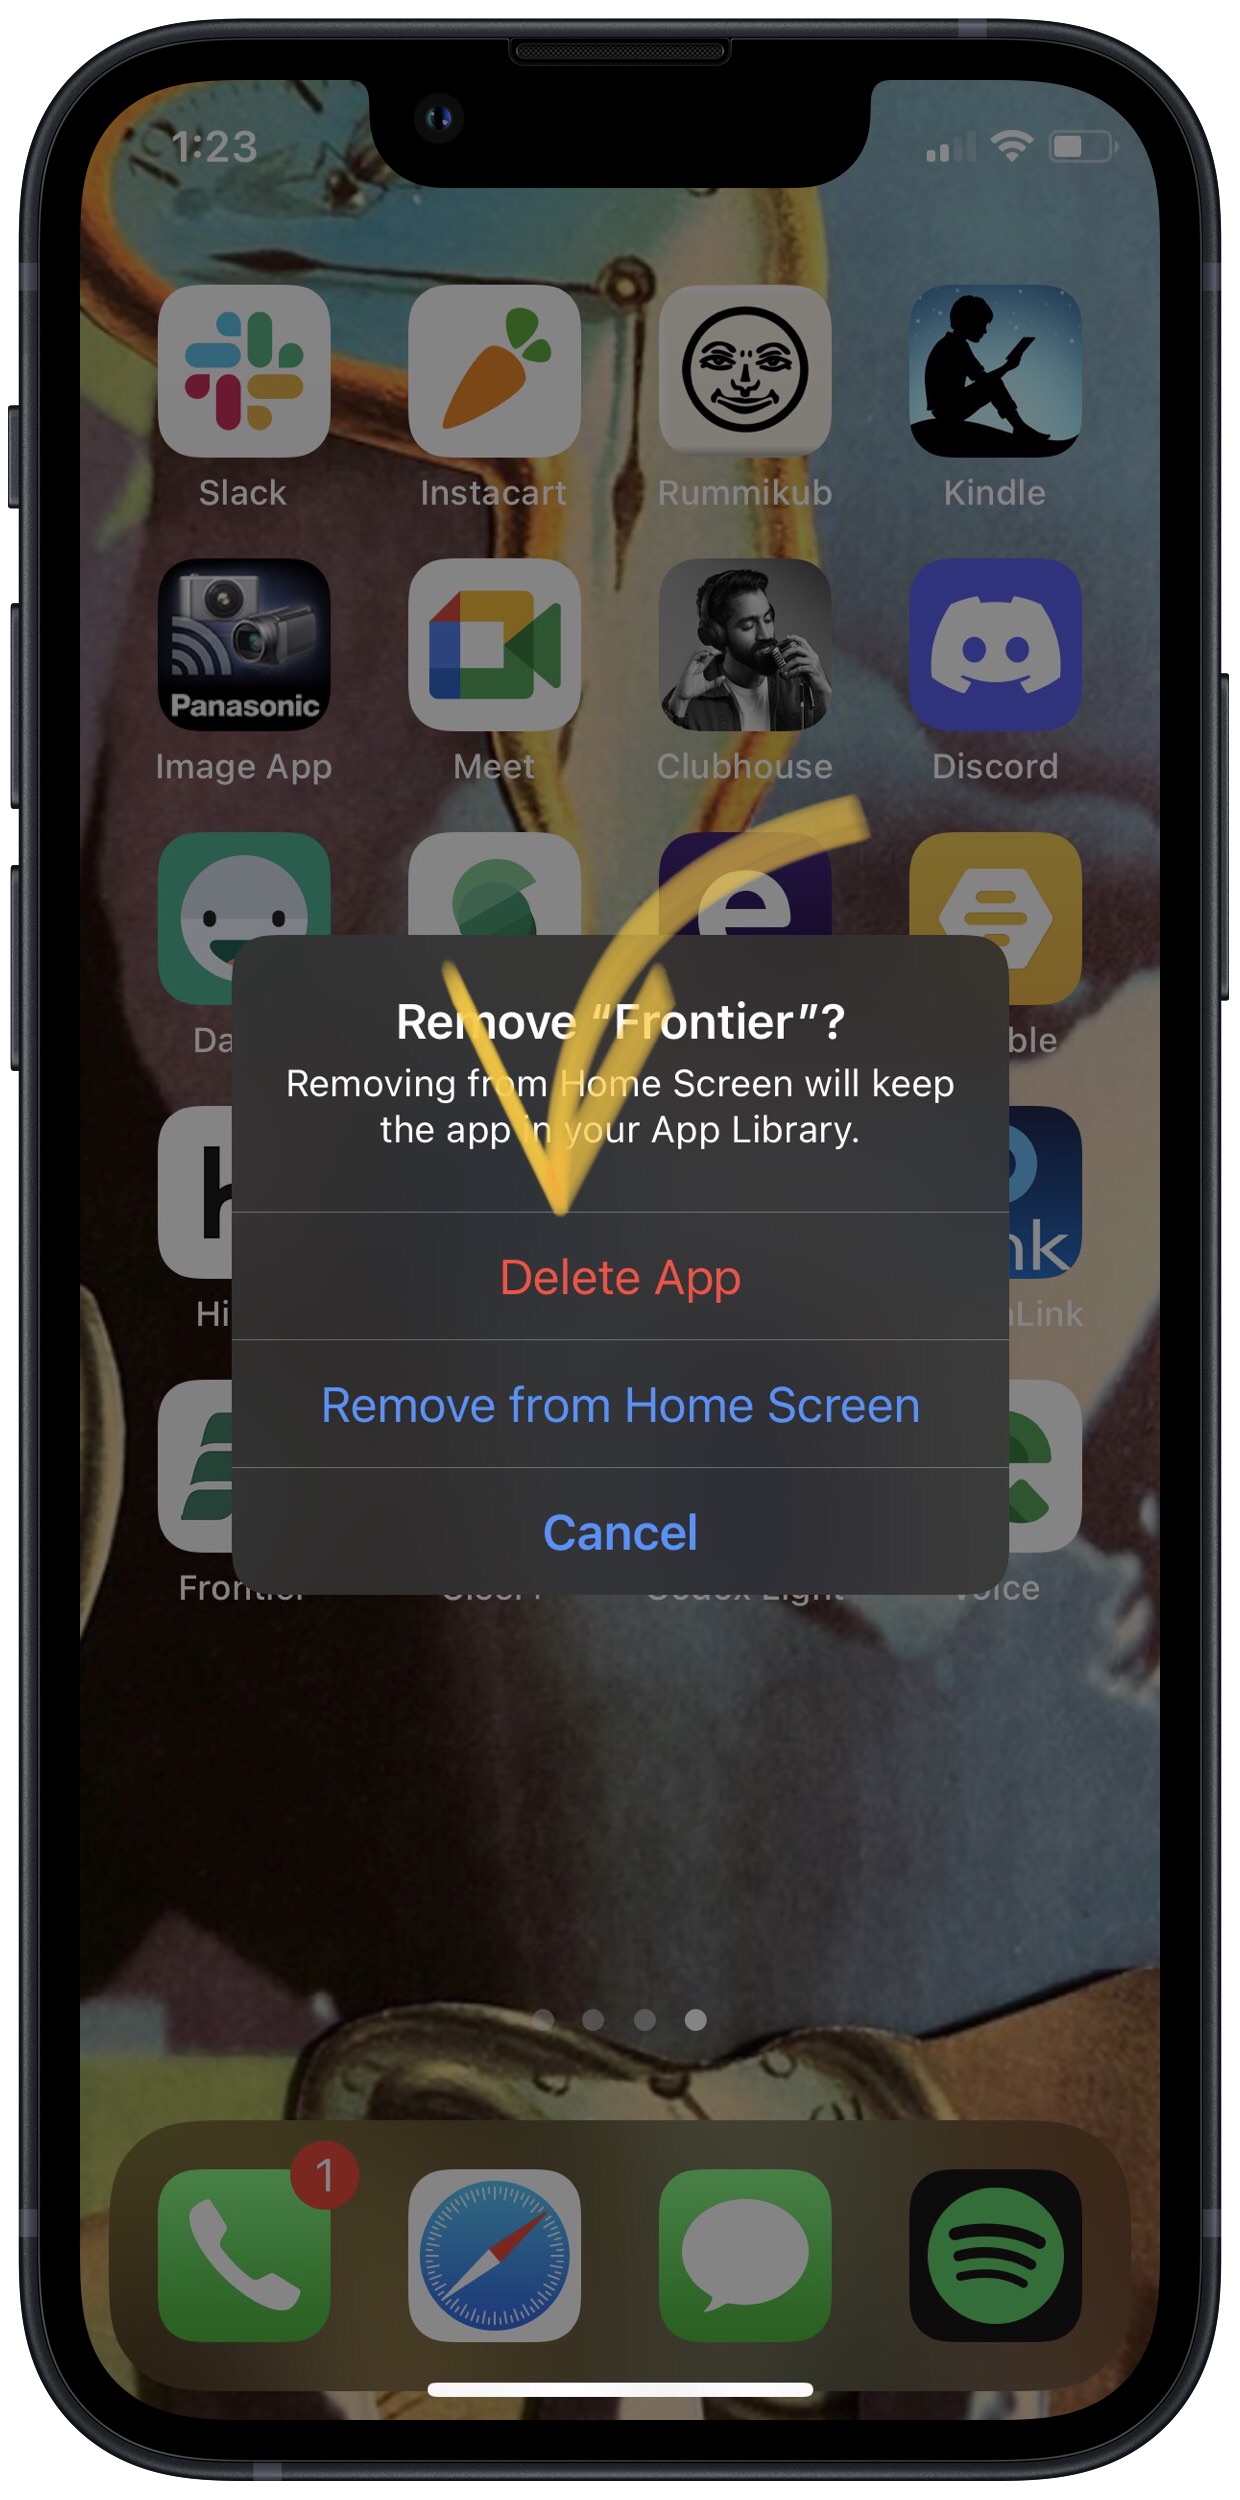
- Press and hold on the app icon you would like to delete.
- Tap Remove App.
- Tap Delete App.
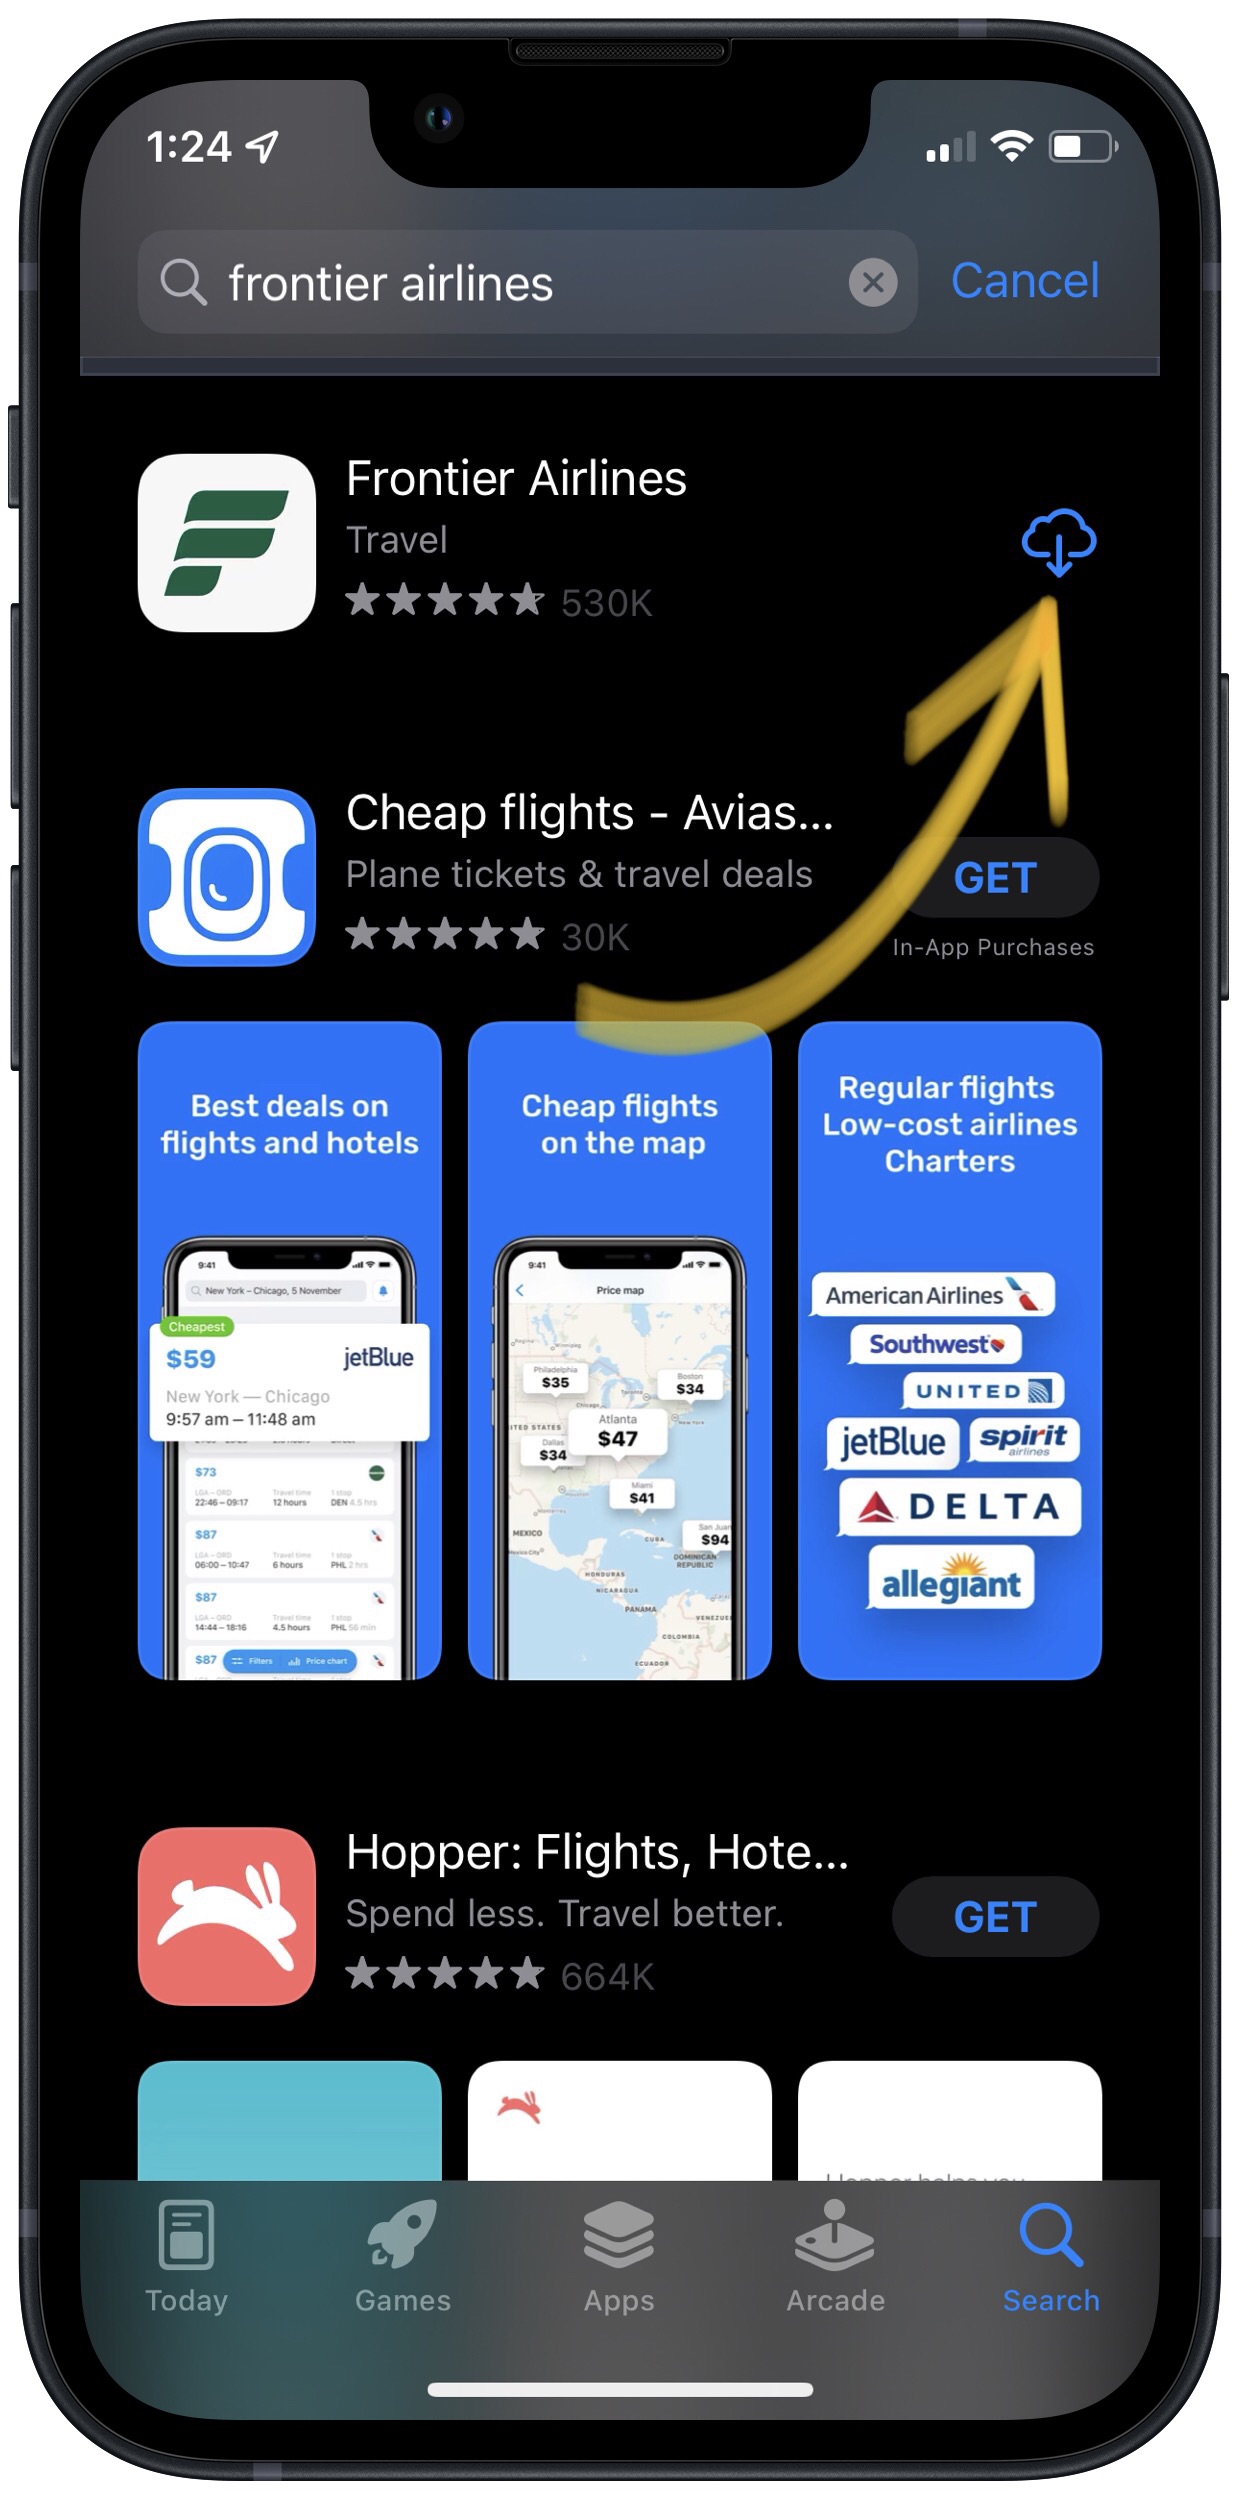
- Go back to the App Store and search for the app.
- Tap the icon to the right of the app to reinstall it.
- If the app continues to cause problems, your best bet is to delete it for good and find an alternative.
Applies To: iPhone 5,iPhone 5S,iPhone 5C,iPhone 6,iPhone 6 Plus,iPhone 6S,iPhone 6S Plus,iPhone SE,iPhone 7,iPhone 7 Plus,iPhone 8,iPhone 8 Plus,iPhone X,iPhone XS,iPhone XS Max,iPhone XR,iPhone 11,iPhone 11 Pro,iPhone 11 Pro Max,iPhone SE 2
View MoreBack Up Your iPhone
It's important to back up your iPhone before doing any major restores (such as a DFU restore). If something goes wrong while you're trying to fix your iPhone, having a back up means you won't lose any of your data (such as contacts, photos, apps, and more). Restoring from a back up is a lot more convenient than having to go and reenter all the information that was saved on your iPhone.
How Do I Back Up My iPhone?
There are a few different ways to back up your iPhone:
Backup Your iPhone Using iCloud
- If you have a WiFi connection, you can back up your iPhone using iCloud.
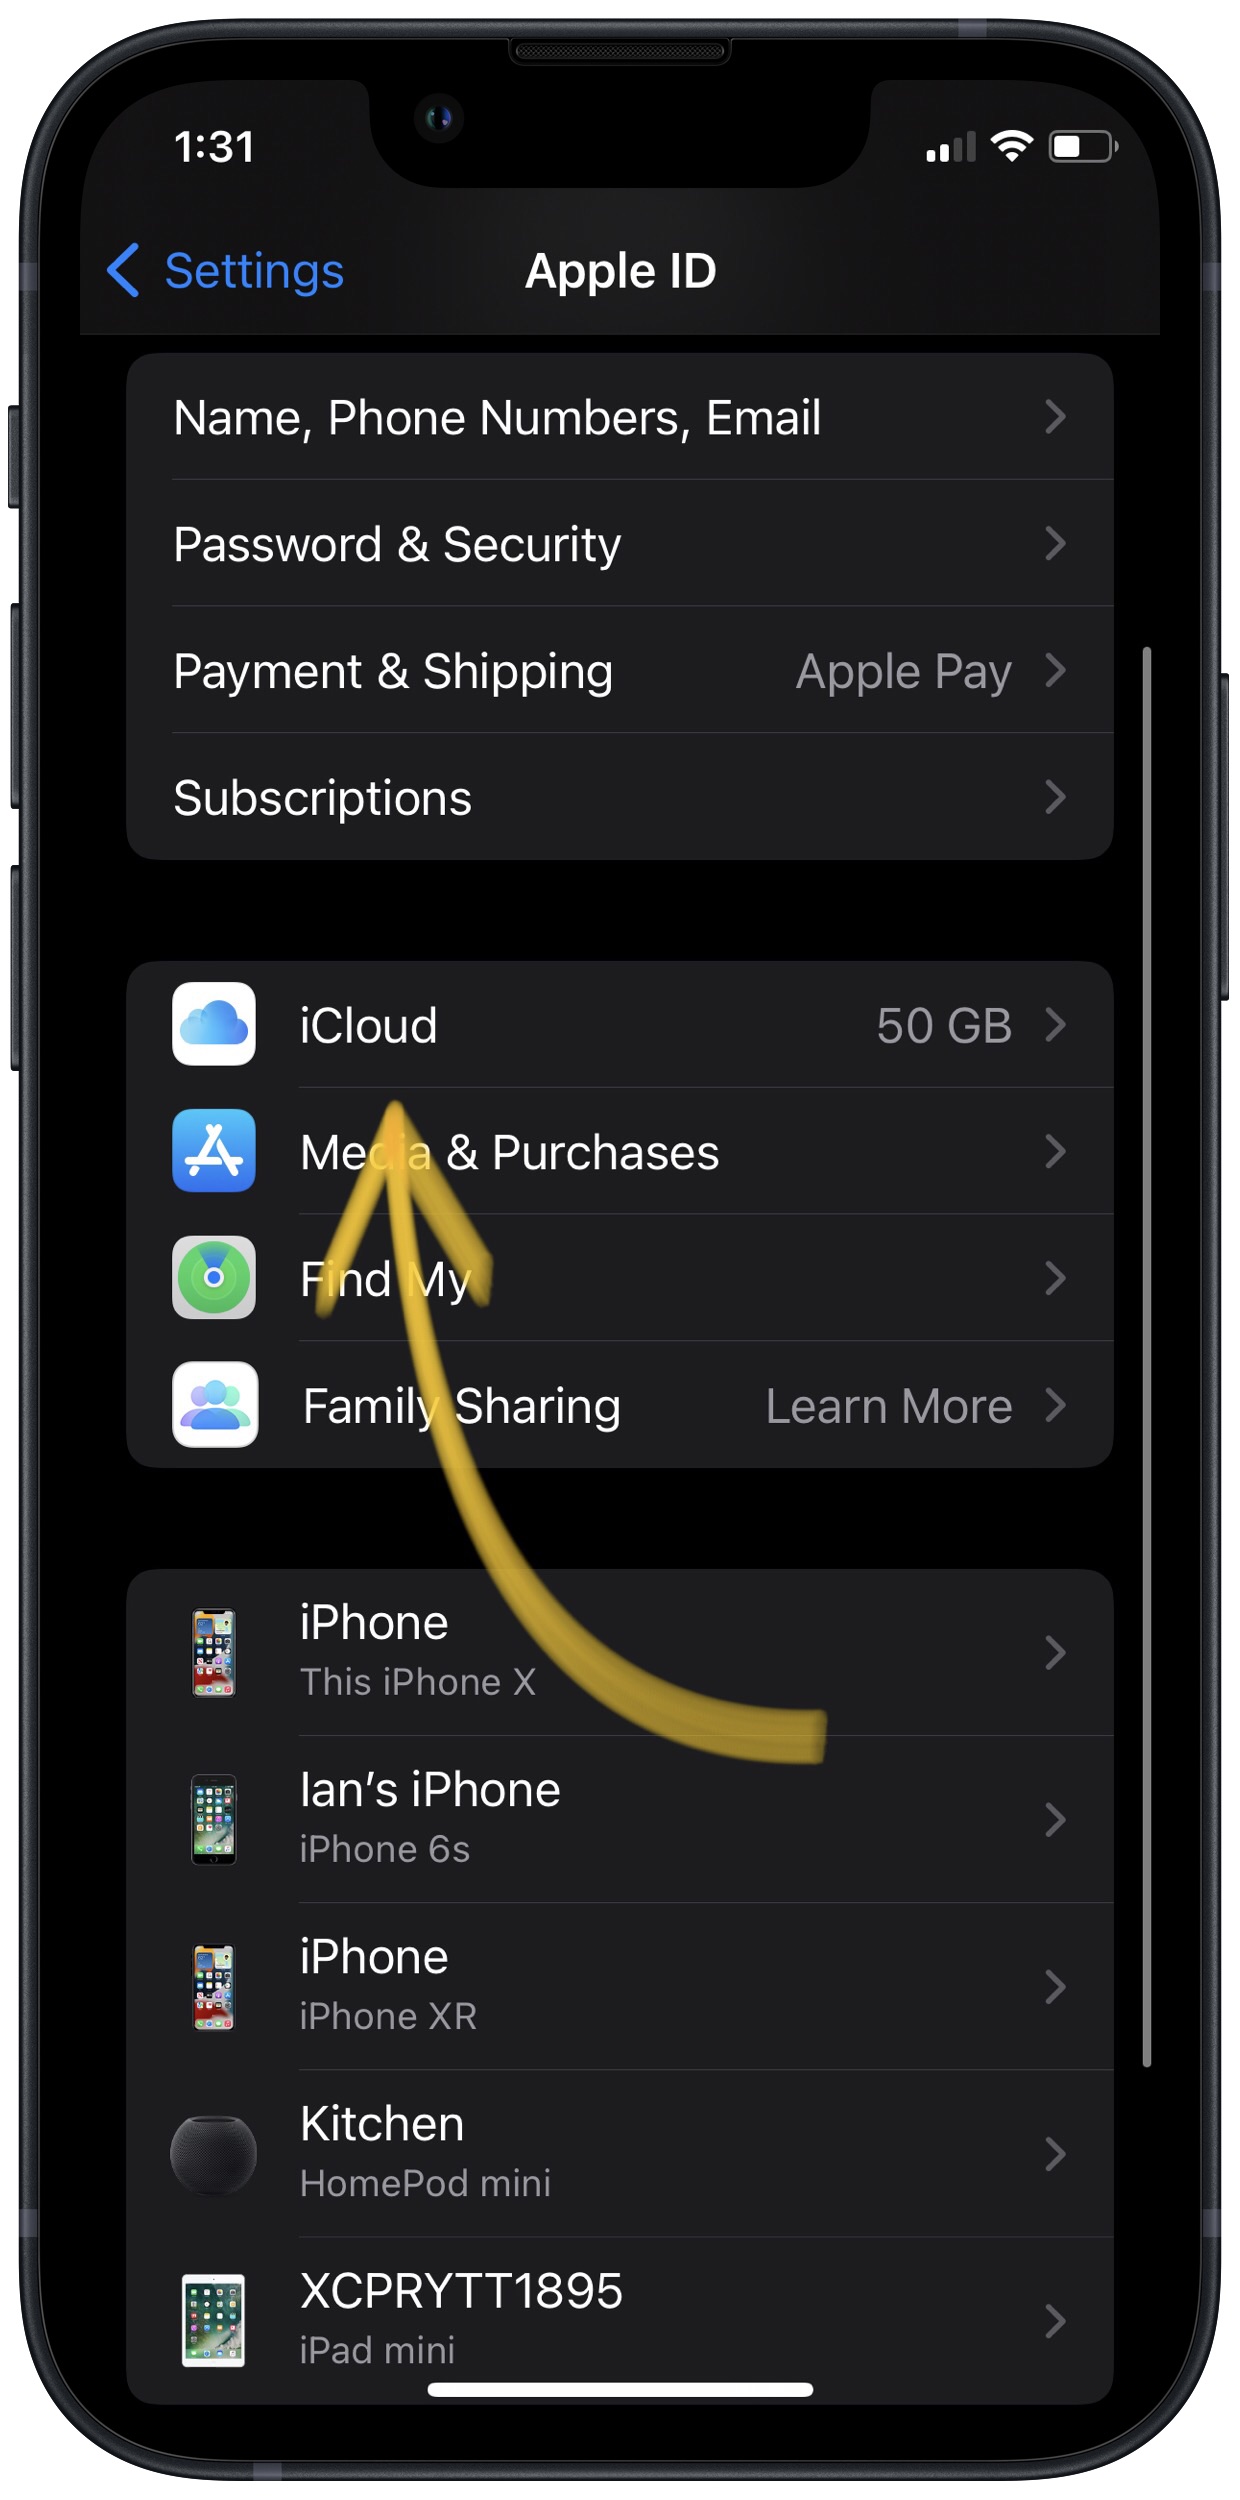
- Open the Settings app.
- Tap on Your Name at the top of the screen.
- Tap iCloud.
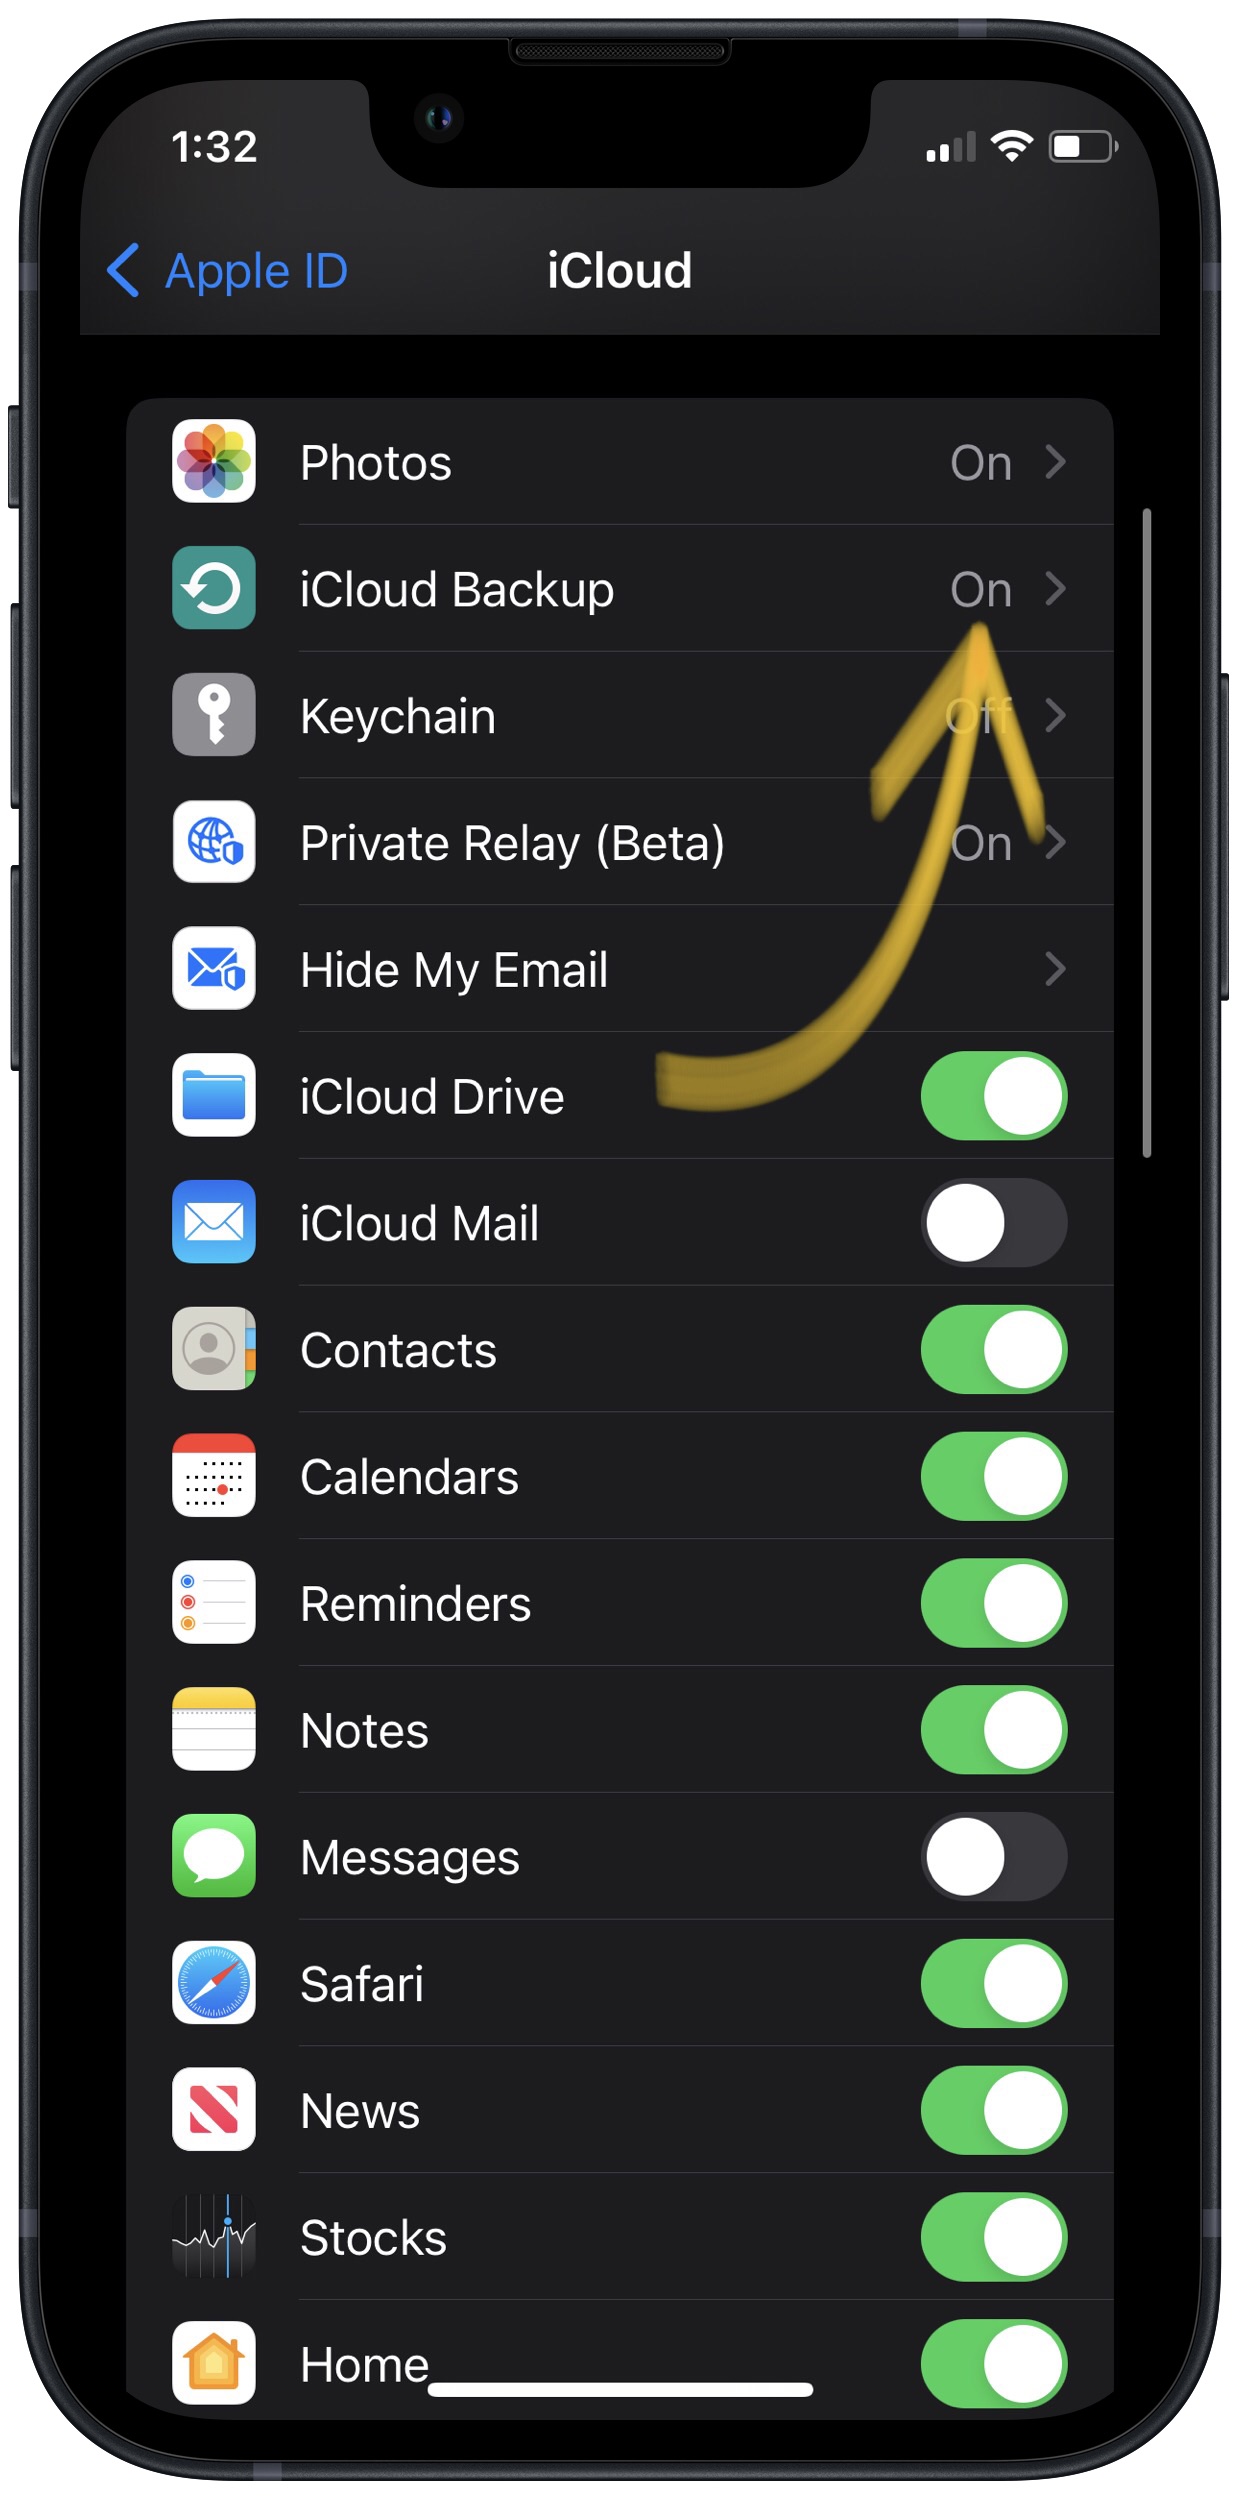
- Scroll down and tap on iCloud Backup.
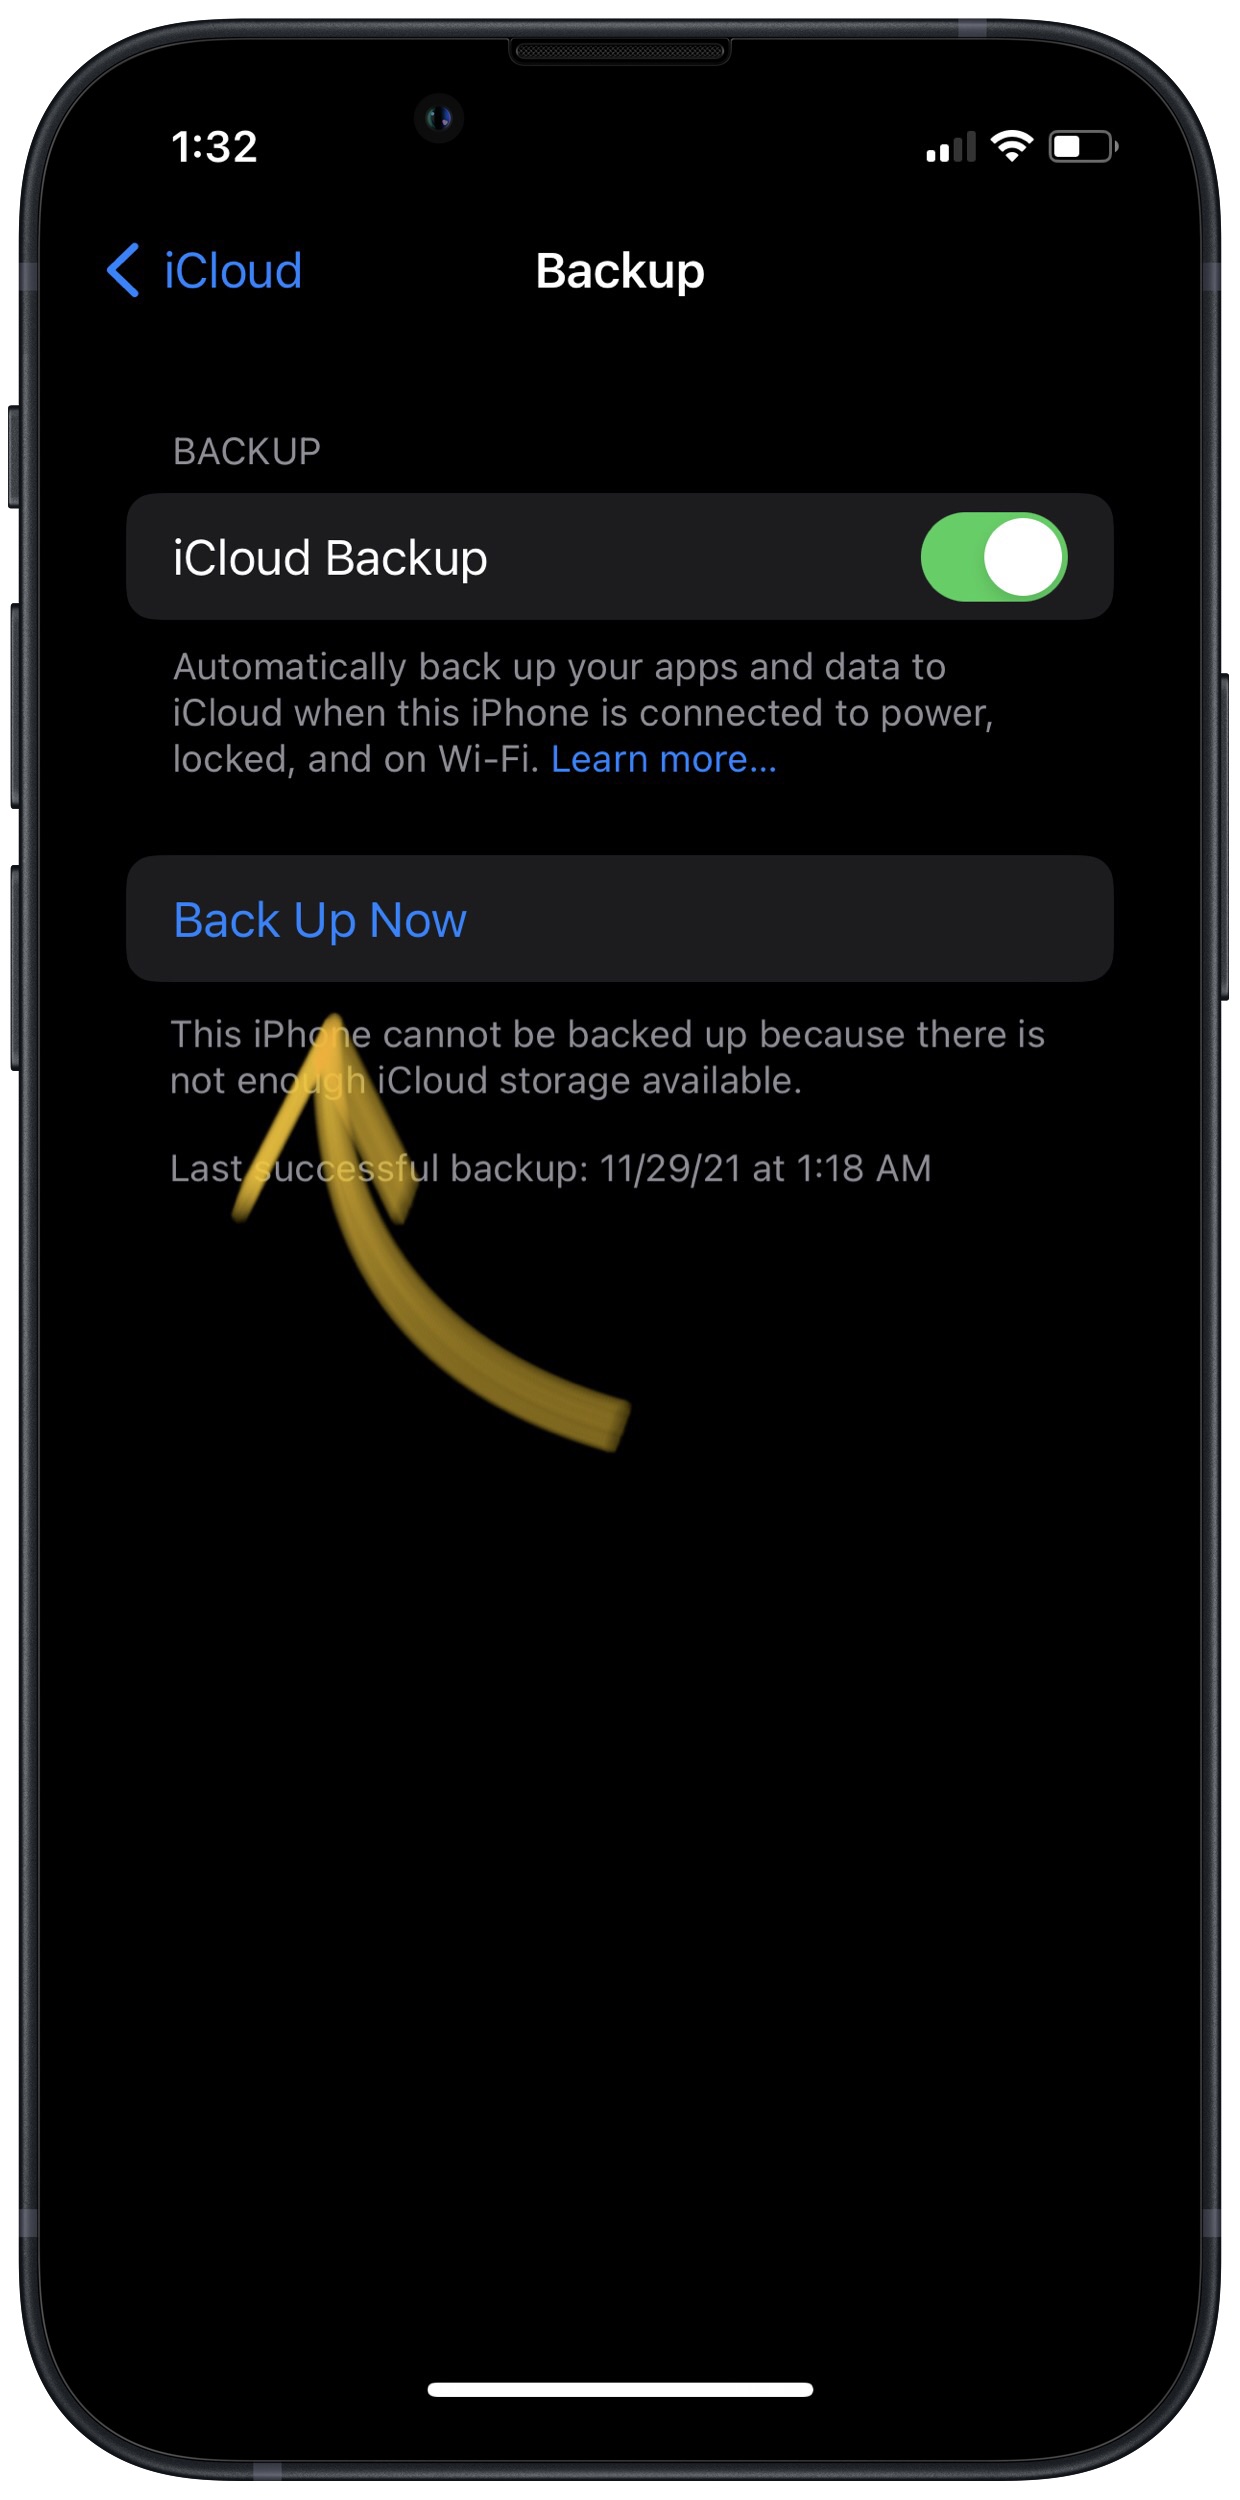
- Make sure the switch next to iCloud Backup is on. You'll know the switch is on when the switch is green.
- Tap Back Up Now.
- A status bar will appear to tell you how much time is remaining.
Backup Your iPhone Using iTunes
- Plug the Lightning connector on your Lightning cable (charging cable) into the Lightning port on your iPhone.
- Plug the other end of your Lightning cable into a USB port on your computer.
- Open iTunes on your computer.
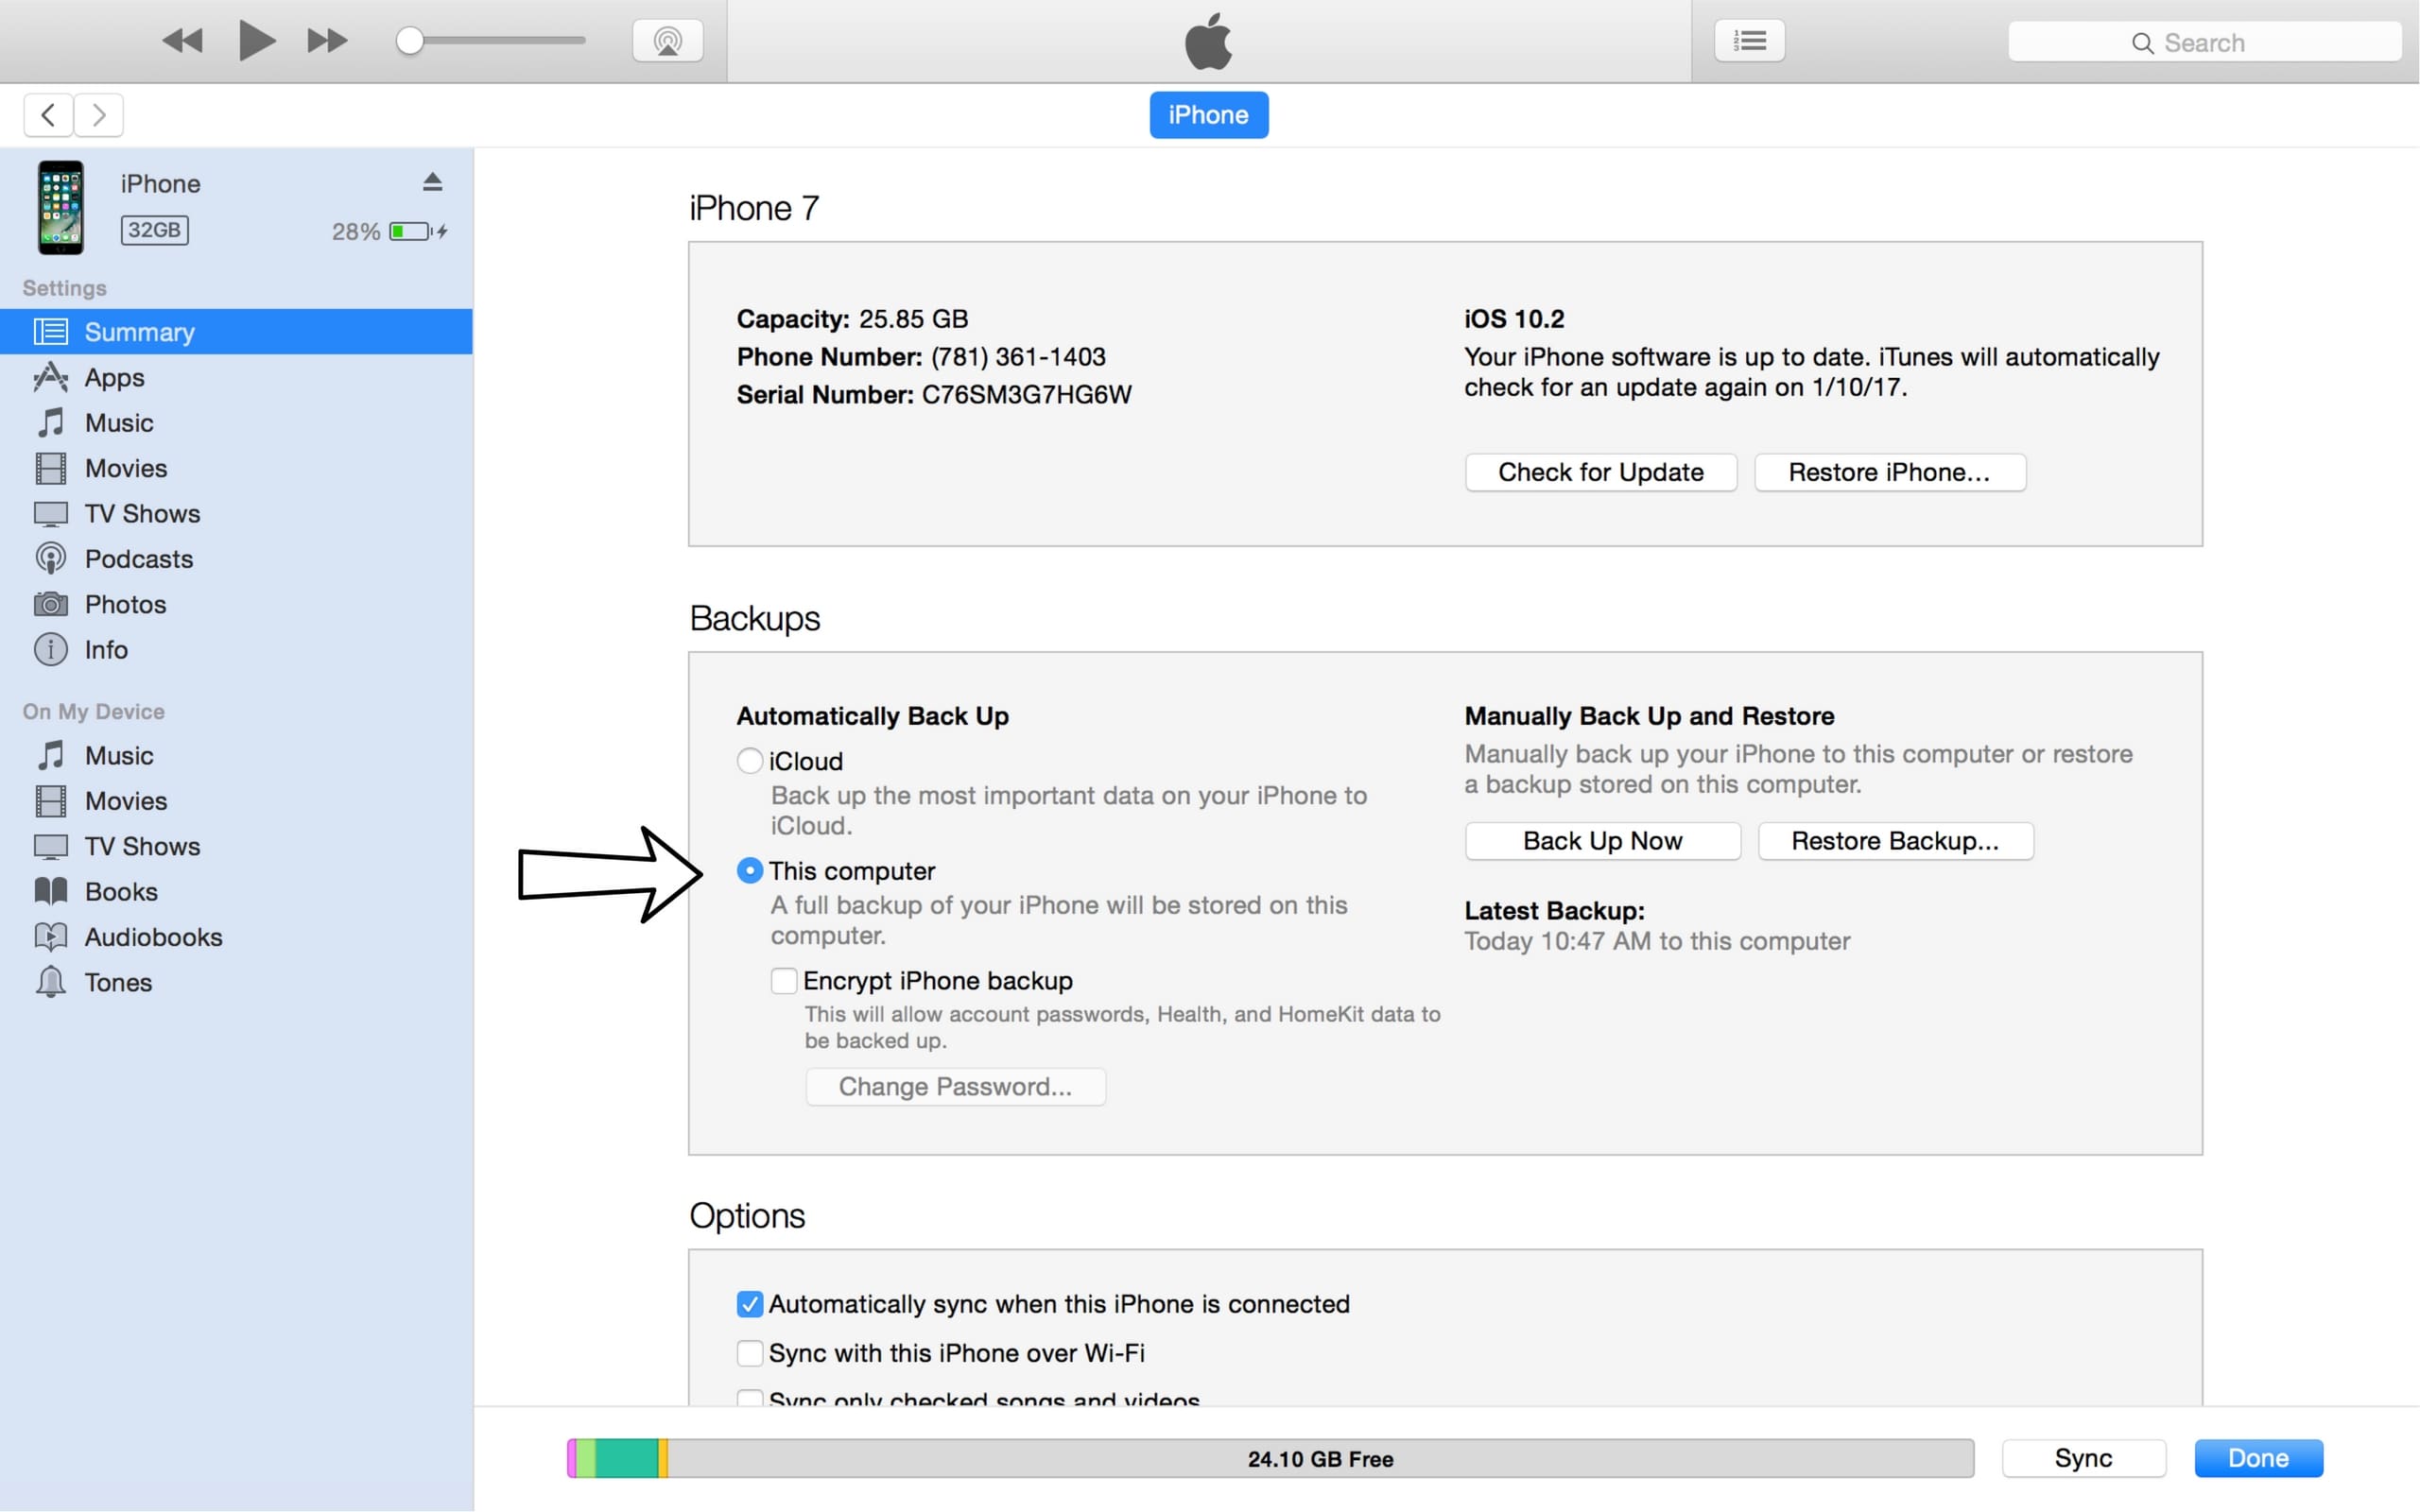
- Click on the iPhone icon in the upper left hand corner of iTunes.
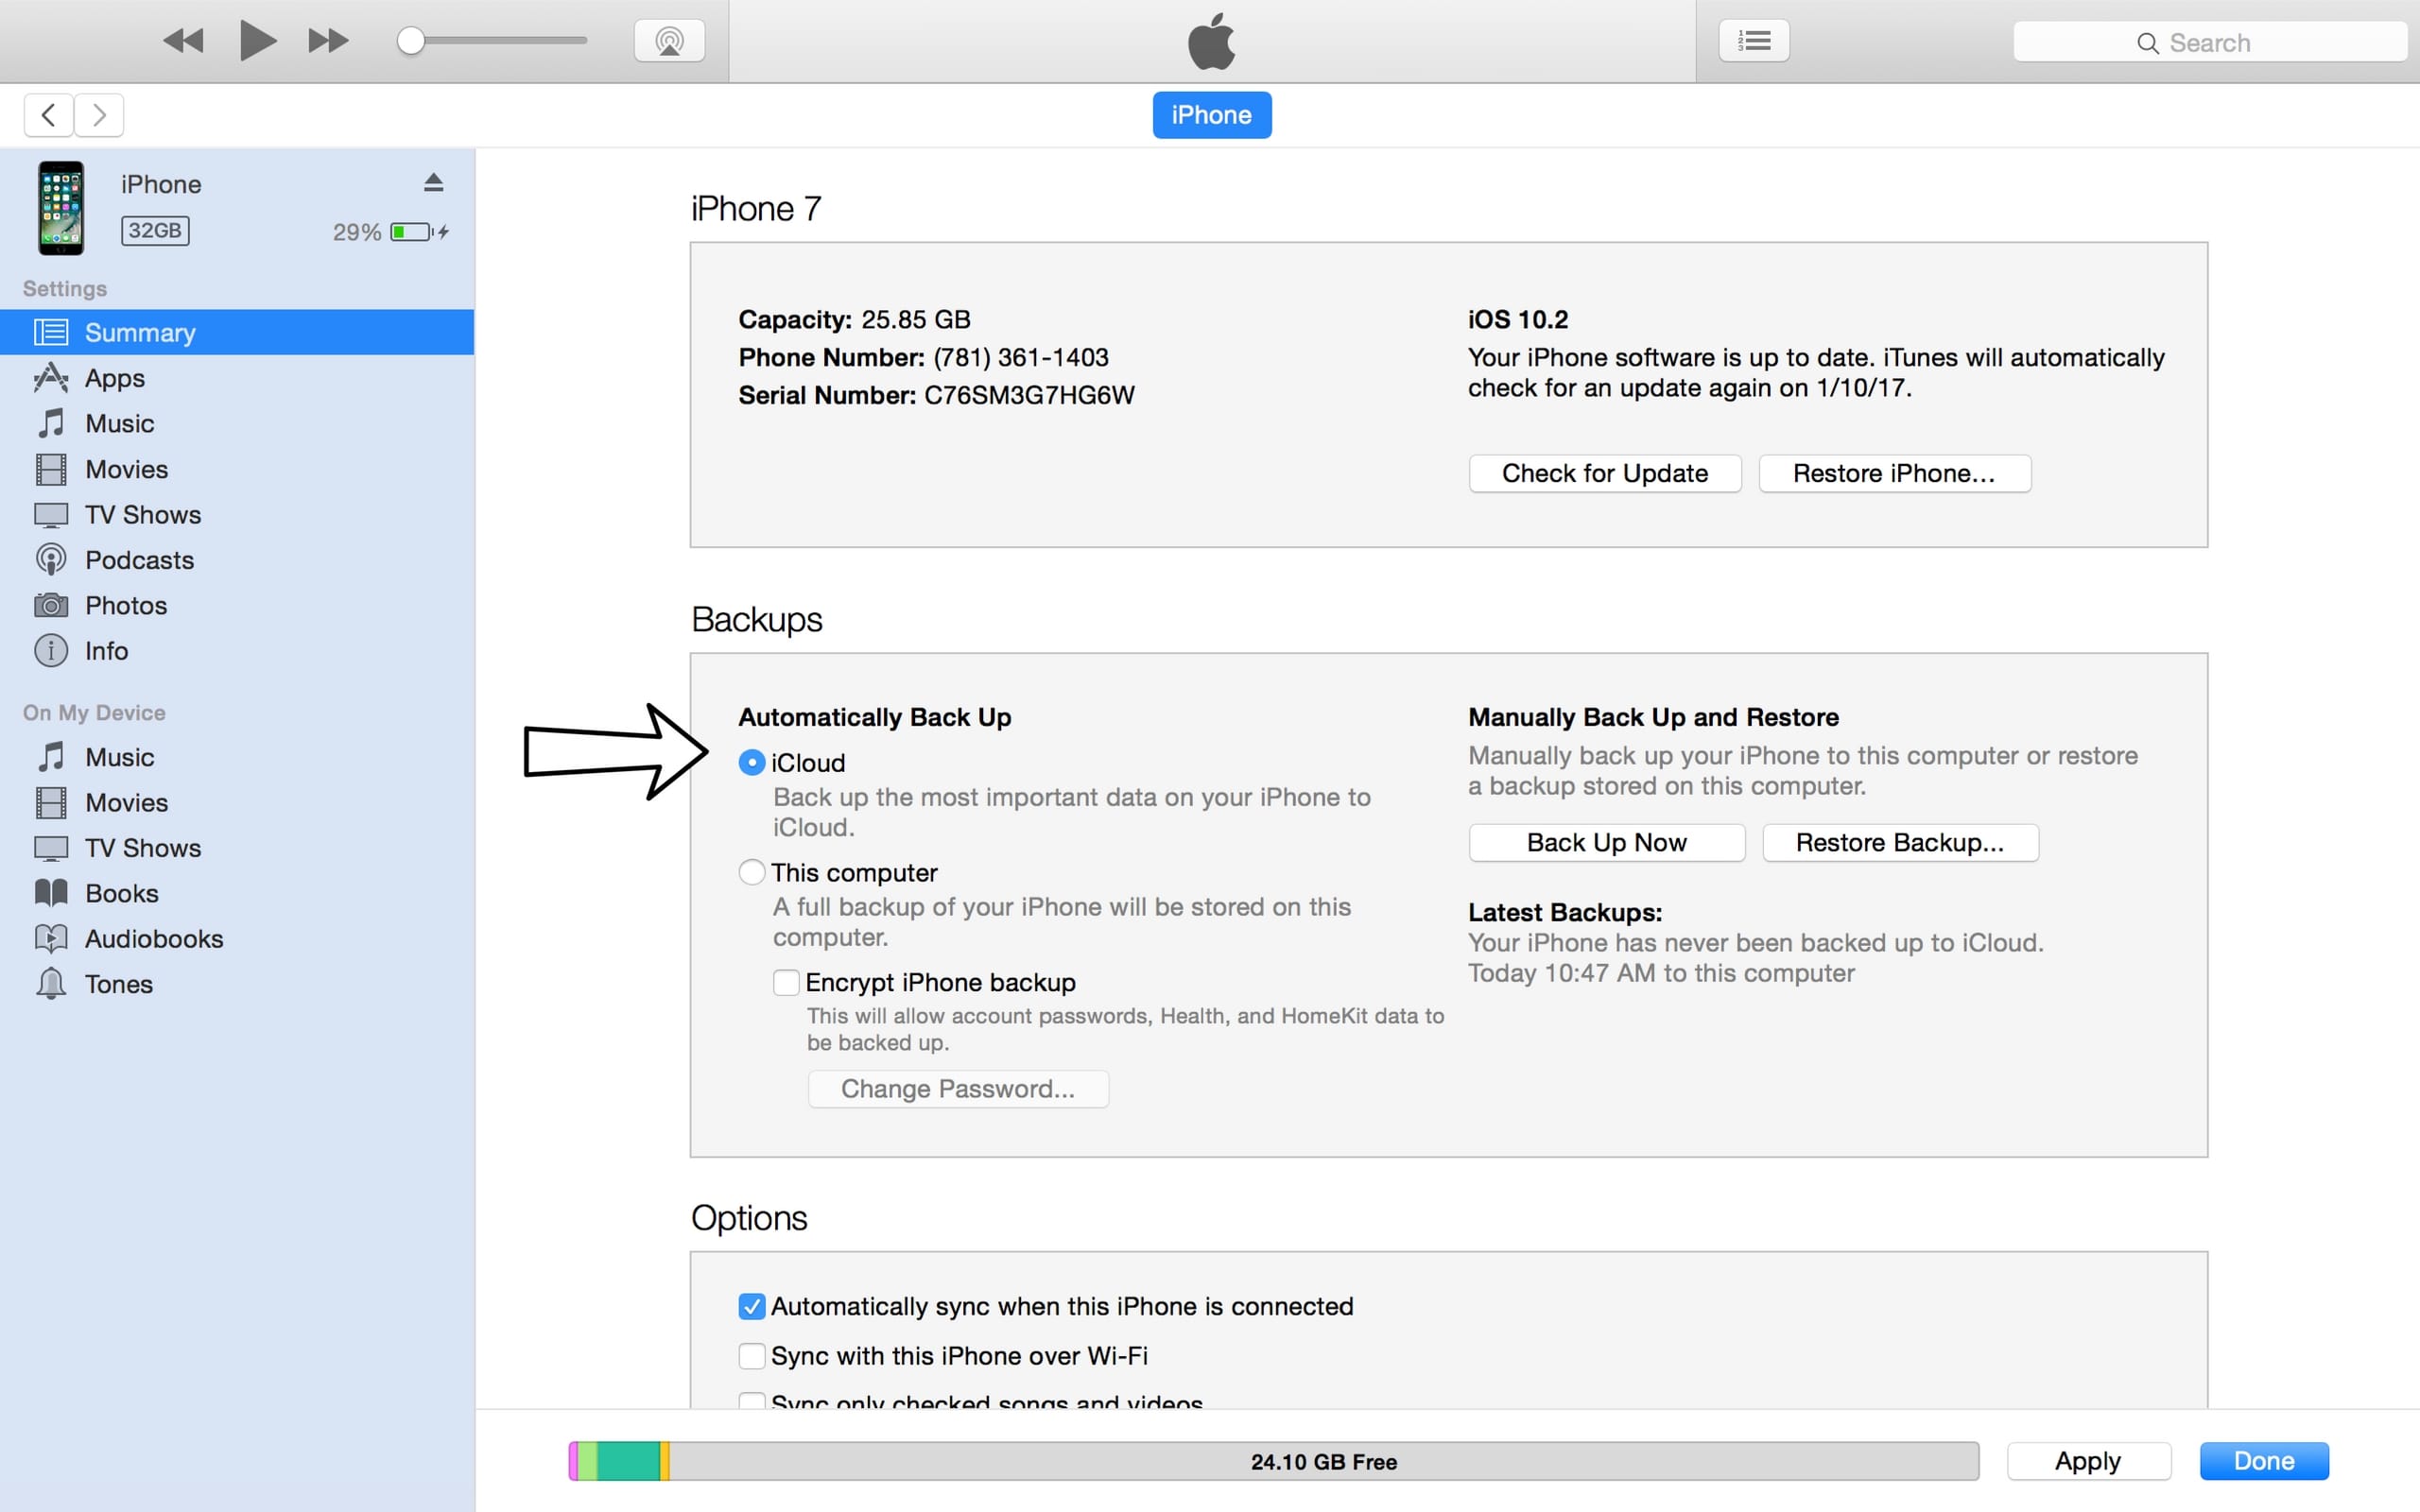
- Click the circle next to "iCloud" or "This computer" to select whether you want to backup your iPhone to iCloud or your computer.
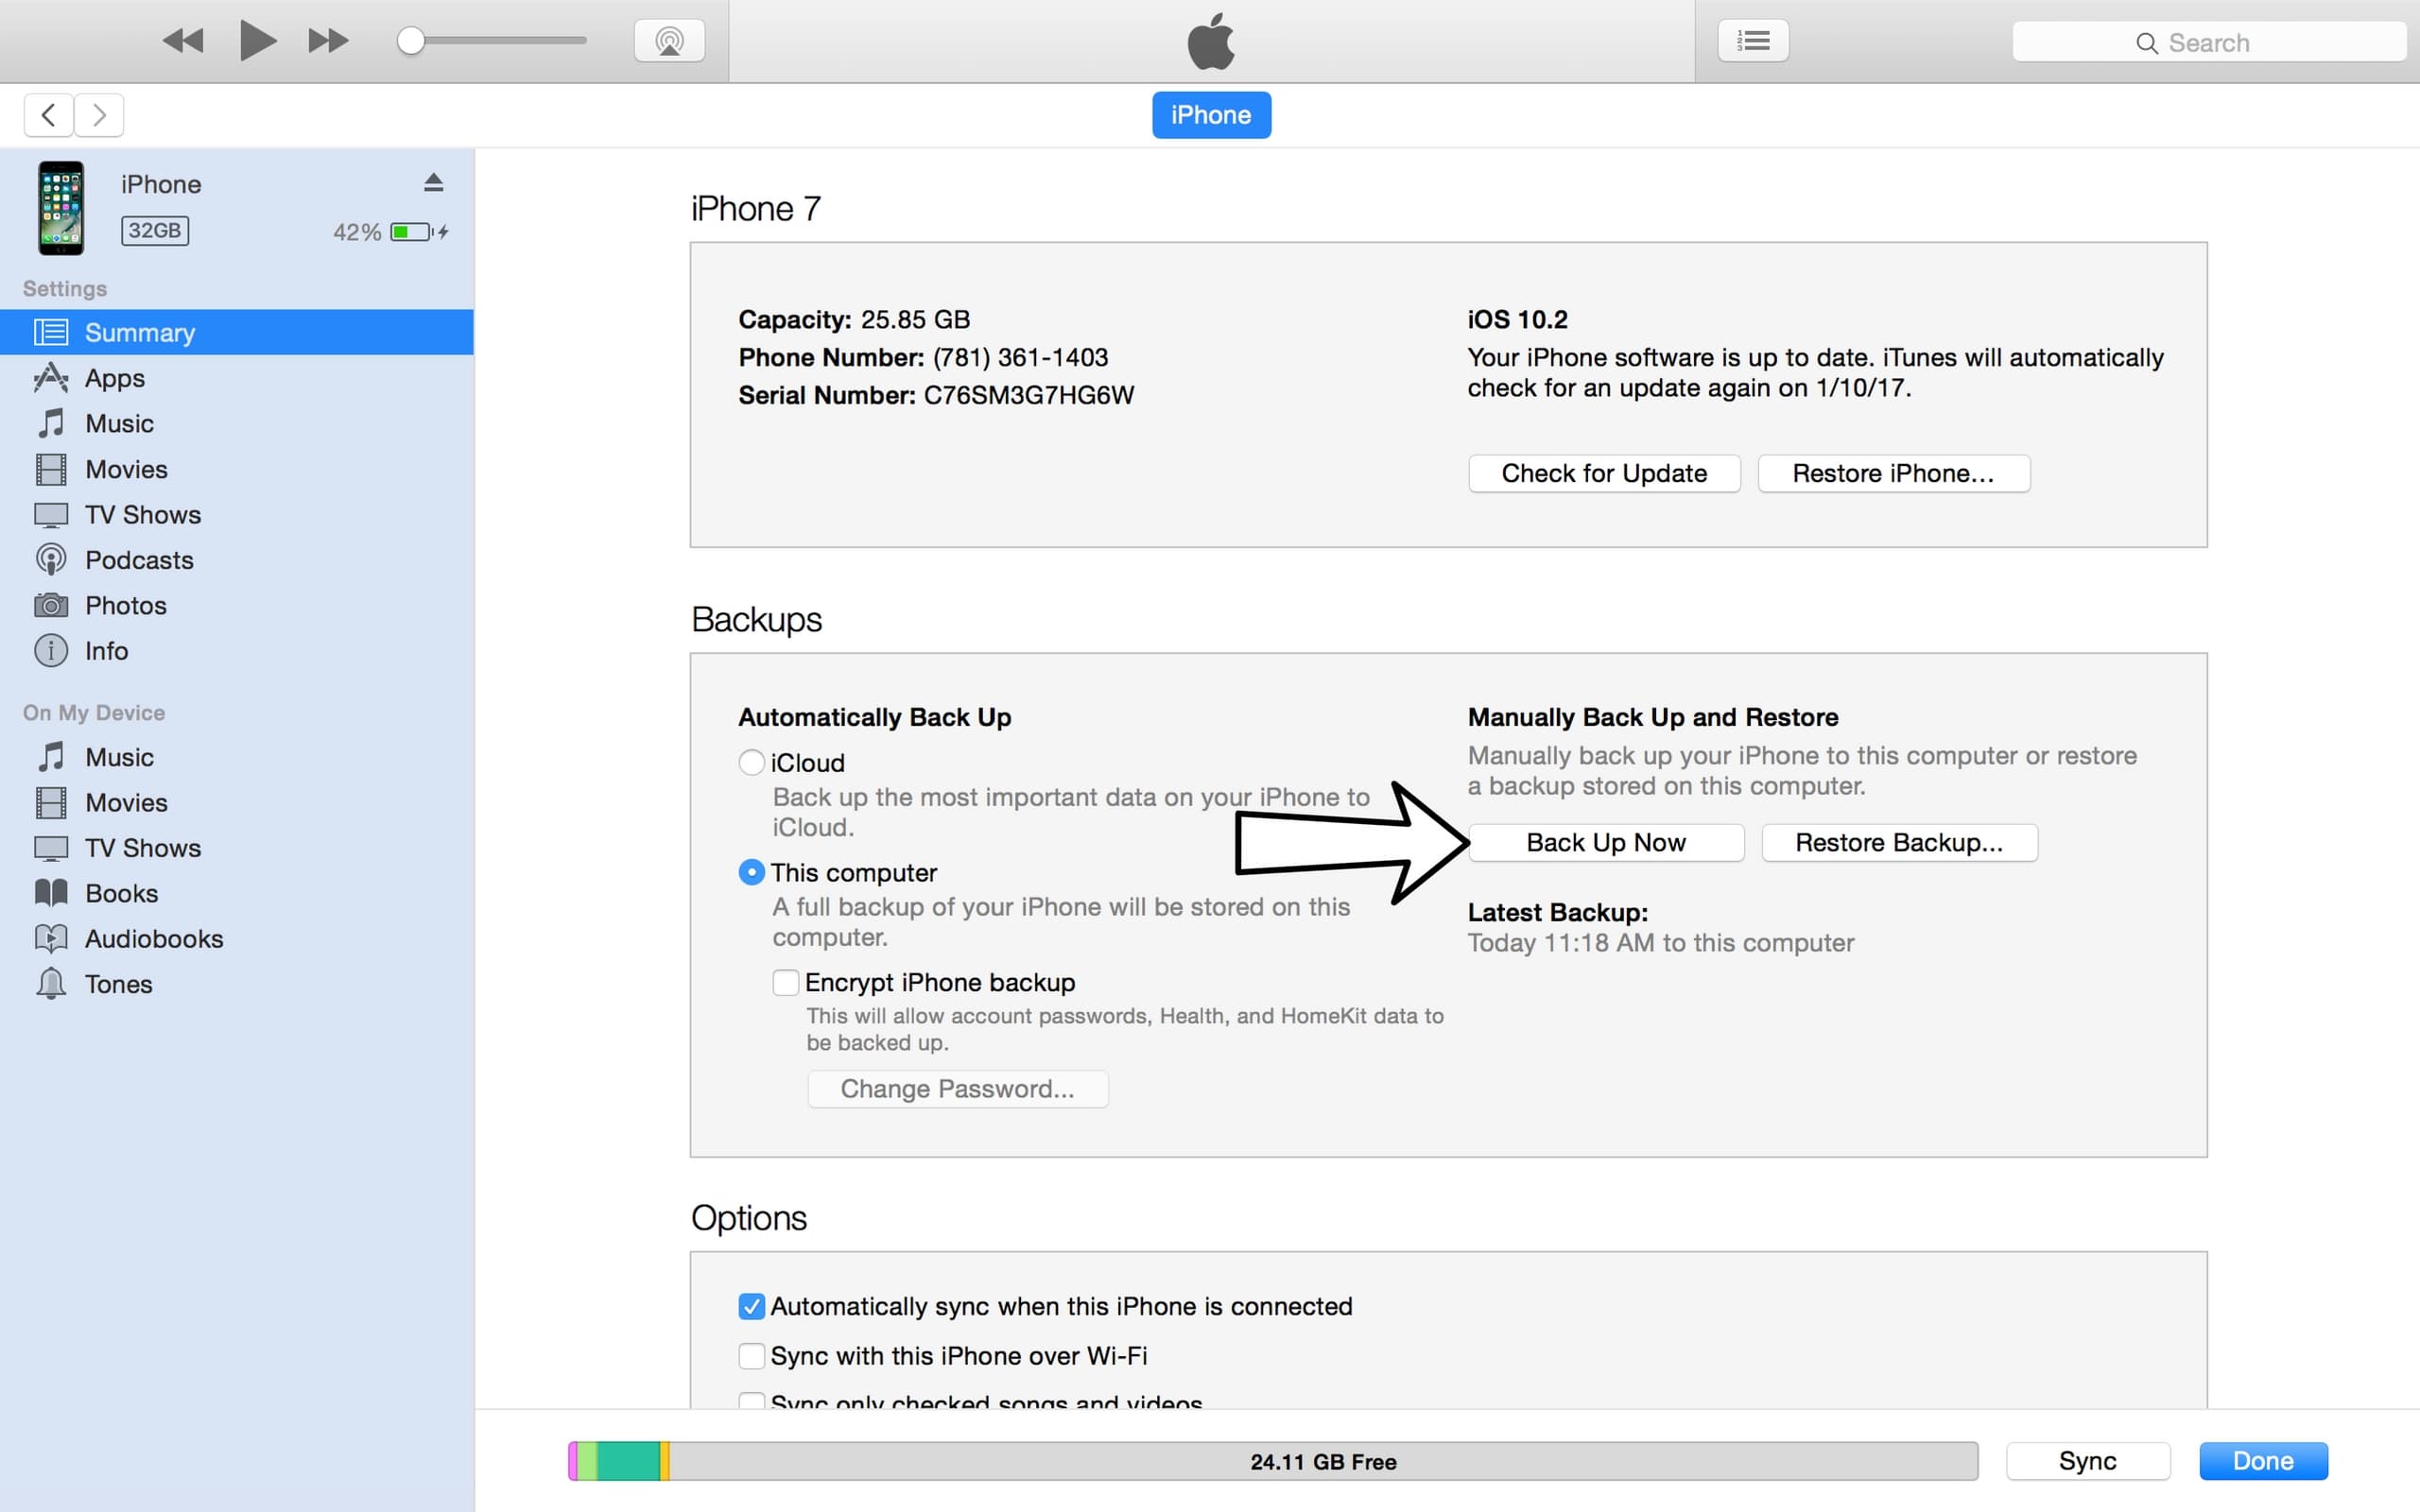
- Click Back Up Now to backup your iPhone.
- When the backup is complete, you'll see the time and date updated under Latest Backup.
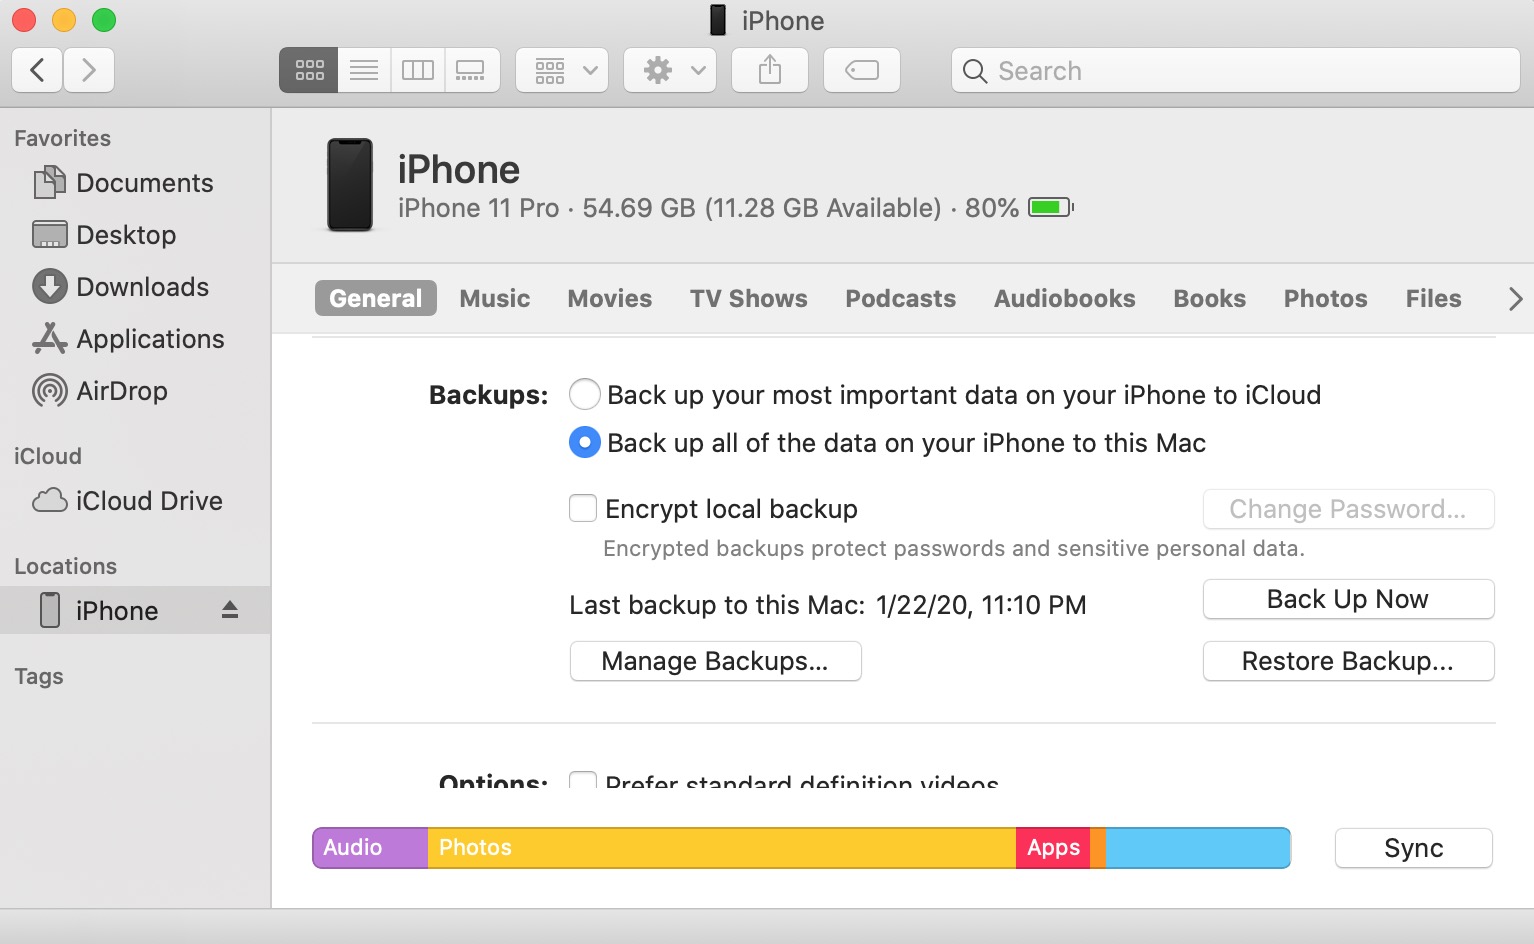
Backup Your iPhone Using Finder (Macs Running Catalina 10.15 or newer)
- Connect your iPhone to your Mac using a charging cable.
- Open Finder.
- Click on your iPhone under Locations.
- Click the circle next to Back up all of the data on your iPhone to this Mac.
- Click Back Up Now.
- When the backup is complete, you'll see the time and date updated under Latest Backup.
Applies To: iPhone 5,iPhone 5S,iPhone 5C,iPhone 6,iPhone 6 Plus,iPhone 6S,iPhone 6S Plus,iPhone SE,iPhone 7,iPhone 7 Plus,iPhone 8,iPhone 8 Plus,iPhone X,iPhone XS,iPhone XS Max,iPhone XR,iPhone 11,iPhone 11 Pro,iPhone 11 Pro Max,iPhone SE 2
View MorePut Your iPhone In DFU Mode
A DFU restore is the last troubleshooting step you can take to rule out a software problem on your iPhone.
Watch our step-by-step DFU restore guide on YouTube, or follow the steps below:
- Plug your iPhone in a computer.
- Open iTunes (on PCs or Macs running macOS Mojave 10.14 or earlier) or Finder (Macs running macOS Catalina 10.15 or newer).
- Press and release the volume up button.
- Press and release the volume down button.
- Press and hold the side button until your iPhone's display goes black.
- When the screen turns black, press and hold the volume down button while continuing to hold the side button.
- Hold both buttons for five seconds.
- After five seconds, release the side button, but continue to hold the volume down button.
- Release the volume down button when your iPhone appears in iTunes or Finder.
- Your iPhone appears in iTunes or Finder, it's in DFU mode!
- Click Restore and follow the on-screen prompts to DFU restore your iPhone.
Applies To: iPhone 5,iPhone 5S,iPhone 5C,iPhone 6,iPhone 6 Plus,iPhone 6S,iPhone 6S Plus,iPhone SE,iPhone 7,iPhone 7 Plus,iPhone 8,iPhone 8 Plus,iPhone X,iPhone XS,iPhone XS Max,iPhone XR,iPhone 11,iPhone 11 Pro,iPhone 11 Pro Max,iPhone SE 2
View MoreRepair Your iPhone With Apple
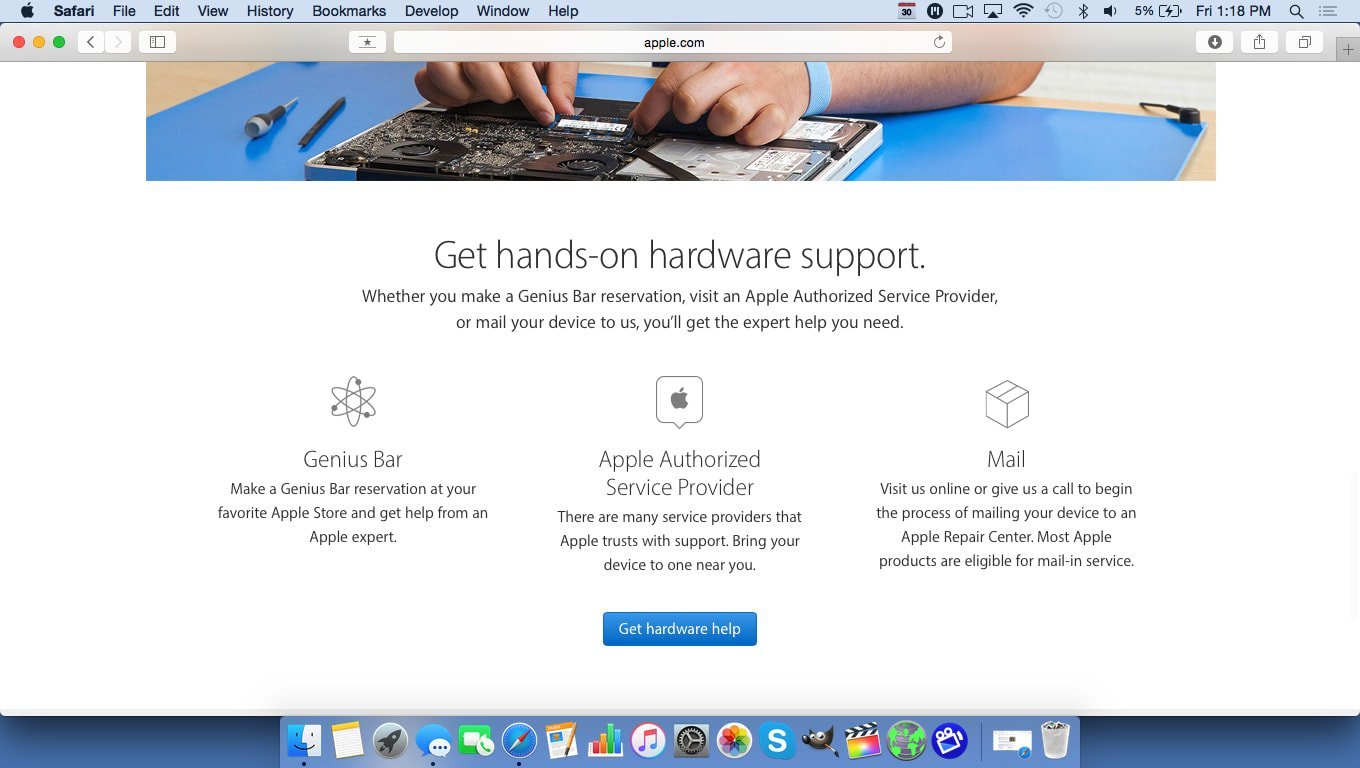
Apple repairs iPhones at the Genius Bar in Apple Stores and through their online mail-in repair service. Apple repairs are high-quality, but out-of-warranty repairs can be much more expensive than third-party solutions. If you're looking to save some money you're not covered by Apple's warranty, you may want to check out our other recommendations.
How Do I Repair My iPhone With Apple?
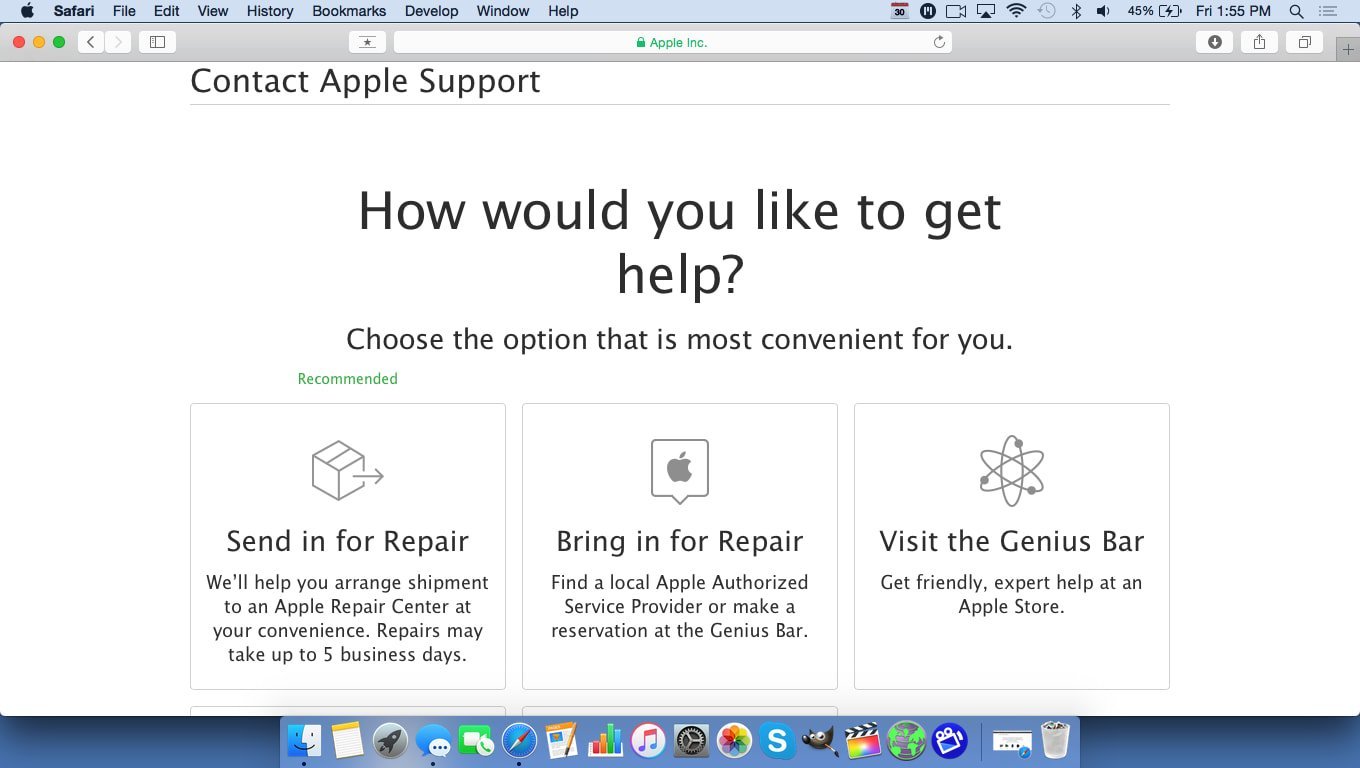
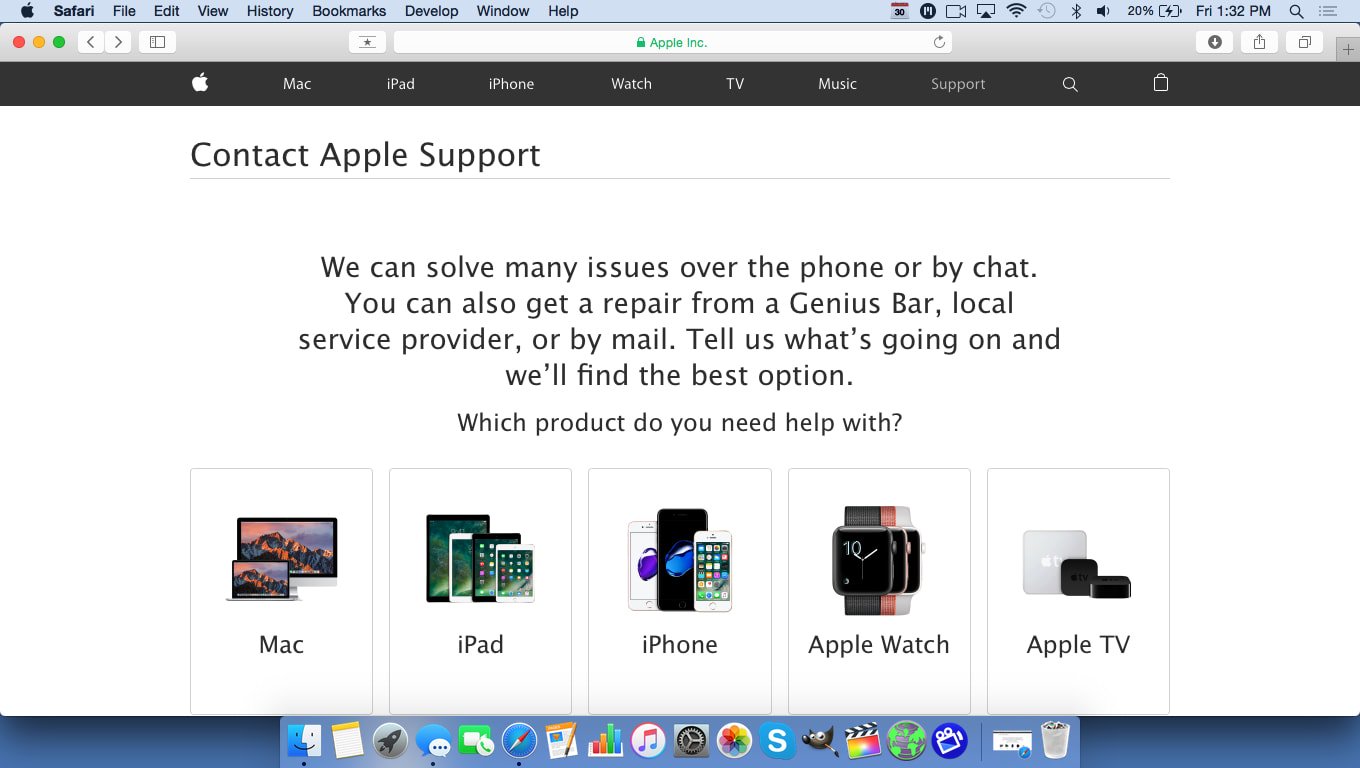
How To Repair Your iPhone With Apple's Mail-In Service
- Visit Apple's support website to begin the online mail-in repair process.
- Alternatively, call 1-800-MY-APPLE (1-800-692-7753) to set up a repair.
How To Repair Your iPhone At The Genius Bar Inside Your Local Apple Store
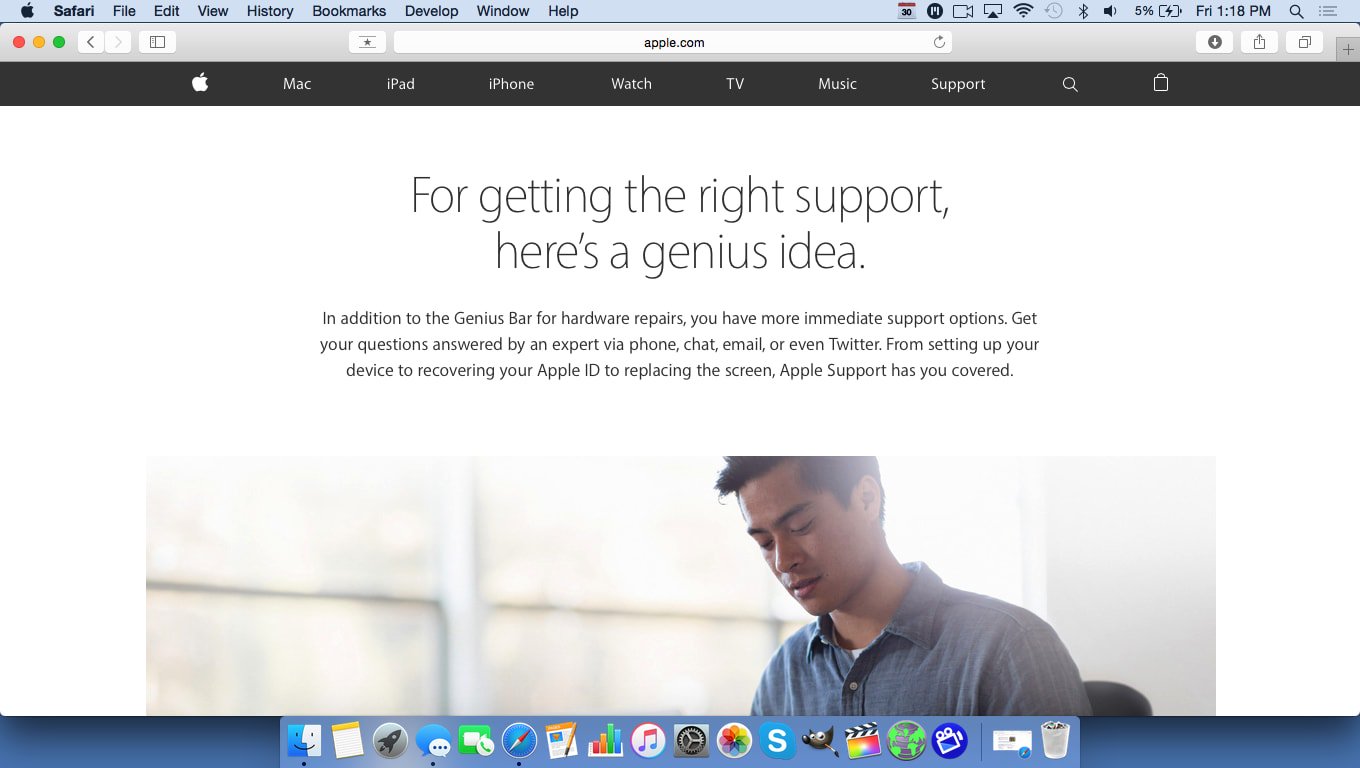
- Visit Apple's website to make a Genius Bar appointment before you go into the store. Apple Stores are extremely busy, and if you don't have an appointment, you may have to wait for hours or end up being turned away. (Editor's note: I'm a former Apple tech and we're not exaggerating — please, do yourself a favor and make an appointment first!)
- When you arrive, go to the Genius Bar to check in for your appointment.
- Genius Bar appointments always include free diagnosis. If you're under warranty, many repairs can be done on the spot, but it all depends upon which parts are in stock. If you're not under warranty, the Genius will give you a quote for the cost of a repair.
Applies To: iPhone 5,iPhone 5S,iPhone 5C,iPhone 6,iPhone 6 Plus,iPhone 6S,iPhone 6S Plus,iPhone SE,iPhone 7,iPhone 7 Plus,iPhone 8,iPhone 8 Plus,iPhone X,iPhone XS,iPhone XS Max,iPhone XR,iPhone 11,iPhone 11 Pro,iPhone 11 Pro Max,iPhone SE 2
View MoreYour iPhone 13 Has A Working Screen!
Hopefully, your iPhone 13's screen is acting normal once again. Which solution worked for you? Let us know in the comments, and thanks for reading!
Option #1 does not do what is shown. It activates an Emergency call feature, if I wait for the countdown to end then the shutdown screen with the slide bar returns and I still can’t do anything. My phone has the most recent iOS update (not 18-somethng).