iPhone 7 Plus Not Receiving Calls? Here's The Fix!
Your iPhone 7 Plus won't receive calls and you're not sure why. This problem is incredibly frustrating, especially if you're expecting an important call from work or a family member. In this article, I'll explain why your iPhone 7 Plus is not receiving calls and show you how to fix the problem for good!
How To Fix An iPhone 7 Plus Not Receiving Calls
8 Steps TotalUpdate Carrier Settings
The UpPhone recommend that you update carrier settings immediately after they become available because outdated settings may lead to connectivity issues between your iPhone and your wireless carrier's network.
Some potential issues include having poor service or your iPhone going straight to voicemail anytime you receive a call.
- Make sure that your iPhone is connected to a Wi-Fi network, or that Cellular Data is turned on.
- Open the Settings app.
- Make Tap General.
- Tap About.
- After a few seconds, if a carrier settings update is available, you'll see a pop-up on the screen of your iPhone which says, "New settings are available. Would you like to update them now?"
- Tap Update.
Applies To: iPhone 5,iPhone 5S,iPhone 5C,iPhone 6,iPhone 6 Plus,iPhone 6S,iPhone 6S Plus,iPhone SE,iPhone 7,iPhone 7 Plus,iPhone 8,iPhone 8 Plus,iPhone X,iPhone XS,iPhone XS Max,iPhone XR,iPhone 11,iPhone 11 Pro,iPhone 11 Pro Max,iPhone SE 2
View MoreTurn Off Airplane Mode
When your iPhone is in Airplane mode, both Wi-Fi and cellular connections turn off and you won't be able to receive calls or text messages.
How Do I Turn Off Airplane Mode?
There are two ways to turn off Airplane mode:
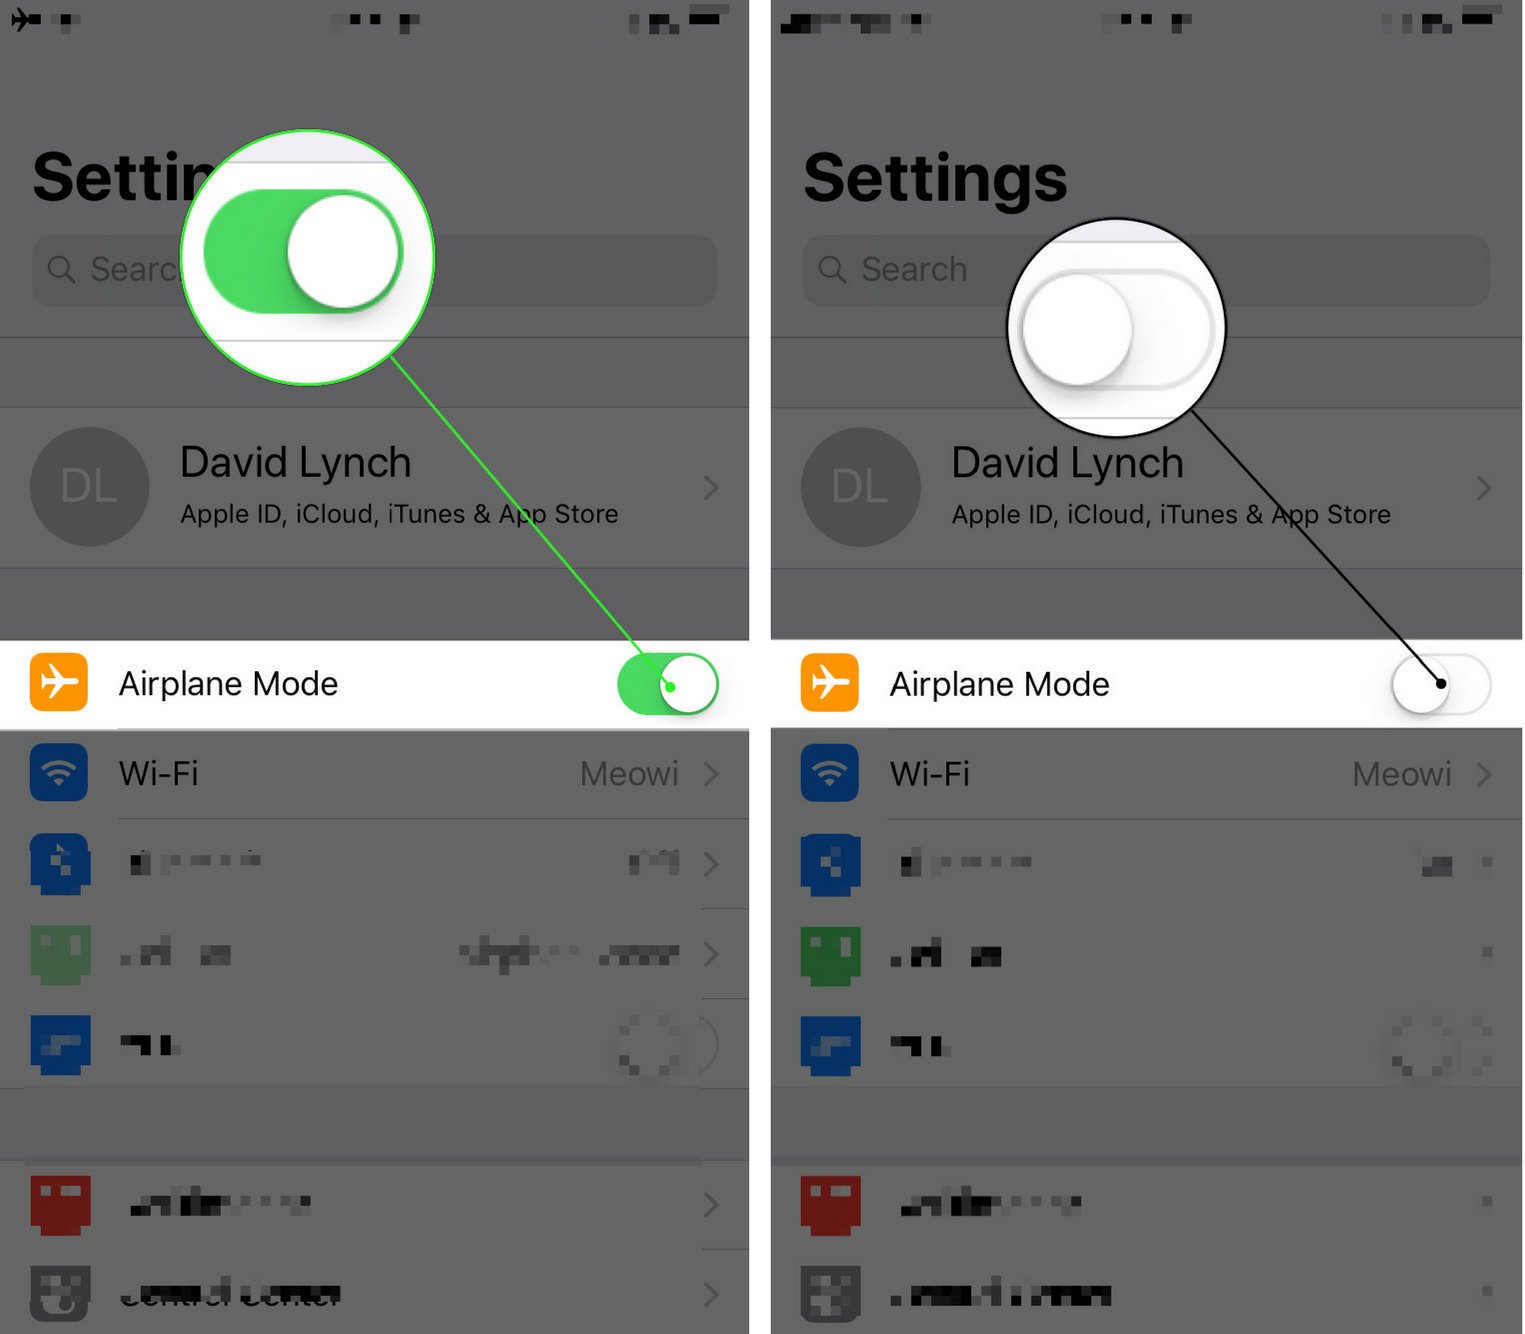
Turn Off Airplane Mode In The Settings App
- Open the Settings app.
- Look at the switch next to Airplane mode.
- If the switch is green, then Airplane mode is on.
- Use your finger to tap the switch. You'll know the switch is off when it turns gray.
- If the switch was already gray when you opened the Settings app, then Airplane mode was already turned off.
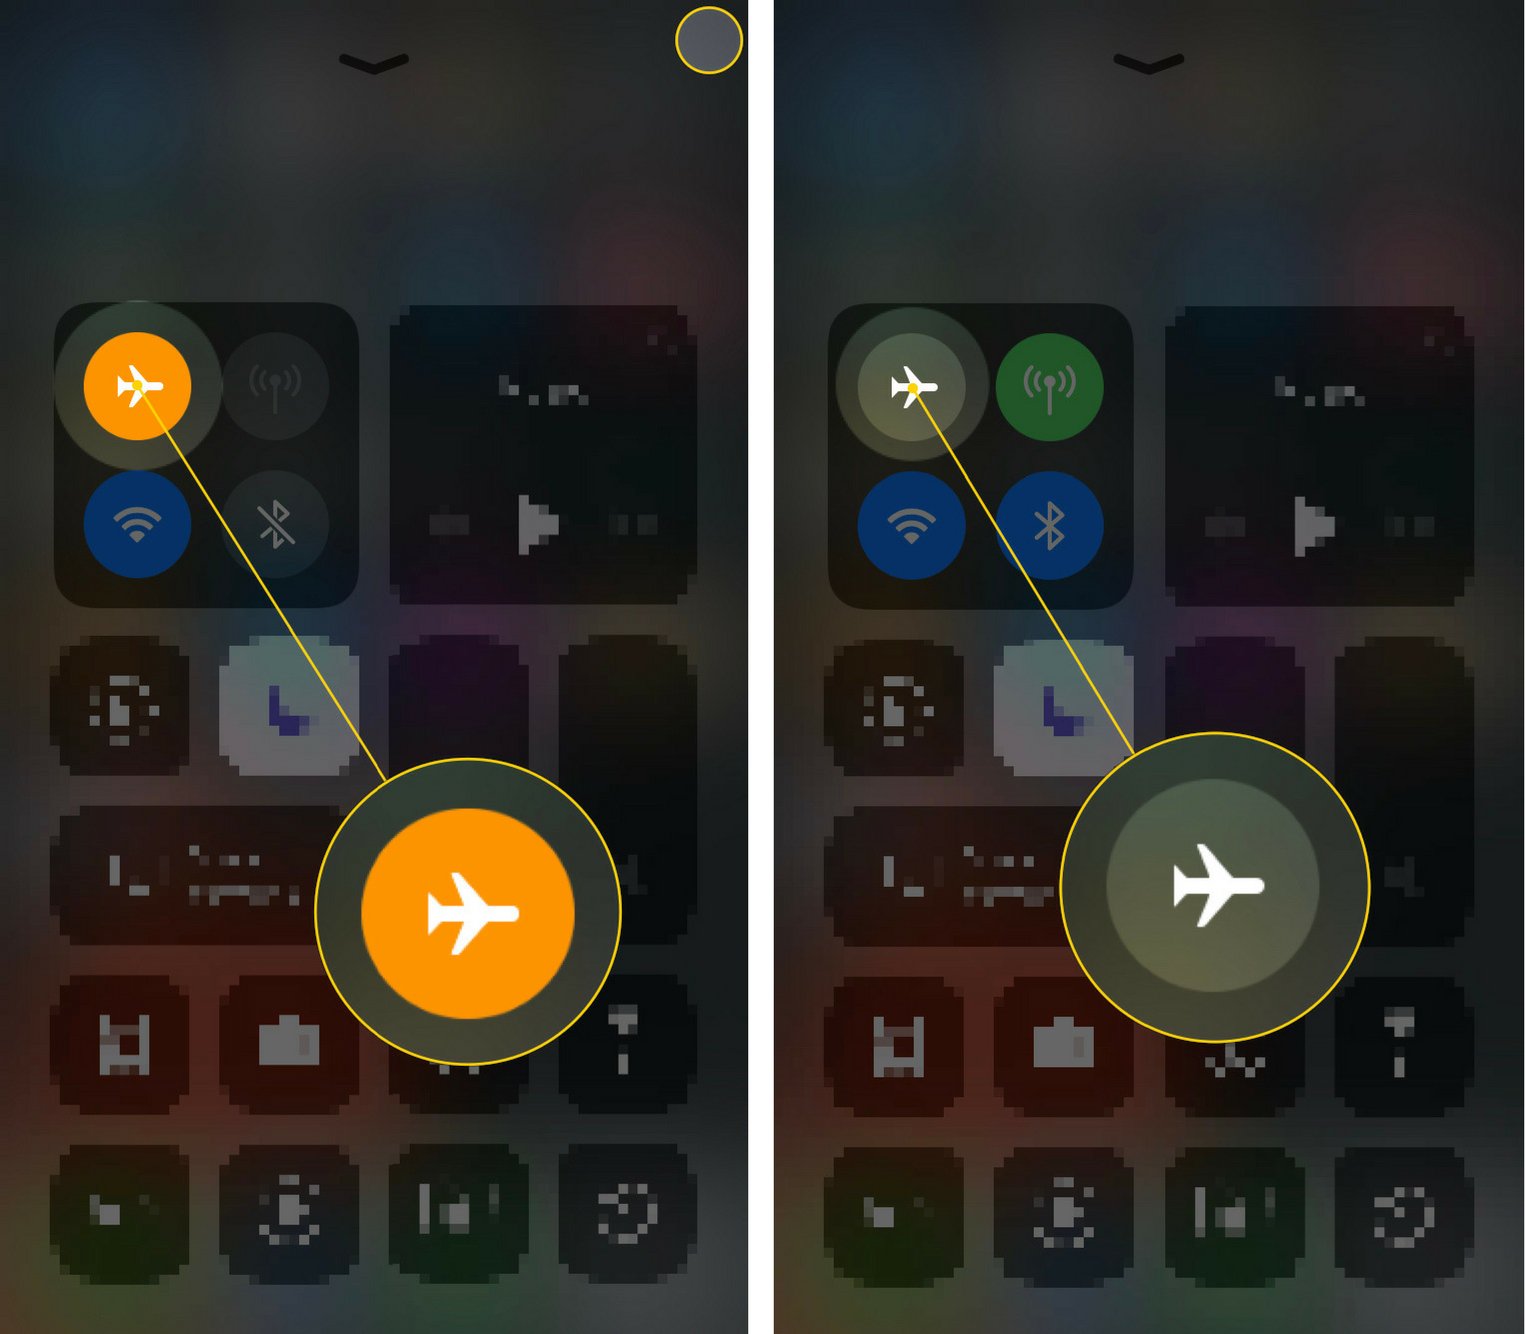
Turn Off Airplane Mode In Control Center
- To open Control Center, swipe up from below the bottom of your screen.
- If the Airplane mode icon
 is white inside an orange circle, then Airplane mode is on.
 - To turn off Airplane mode, use to finger to tap the Airplane mode icon. You'll know Airplane mode is off when the Airplane mode icon becomes black inside a gray circle.
- If the Airplane mode icon is already black inside a gray circle, then Airplane mode is already turned off.
Applies To: iPhone 5,iPhone 5S,iPhone 5C,iPhone 6,iPhone 6 Plus,iPhone 6S,iPhone 6S Plus,iPhone SE,iPhone 7,iPhone 7 Plus,iPhone 8,iPhone 8 Plus,iPhone X,iPhone XS,iPhone XS Max,iPhone XR,iPhone 11,iPhone 11 Pro,iPhone 11 Pro Max,iPhone SE 2
View MoreTurn Off Do Not Disturb
When Do Not Disturb is on, all incoming calls, notifications, and alerts will be silenced.
How Do I Turn Off Do Not Disturb?
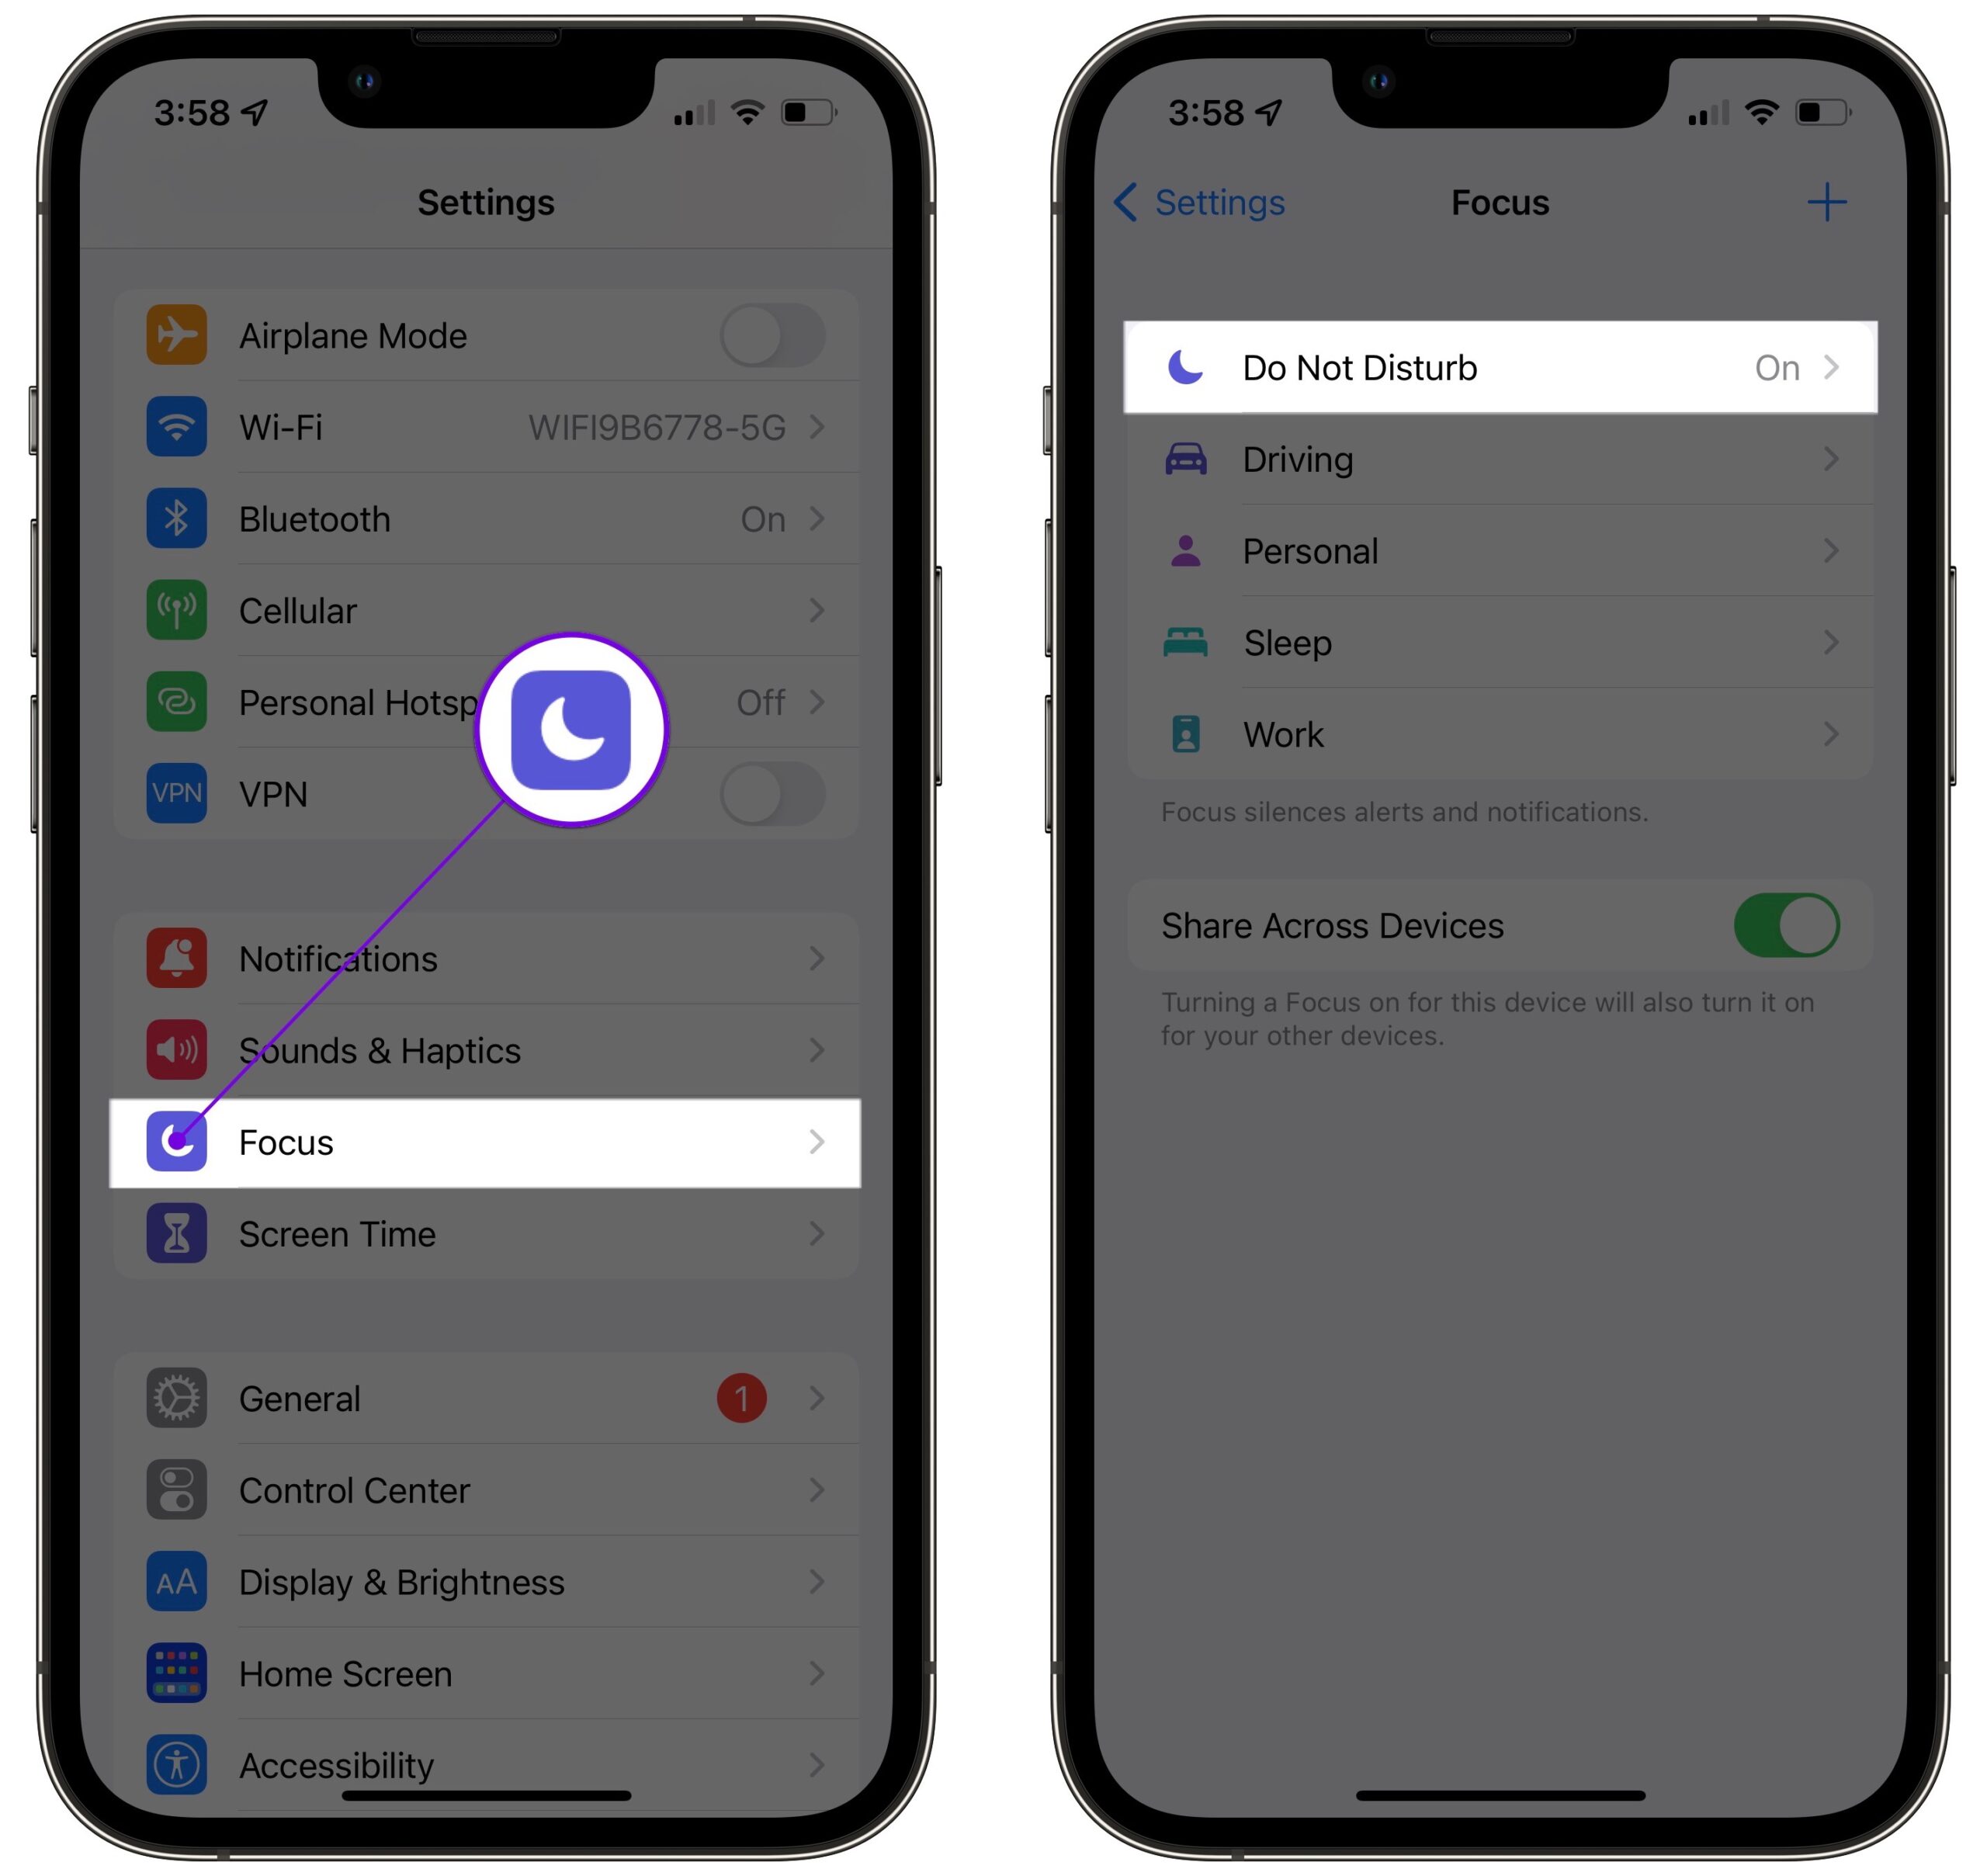
Turn Off Do Not Disturb In The Settings App (iOS 15 and newer)
- Open Settings.
- Tap Focus.
- Tap Do Not Disturb.
- Turn off the switch next to Do Not Disturb.
- You'll know Do Not Disturb is off when the switch is gray and positioned to the left.
Turn Off Do Not Disturb In Control Center (iOS 15 and newer)
- Swipe down from the upper right-hand corner of the screen (iPhones with Face ID) or up from below the bottom of the screen (iPhones without Face ID).
- Tap the Do Not Disturb or Focus icon.
- You'll know Do Not Disturb, or your Focus, is off when the icon is no longer illuminated.
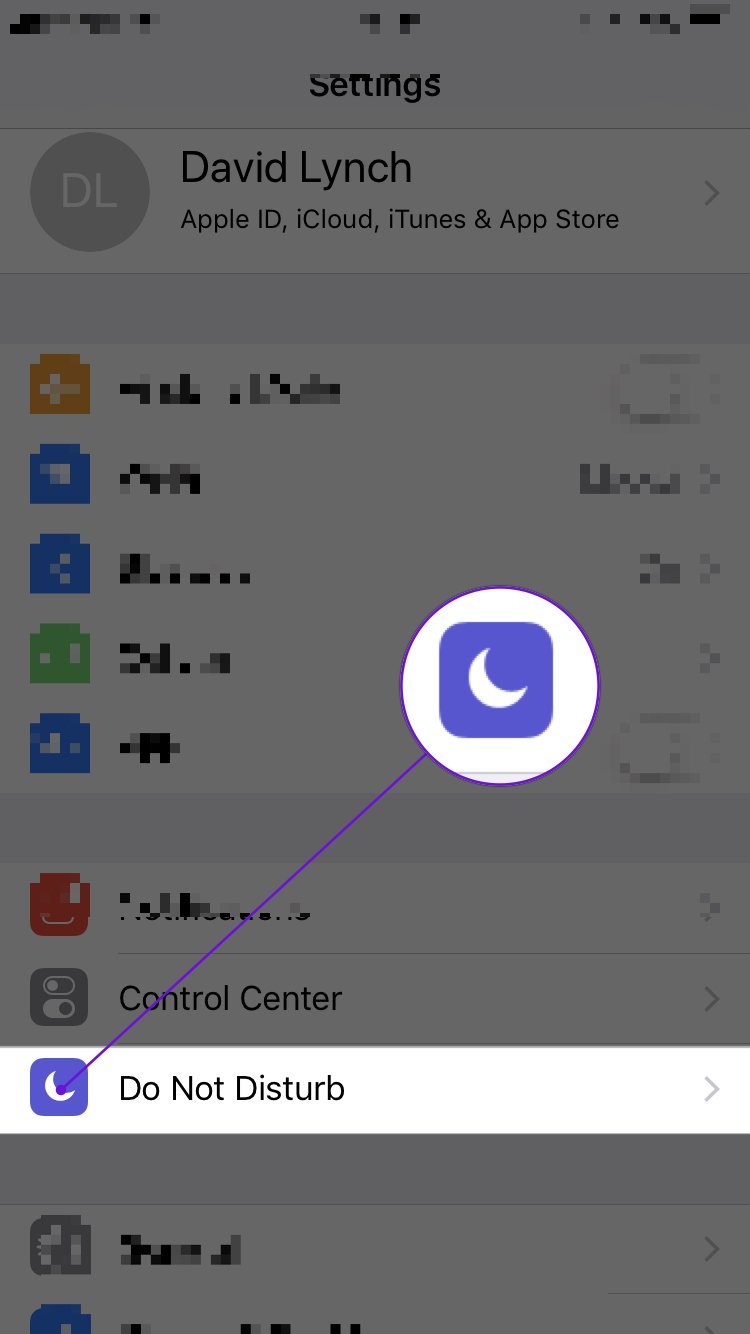
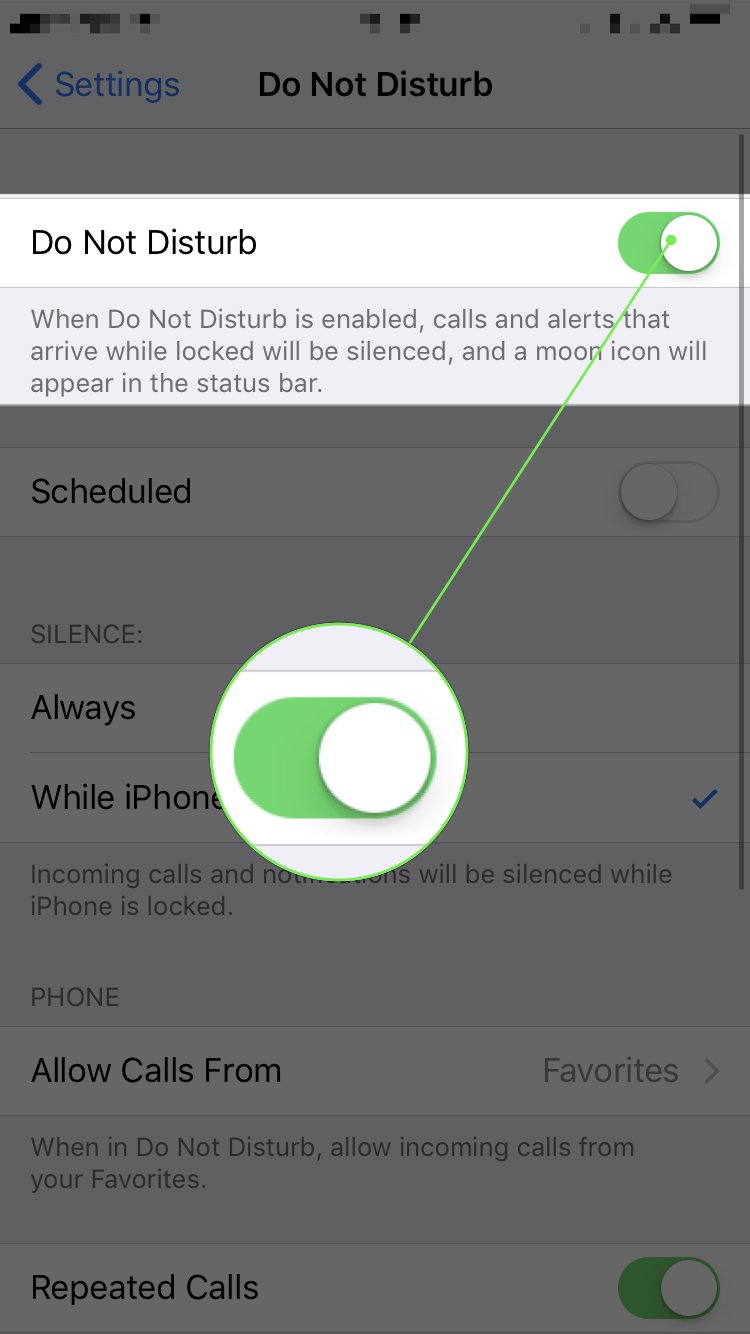
Turn Off Do Not Disturb In The Settings App (iOS 14 and older)
- Open the Settings app.
- Tap Do Not Disturb.
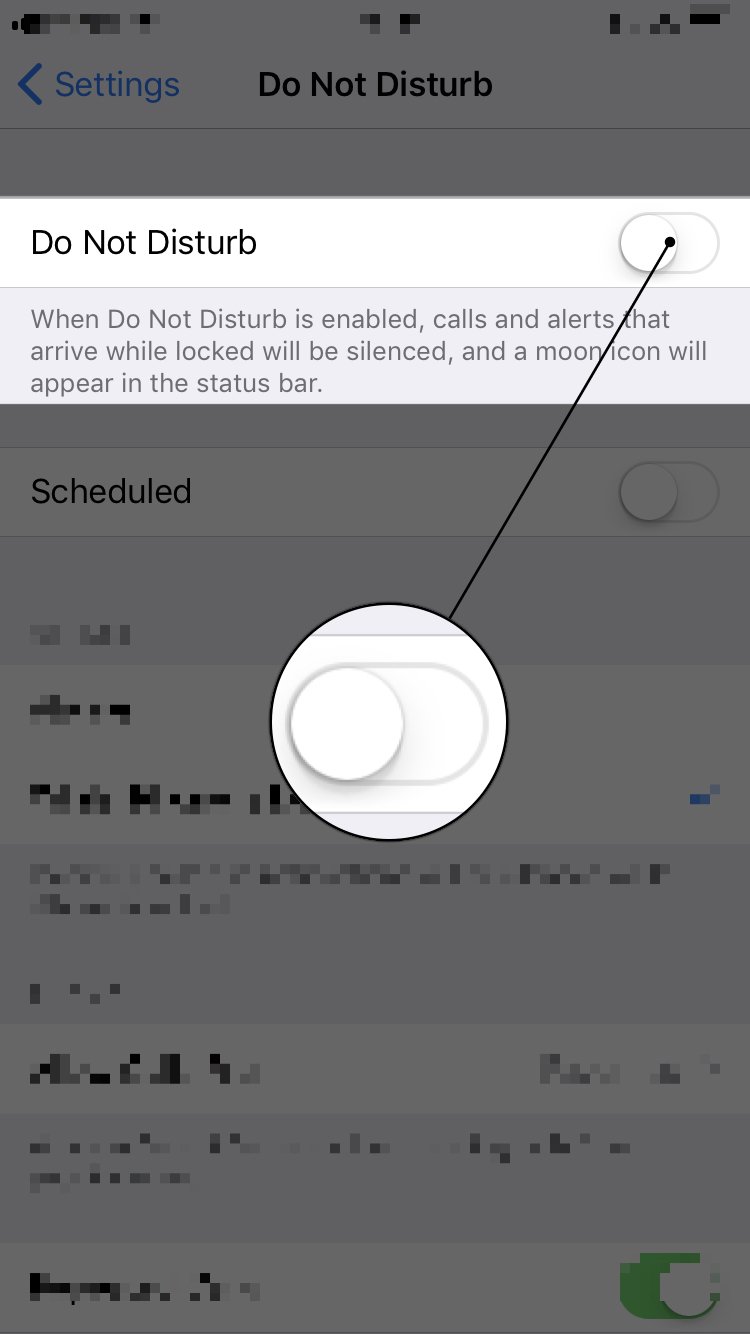
- Use your finger to tap the switch next to Manual.
- You'll know Do Not Disturb is off when the switch is gray.
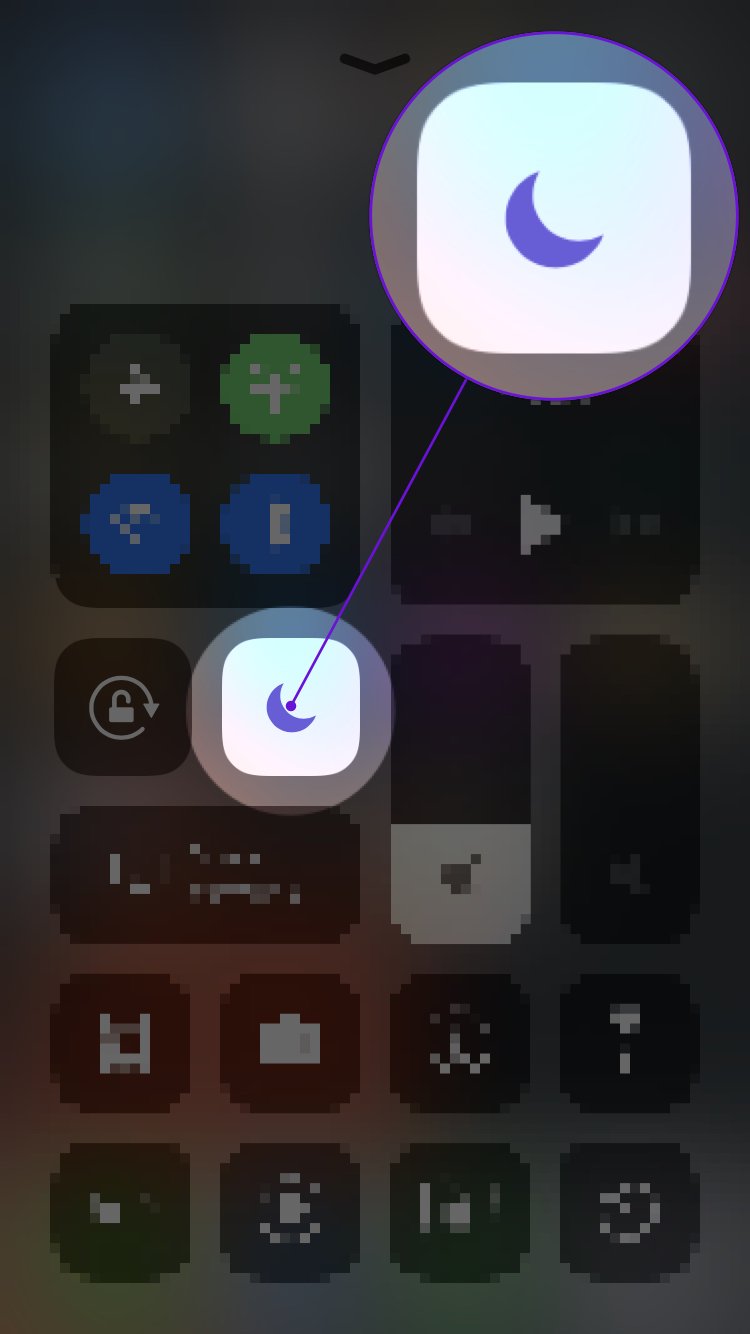
Turn Off Do Not Disturb In Control Center (iOS 14 and older)
- Swipe down from the upper right-hand corner of the screen (iPhones with Face ID) or up from below the bottom of the screen (iPhones without Face ID).
- Use your finger to tap the Do Not Disturb icon, which looks like a moon.
- You'll know Do Not Disturb is off when the moon icon is black inside a gray circle.
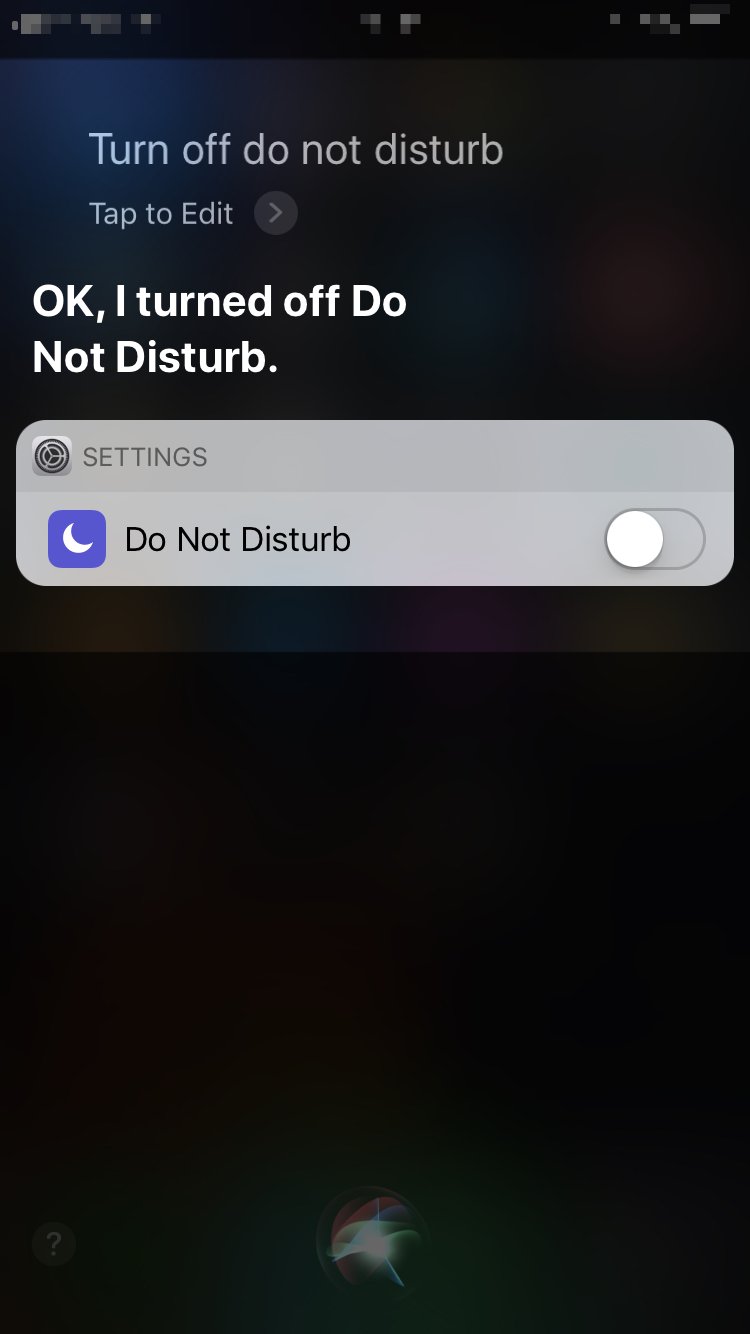
Turn Off Do Not Disturb Using Siri
- Press and hold the side button (iPhones without a Home button) or the Home button to activate Siri.
- Say, "Turn off Do Not Disturb."
- Siri will turn off Do Not Disturb.
Applies To: iPhone 5,iPhone 5S,iPhone 5C,iPhone 6,iPhone 6 Plus,iPhone 6S,iPhone 6S Plus,iPhone SE,iPhone 7,iPhone 7 Plus,iPhone 8,iPhone 8 Plus,iPhone X,iPhone XS,iPhone XS Max,iPhone XR,iPhone 11,iPhone 11 Pro,iPhone 11 Pro Max,iPhone SE 2
View MoreUpdate Your iPhone Software In Settings
Apple puts out new software updates to improve efficiency, fix bugs, and introduce new features. Updating iOS can fix problems with your iPhone's software.
How Do I Update My iPhone Software In Settings?
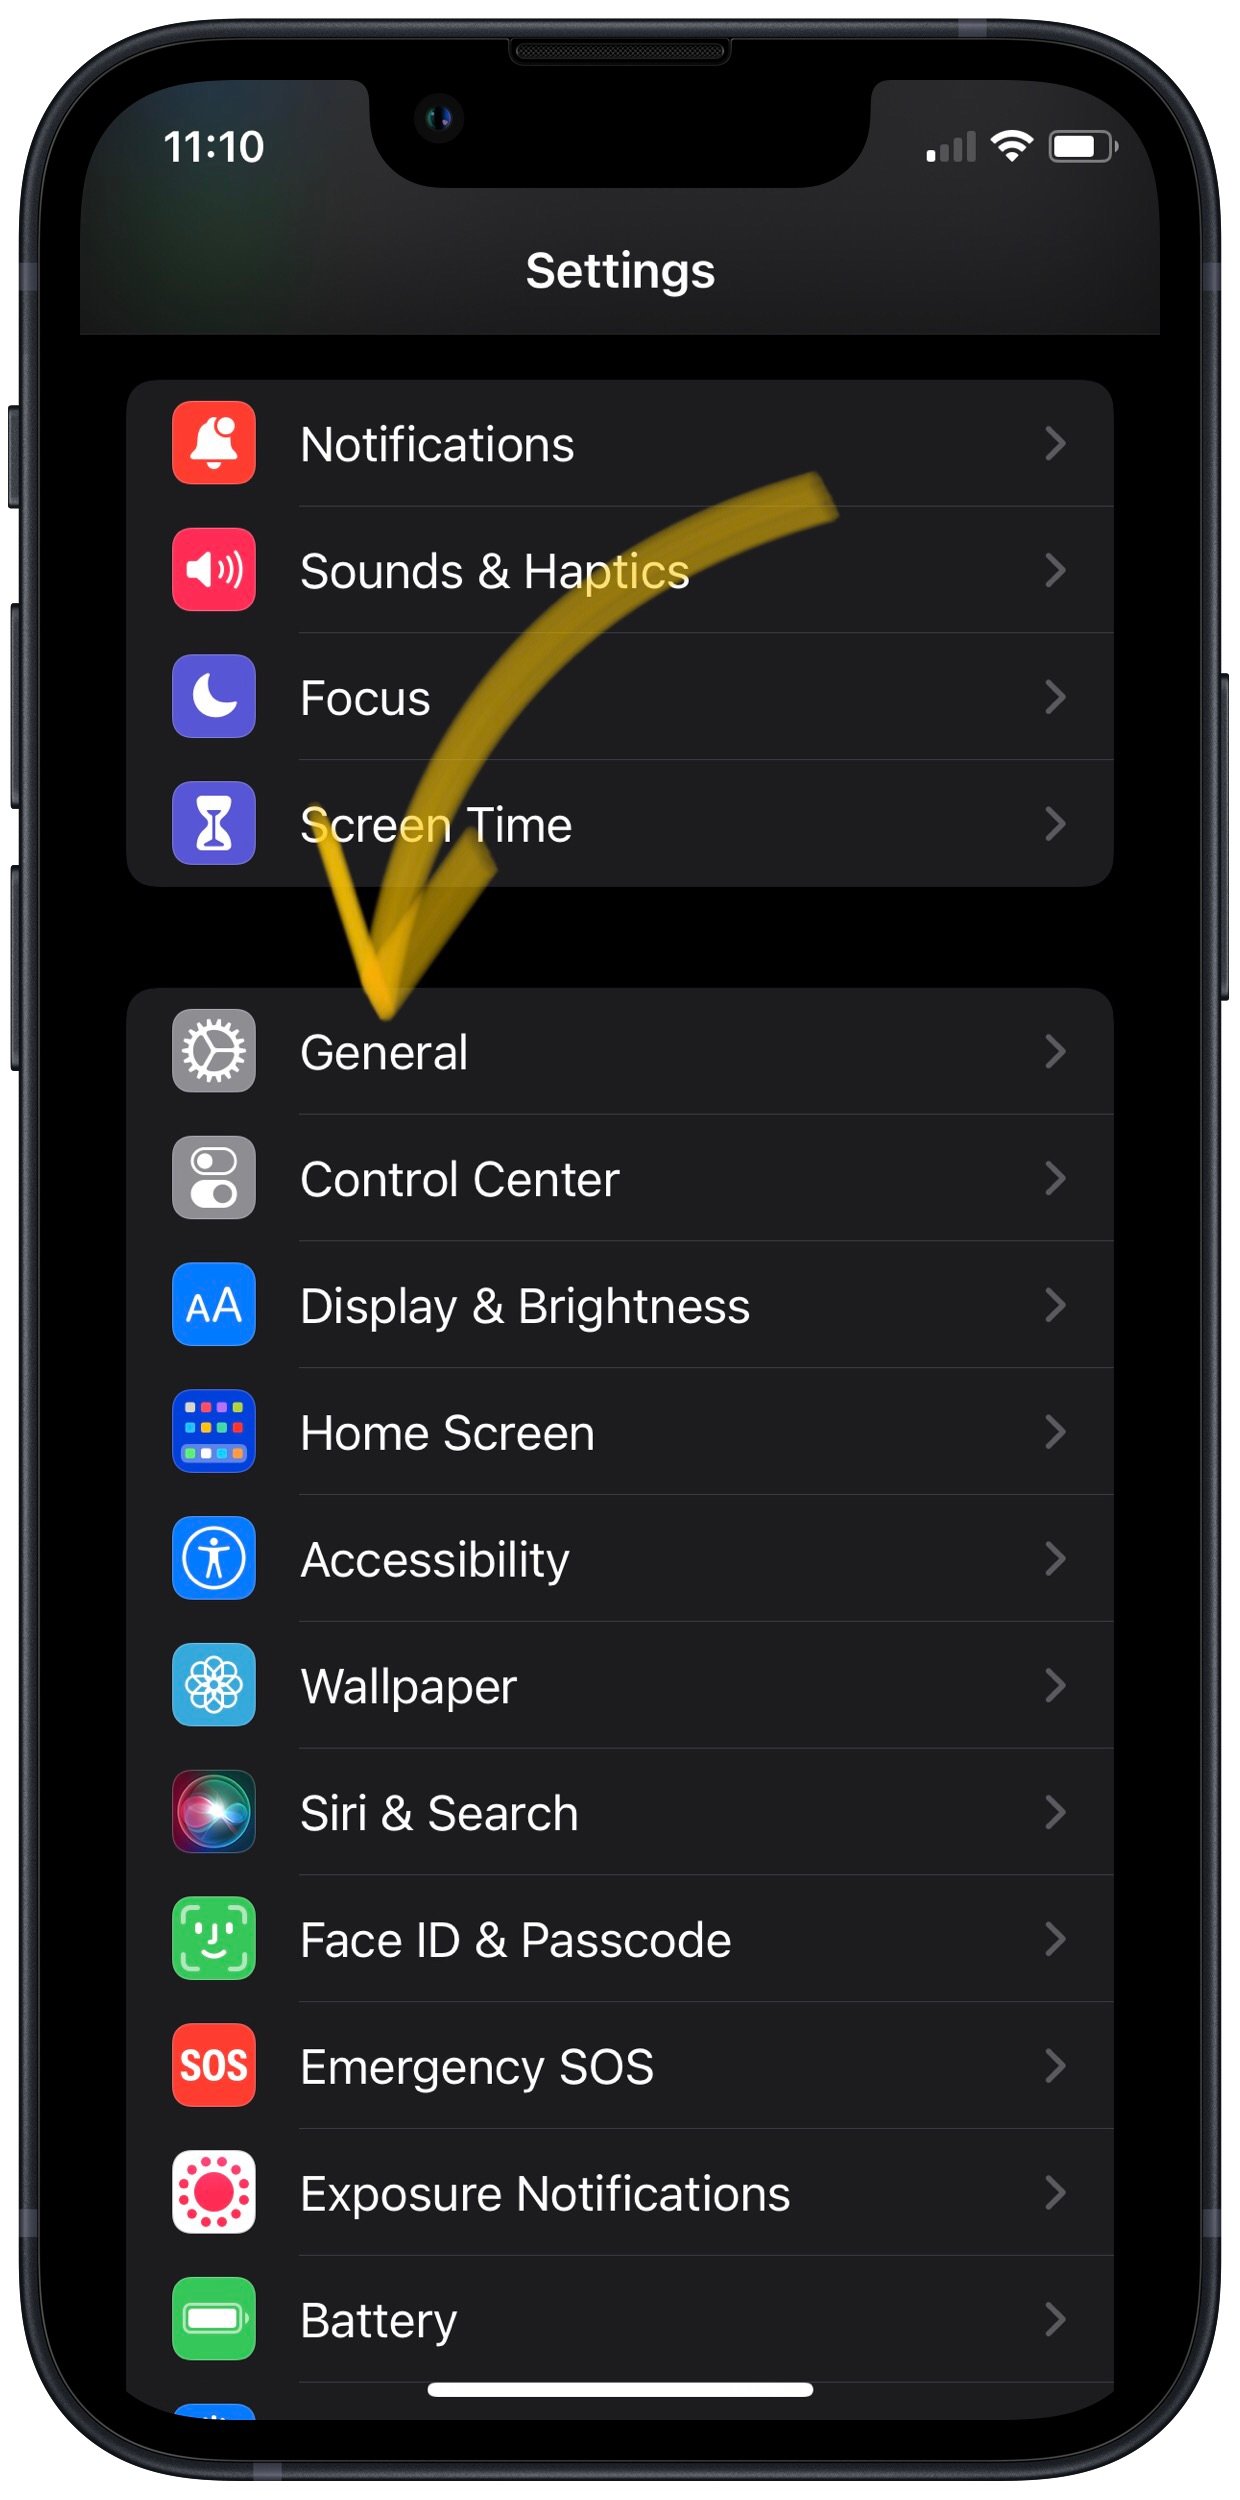
- Open the Settings app.
- Tap General.
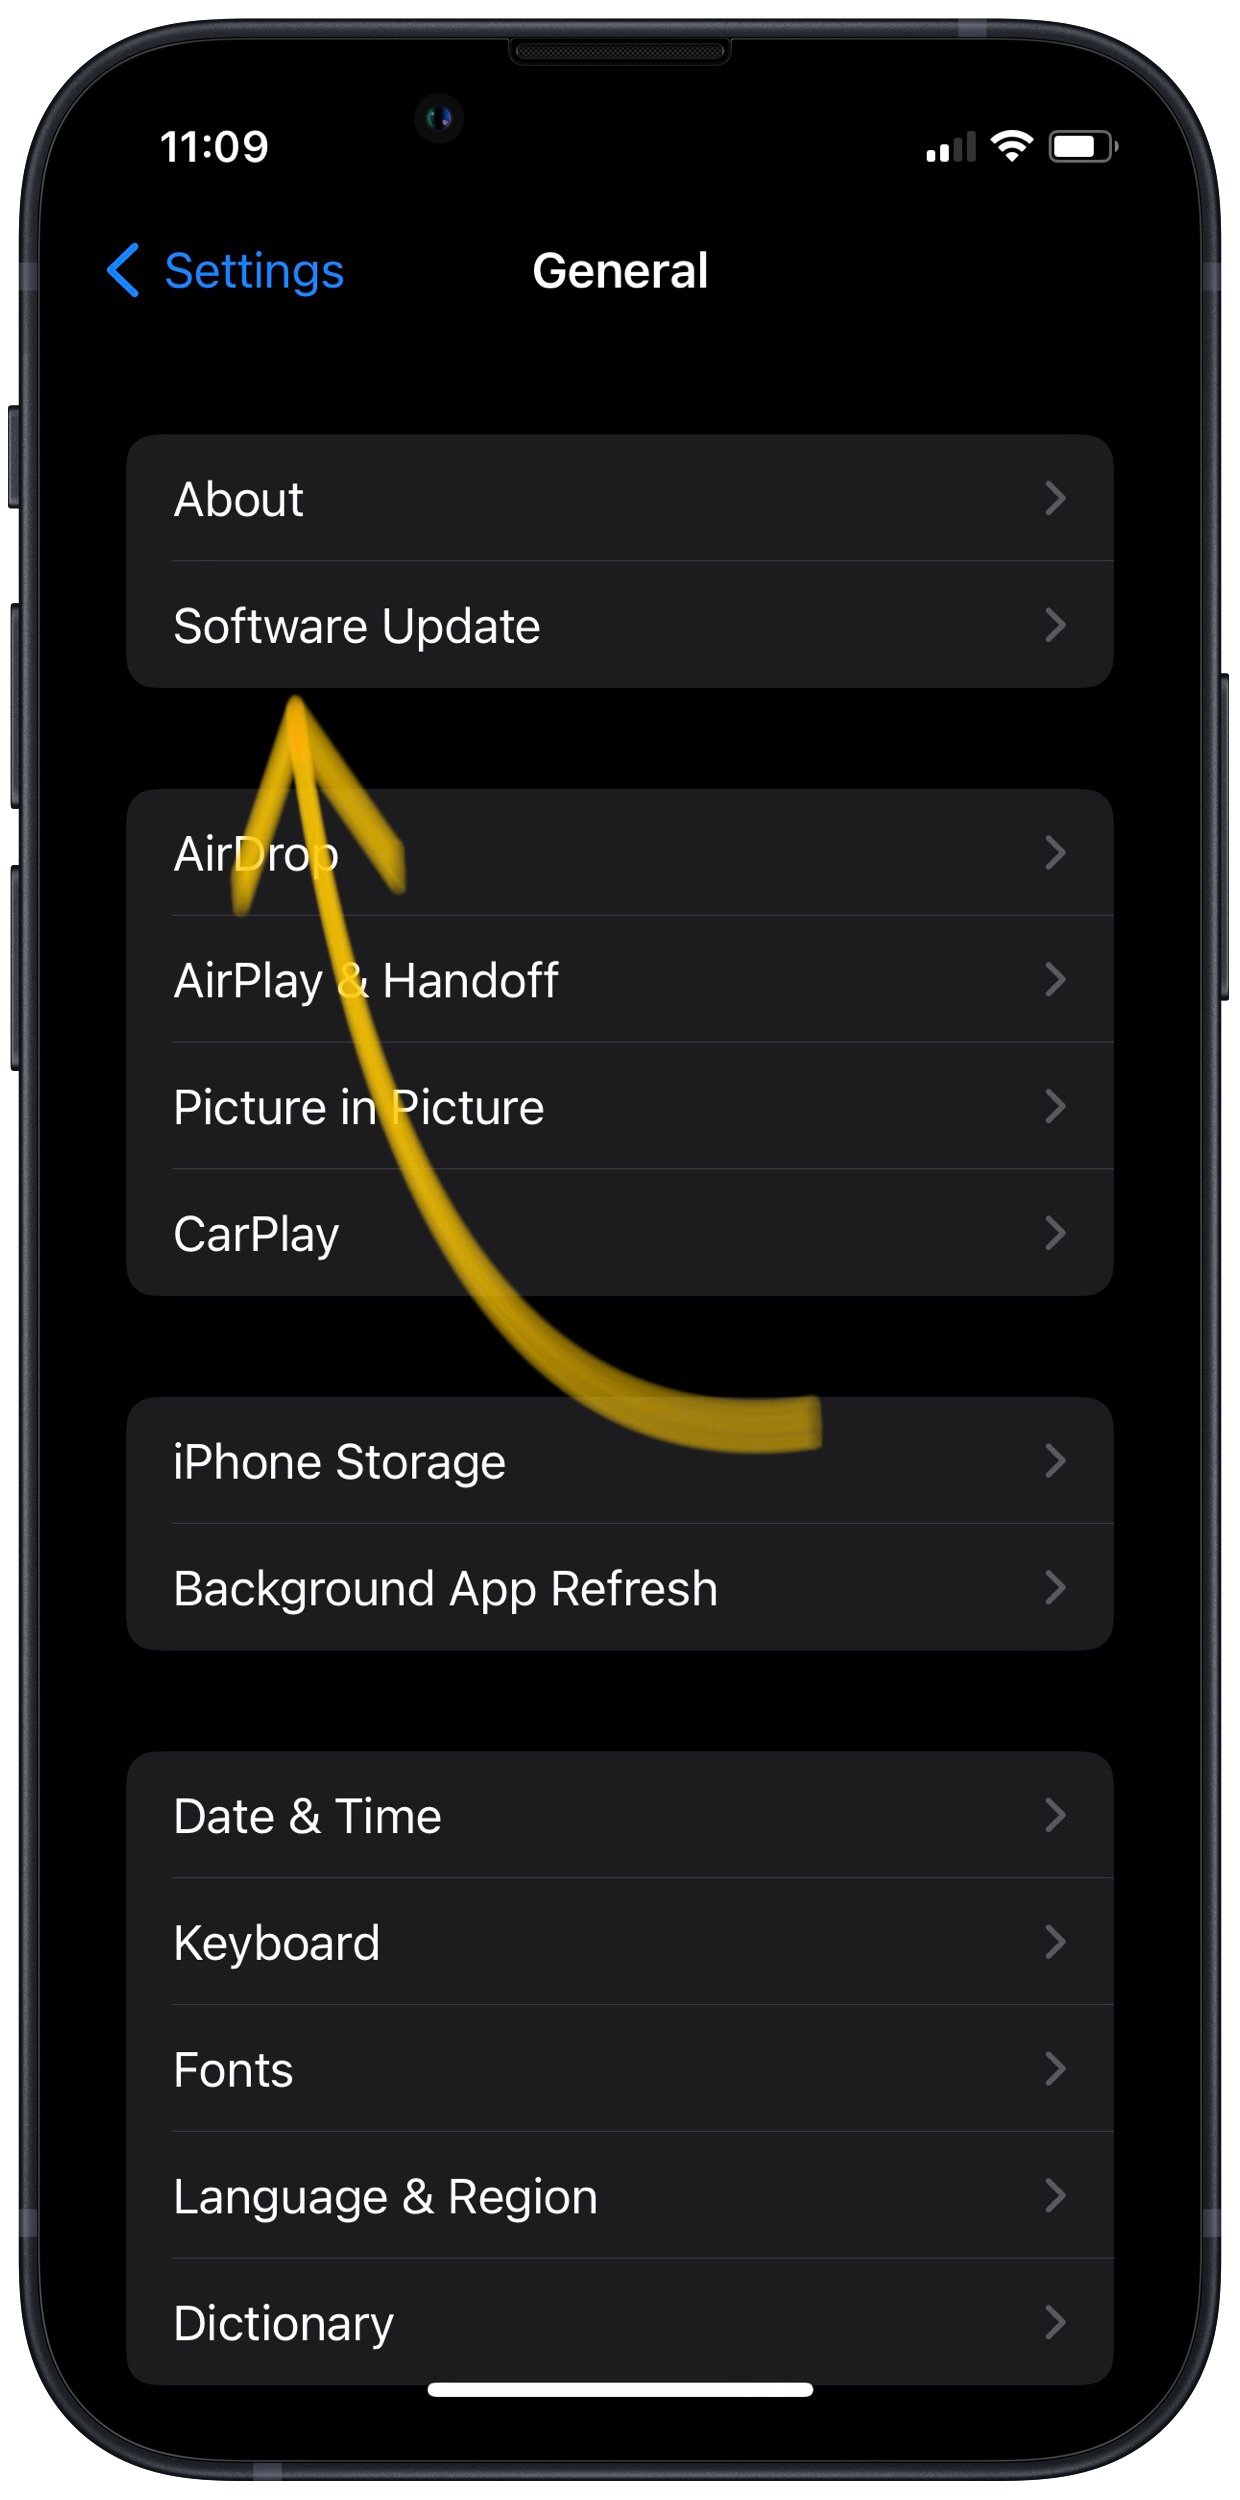
- Tap Software Update.
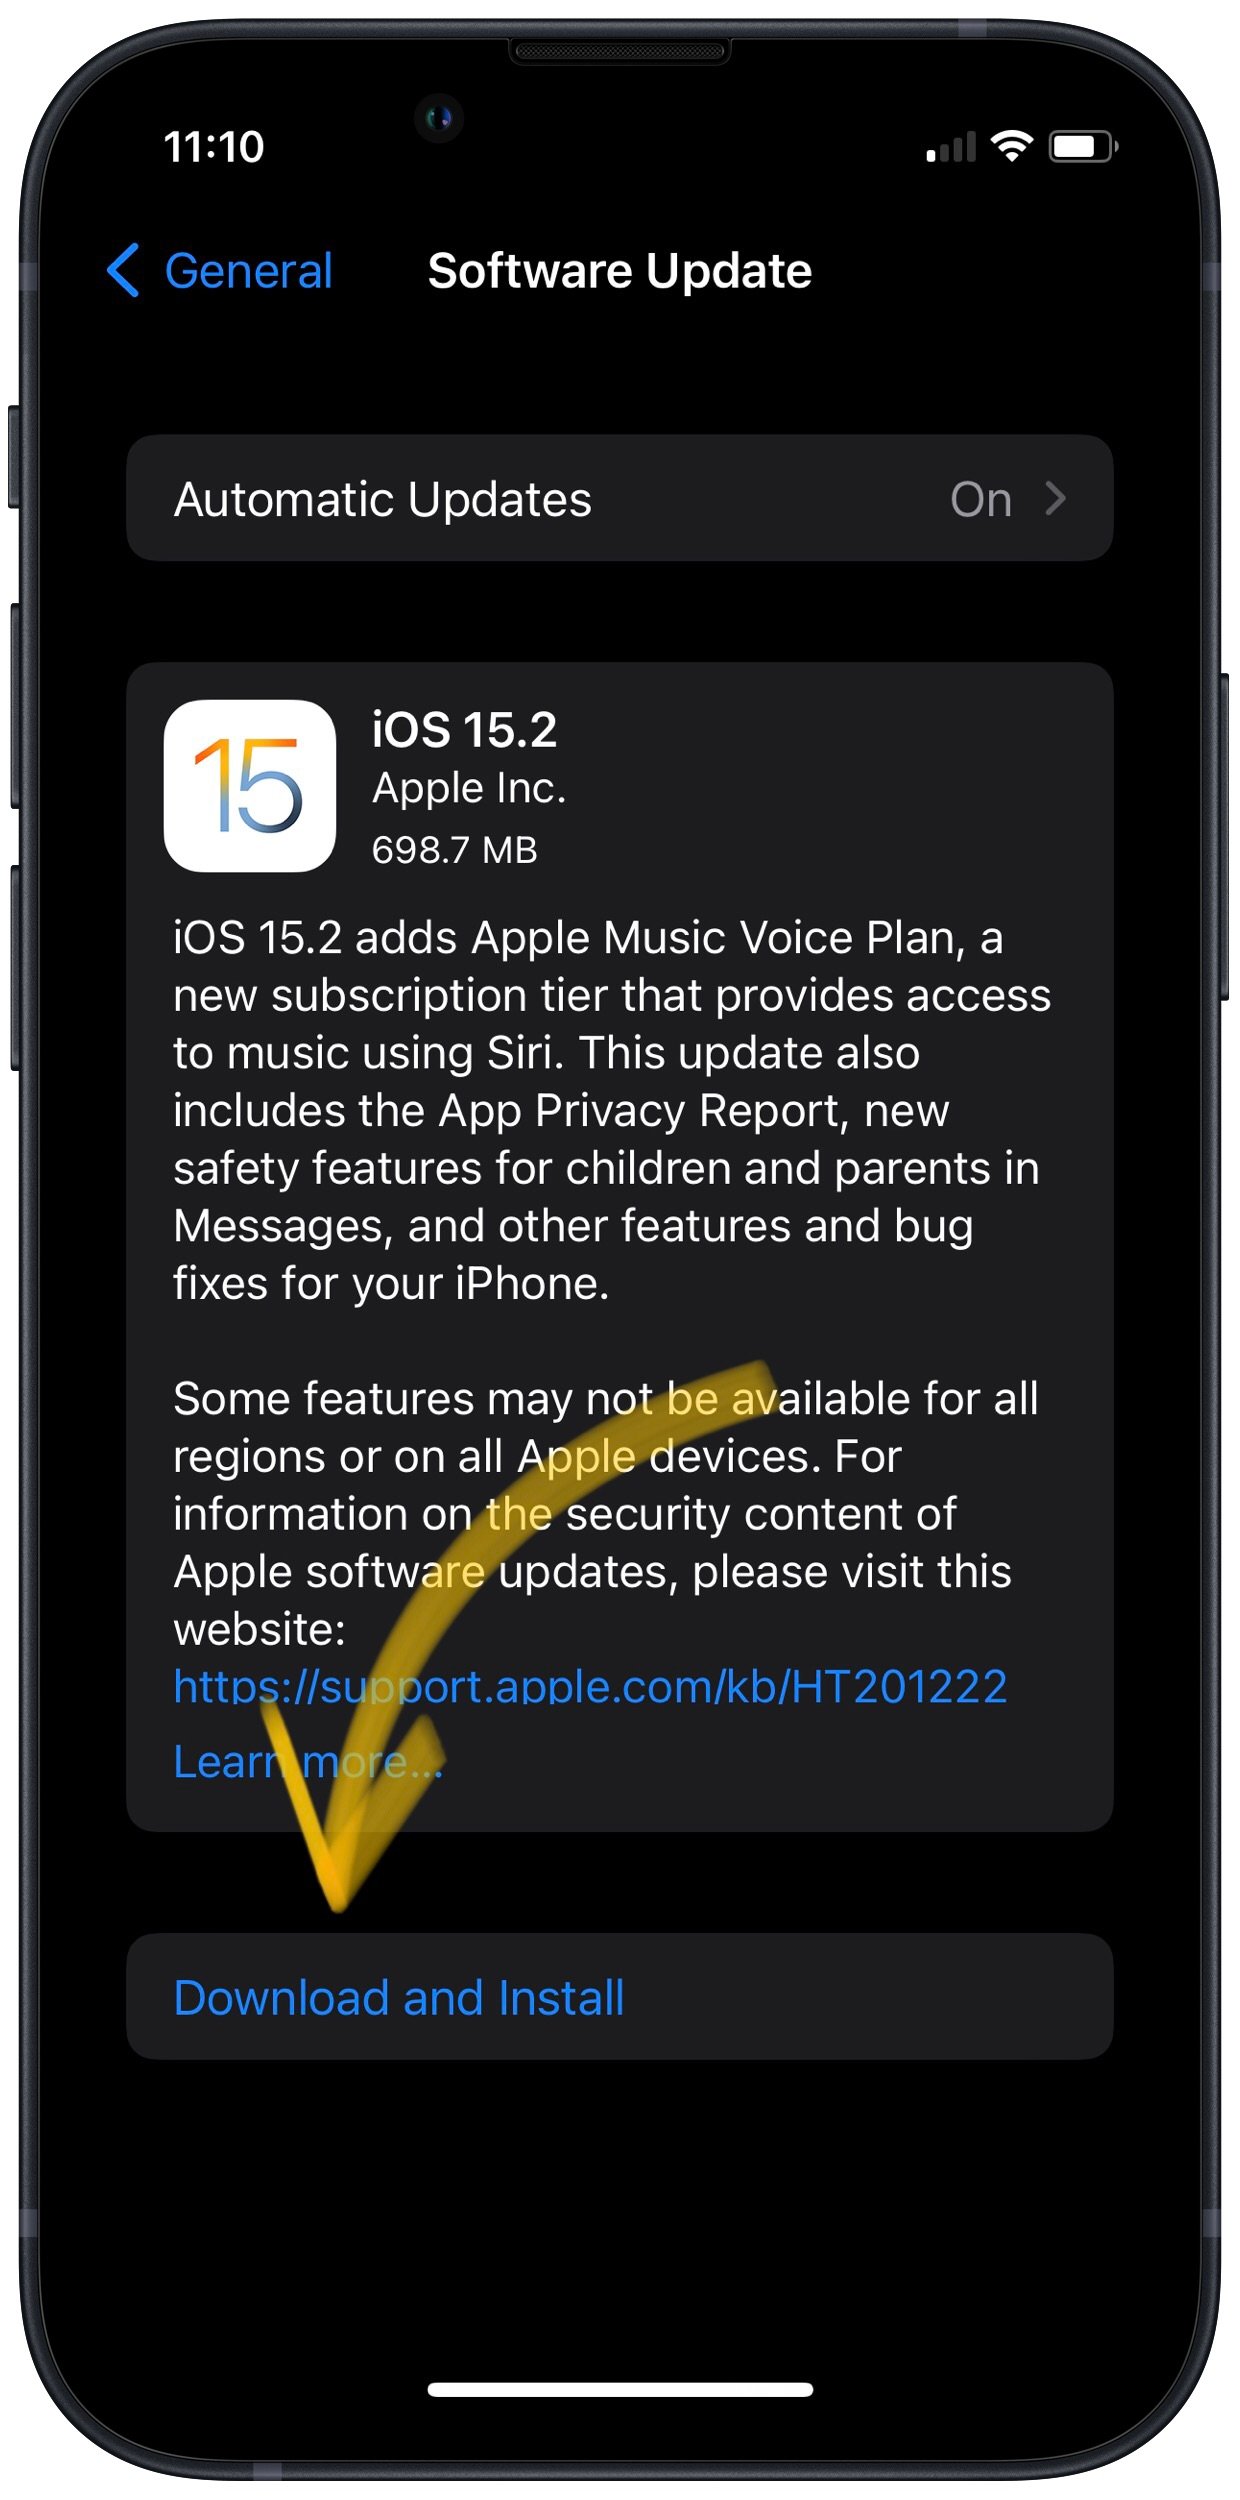
- Tap Download and Install or Install Now.
- Enter your passcode if prompted.
- The update will begin once it has been verified.
- The update is complete after your iPhone restarts.
Applies To: iPhone 5,iPhone 5S,iPhone 5C,iPhone 6,iPhone 6 Plus,iPhone 6S,iPhone 6S Plus,iPhone SE,iPhone 7,iPhone 7 Plus,iPhone 8,iPhone 8 Plus,iPhone X,iPhone XS,iPhone XS Max,iPhone XR,iPhone 11,iPhone 11 Pro,iPhone 11 Pro Max,iPhone SE 2
View MoreReset Network Settings
When your iPhone connects to a Wi-Fi or Bluetooth device for the first time, it saves information about how to connect to that network or device. If something changes with that process, it may cause connectivity issues.
Deep software problems, especially with network settings, can be difficult to track down. Rather than trying to track an issue down, we're going to reset all network settings and give your iPhone a fresh start.
How Do I Reset Network Settings?
- Open the Settings app.
- Tap General.
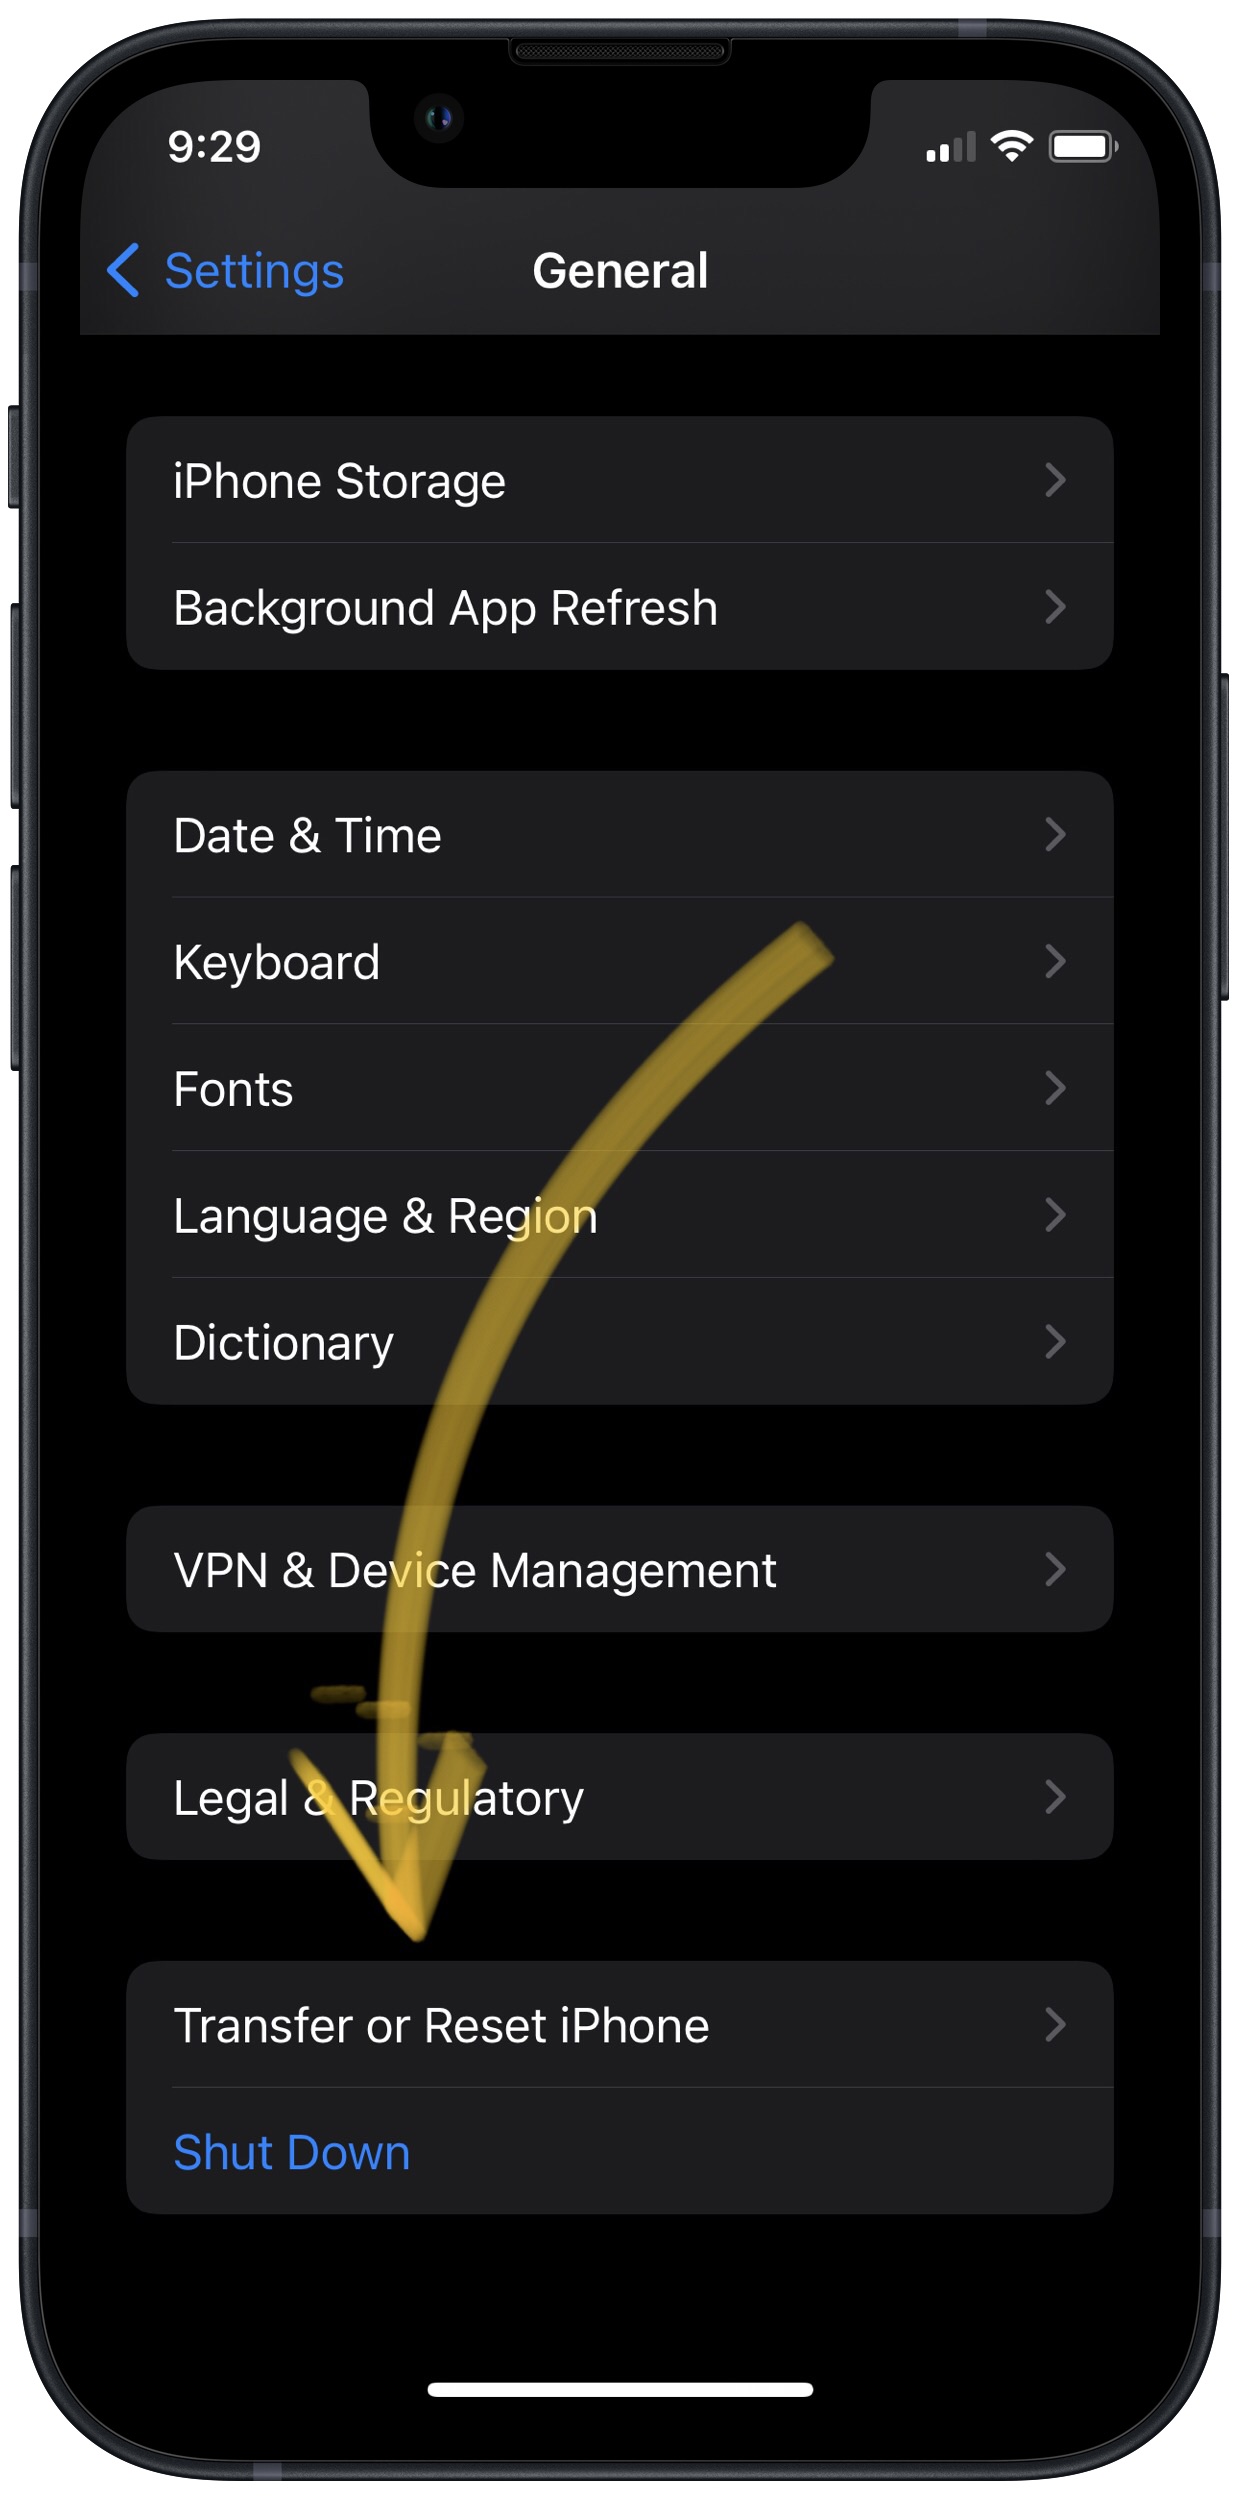
- Scroll down and tap Transfer Or Reset iPhone.
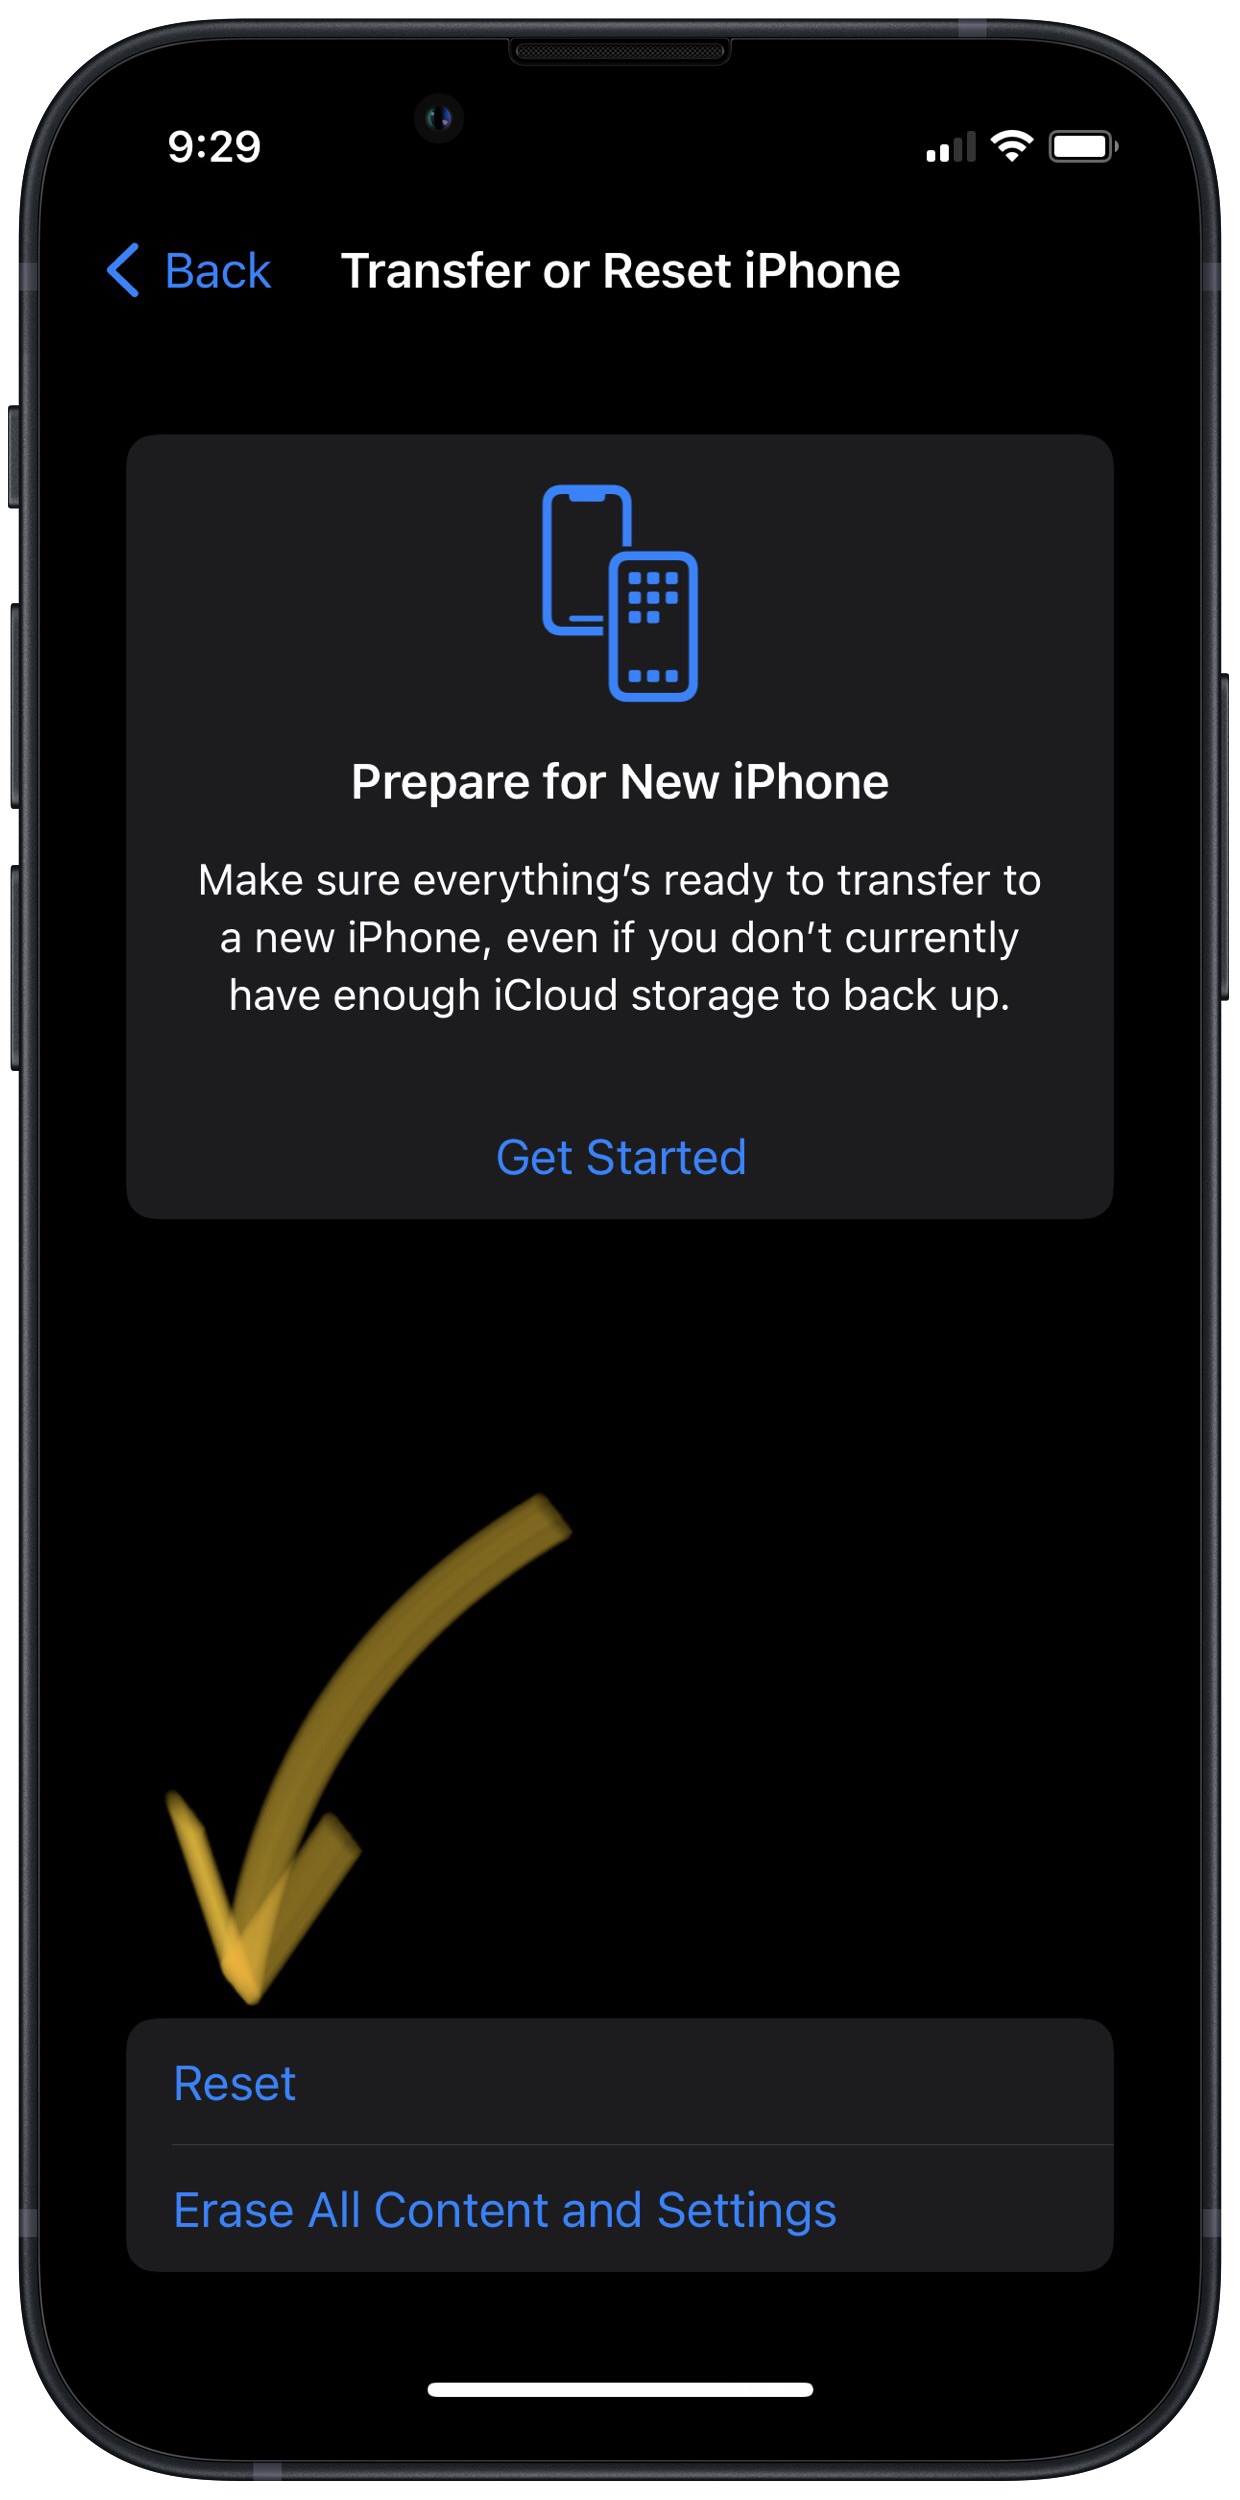
- Tap Reset.
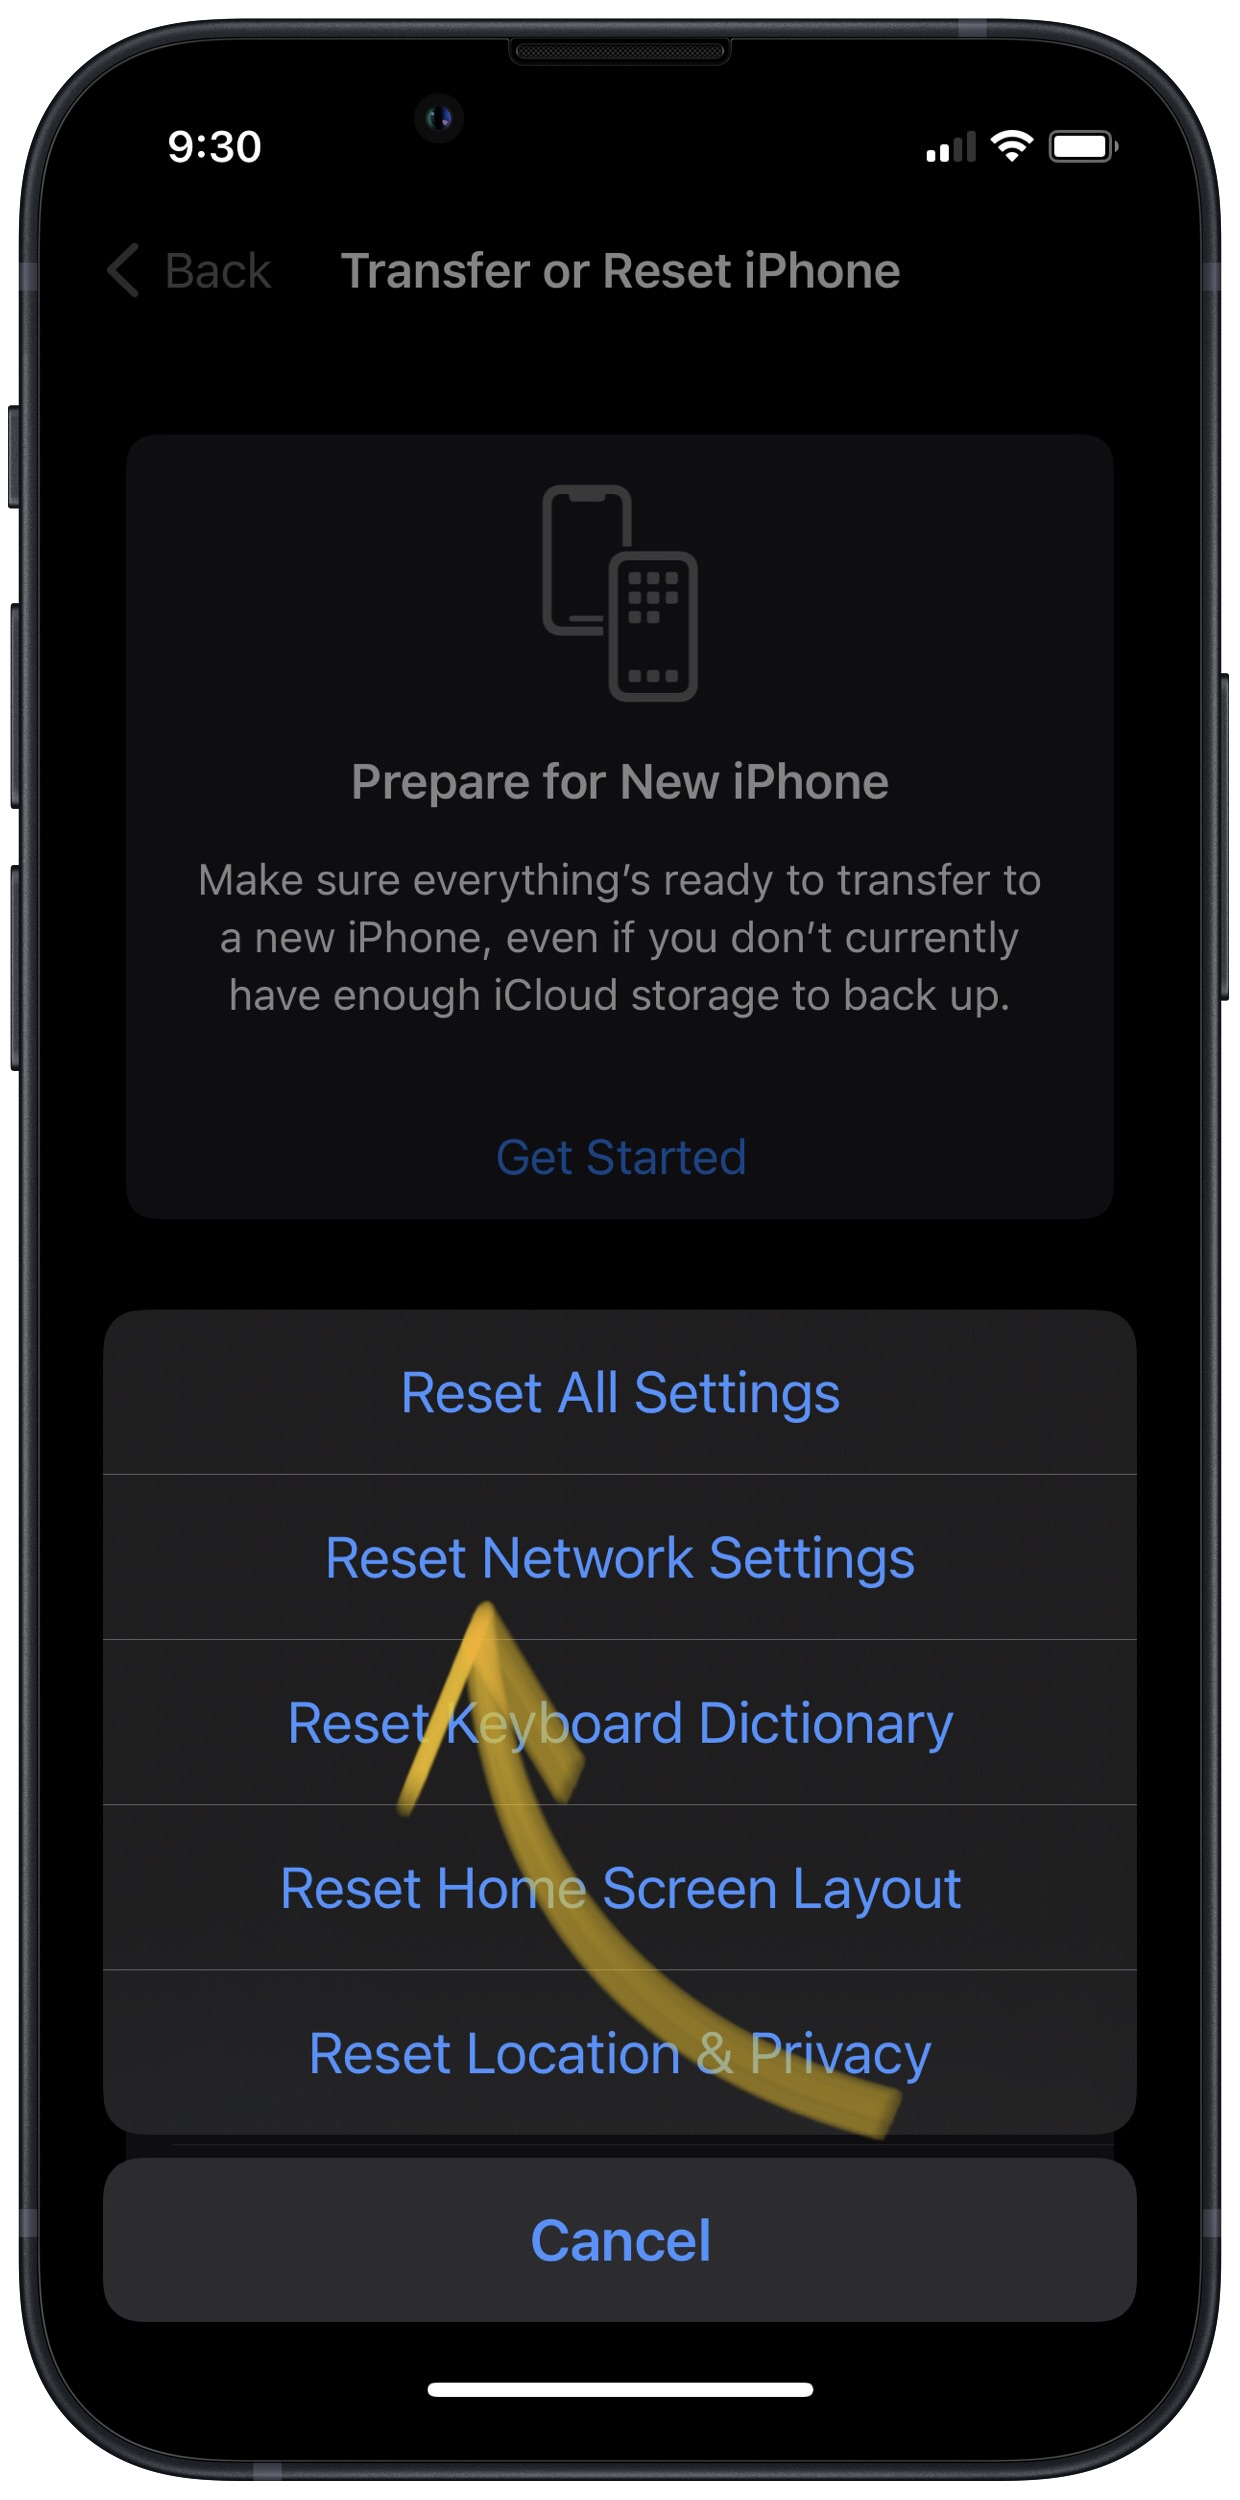
- Tap Reset Network Settings.
- Enter your passcode if prompted.
- Your iPhone will shut down, reset, and turn itself on again when the reset is complete.
Applies To: iPhone 5,iPhone 5S,iPhone 5C,iPhone 6,iPhone 6 Plus,iPhone 6S,iPhone 6S Plus,iPhone SE,iPhone 7,iPhone 7 Plus,iPhone 8,iPhone 8 Plus,iPhone X,iPhone XS,iPhone XS Max,iPhone XR,iPhone 11,iPhone 11 Pro,iPhone 11 Pro Max,iPhone SE 2
View MoreContact Your Wireless Carrier
Sometimes when your iPhone experiences issues related to your cellular network (no or poor service, calls going straight to voicemail), the problem is stemming from the cellular network, not the iPhone itself.
Below are the support numbers of major wireless carriers to contact if you're experiencing problems.
- Verizon: 1-(800)-922-0204
- Sprint: 1-(888)-211-4727
- AT&T: 1-(800)-331-0500
- T-Mobile: 1-(877)-746-0909
Applies To: iPhone 5,iPhone 5S,iPhone 5C,iPhone 6,iPhone 6 Plus,iPhone 6S,iPhone 6S Plus,iPhone SE,iPhone 7,iPhone 7 Plus,iPhone 8,iPhone 8 Plus,iPhone X,iPhone XS,iPhone XS Max,iPhone XR,iPhone 11,iPhone 11 Pro,iPhone 11 Pro Max,iPhone SE 2
View MoreDFU Restore Your iPhone
A DFU restore has the potential to fix software problems by completely erasing the code which may be causing your problem. The code is rewritten as if your iPhone is brand new, so the software problem may get solved.
Think of it like a house that has cracks in the foundation. Rather than try and fix the cracks, we are building an entirely new foundation.
If you can, back up your iPhone before completing a DFU restore. Any time you do a restore, it erases everything from your iPhone. However, after the restore is completed, you restore all your backed up data back onto your iPhone.
How Do I DFU Restore My iPhone?
How To DFU Restore An iPhone SE, 6s, Or Older
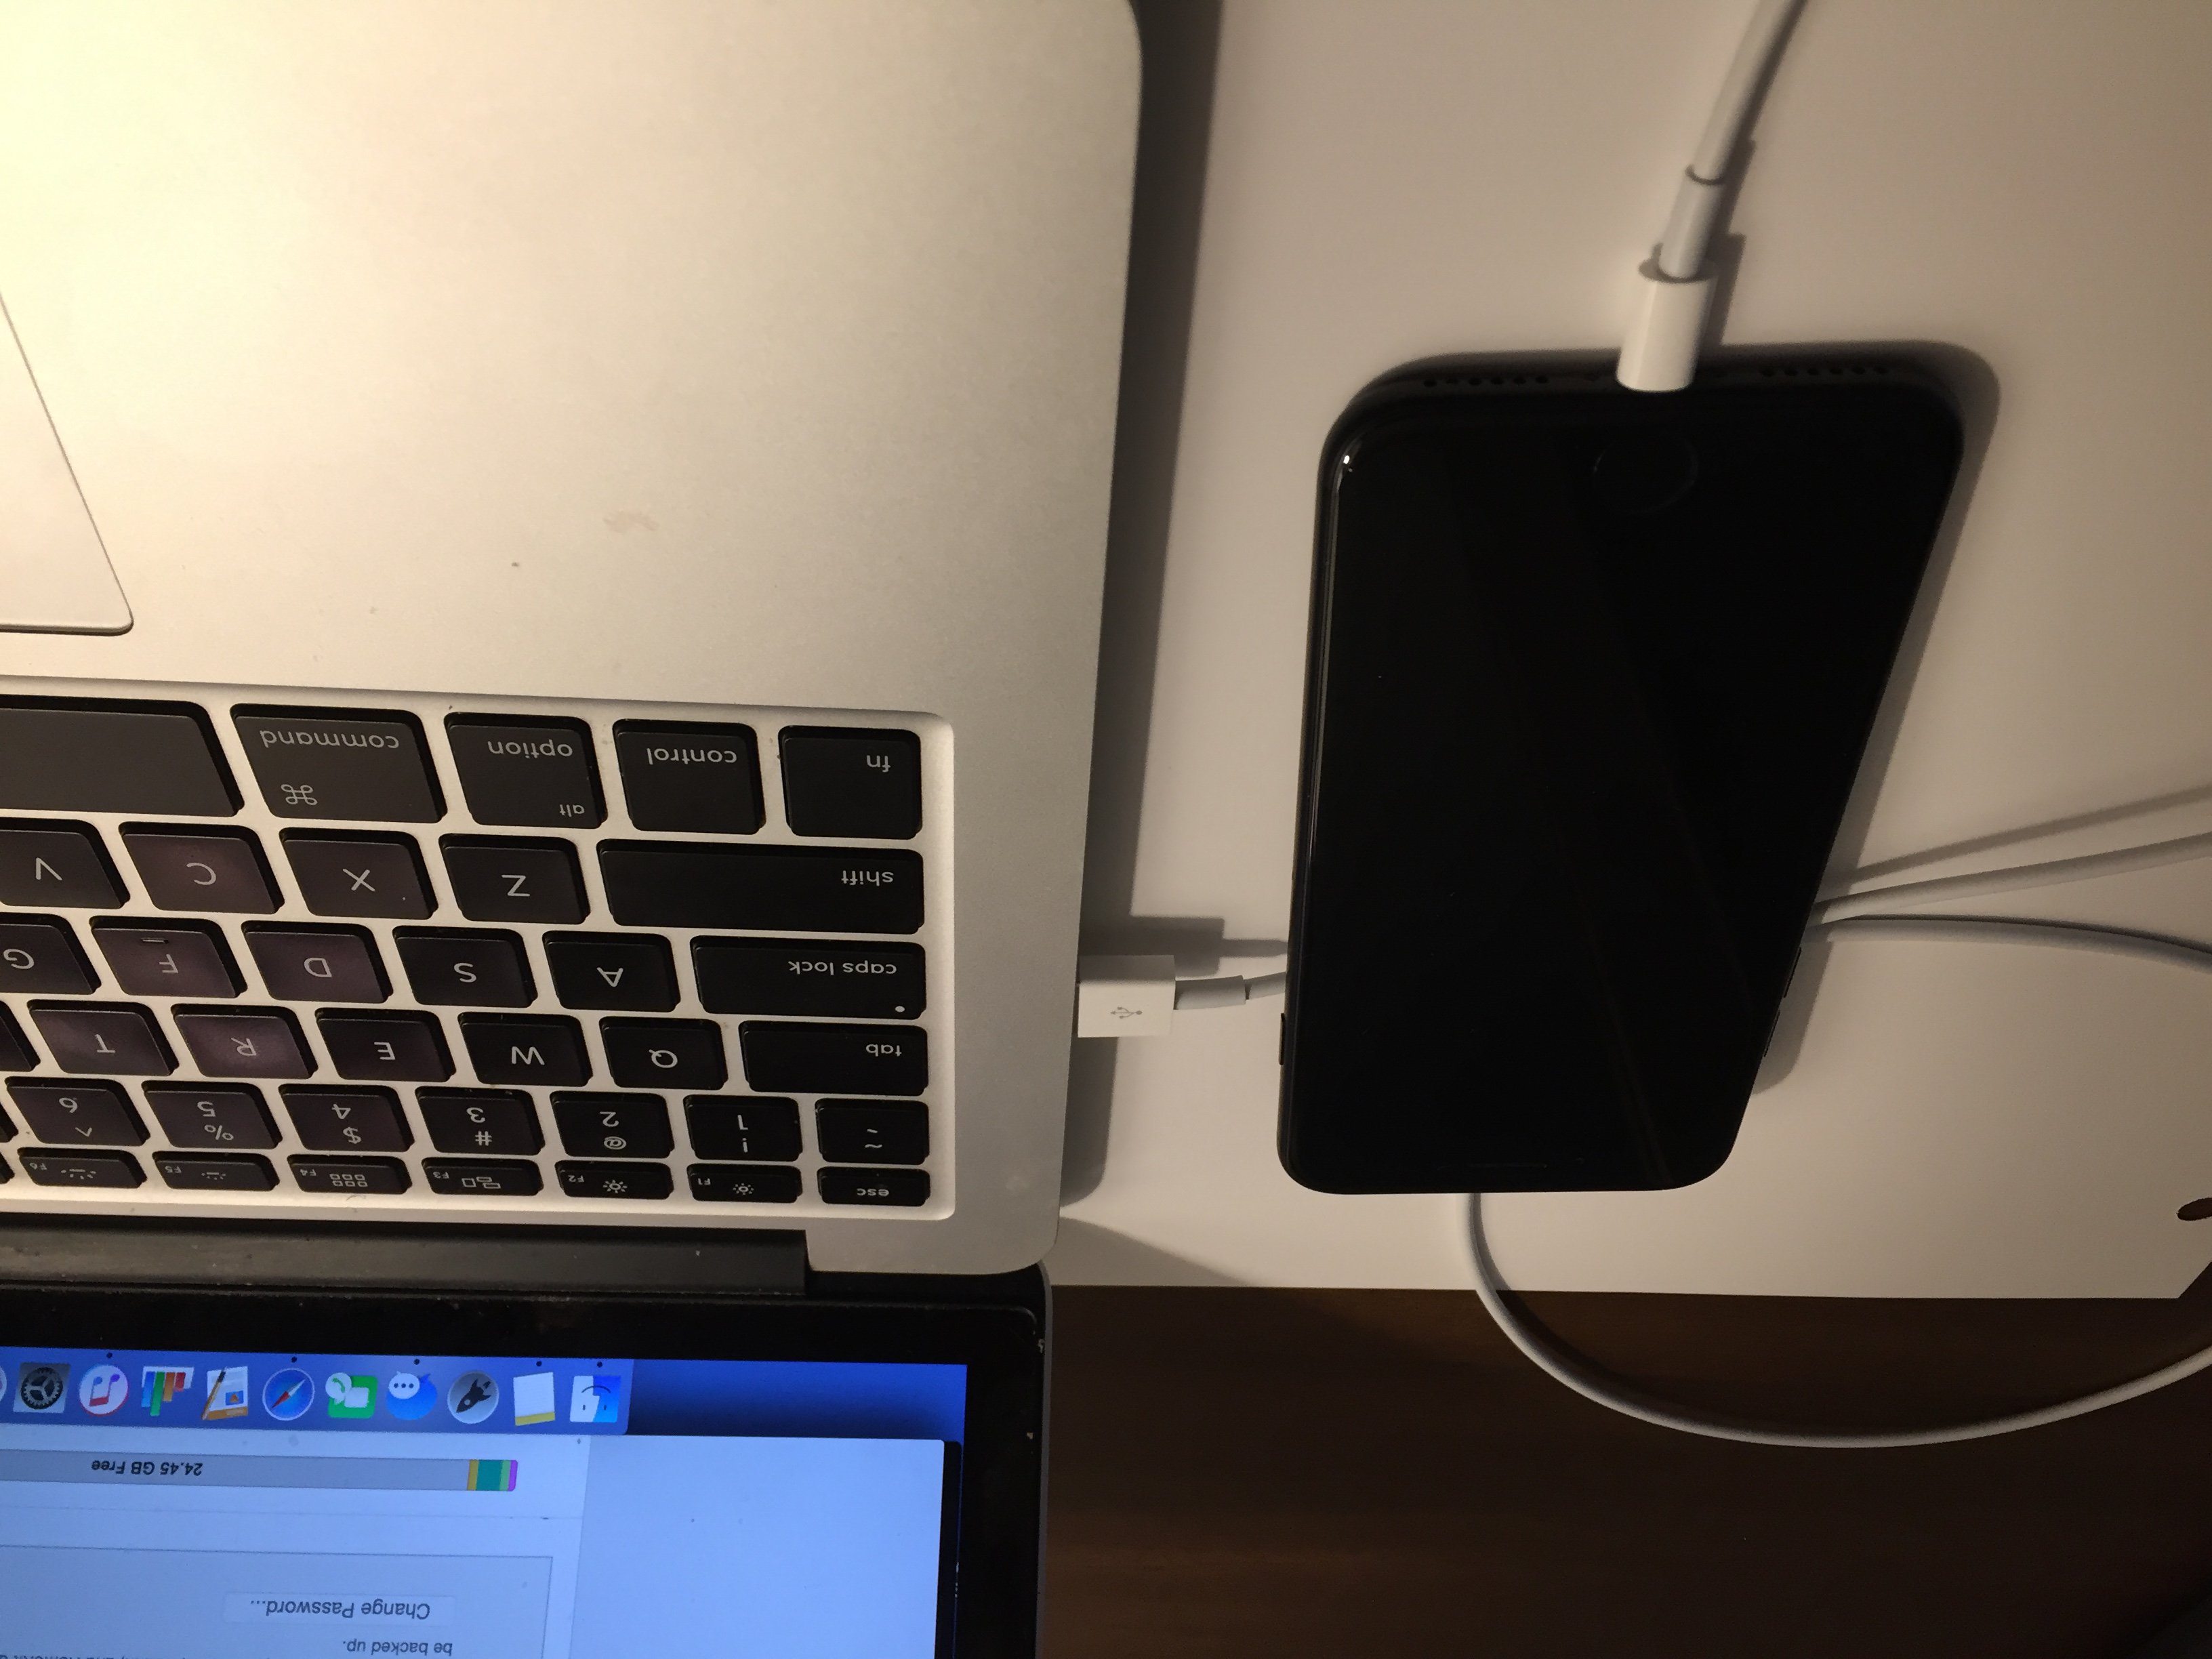
- Using a Lightning cable, plug your iPhone into a USB port on your computer.
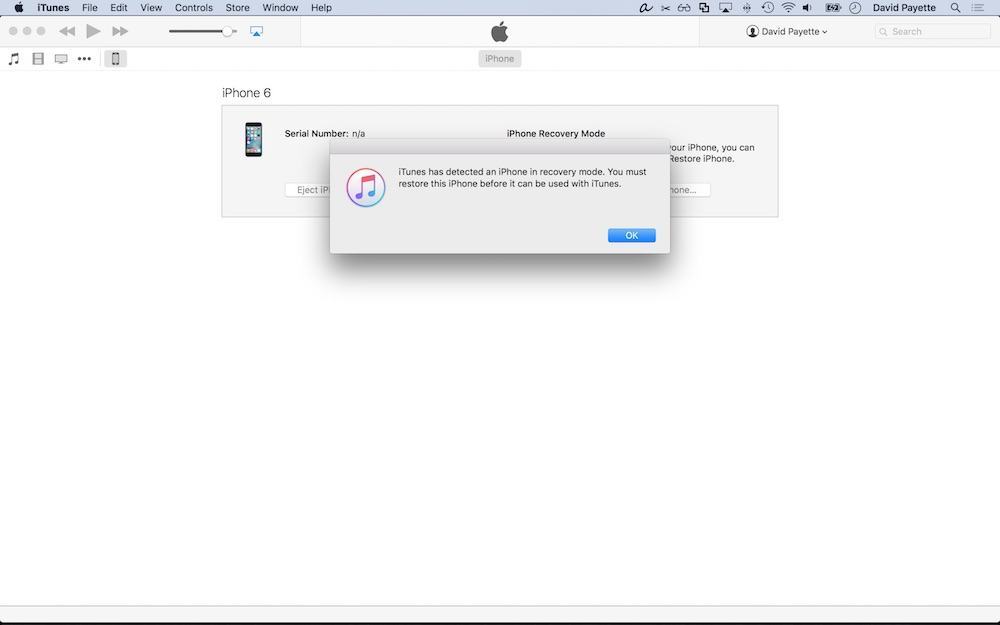
- Open iTunes if you have a PC or Mac running Mojave 10.14 or earlier. Open Finder if you have a Mac running Catalina 10.15 or newer. It doesn’t matter if your iPhone is on or off.
- Press and hold the Home button and the power button simultaneously.
- After 8 seconds, release the power button, but continue to hold the Home button.
- Let go of the power button when your iPhone appears in iTunes or Finder.
- Your iPhone’s display will be completely black if you’ve successfully entered DFU mode. If it’s not, try again from the beginning.
- Restore your iPhone using iTunes or Finder.
How To DFU Restore An iPhone 7 Or 7 Plus
- Using a Lightning cable, plug your iPhone into a USB port on your computer.
- Open iTunes if you have a PC or Mac running Mojave 10.14 or earlier. Open Finder if you have a Mac running Catalina 10.15 or newer. It doesn’t matter if your iPhone is on or off.
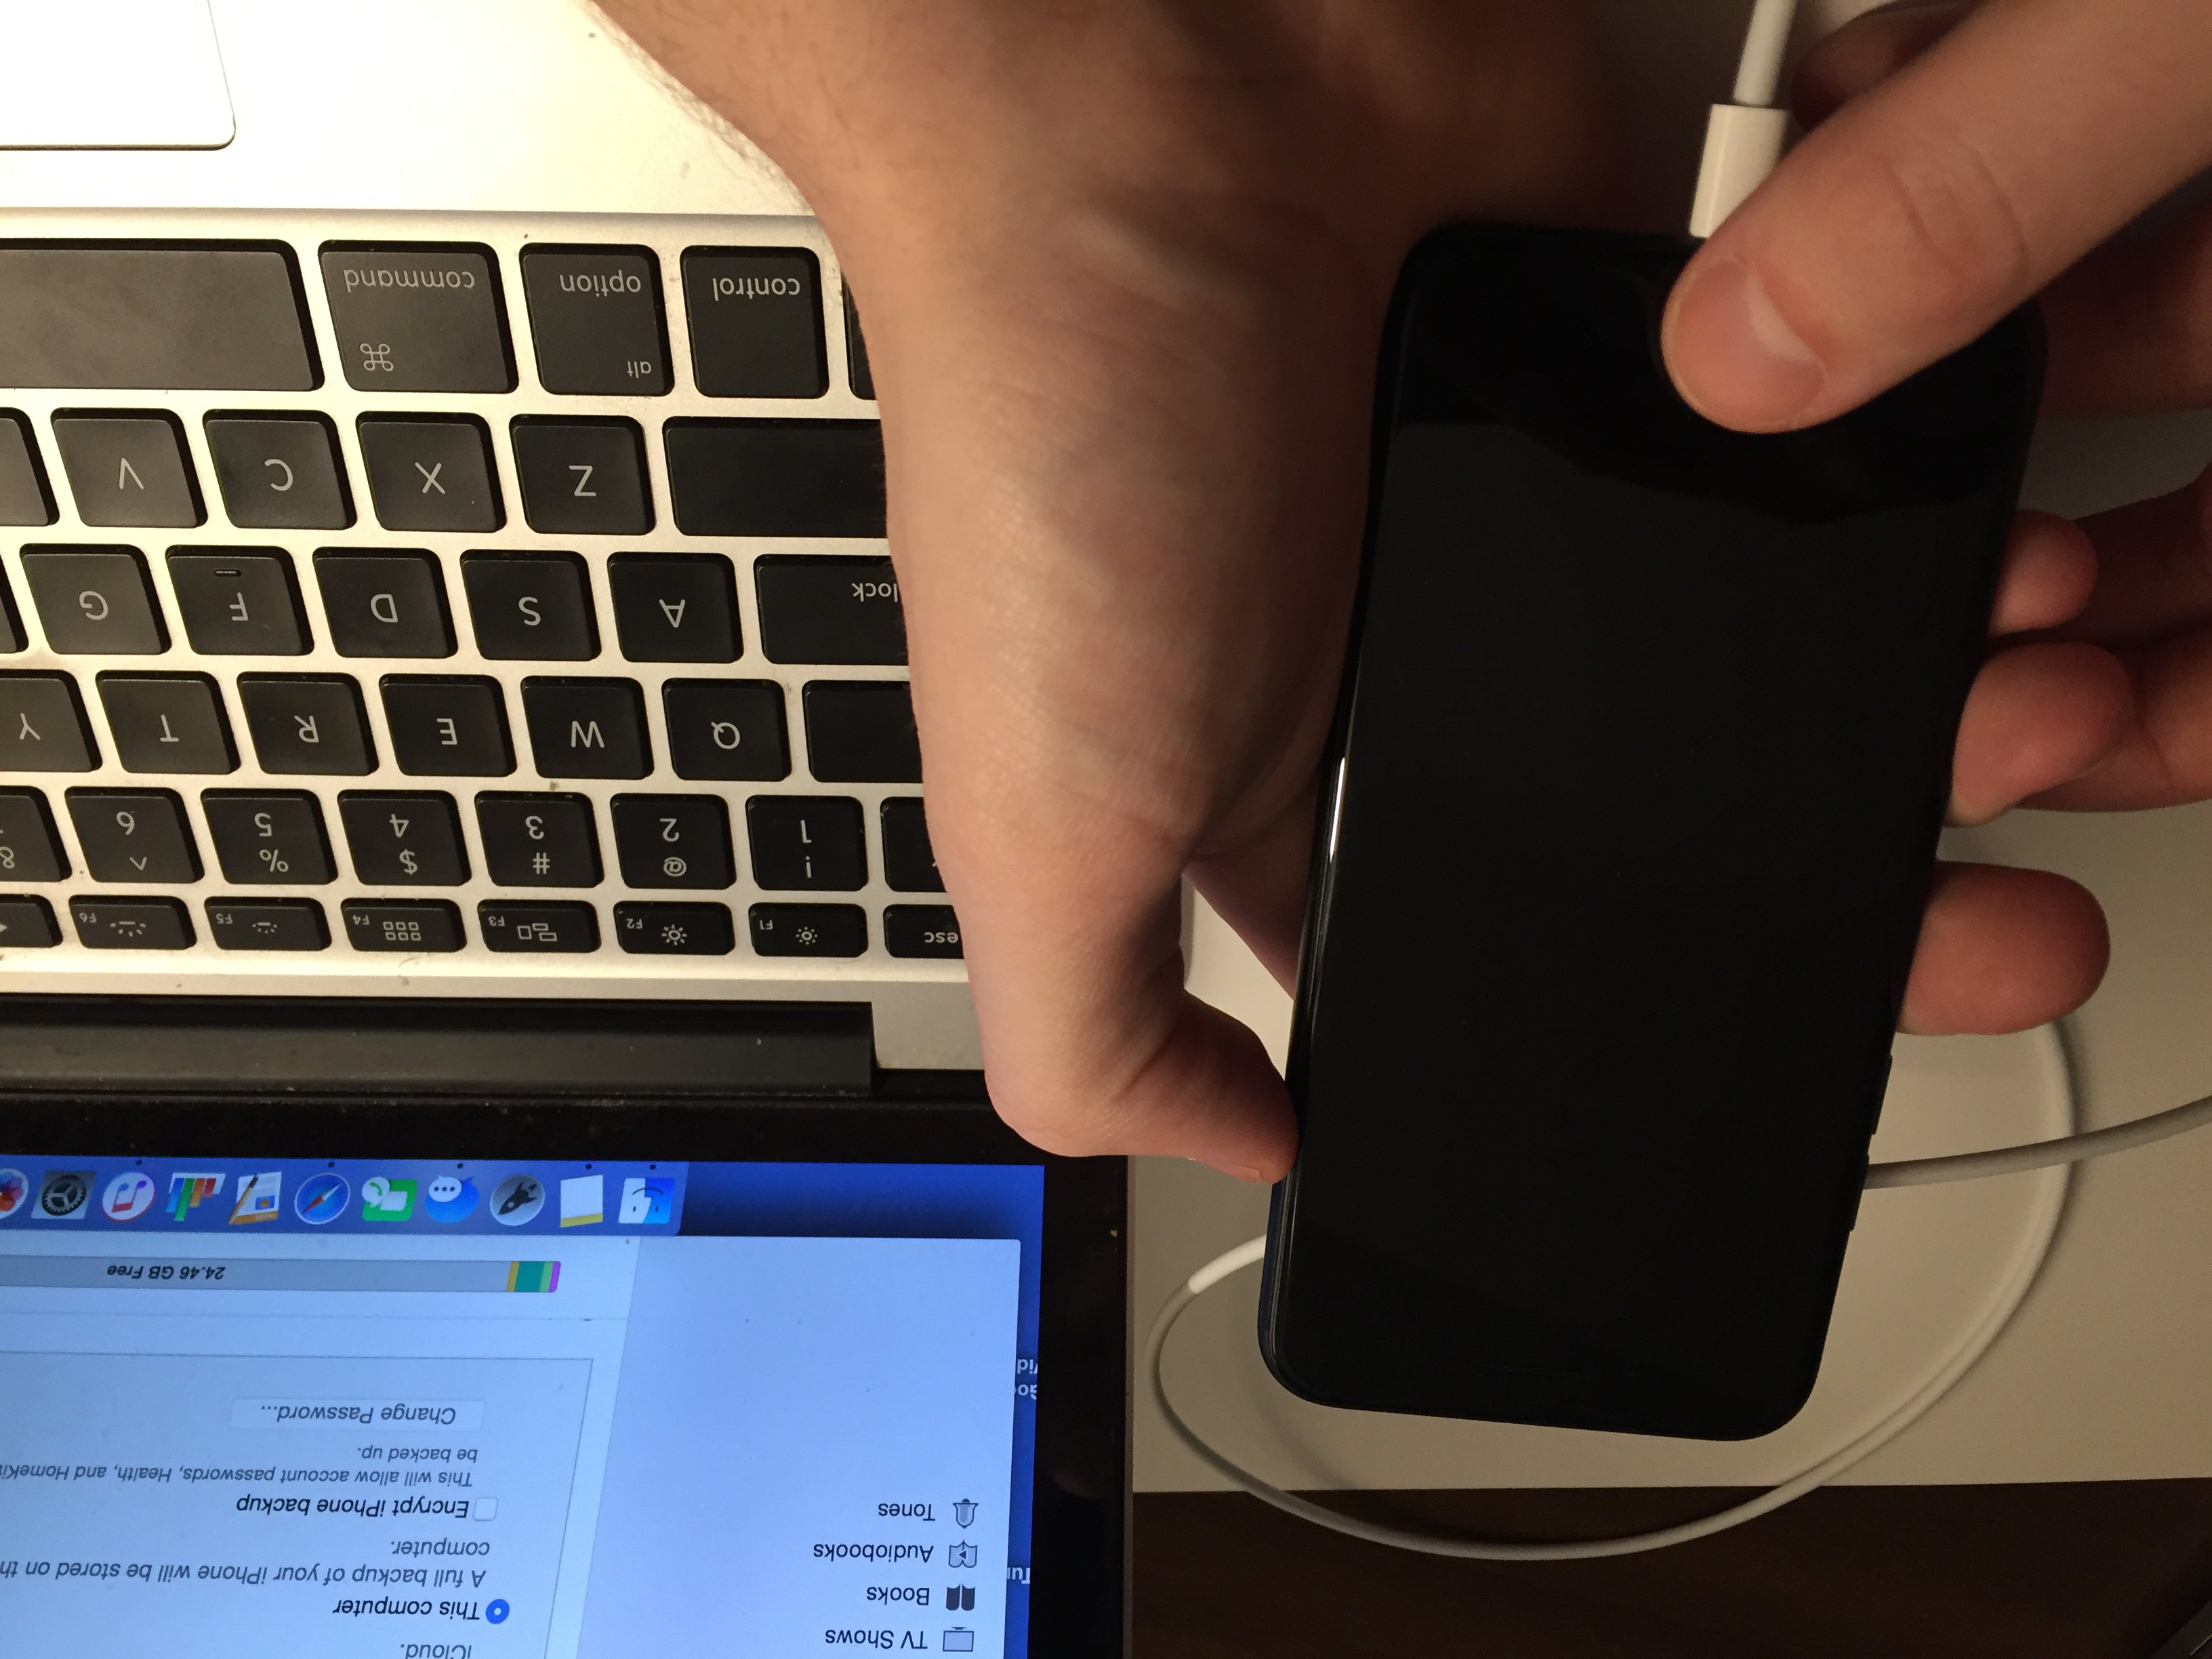
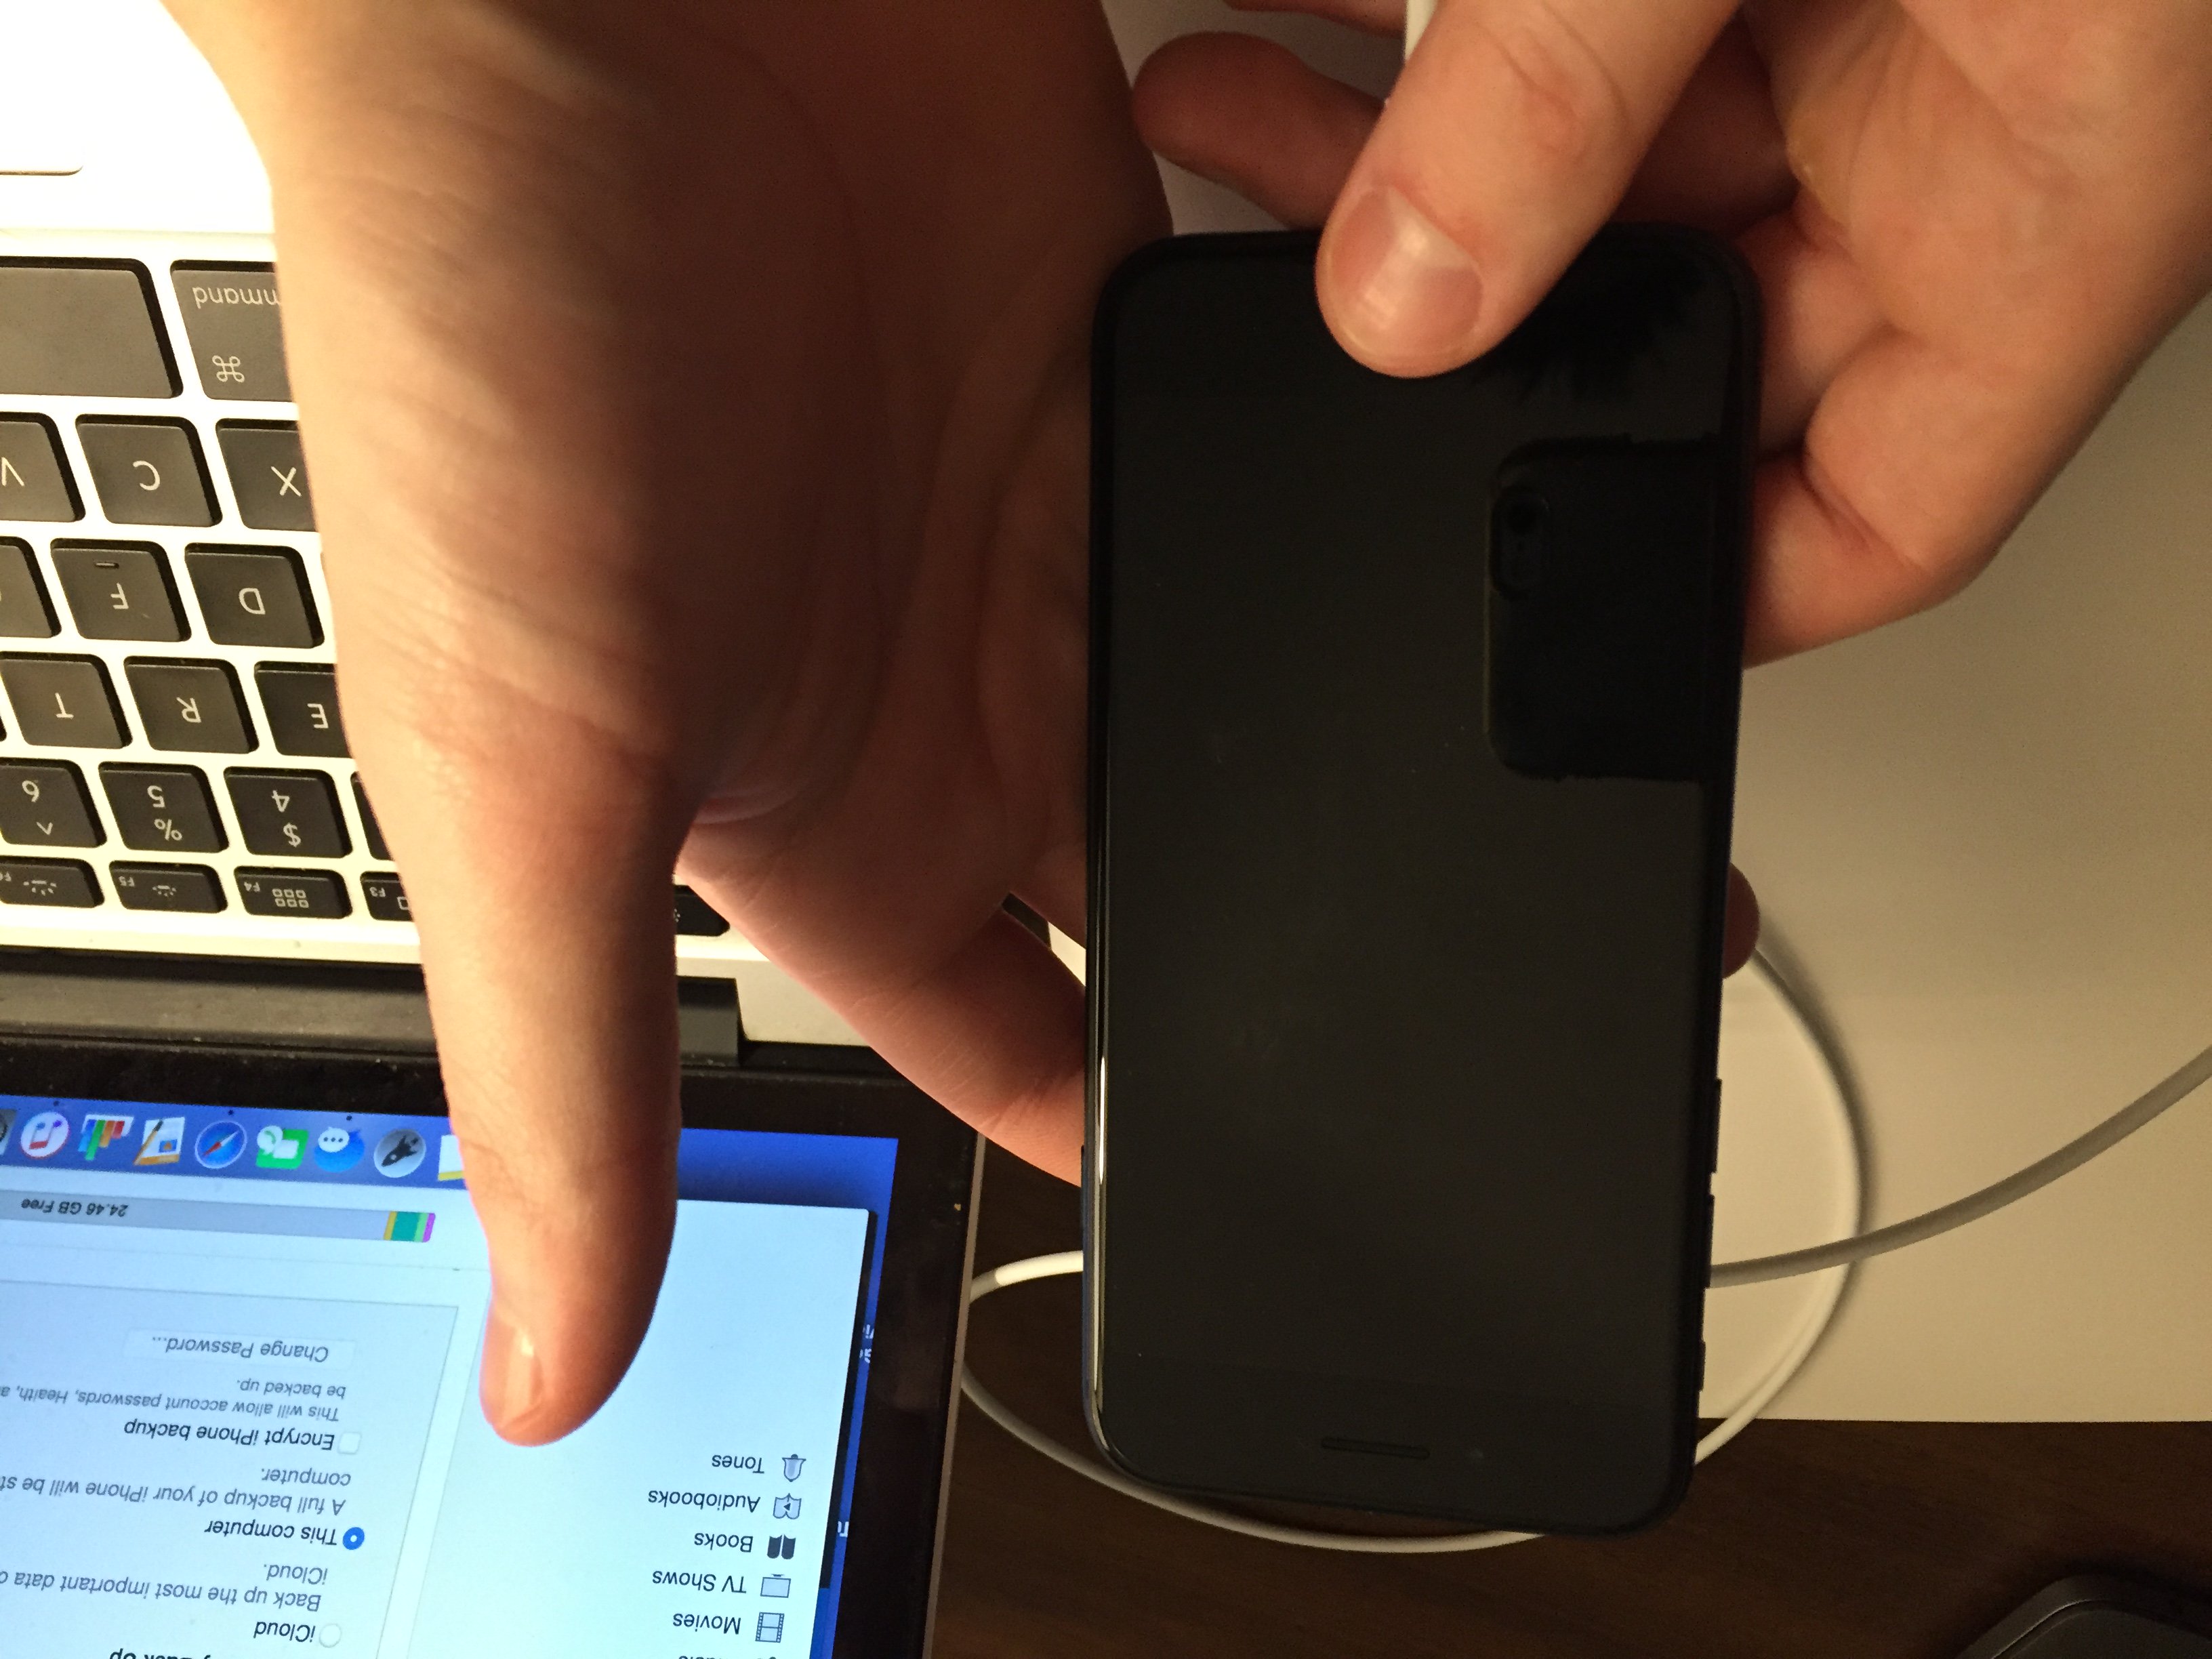
- Press and hold the power and volume down button simultaneously.
- After 8 seconds, release the power button, but continue to hold the volume down button.
- Release the volume down button when your iPhone appears in iTunes or Finder.
- You'll know your iPhone is in DFU mode if the display is completely black.
- Restore your iPhone using iTunes or Finder.
How To DFU Restore An iPhone 8 Or Newer
- Connect your iPhone to your computer using a charging cable.
- Open iTunes (PCs and Macs running macOS 10.14 or older) or Finder (Macs running macOS 10.15 or newer).
- Quickly press and release the volume up button.
- Quickly press and release the volume down button.
- Press and hold the side button until the screen goes black.
- When the screen goes black, press and hold the volume down button while continuing to press and hold the side button.
- Hold both buttons for five seconds.
- After five seconds, release the side button while continuing to hold the volume down button.
- Keep holding the volume down button until your iPhone appears in Finder or iTunes.
- Restore your iPhone using iTunes or Finder.
Applies To: iPhone 5,iPhone 5S,iPhone 5C,iPhone 6,iPhone 6 Plus,iPhone 6S,iPhone 6S Plus,iPhone SE,iPhone 7,iPhone 7 Plus,iPhone 8,iPhone 8 Plus,iPhone X,iPhone XS,iPhone XS Max,iPhone XR,iPhone 11,iPhone 11 Pro,iPhone 11 Pro Max,iPhone SE 2
View MoreRepair Your iPhone With Apple
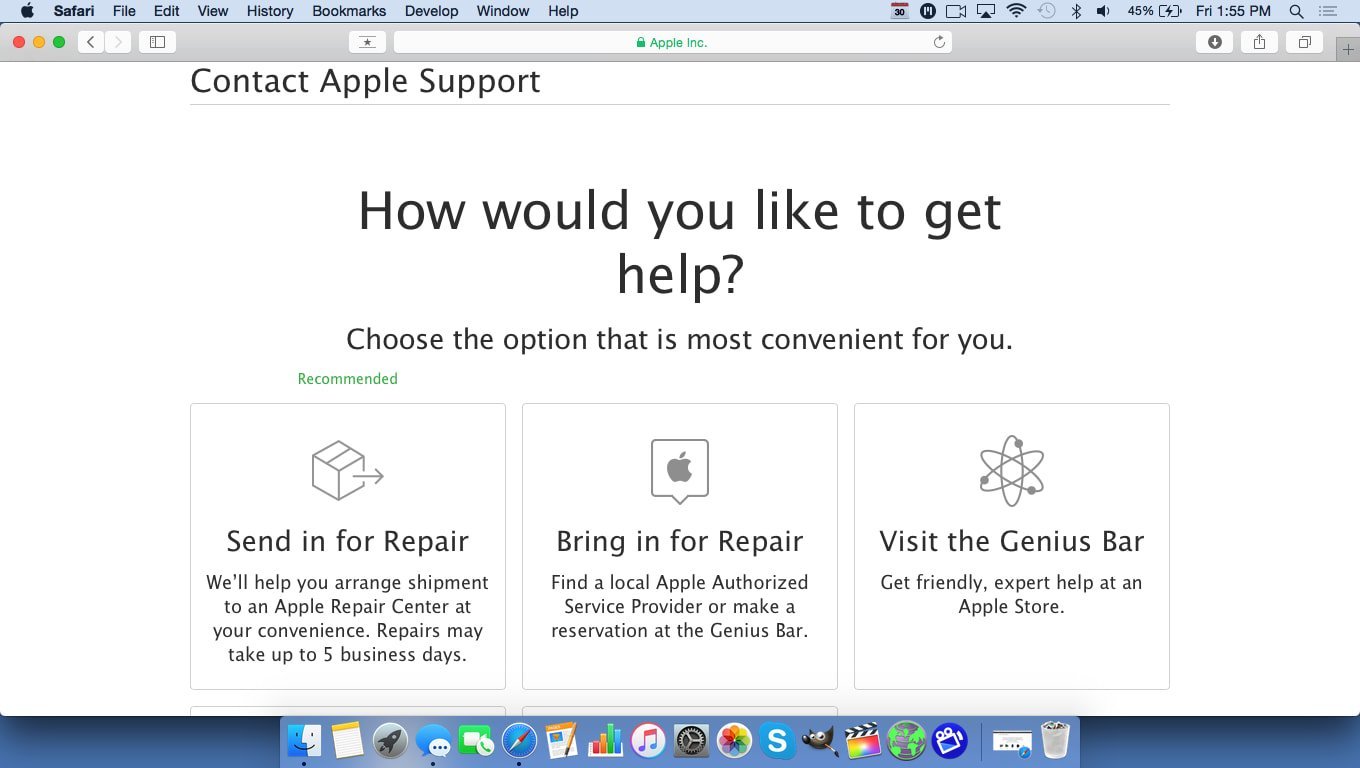
Apple repairs iPhones at the Genius Bar in Apple Stores and through their online mail-in repair service. Apple repairs are high-quality, but out-of-warranty repairs can be much more expensive than third-party solutions. If you're looking to save some money you're not covered by Apple's warranty, you may want to check out our other recommendations.
How Do I Repair My iPhone With Apple?
How To Repair Your iPhone With Apple's Mail-In Service
- Visit Apple's support website to begin the online mail-in repair process.
- Alternatively, call 1-800-MY-APPLE (1-800-692-7753) to set up a repair.
How To Repair Your iPhone At The Genius Bar Inside Your Local Apple Store
- Visit Apple's website to make a Genius Bar appointment before you go into the store. Apple Stores are extremely busy, and if you don't have an appointment, you may have to wait for hours or end up being turned away. (Editor's note: I'm a former Apple tech and we're not exaggerating — please, do yourself a favor and make an appointment first!)
- When you arrive, go to the Genius Bar to check in for your appointment.
- Genius Bar appointments always include free diagnosis. If you're under warranty, many repairs can be done on the spot, but it all depends upon which parts are in stock. If you're not under warranty, the Genius will give you a quote for the cost of a repair.
Applies To: iPhone 5,iPhone 5S,iPhone 5C,iPhone 6,iPhone 6 Plus,iPhone 6S,iPhone 6S Plus,iPhone SE,iPhone 7,iPhone 7 Plus,iPhone 8,iPhone 8 Plus,iPhone X,iPhone XS,iPhone XS Max,iPhone XR,iPhone 11,iPhone 11 Pro,iPhone 11 Pro Max,iPhone SE 2
View MoreYour iPhone 7 Plus Is Receiving Calls!
You've fixed your iPhone and you won't be missing any more calls! Next time your iPhone 7 Plus is not receiving calls, you'll know exactly what to do! Thanks for reading and feel free to ask any other questions you have in the comments section below.
hello mr david lynch have problem in my iphone 7 plus which is using in india with jio network. i have problem that is i get the calls but i can’t answer nd when i call someone i can’t call. can u pleas solve my problems……?
The Reset Network Settings tip worked for me as well. Thank you SO much!
I cannot make or receive phone calls. All other phone features work except for the phone calls.
Can make calls and receive messages from certain people other people say it’s like I have a block on my phone what could be the problem
Hi Derek, it’s possible you may have accidentally blocked certain contacts on your iPhone. To check if this is the case, open Settings -> Phone -> Blocked Contacts. If you see anyone listed on this page, you won’t be able to receive calls, texts, or emails from them.
To unblock a contact, just open up their Contact page in the Phone app, scroll down, and tap Unblock This Caller. I hope this helps!
brilliant , fixed my problem with the network reset tip