My iPhone 7 Won't Charge. Here's The Real Fix!
Your iPhone 7 isn't charging and you don't know how to fix it. When you have a charging issue with your iPhone, there's a problem with one of these four components: the charging port on your iPhone 7, the charger cable, the iPhone's software, or the charger itself. In this article, I'll show you why your iPhone 7 won't charge and walk you step-by-step through how to fix the charging problem for good.
Does My iPhone 7 Need A New Battery?
No! The truth is that 99% of the time, the battery has nothing to do with the charging problem, and replacing the battery inside of your iPhone 7 would probably have zero effect. Here's why:
Your iPhone 7 won't charge because the software crashed or there's a problem with your iPhone's hardware. Usually, the problem is software-related and can be fixed with a simple hard reset. The software of your iPhone 7 is the ultimate decider of whether or not your battery will begin to charge when you plug it in.
Are You Sure Your iPhone 7 Won't Charge? Or Is It This…
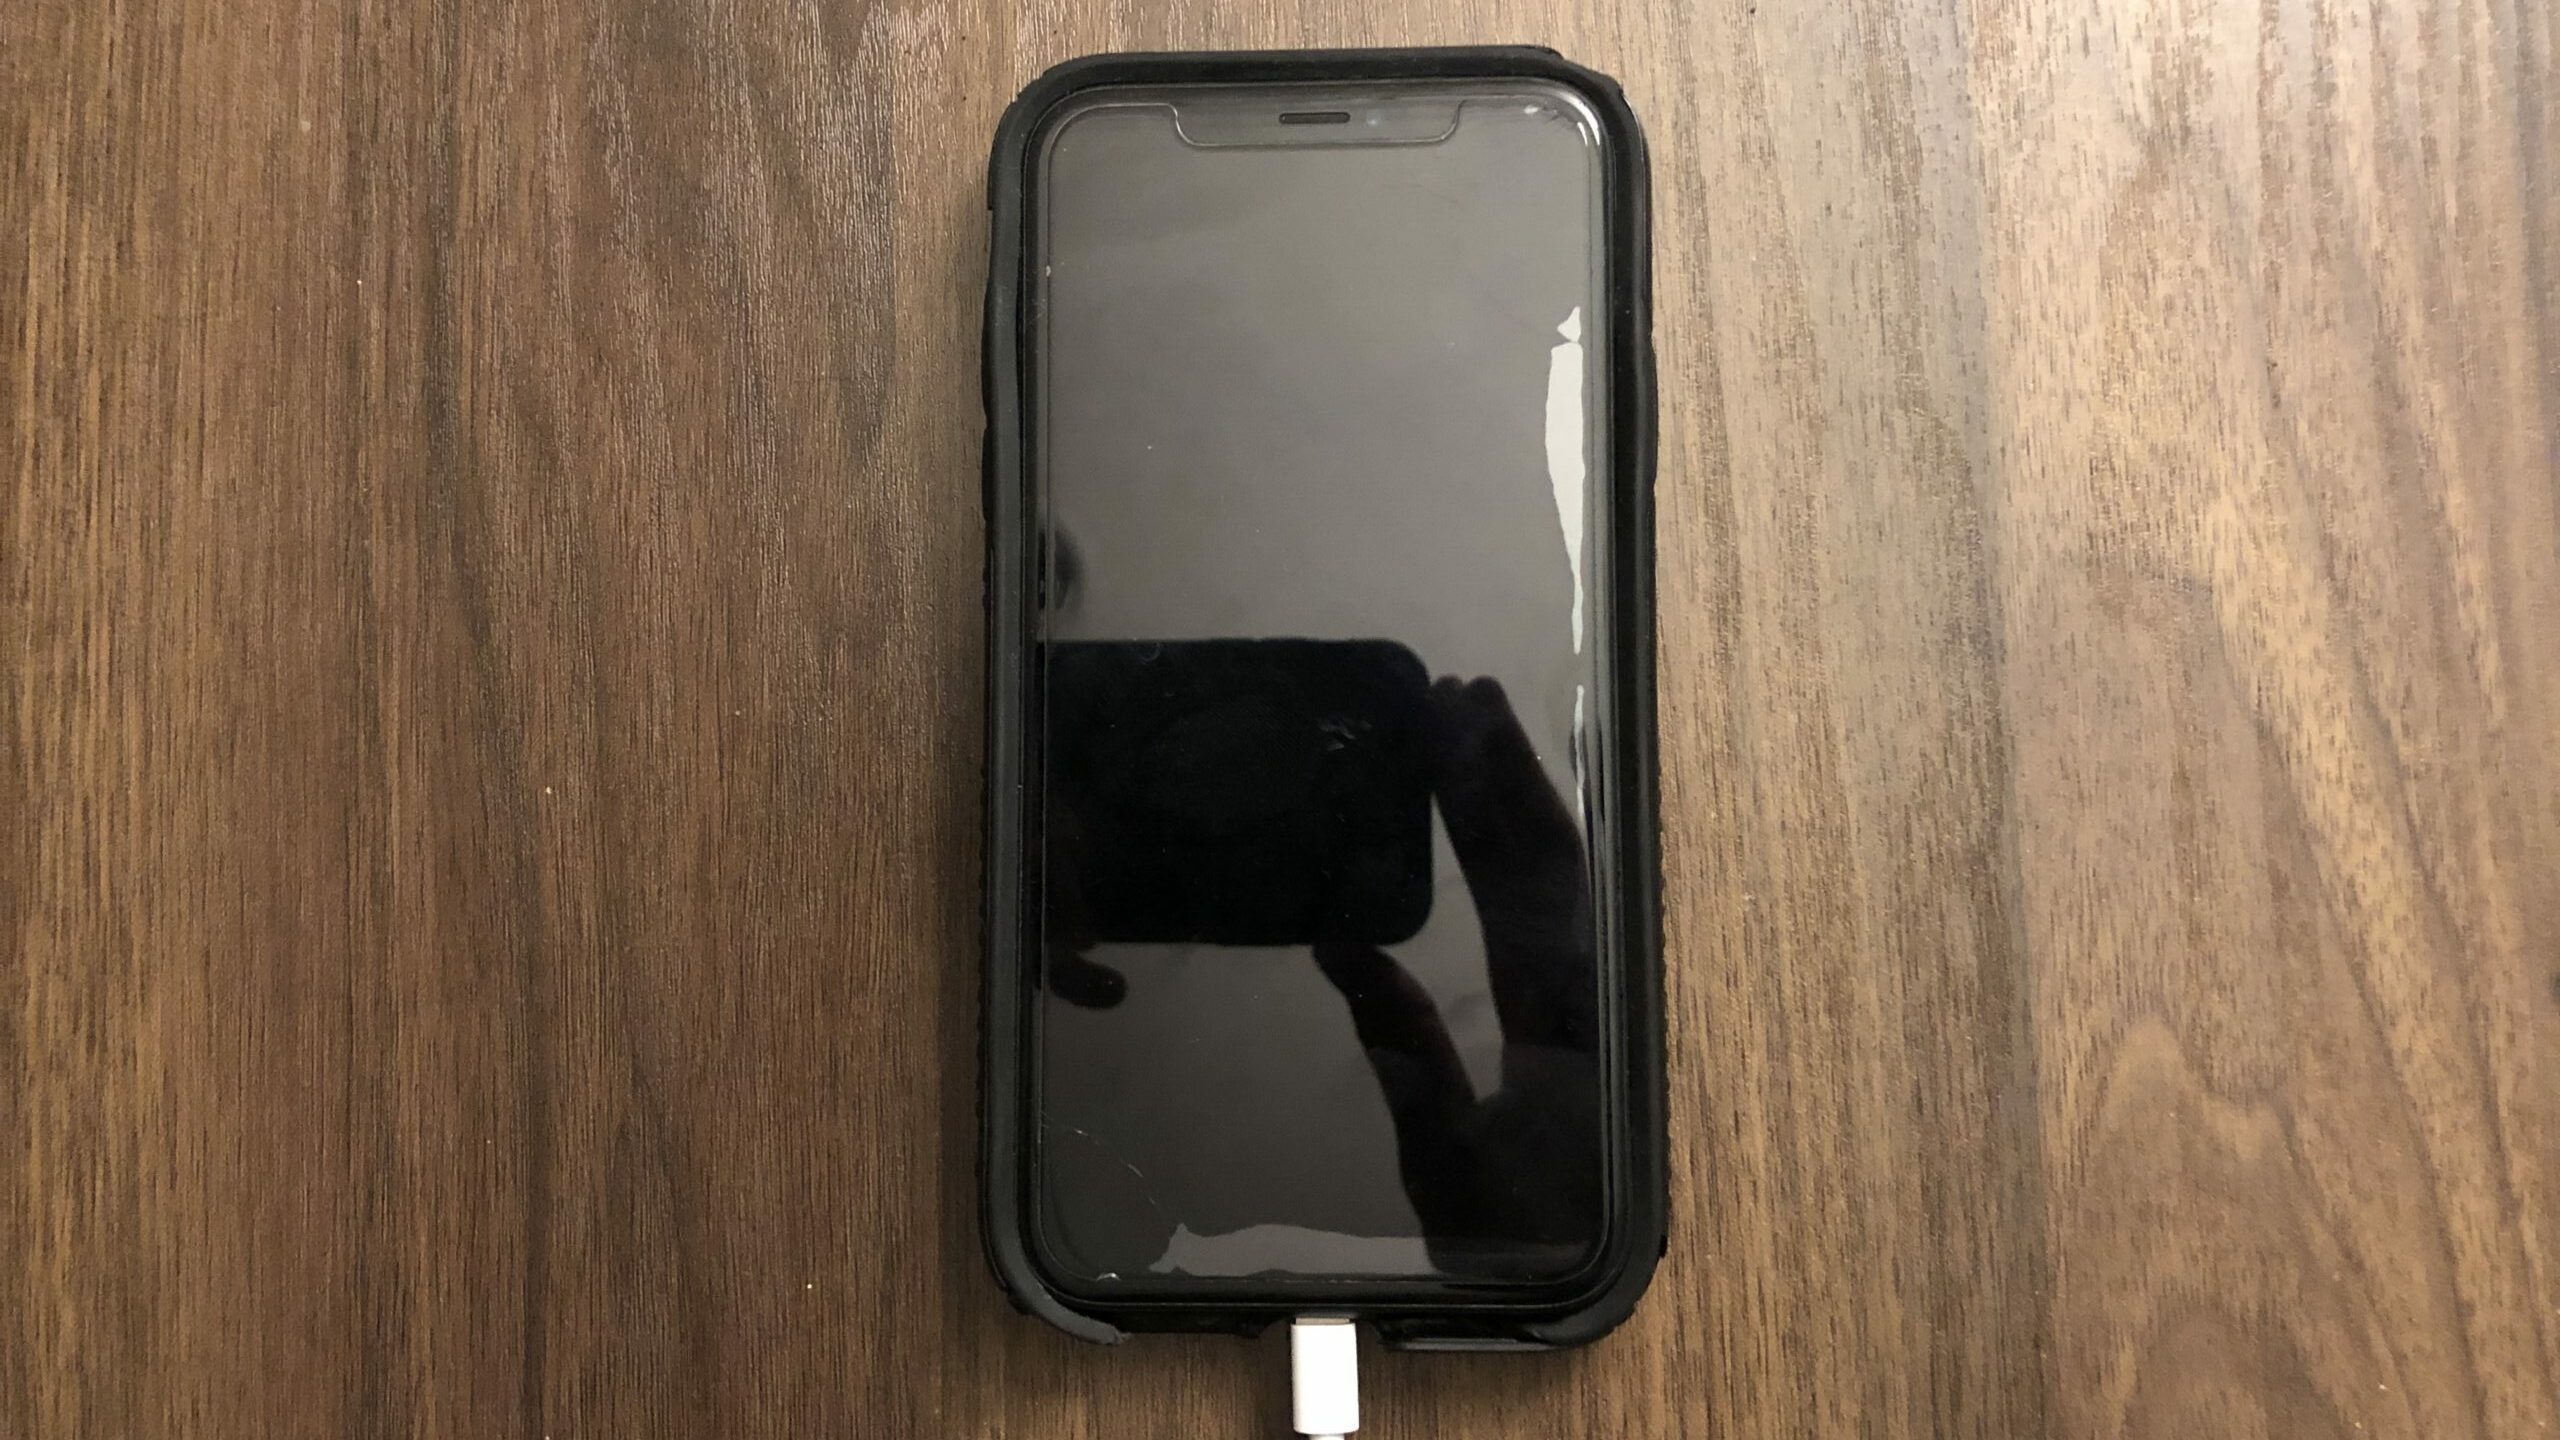
It's possible that the software of your iPhone 7 crashed while your screen was off, which makes it look like your iPhone 7 won't charge. The screen is black, and it stays black when you plug it into the wall. But consider this: What if your iPhone battery is fully charged and the iPhone software froze on a black screen? The result would be the same. We'll talk about how to fix that problem in the first step of the troubleshooting section.
About The iPhone 7 Charging Process
The charging process begins when the software detects that your iPhone 7 has been plugged into a power source like the wall adapter, your computer, or your car. We'll walk you through the troubleshooting process for both software and hardware problems, and if you still have a problem (we hope you won't), we'll recommend some repair options in addition to Apple Support that could save you a lot of money.
How To Fix An iPhone 7 That Won't Charge
8 Steps TotalHard Reset Your iPhone
A hard reset is usually a temporary solution to a software problem. It doesn't change anything at all — it just forces your iPhone to start from scratch, and often times the problem comes back.
How Do I Hard Reset My iPhone?
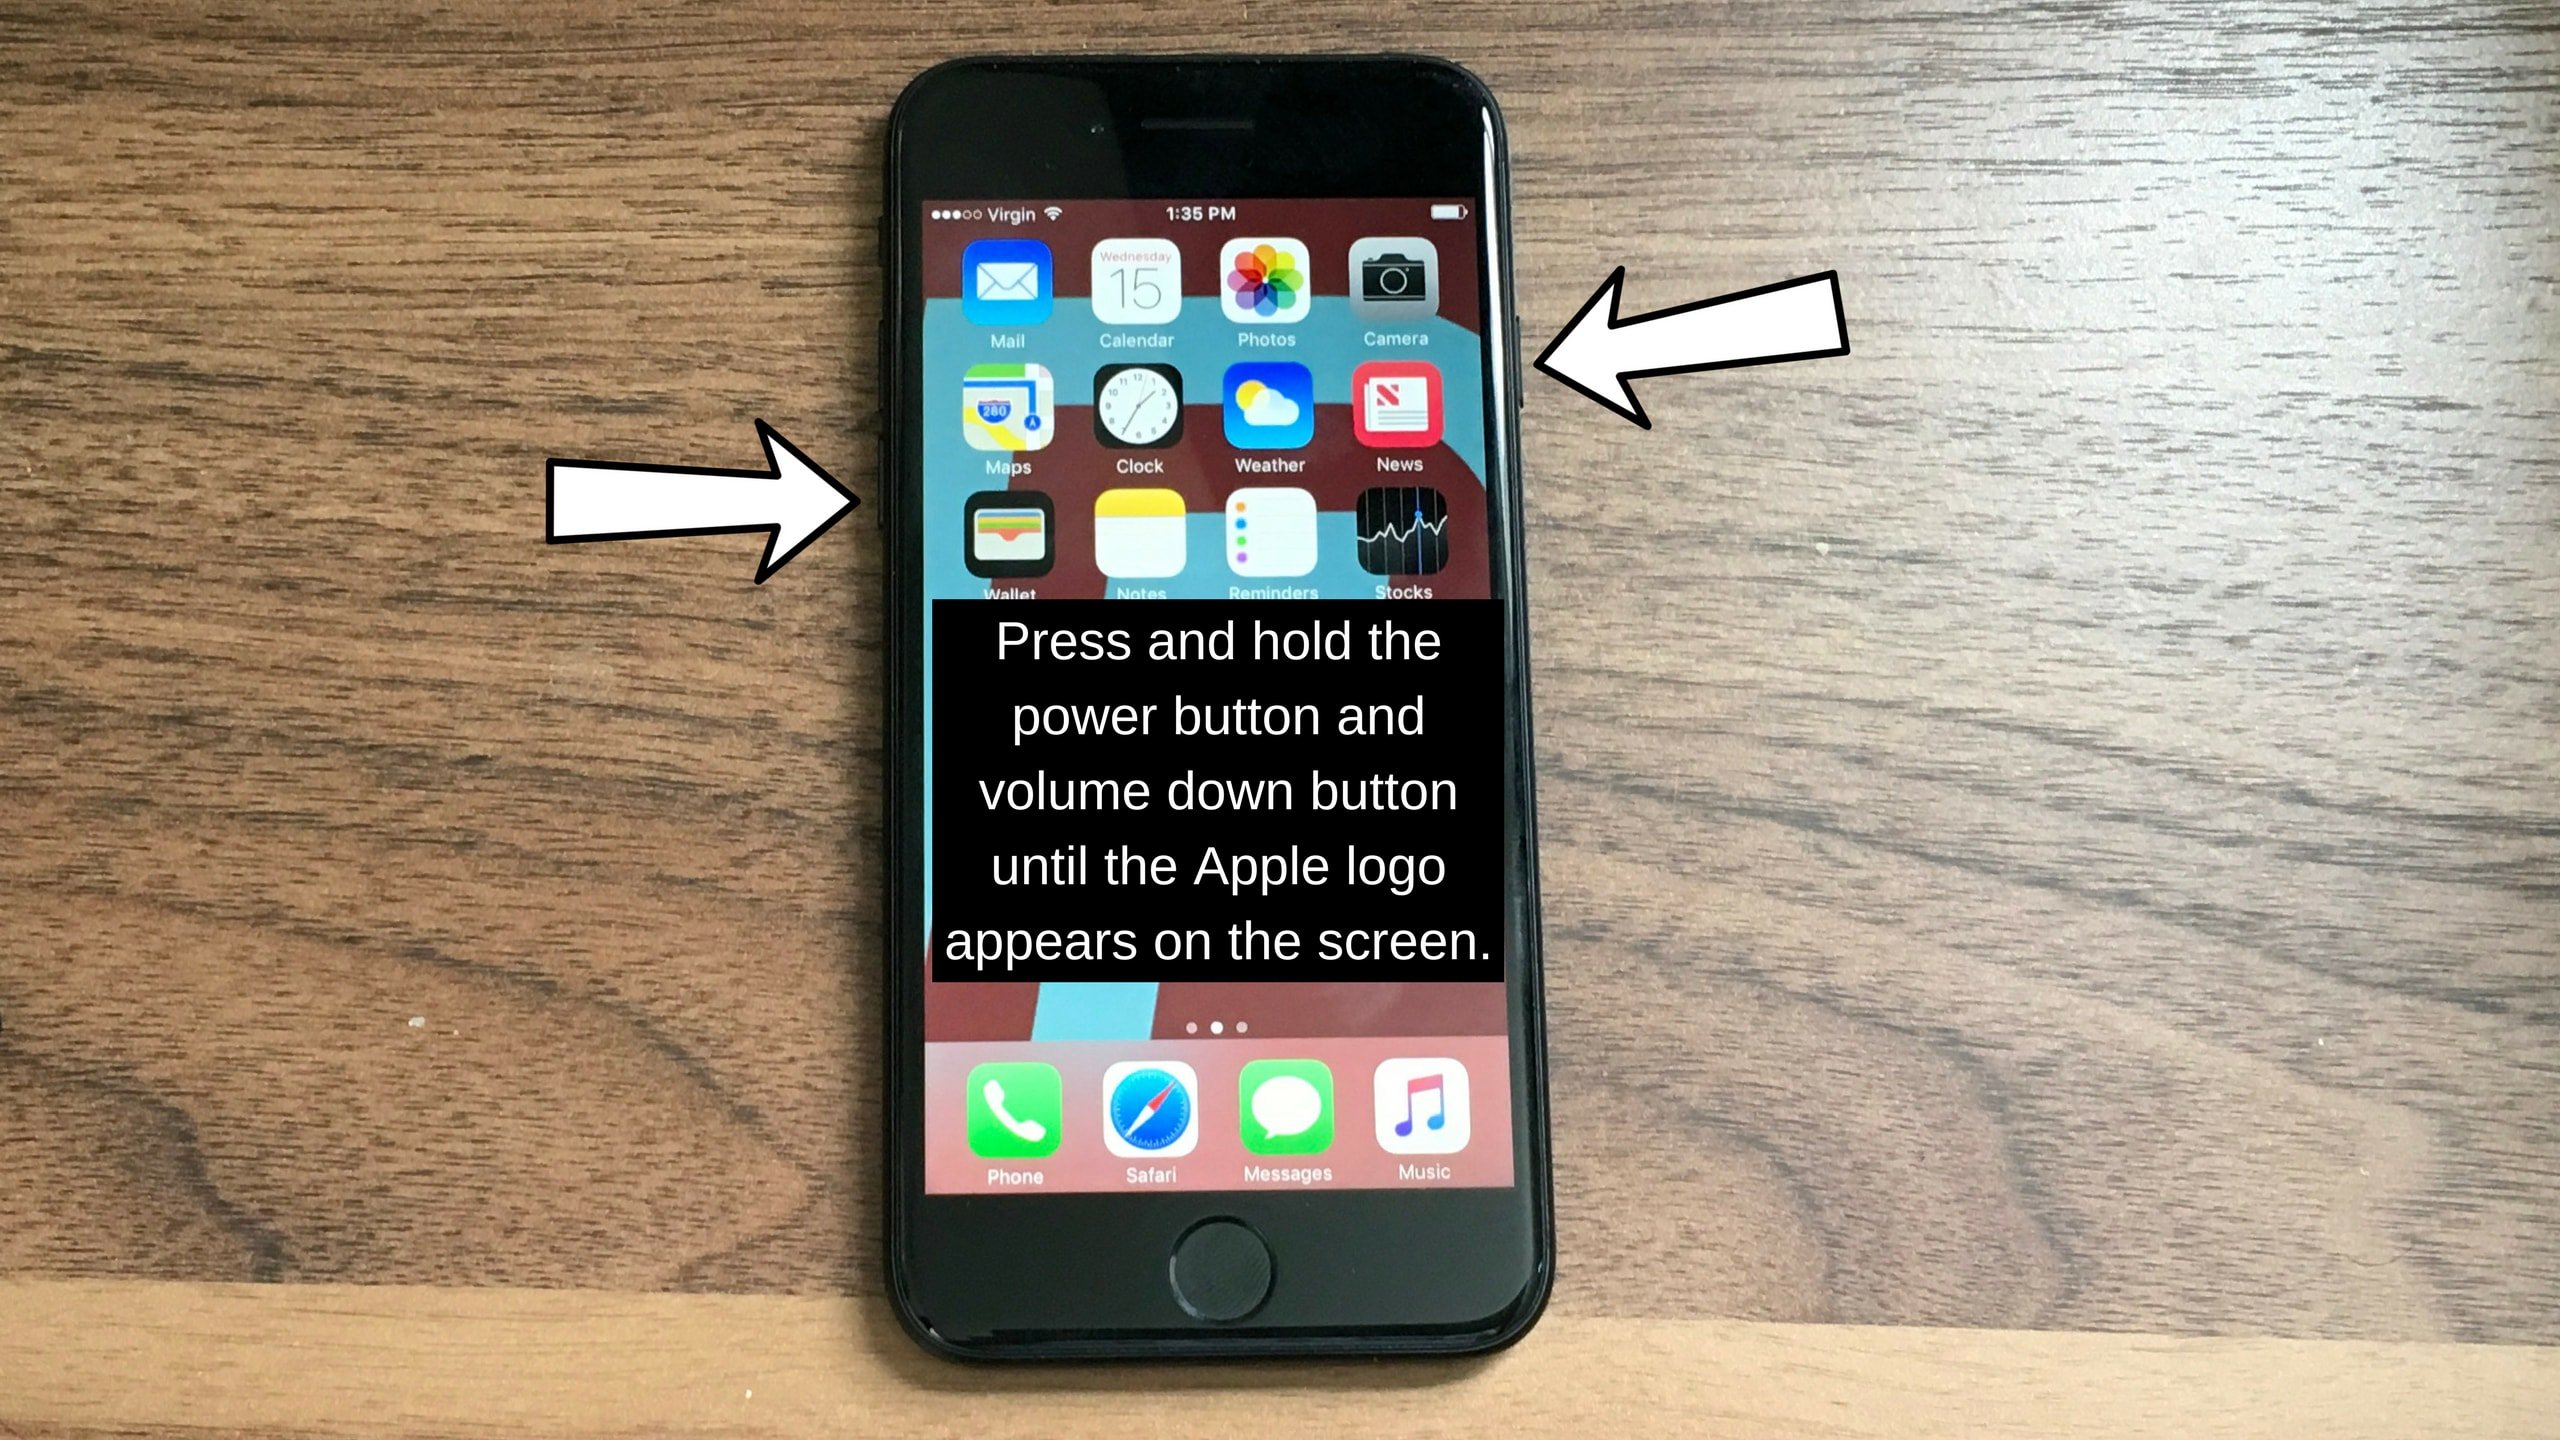
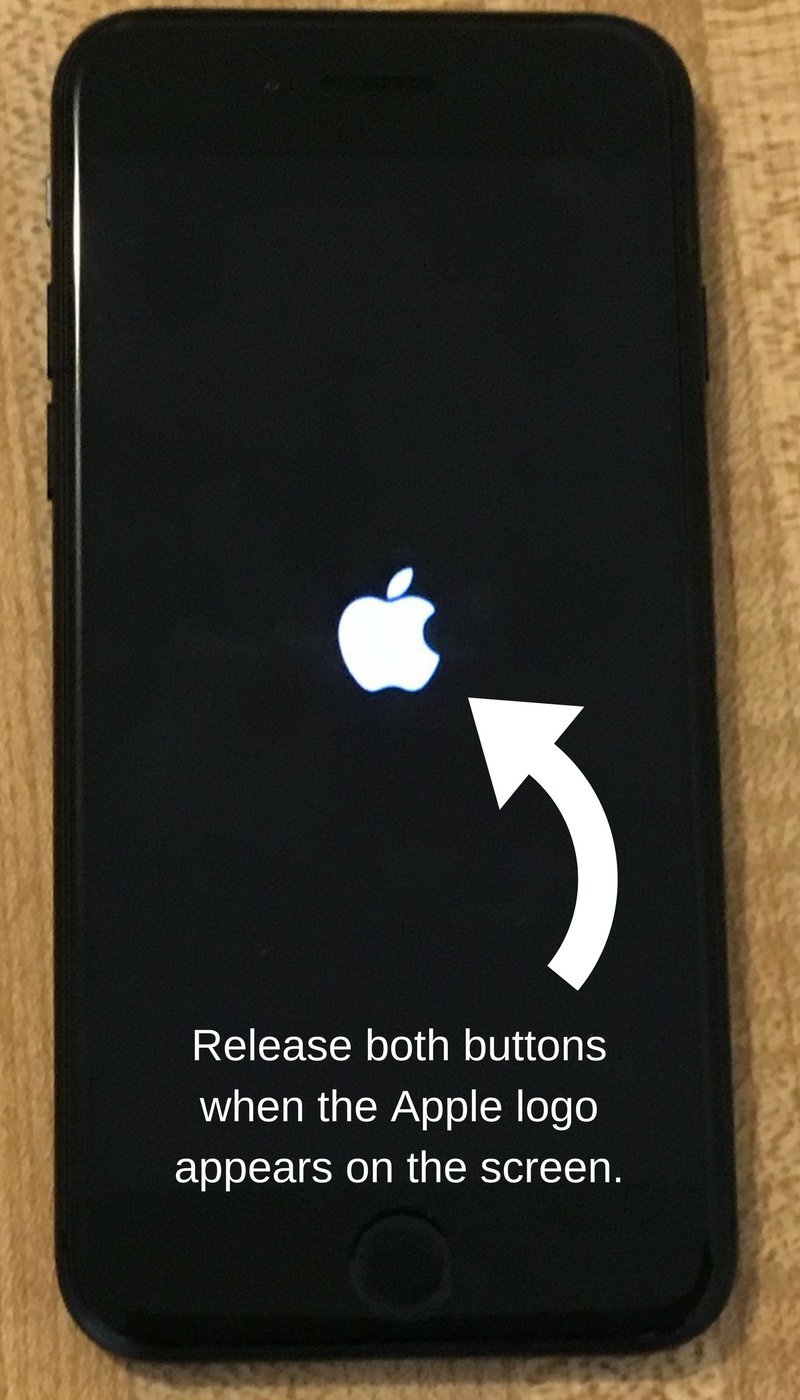
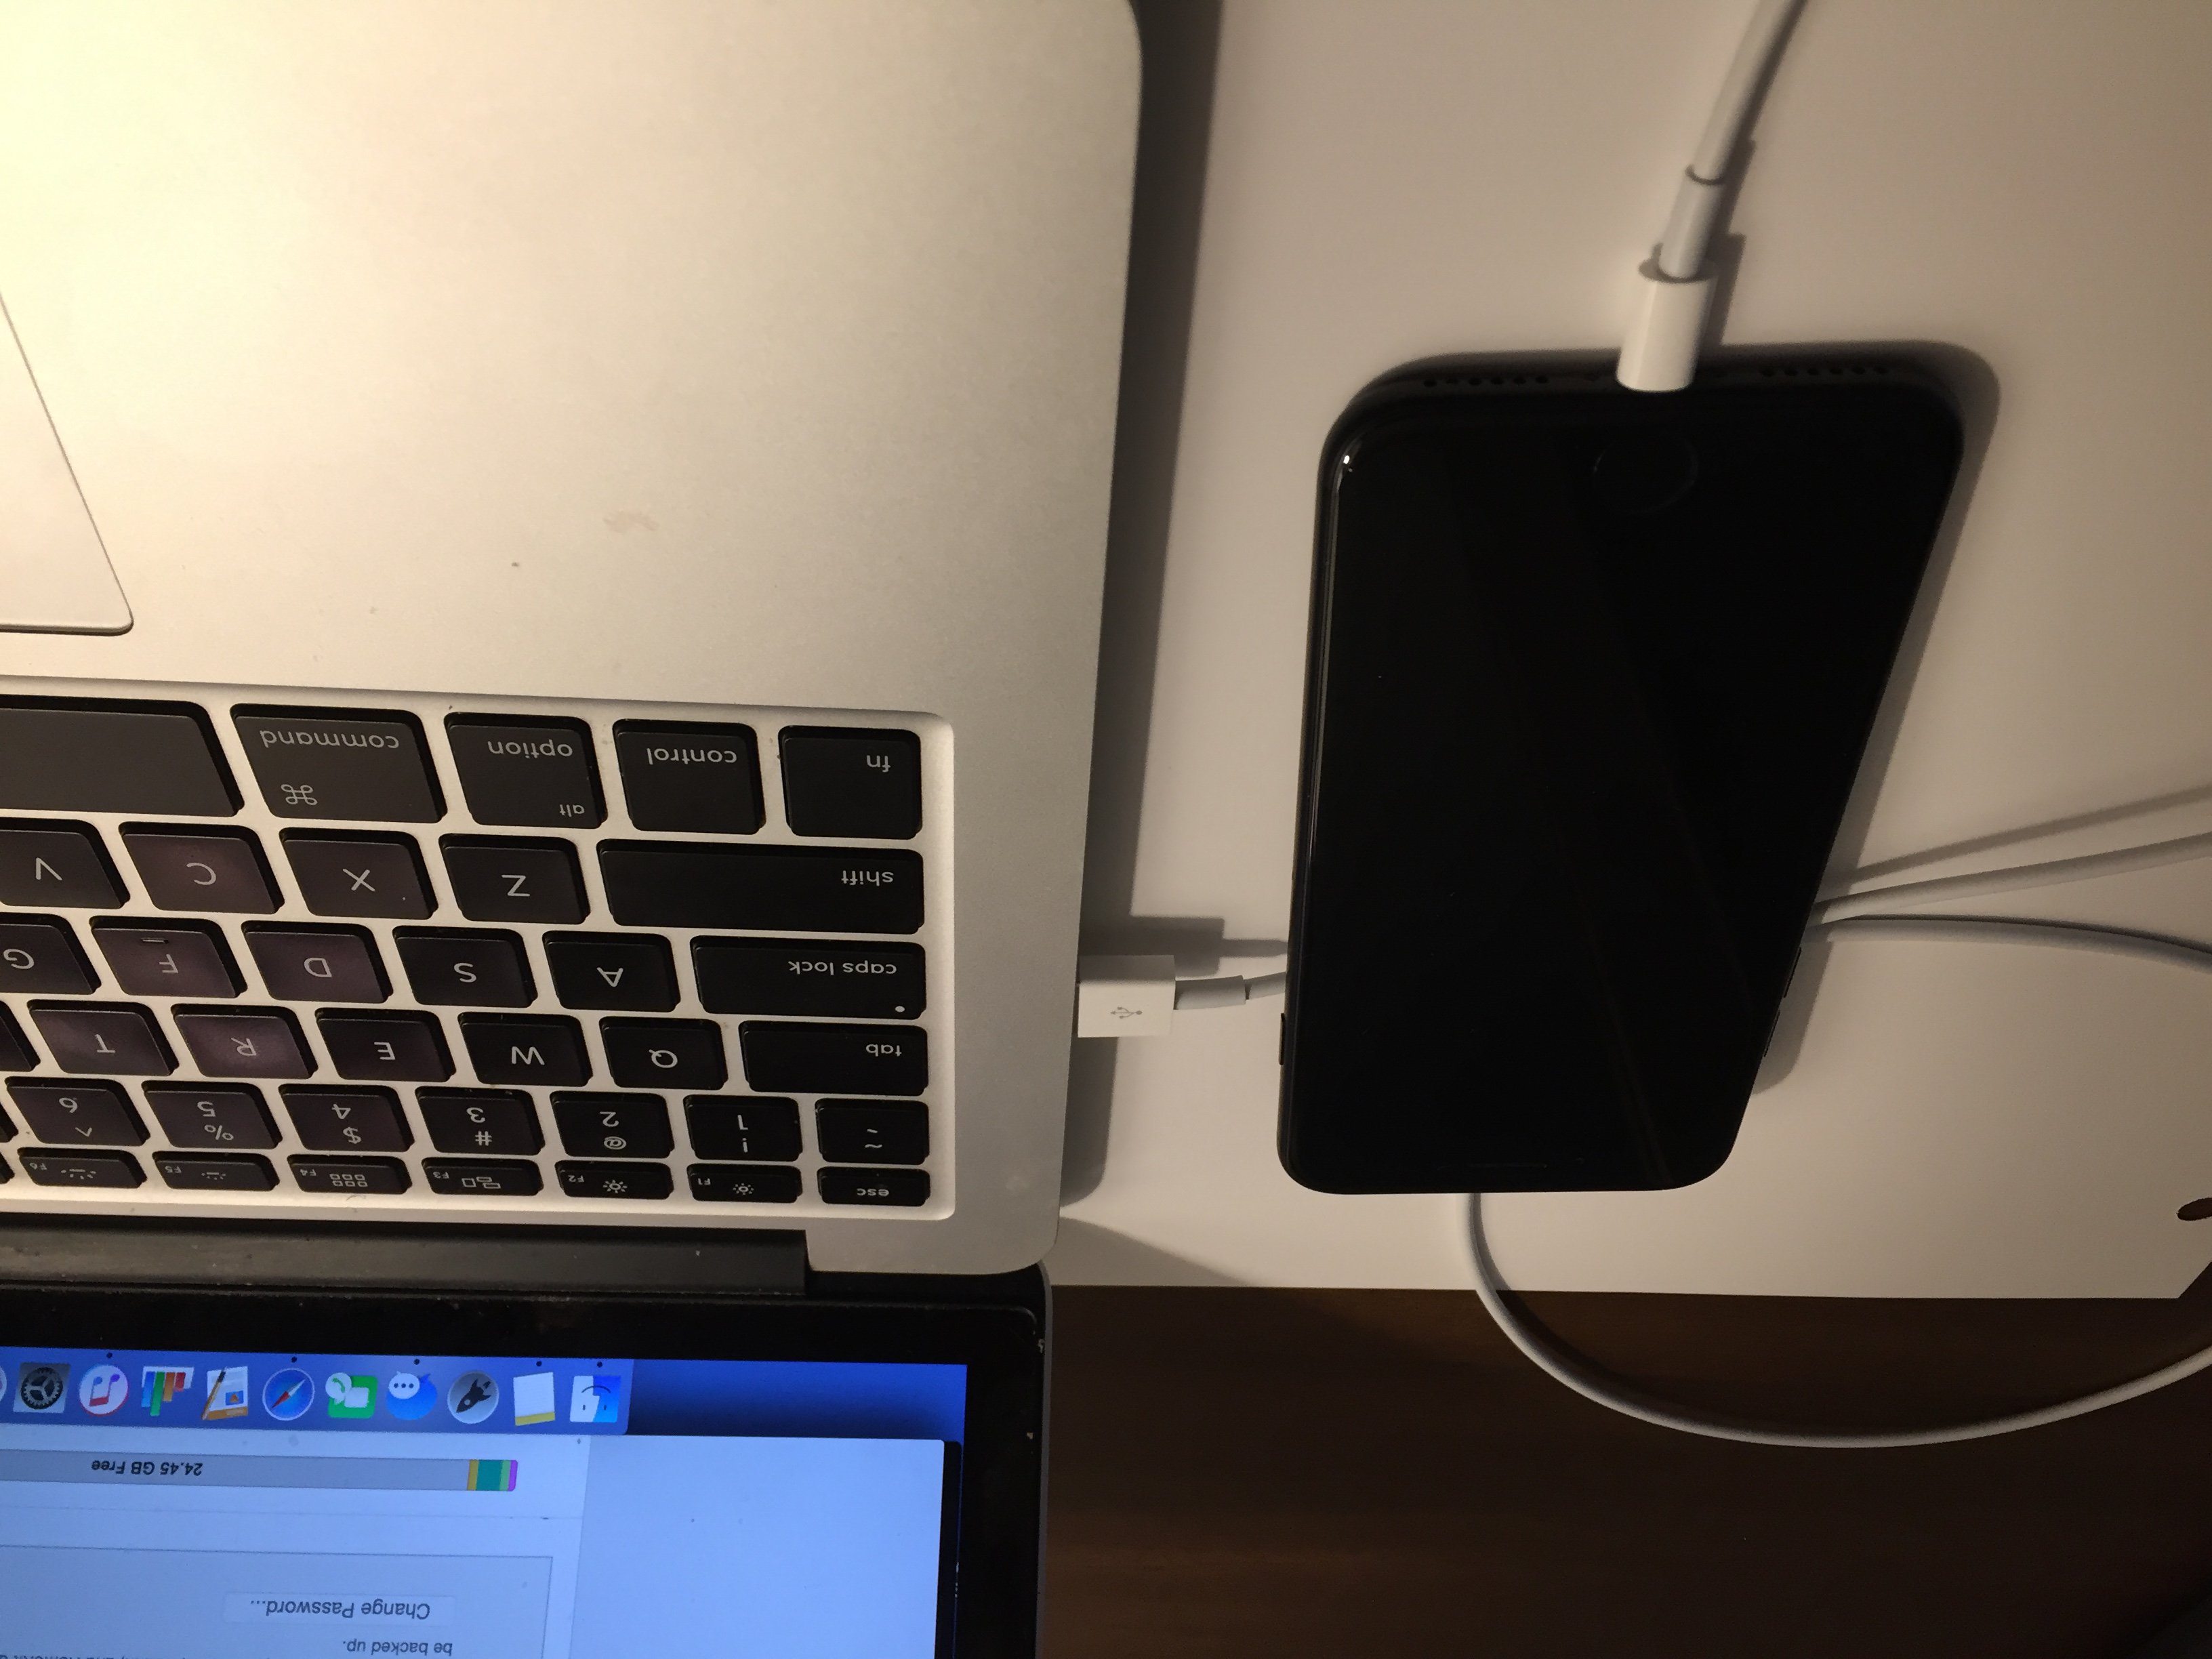
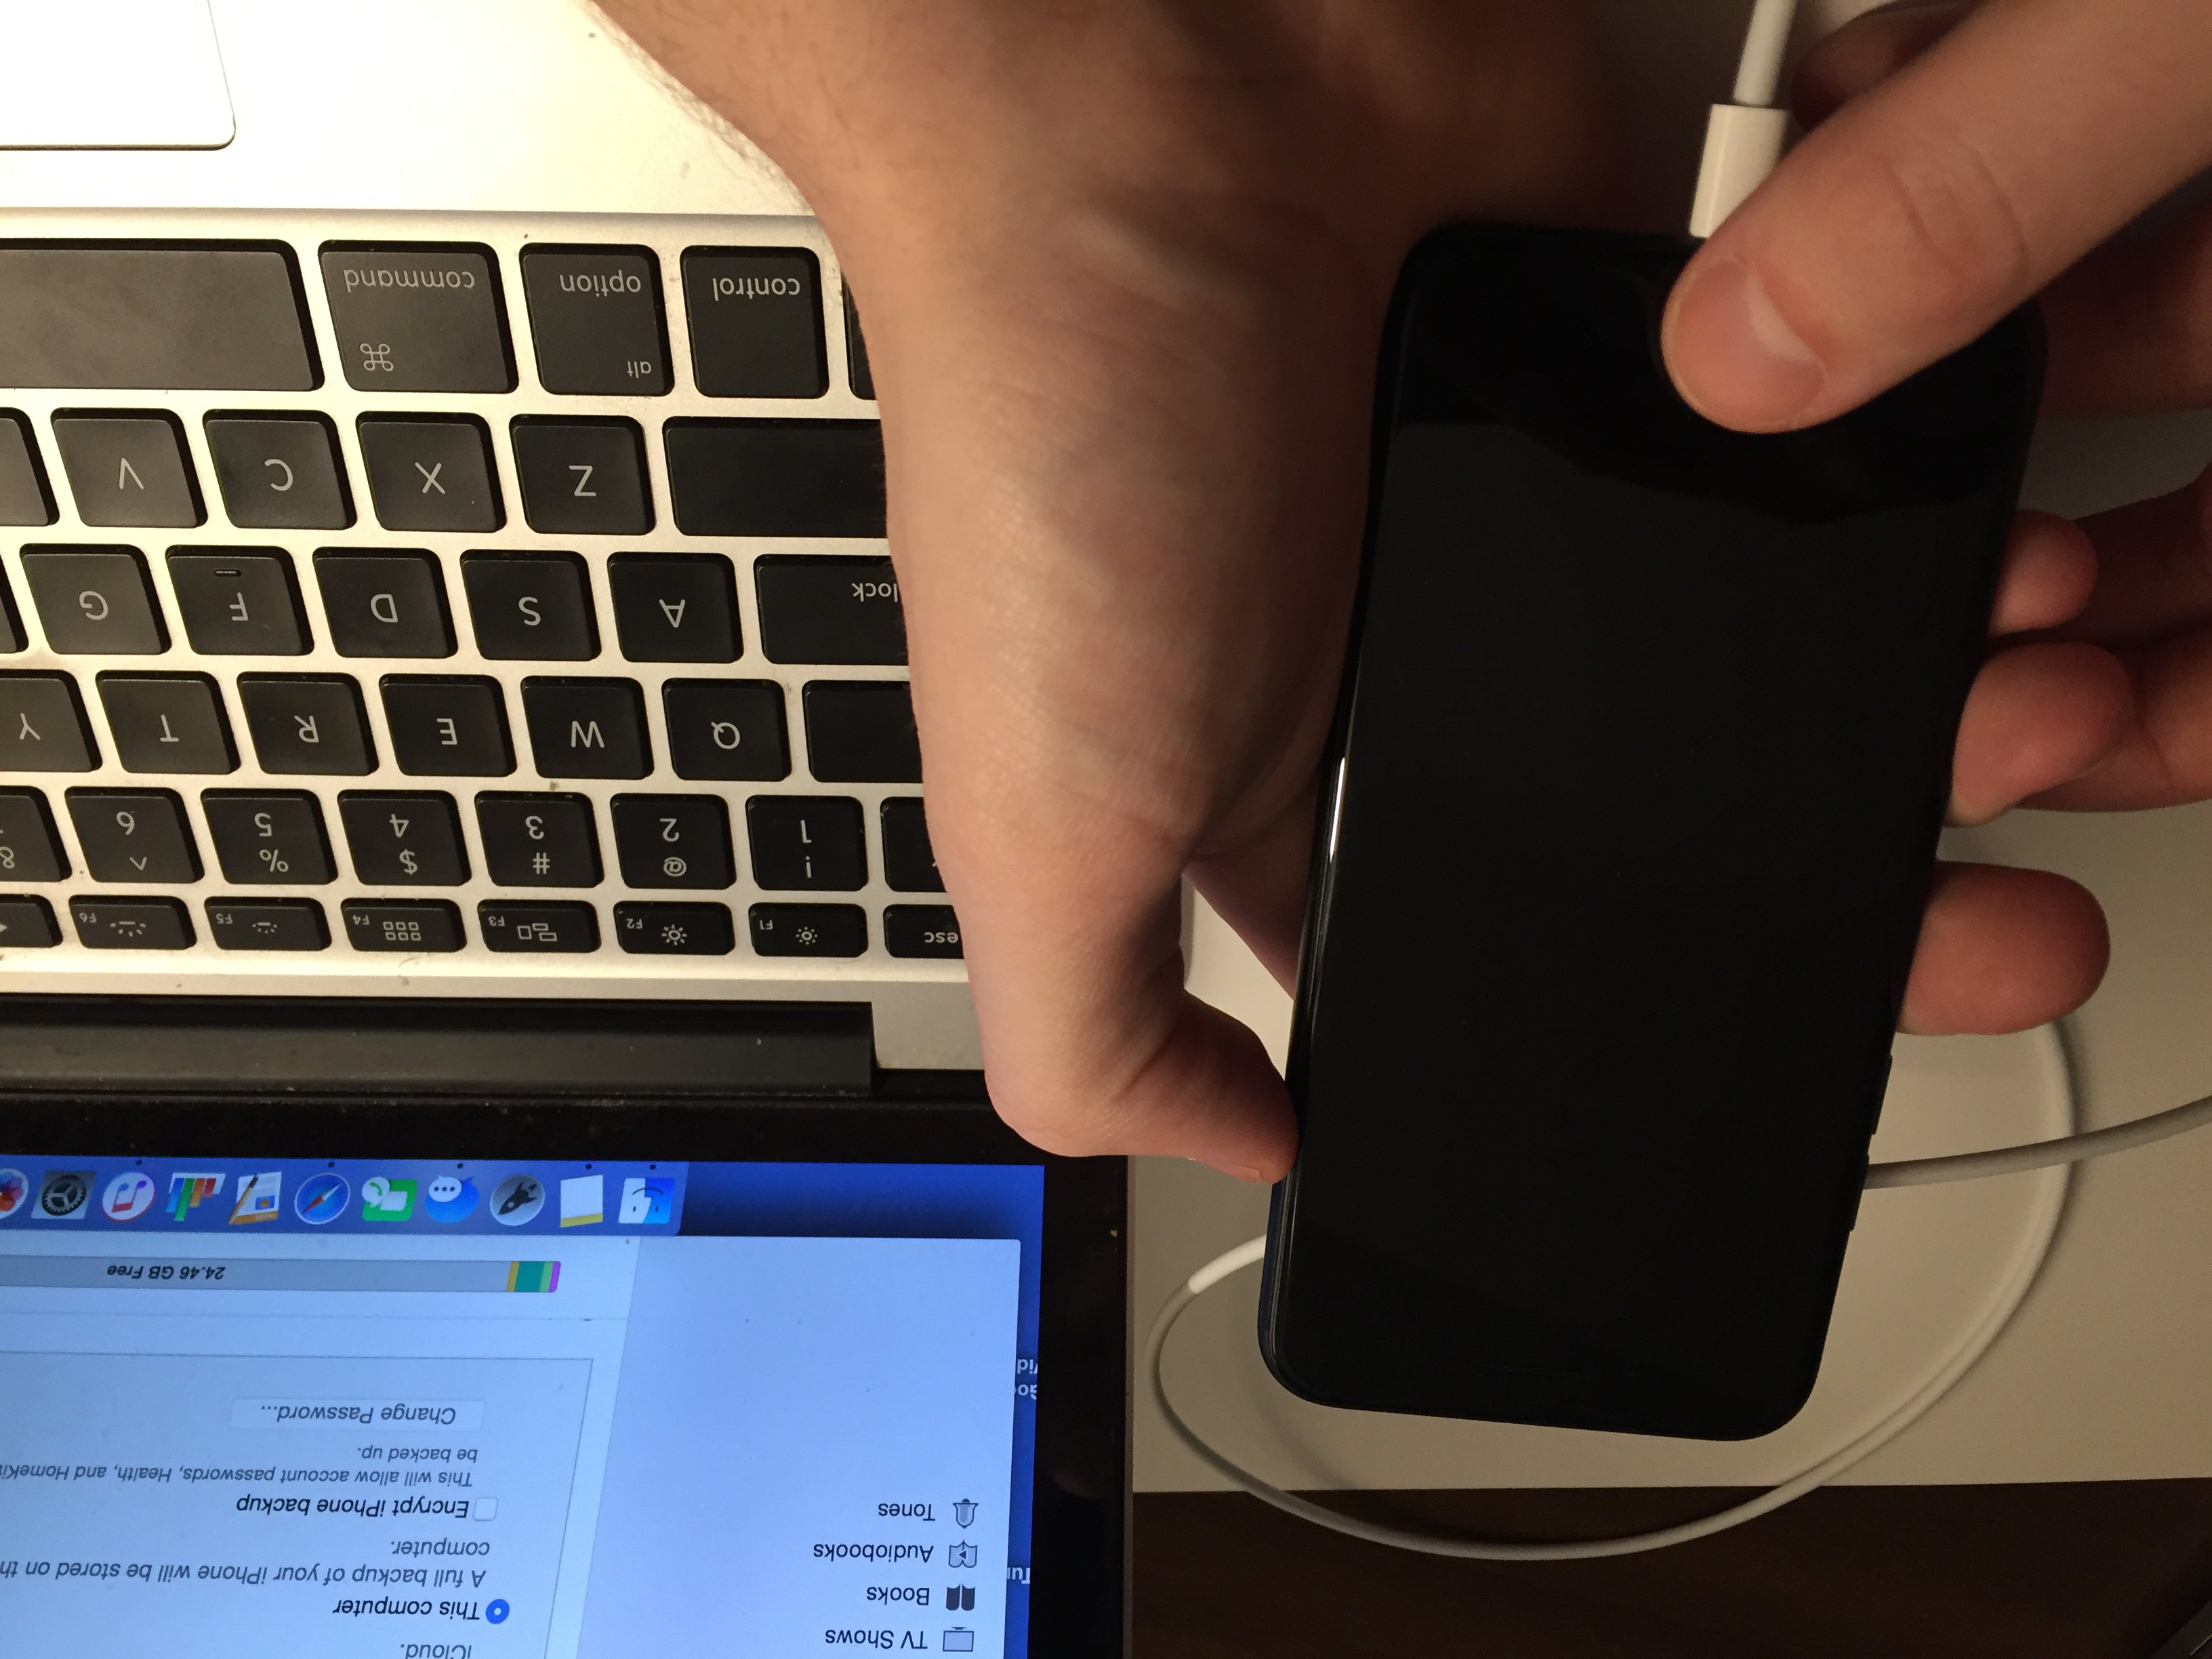
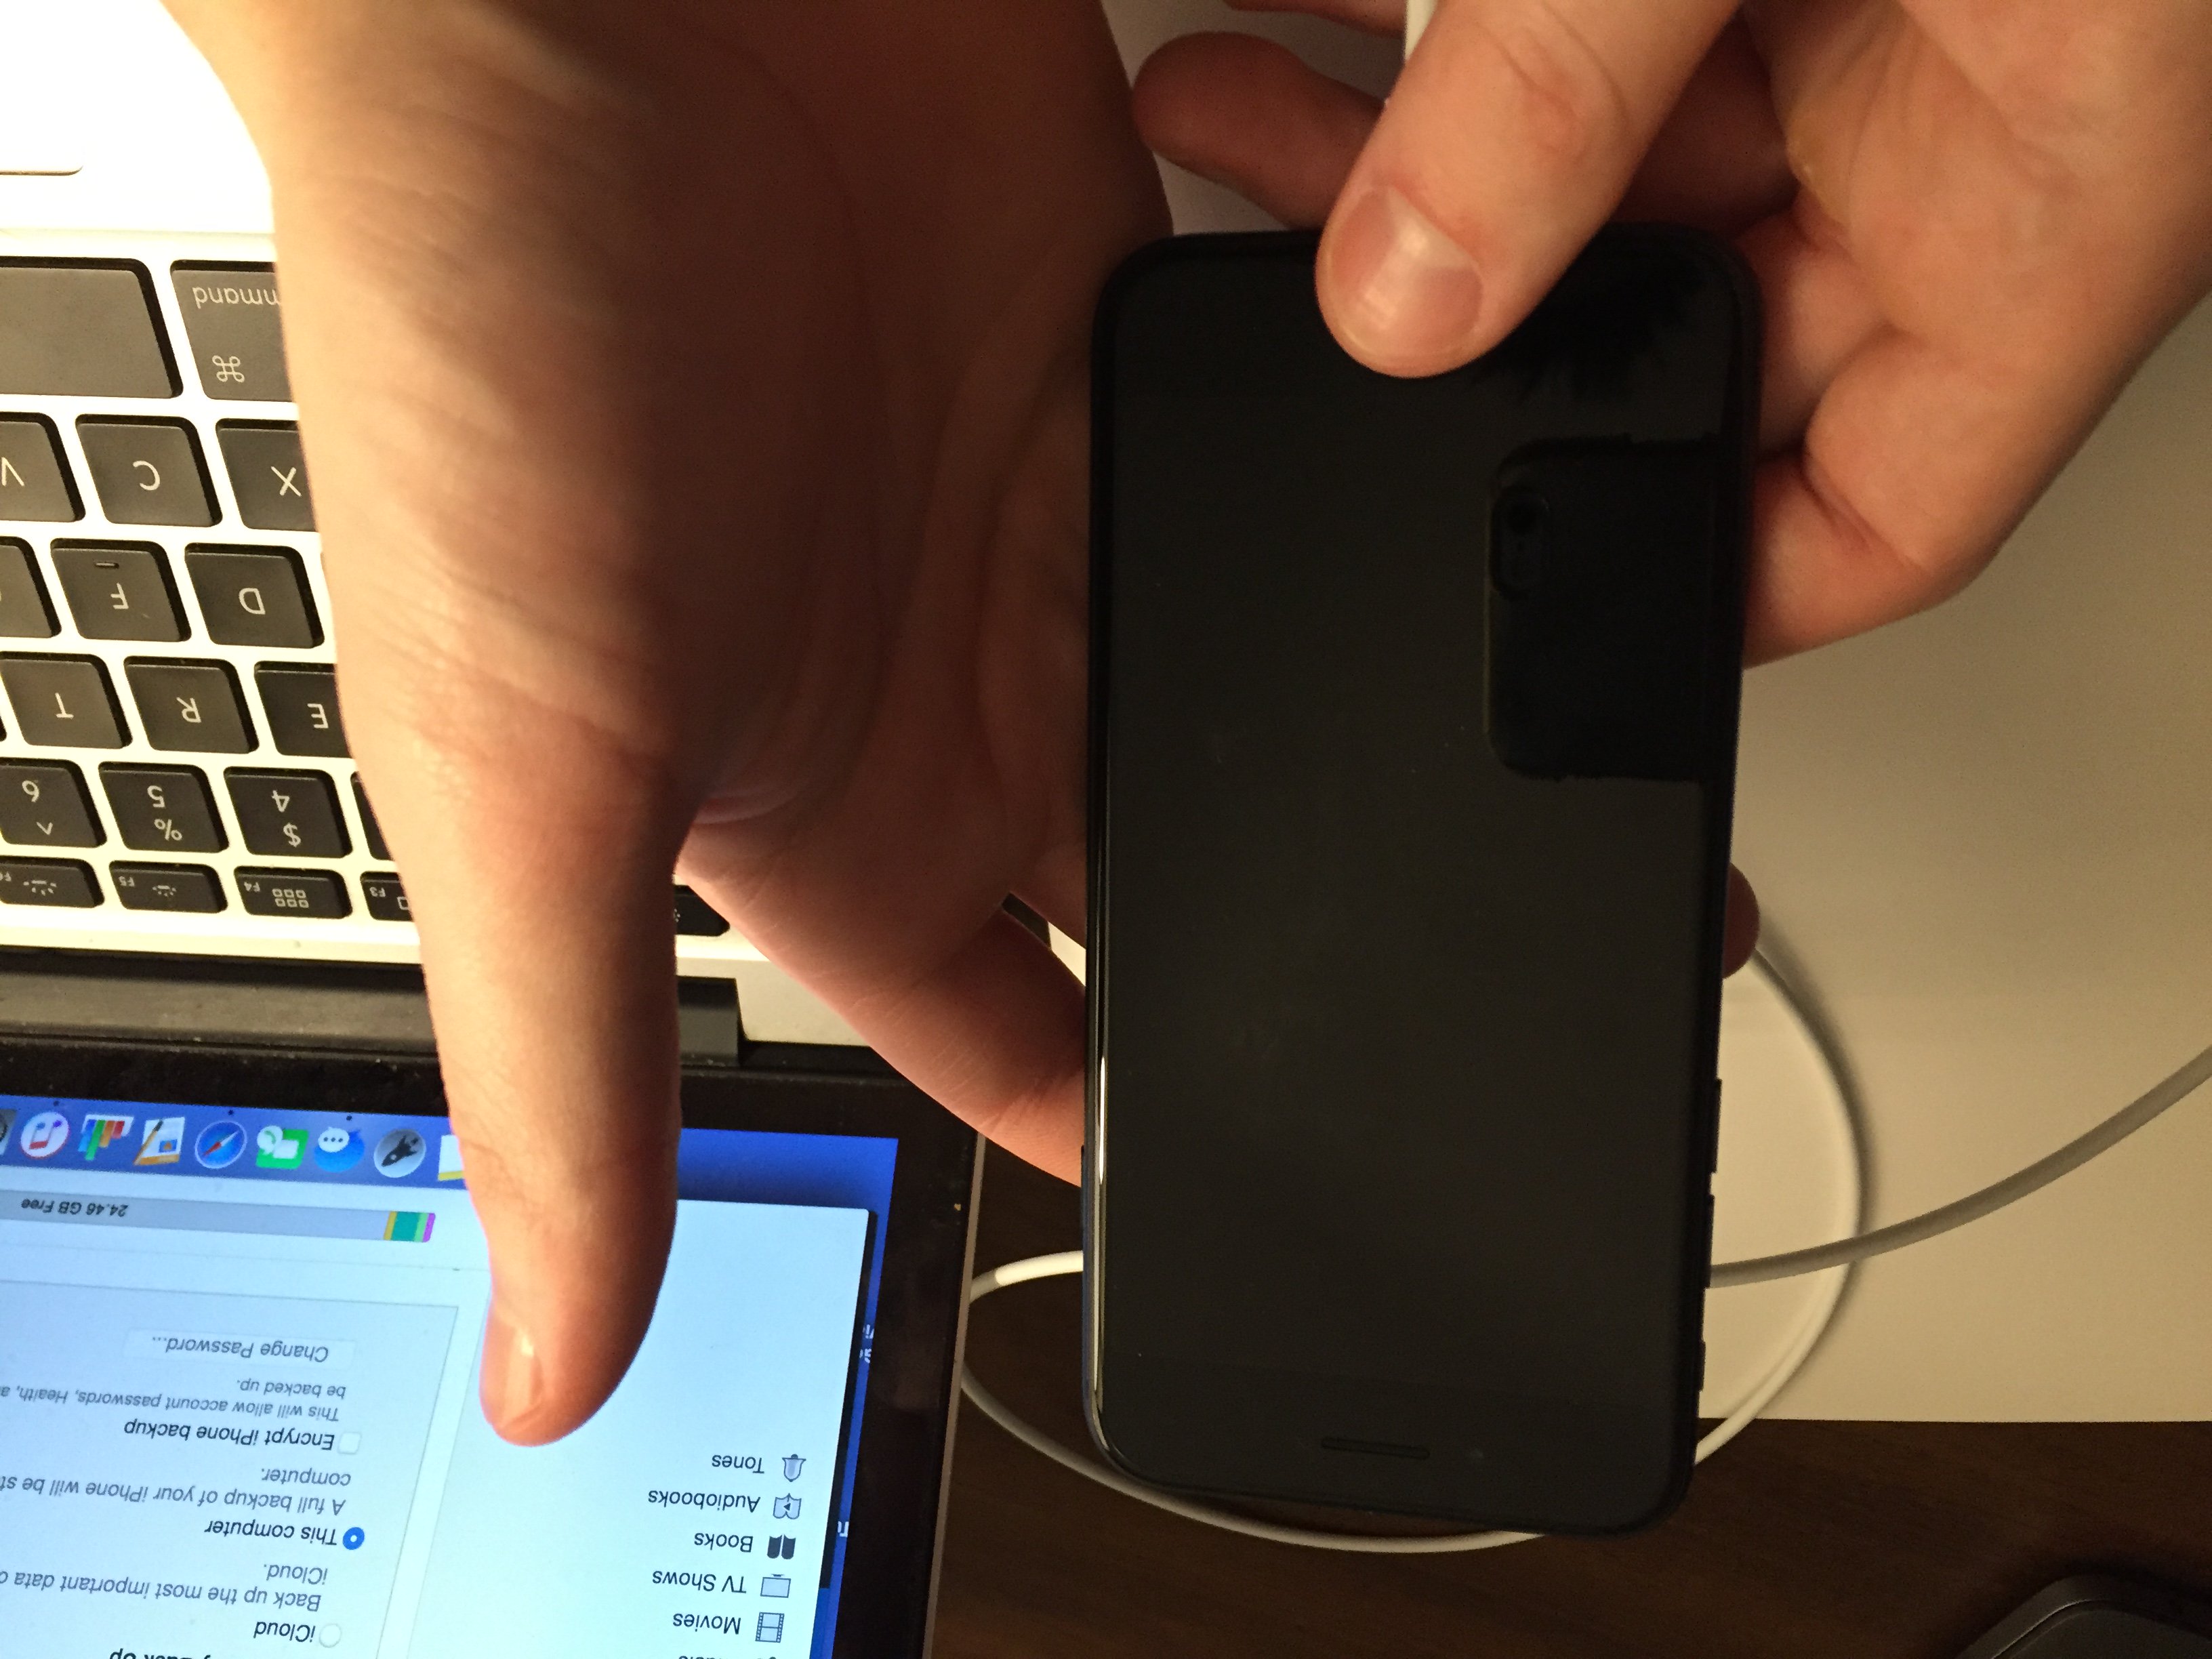
- Press and hold the power button and the volume down button together until the screen goes blank and the Apple logo appears on the screen.
- When the Apple logo reappears, let go of both buttons.
- When your iPhone turns back on, the hard reset is complete.
Hard Reset On iPhone X or Newer
Hard reseting an iPhone X is slightly different than other models of the iPhone.
- Quickly press the volume up button.
- Quickly press the volume down button.
- Press and hold down the Side button.
- Release the Side button when the Apple logo appears on the center of the screen.
Applies To: iPhone 5,iPhone 5S,iPhone 5C,iPhone 6,iPhone 6 Plus,iPhone 6S,iPhone 6S Plus,iPhone SE,iPhone 7,iPhone 7 Plus,iPhone 8,iPhone 8 Plus,iPhone X,iPhone XS,iPhone XS Max,iPhone XR,iPhone 11,iPhone 11 Pro,iPhone 11 Pro Max,iPhone SE 2
View MoreInspect Your iPhone Cable (Lightning Cable)
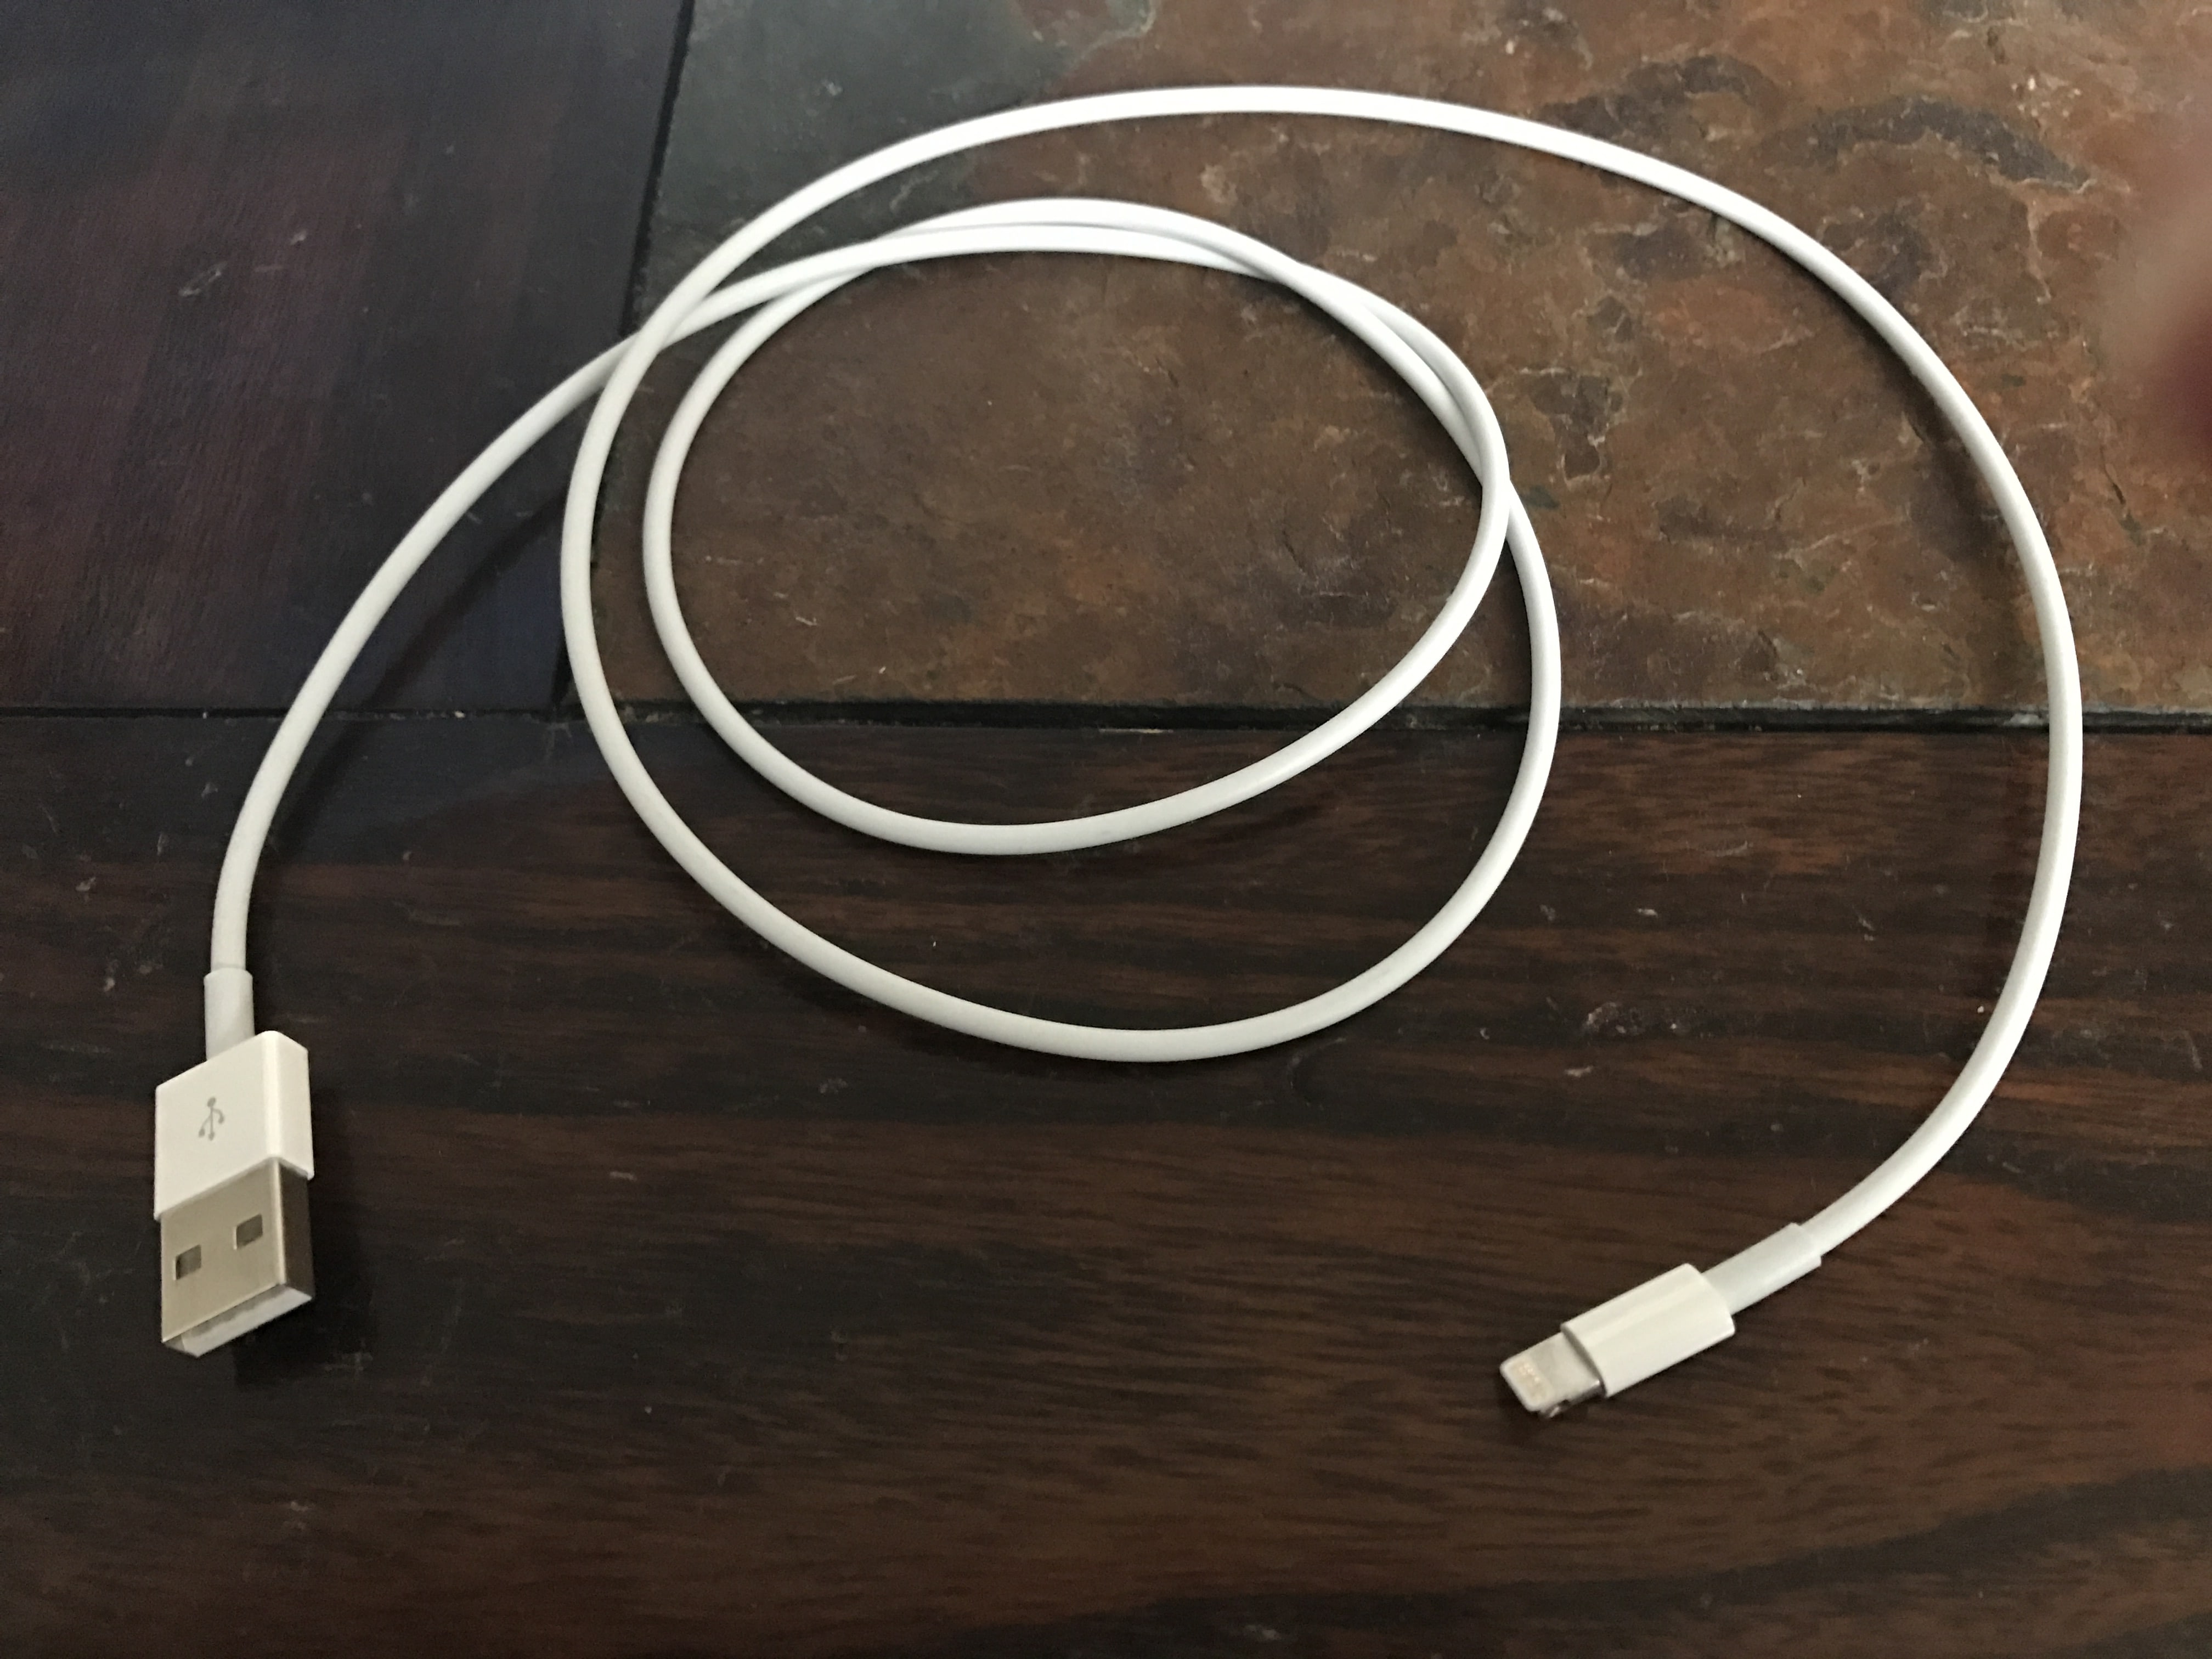
Damaged Lightning cables are a common reason for iPhone problems, especially related to charging and transferring data between iPhones and computers.
Lightning cables can be tricky to diagnose because when they start to go, they usually don't break all at once. Sometimes an iPhone will continue to charge but won't sync data properly, or vice versa, because of the construction of the cable. Make sure to take a close look while you're troubleshooting!
How Do I Inspect My iPhone Cable (Lightning Cable)?
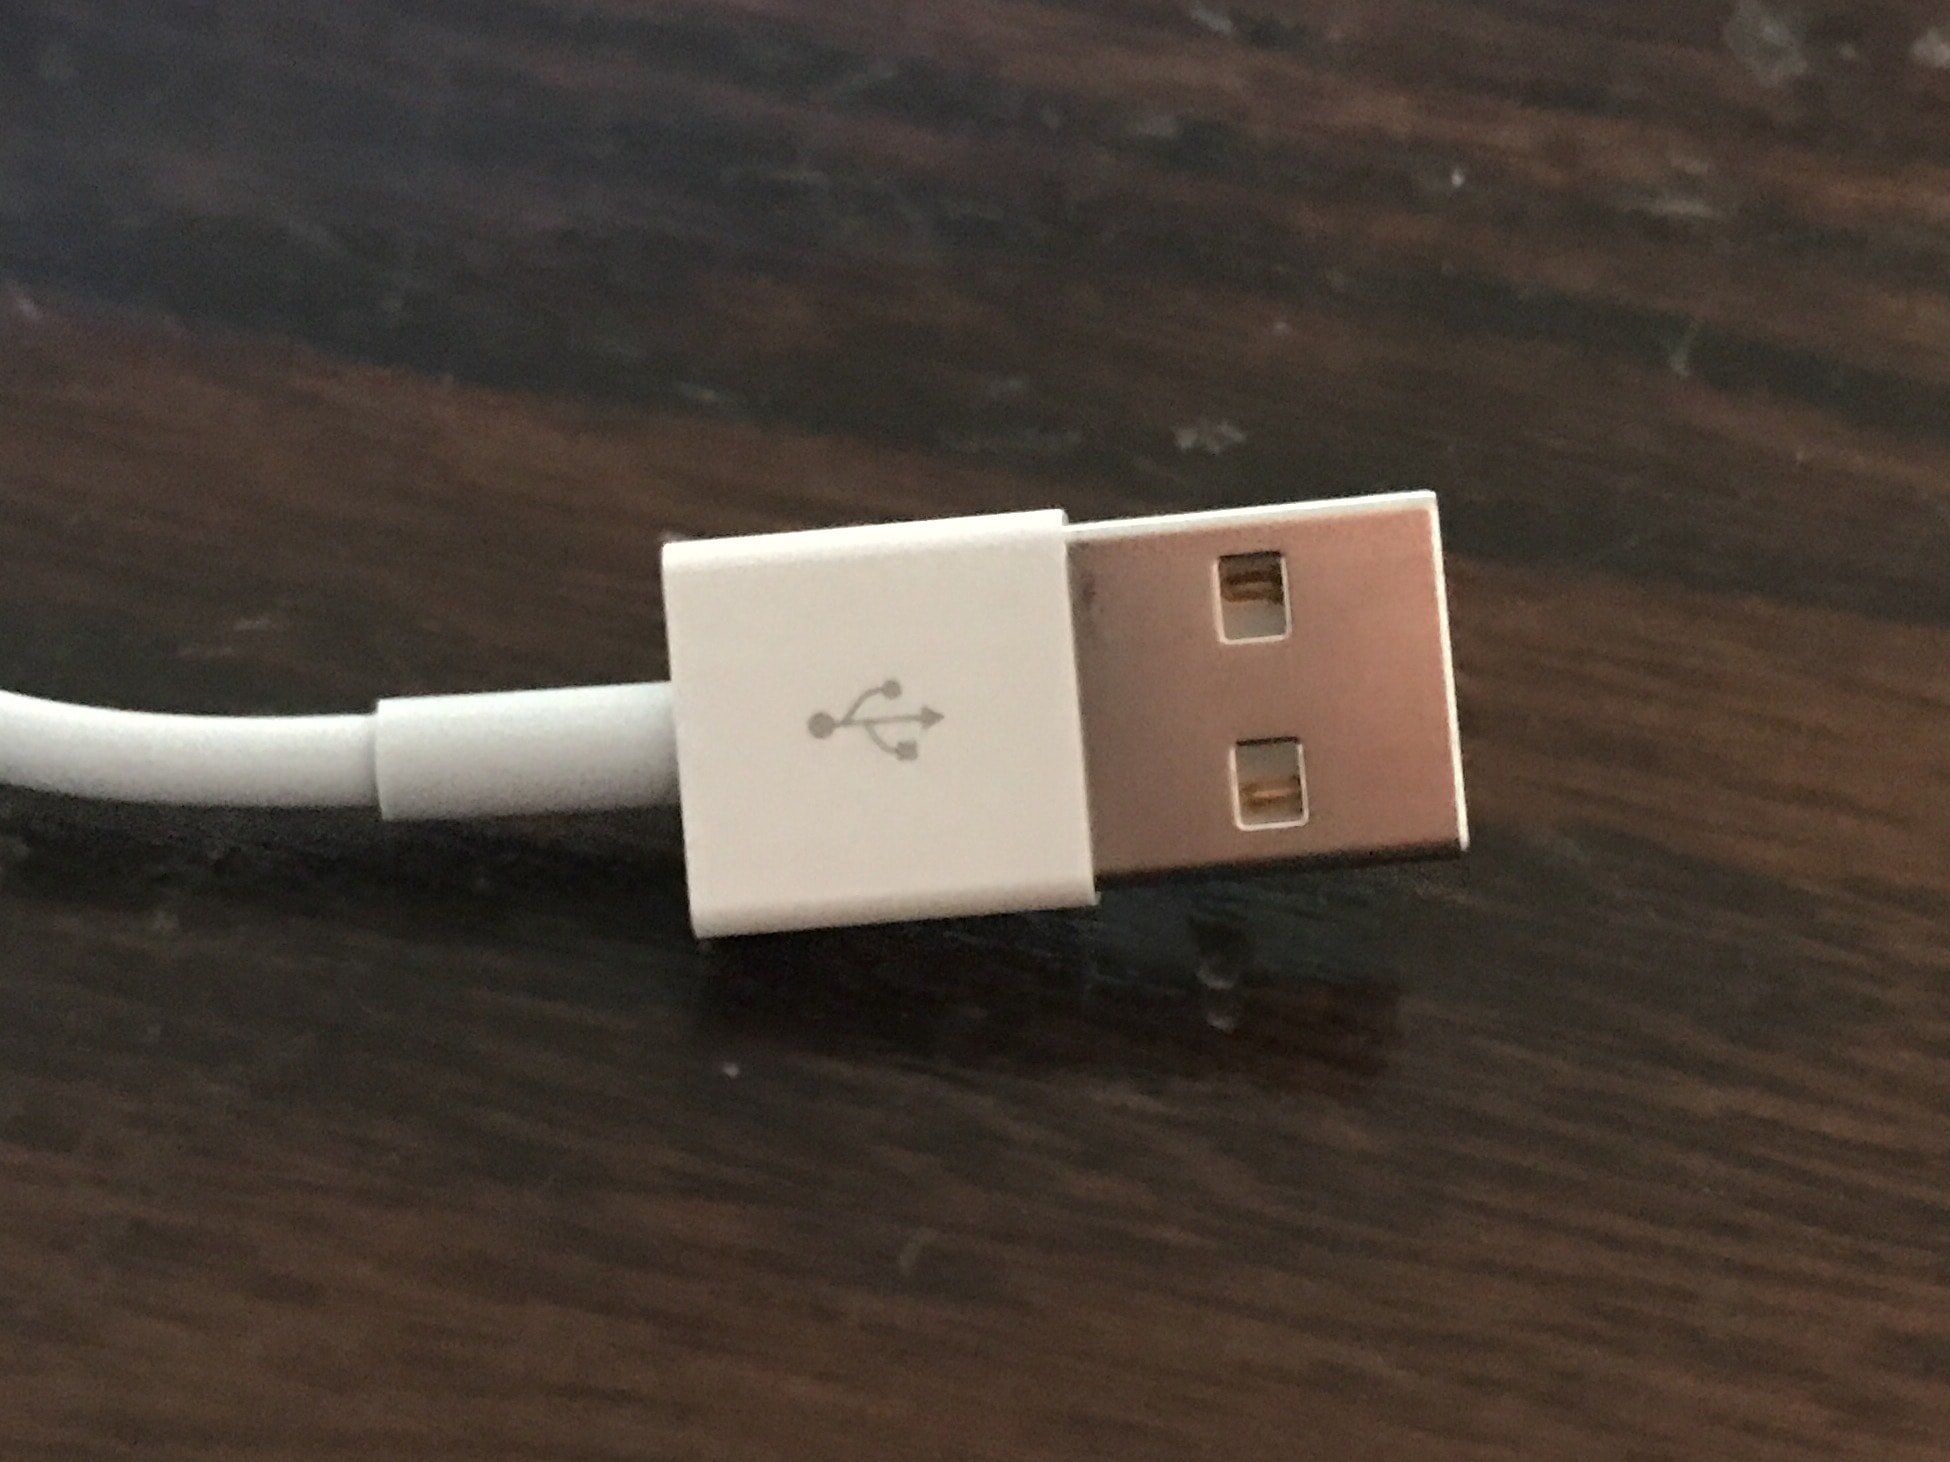
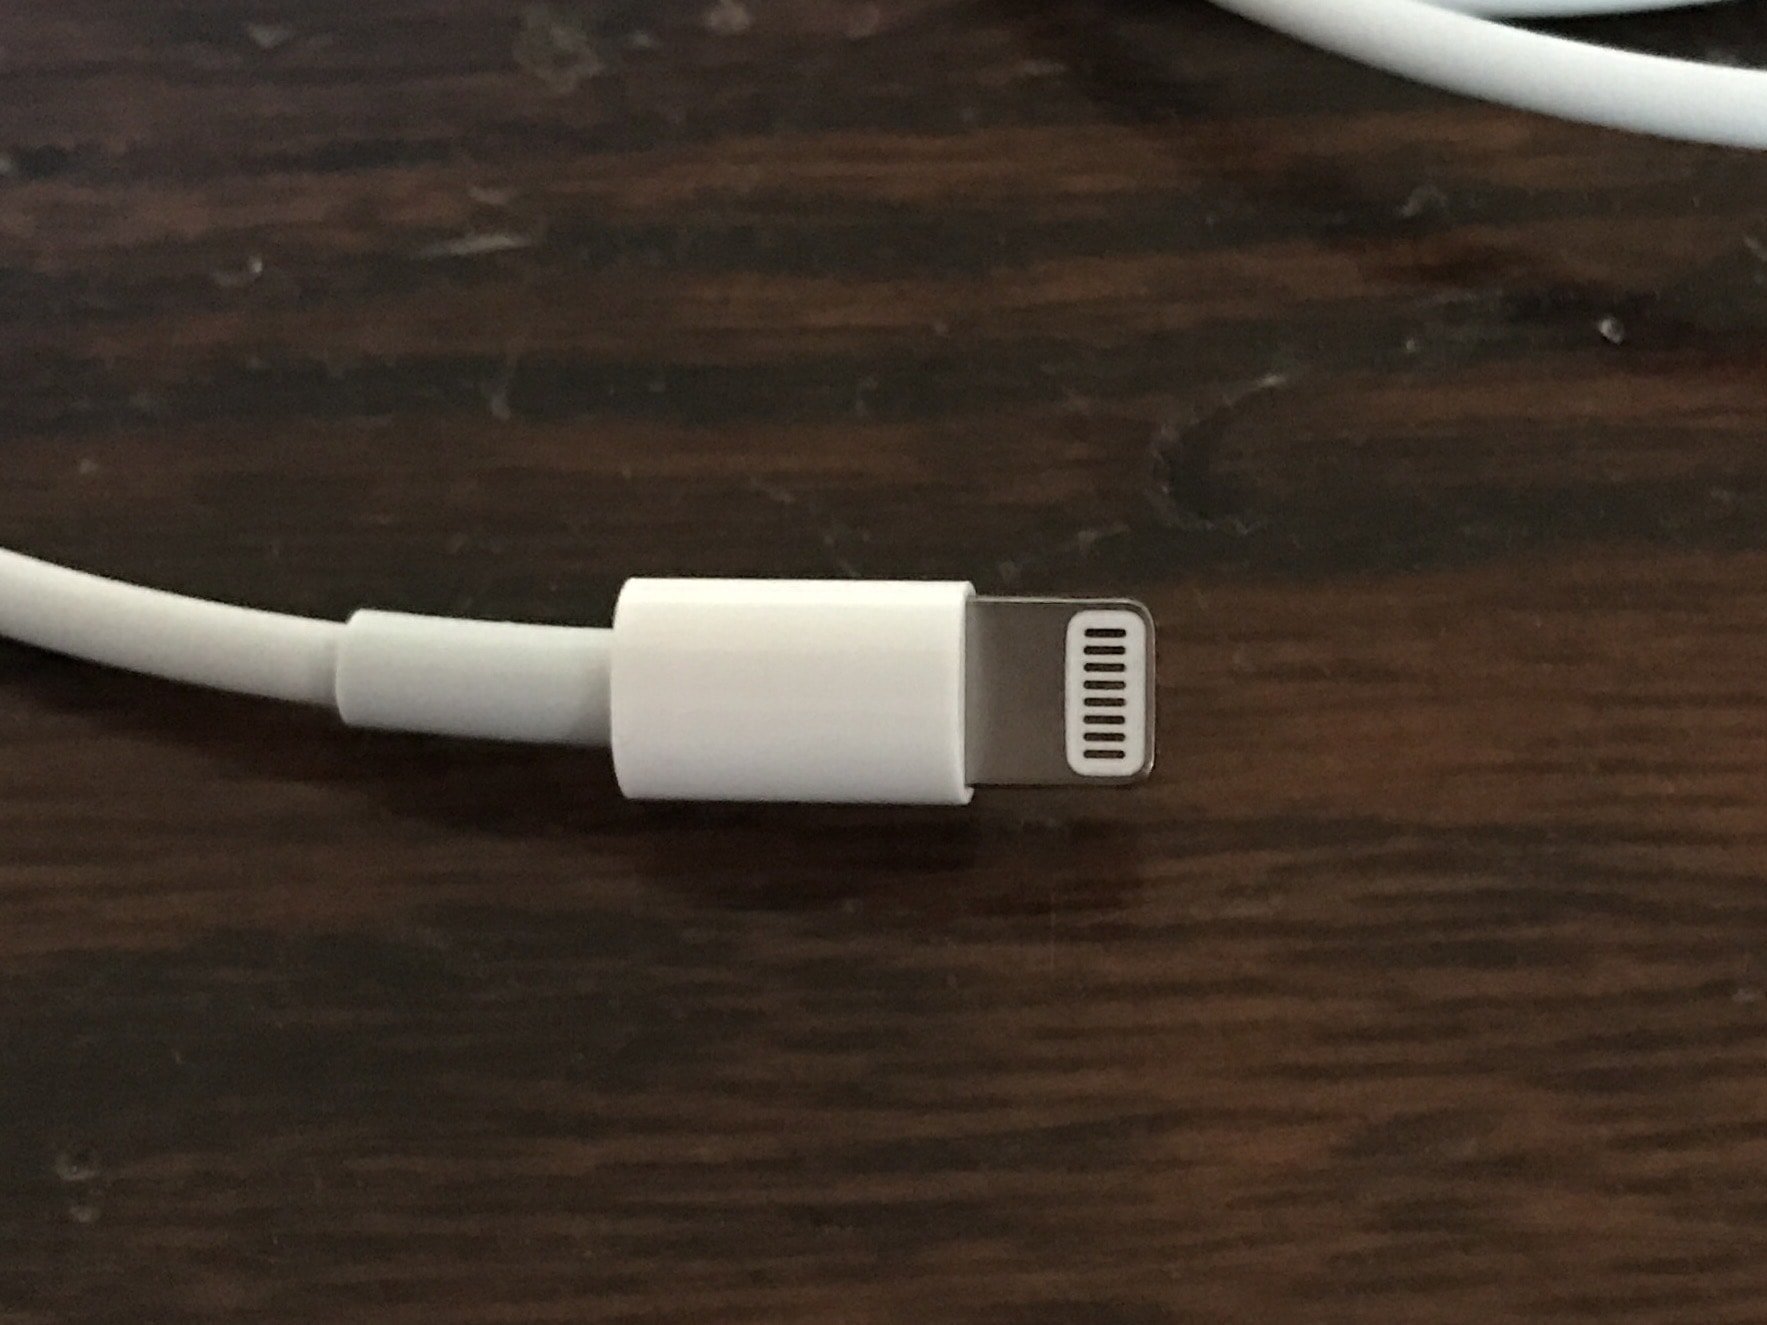
- Use a flashlight and look closely at both ends of your Lightning cable. These cables can become worn and tend to fray, especially at the end with the Lightning connector.
- If you see no visible signs of damage, try charging your device using both a USB port on a computer and the wall adapter which came with your iPhone. If your Lightning cable works with one, but not the other, then your cable is not the problem.
- Try charging your device with a friend's or family member's Lightning cable. If their cable works while yours doesn't, then you've identified that the problem is your Lightning cable.
Applies To: Lightning Cable,iPhone 5,iPhone 5S,iPhone 5C,iPhone 6,iPhone 6 Plus,iPhone 6S,iPhone 6S Plus,iPhone SE,iPhone 7,iPhone 7 Plus,iPhone 8,iPhone 8 Plus,iPhone X,iPhone XS,iPhone XS Max,iPhone XR,iPhone 11,iPhone 11 Pro,iPhone 11 Pro Max,iPhone SE 2
View MoreInspect Your iPhone's Charging Port (Lightning Port)
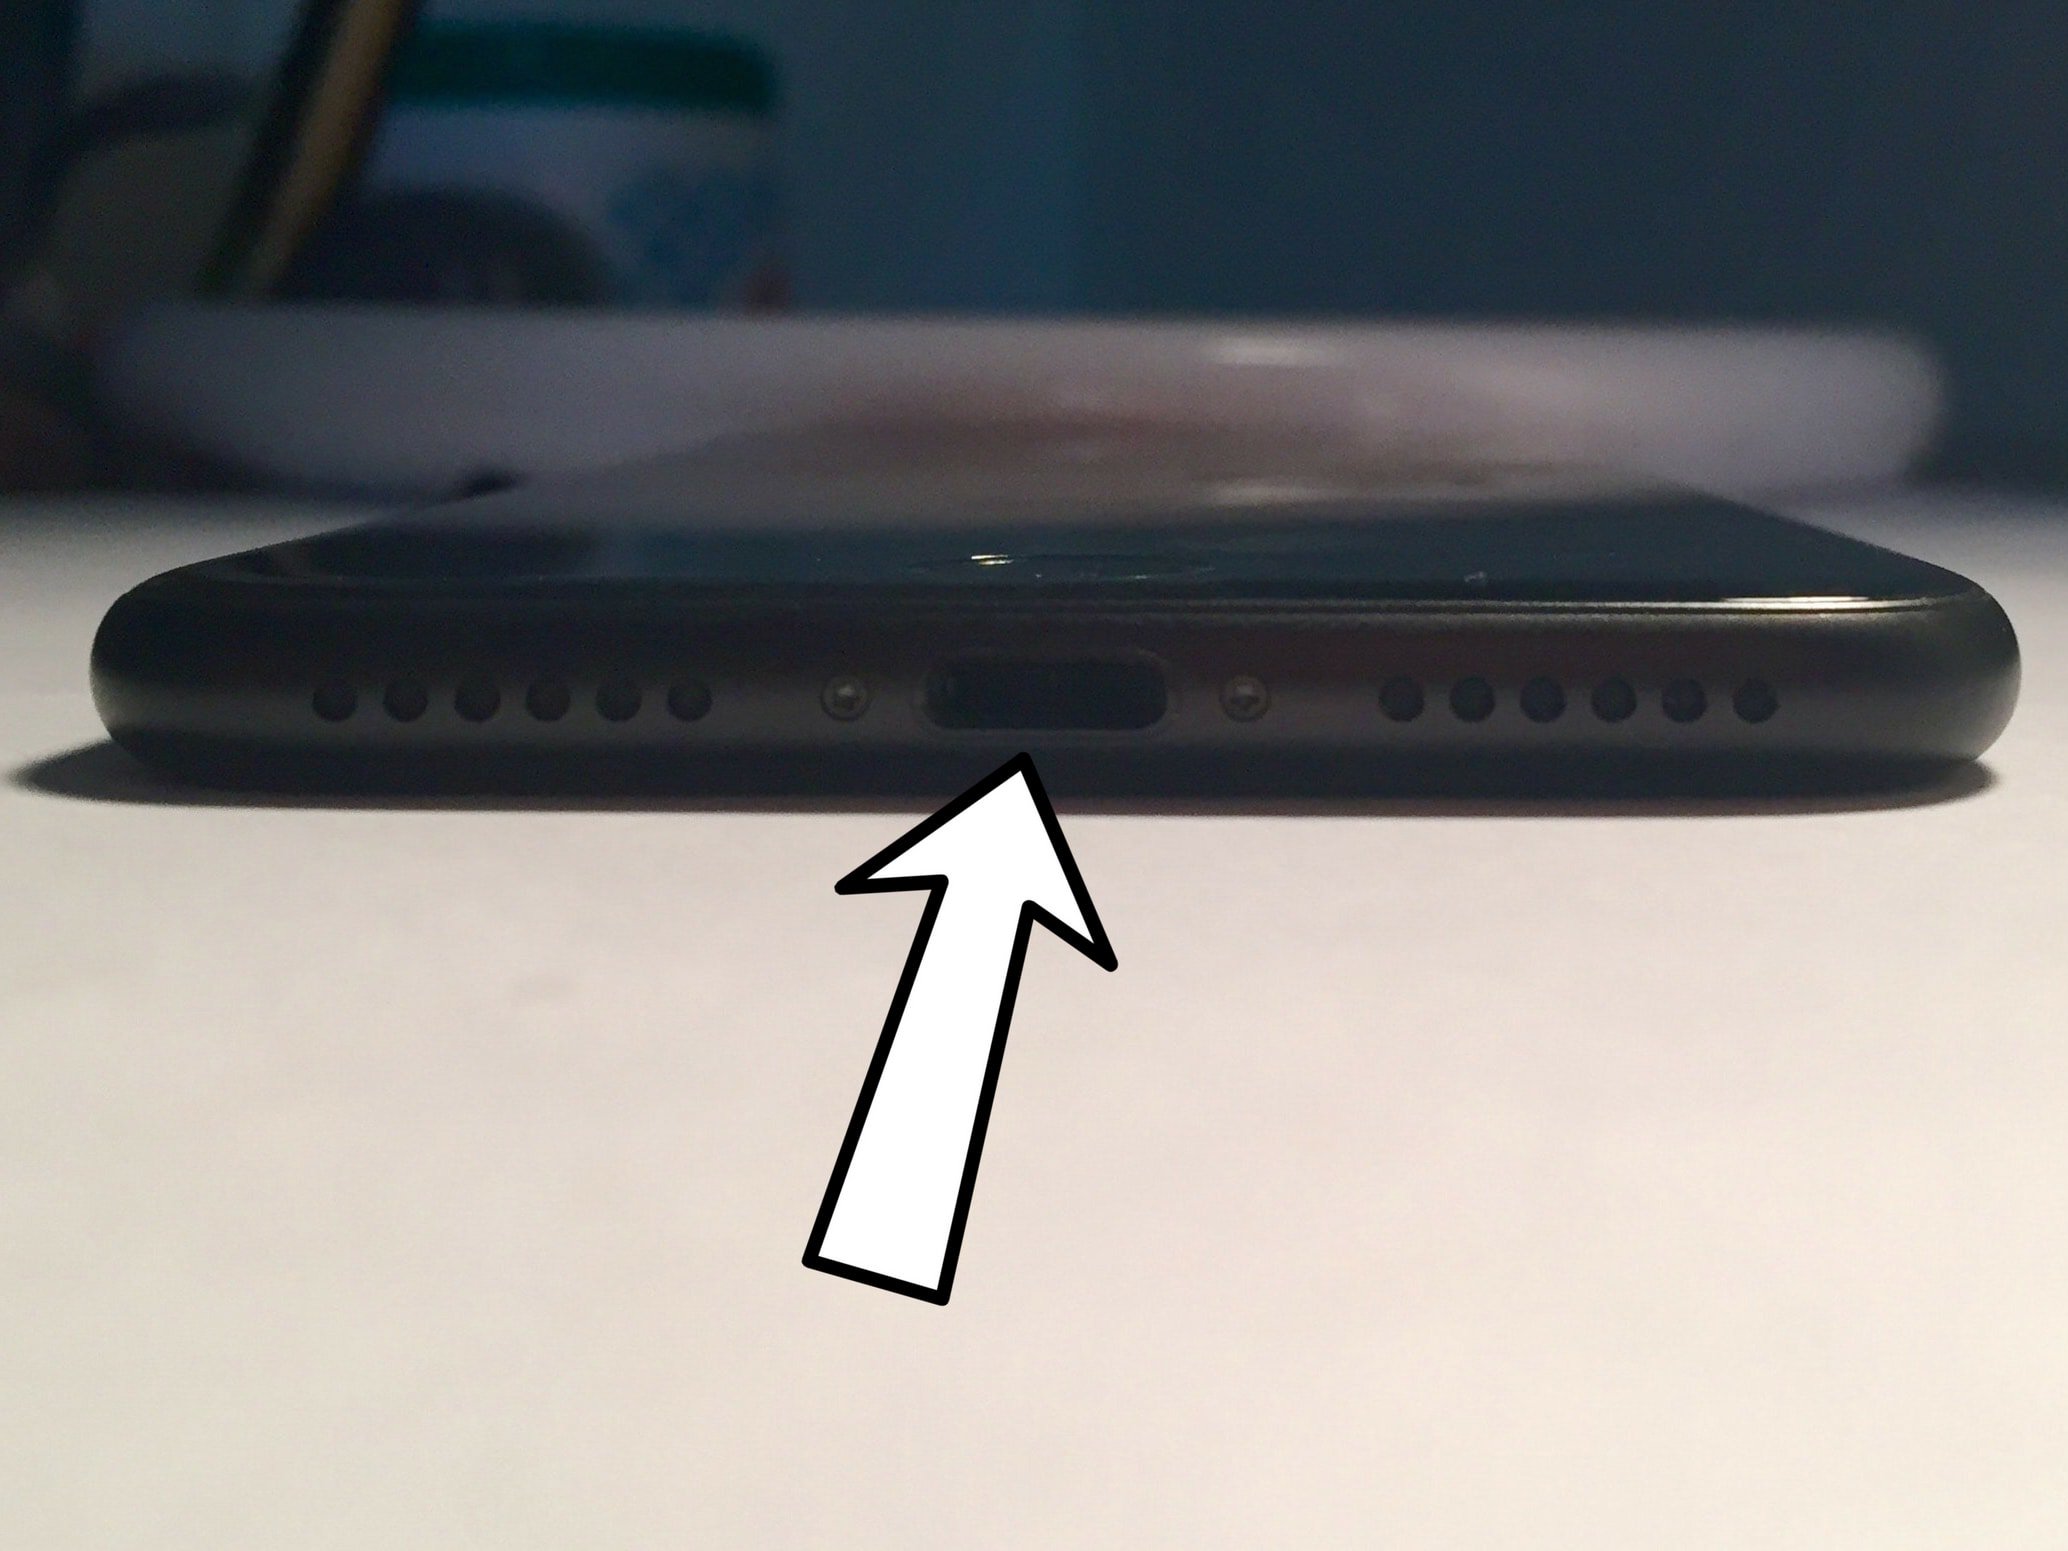
You should frequently inspect your Lightning port, also known as the charging port, to make sure it is clean. Lint, gunk, and other debris can prevent your Lightning port from making a solid connection with your Lightning cable. A clogged Lightning port could also "trick" newer iPhones (without headphone jacks) intro thinking headphones are connected. This could lead your iPhone to get stuck in headphones mode.
How Do I Inspect My iPhone's Charging Port (Lightning Port)?
- Use a flashlight to see if there is lint, gunk, or any other debris in your iPhone's Lightning port.
- If you find debris in your iPhone's Lightning port, gently brush it out with a new toothbrush or anti-static brush.
Applies To: iPhone 5,iPhone 5S,iPhone 5C,iPhone 6,iPhone 6 Plus,iPhone 6S,iPhone 6S Plus,iPhone SE,iPhone 7,iPhone 7 Plus,iPhone 8,iPhone 8 Plus,iPhone X,iPhone XS,iPhone XS Max,iPhone XR,iPhone 11,iPhone 11 Pro,iPhone 11 Pro Max,iPhone SE 2
View MoreInspect Your iPhone Charger
There are many different ways to charge your iPhone — plugging it into your laptop, wall adapter, car charger, and more. As a precautionary measure, the software of your iPhone will prevent charging if it detects fluctuations from the power source.
How Do I Inspect My iPhone Charger?
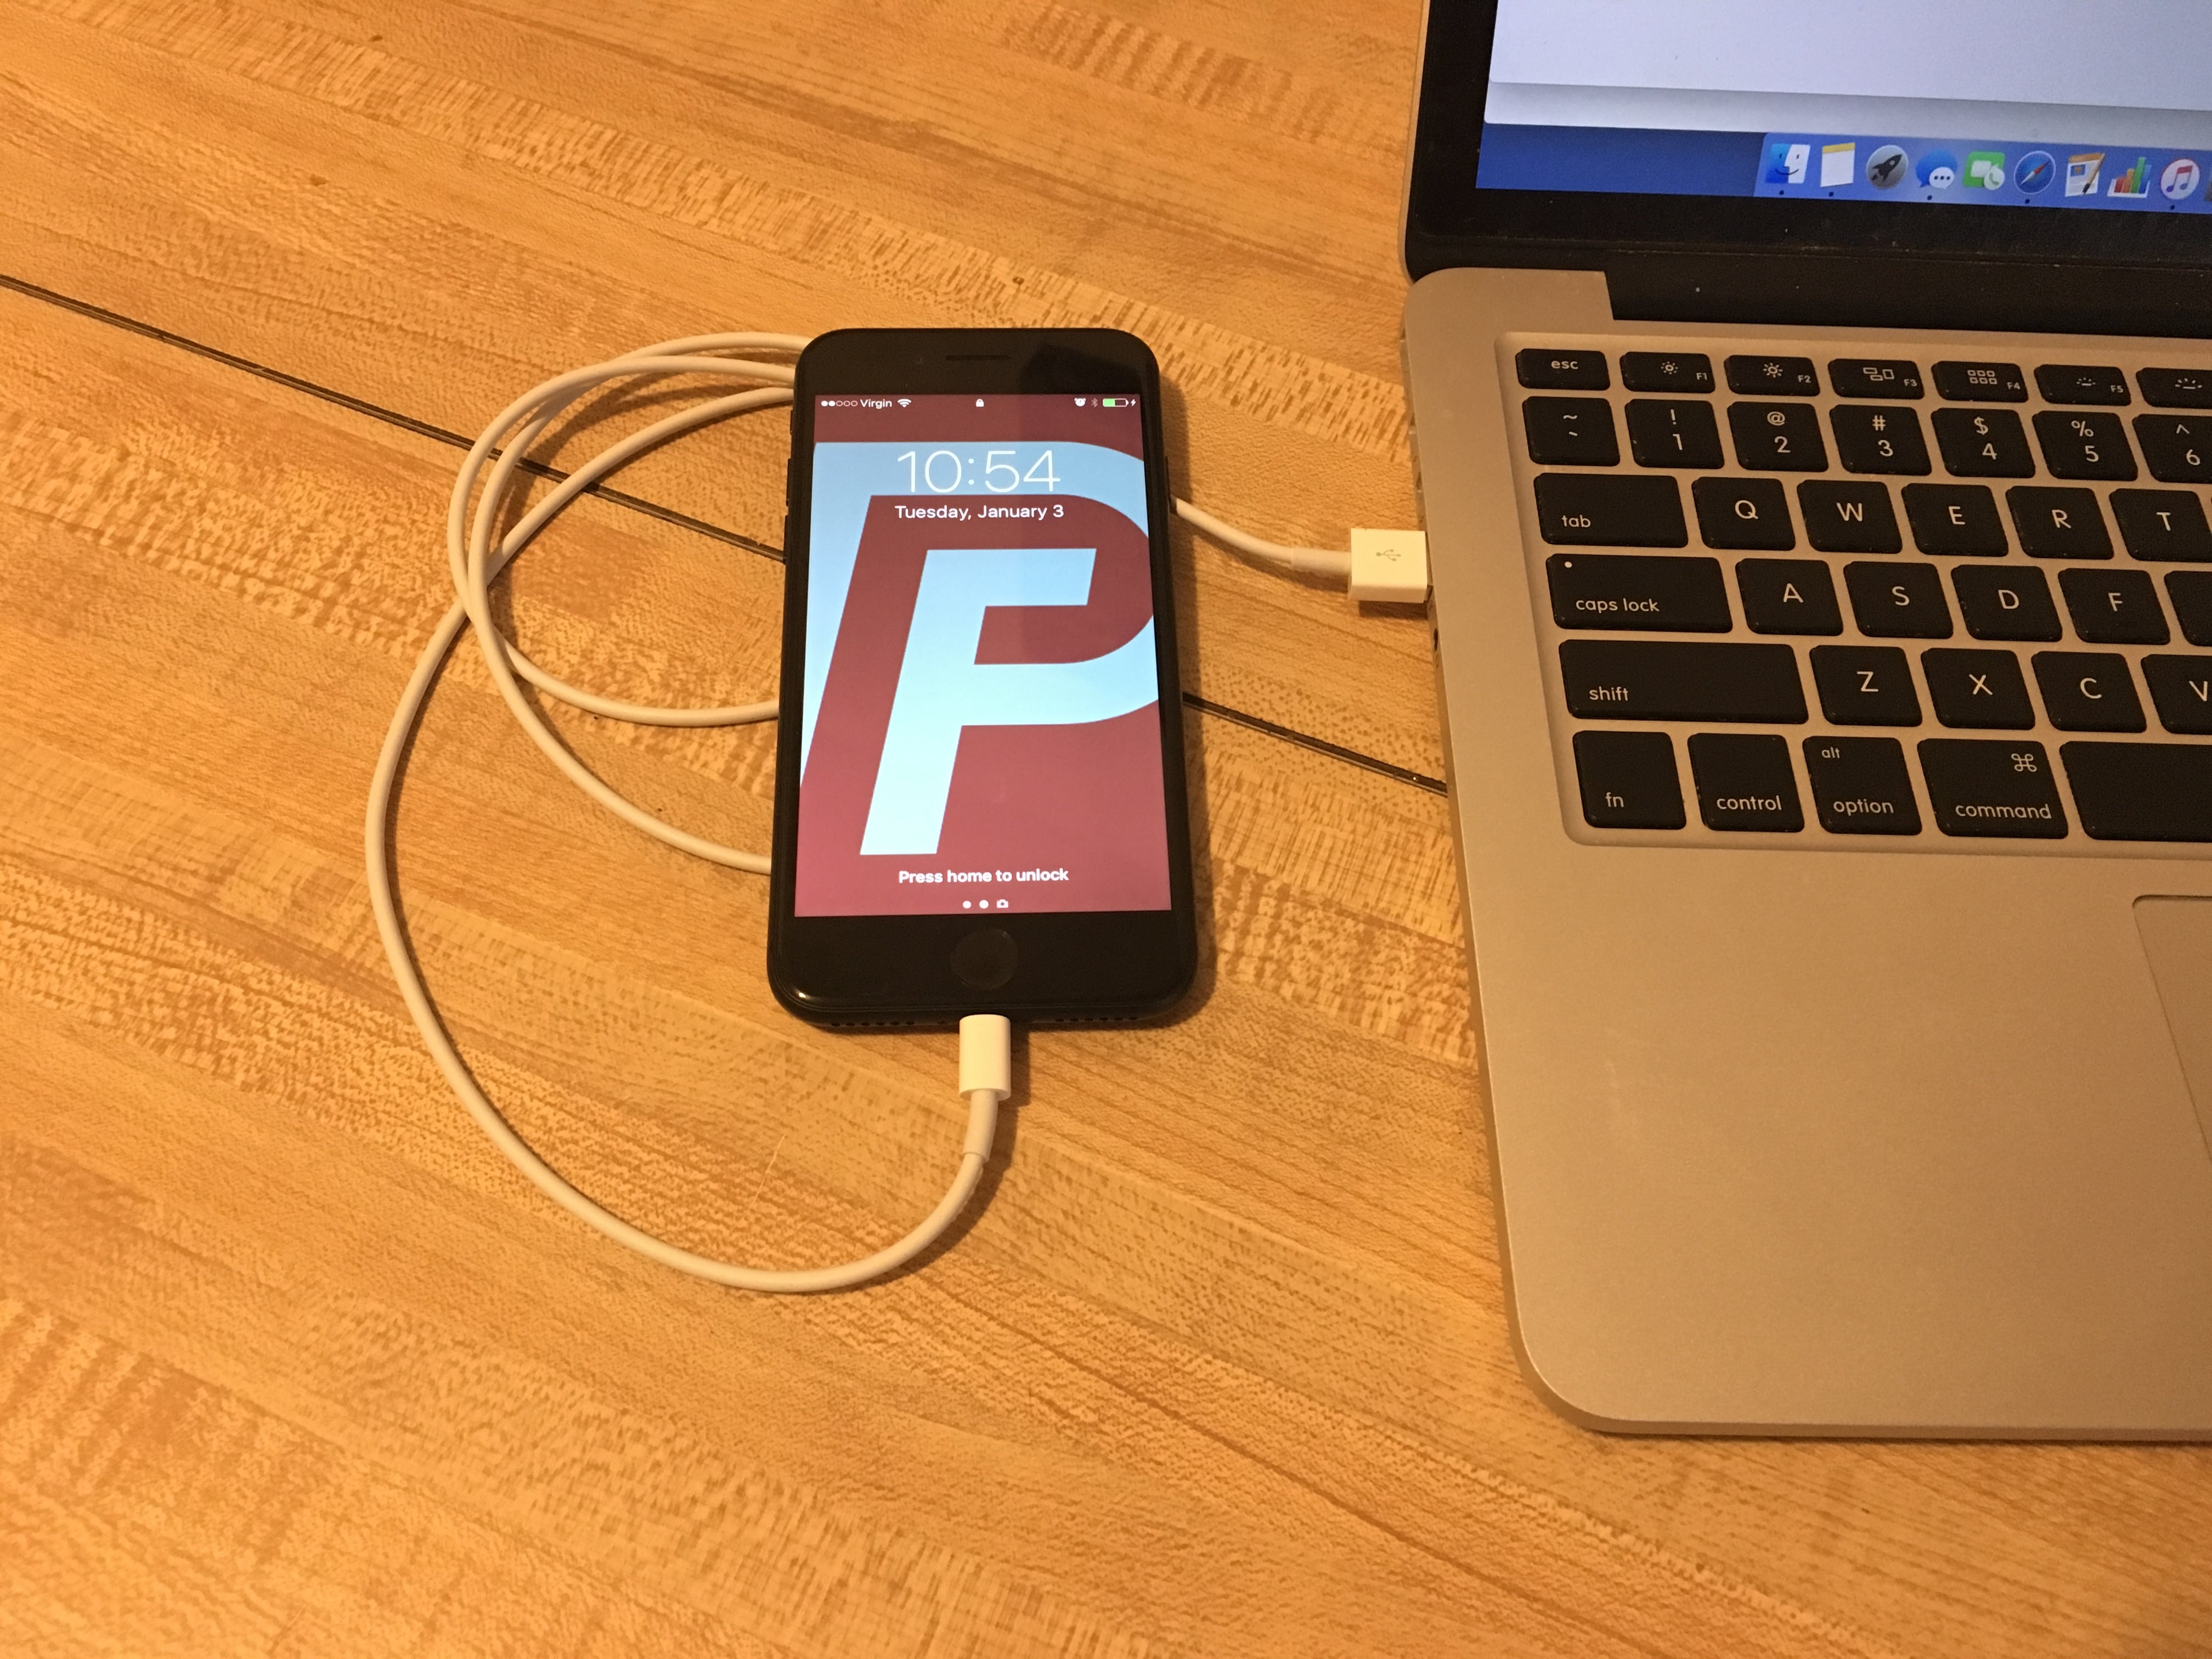
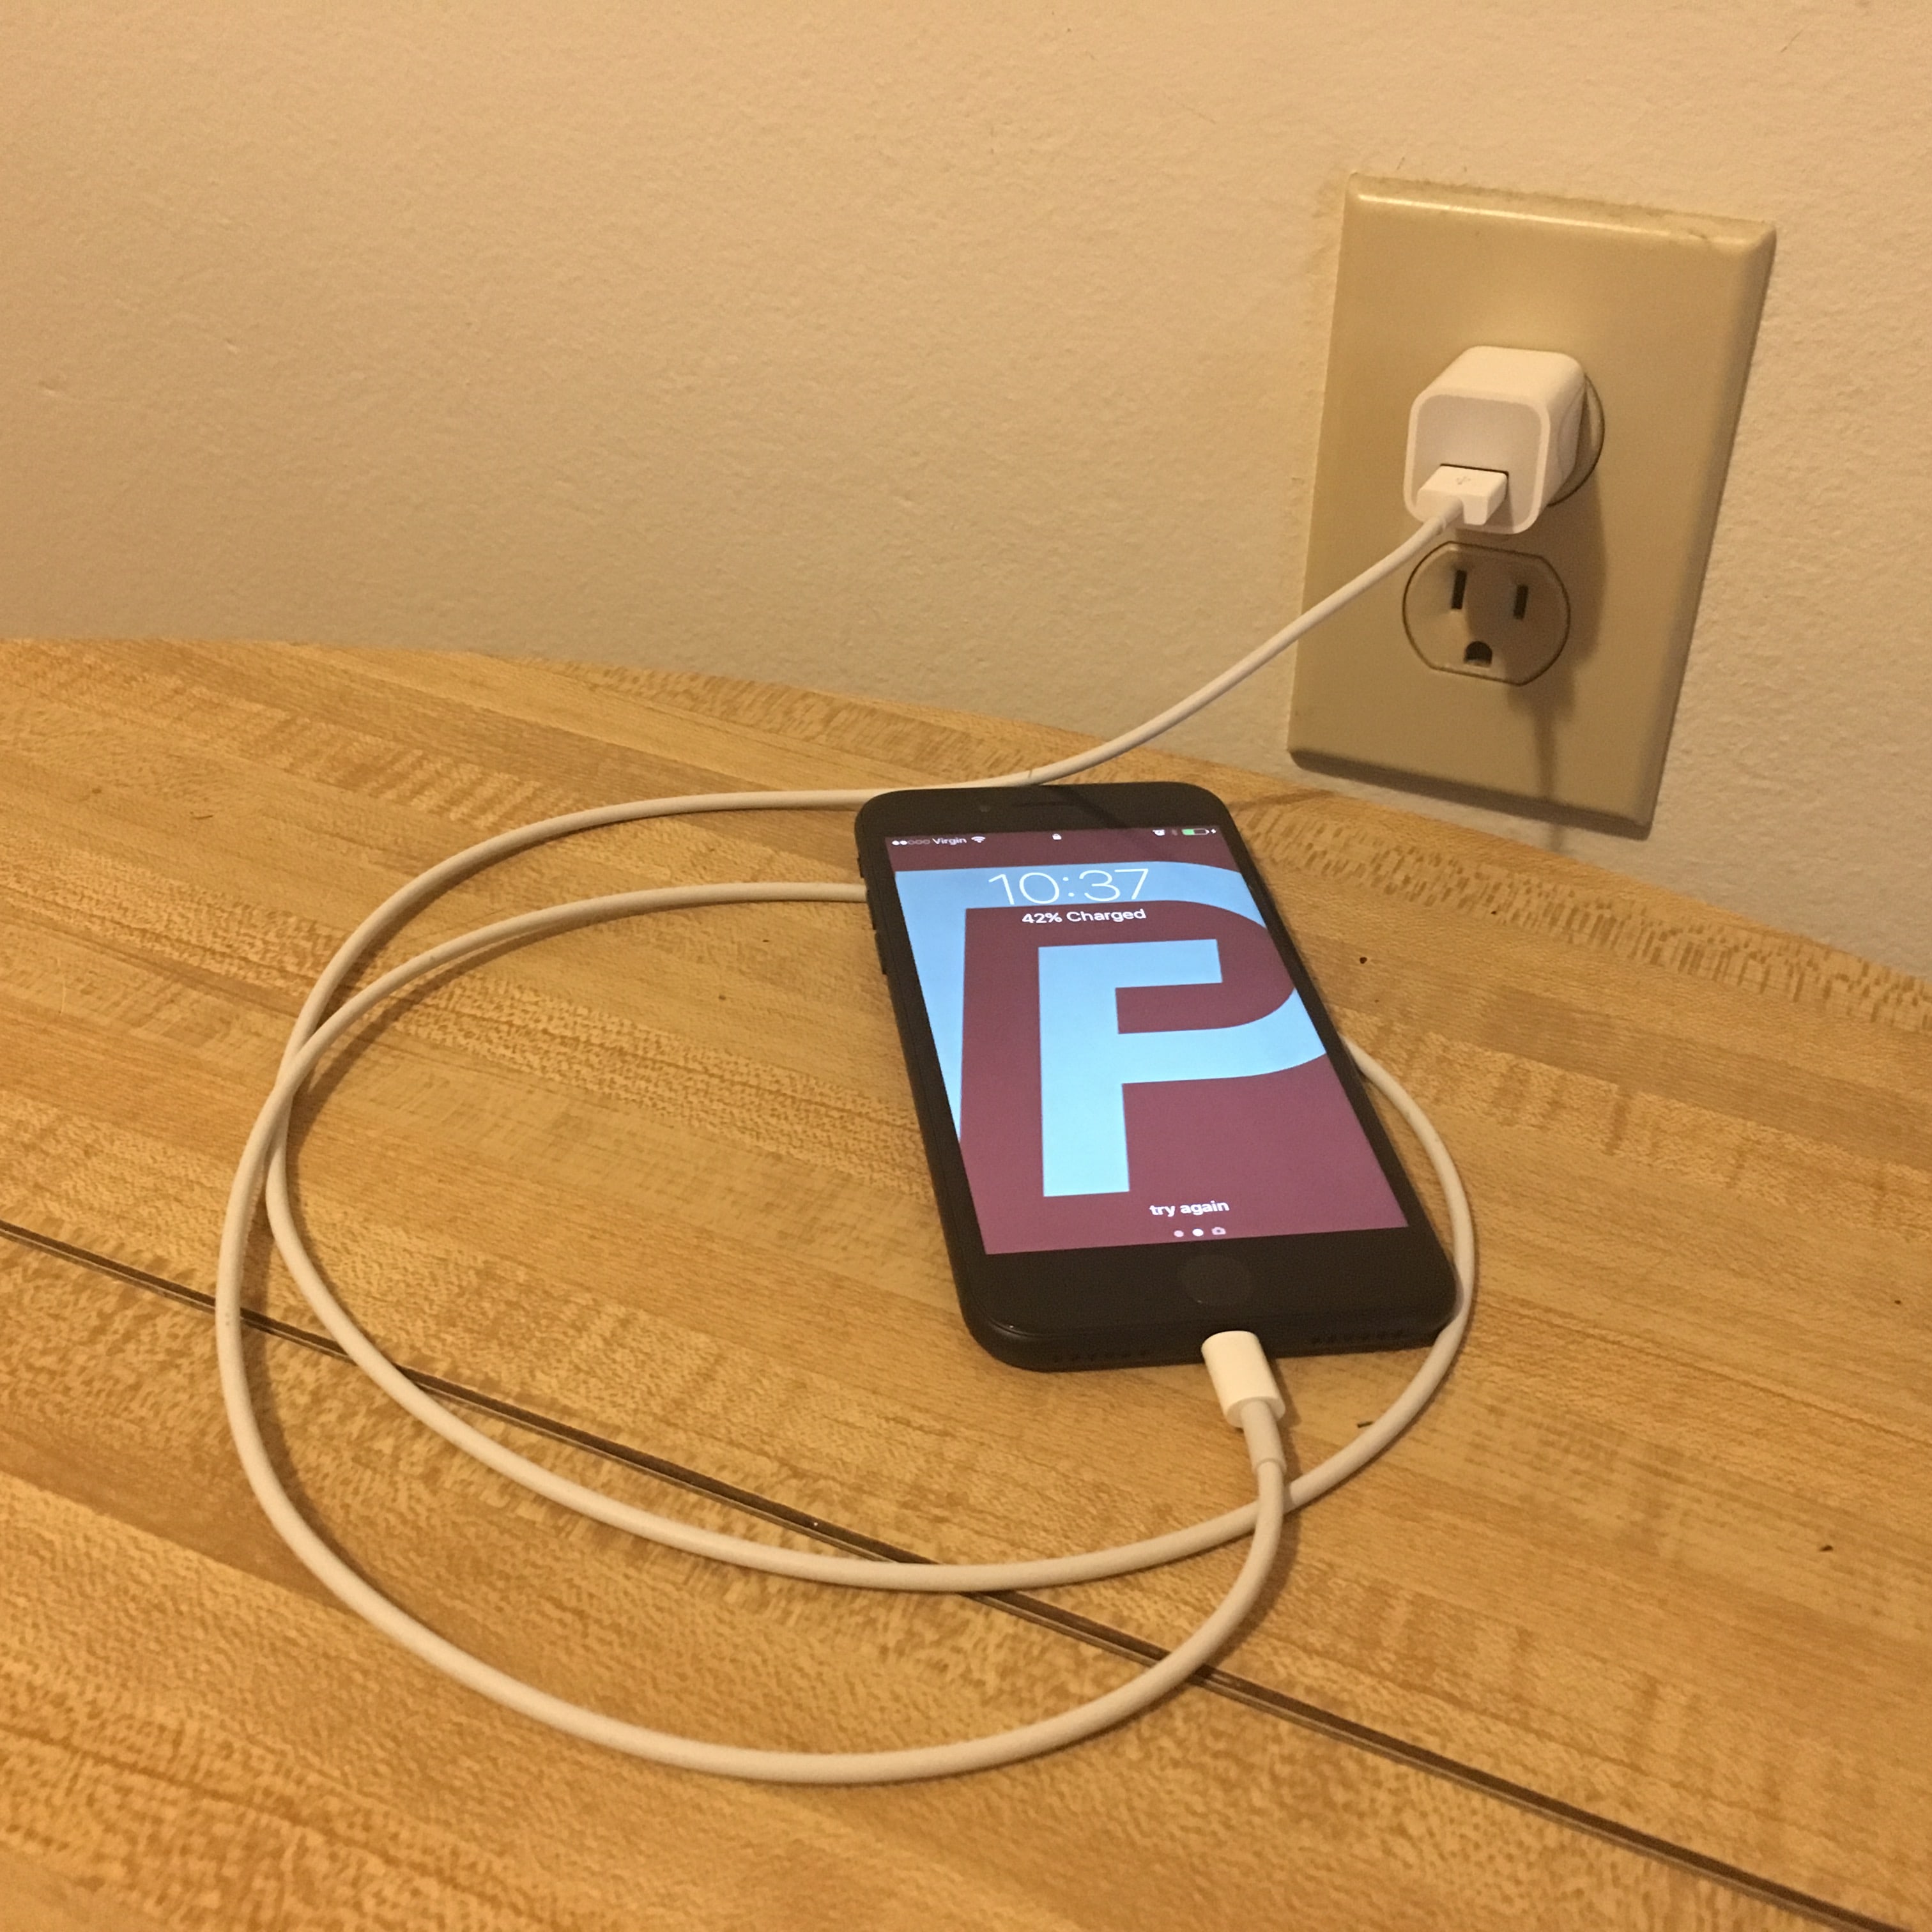
- Charge your iPhone with multiple different power sources. If you normally use your wall charger, try using a USB port on your laptop, and vice versa.
- If your iPhone charges with one power source but not the other, then you know that the charger is causing your problem.
Applies To: iPhone 5,iPhone 5S,iPhone 5C,iPhone 6,iPhone 6 Plus,iPhone 6S,iPhone 6S Plus,iPhone SE,iPhone 7,iPhone 7 Plus,iPhone 8,iPhone 8 Plus,iPhone X,iPhone XS,iPhone XS Max,iPhone XR,iPhone 11,iPhone 11 Pro,iPhone 11 Pro Max,iPhone SE 2
View MoreBack Up Your iPhone
It's important to back up your iPhone before doing any major restores (such as a DFU restore). If something goes wrong while you're trying to fix your iPhone, having a back up means you won't lose any of your data (such as contacts, photos, apps, and more). Restoring from a back up is a lot more convenient than having to go and reenter all the information that was saved on your iPhone.
How Do I Back Up My iPhone?
There are a few different ways to back up your iPhone:
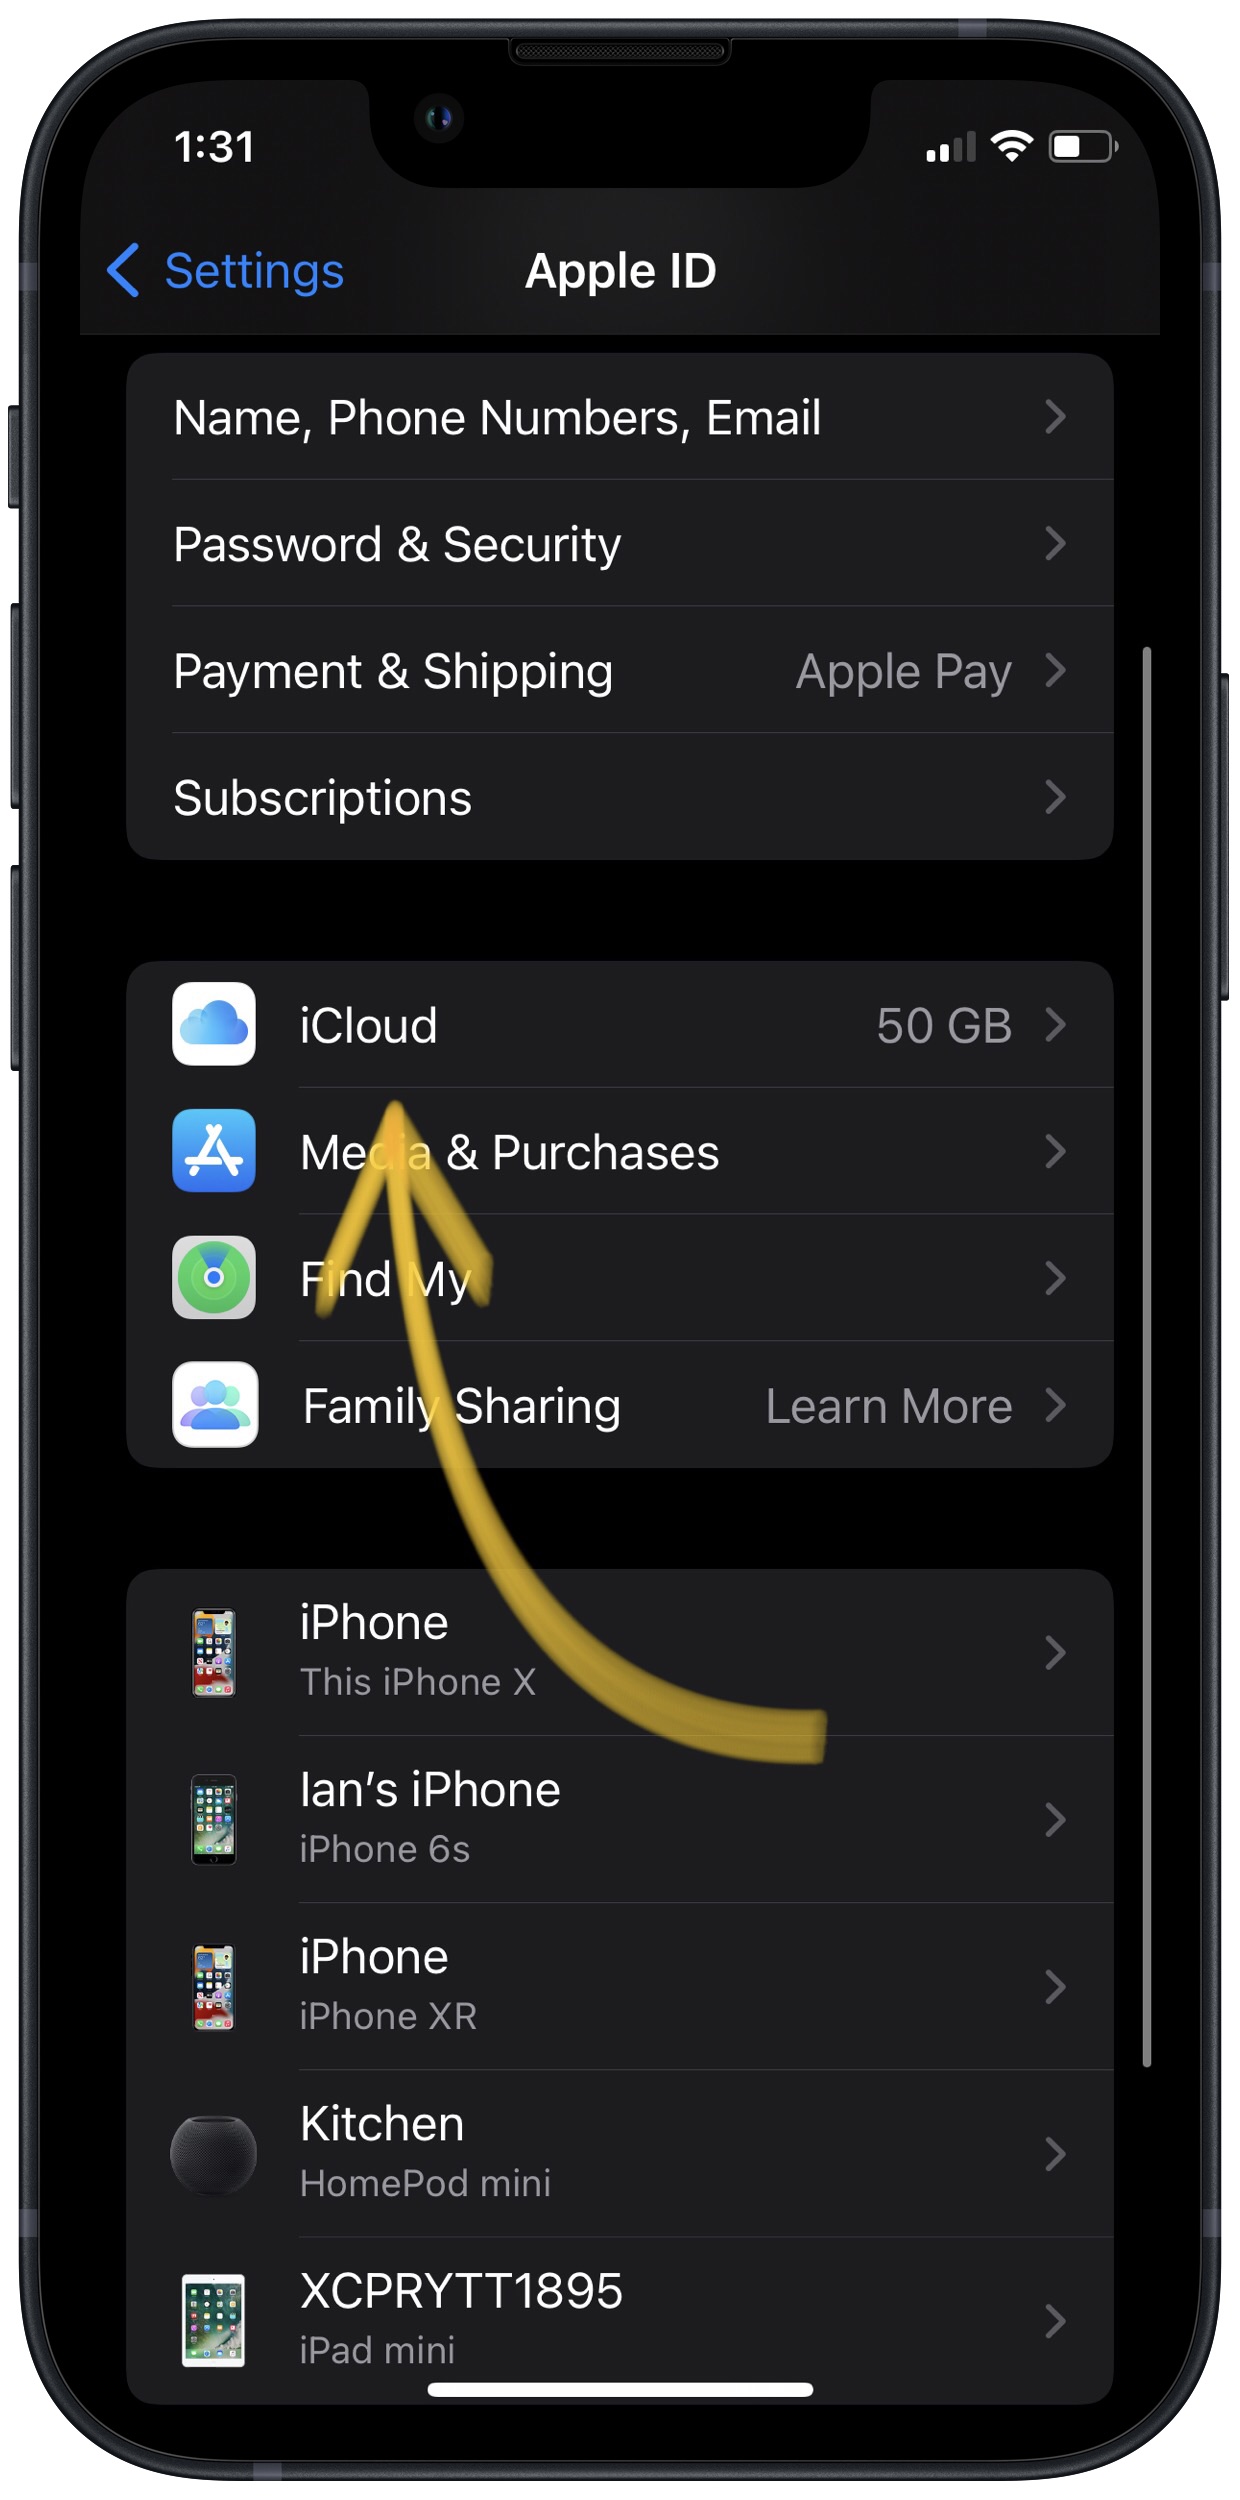
Backup Your iPhone Using iCloud
- If you have a WiFi connection, you can back up your iPhone using iCloud.
- Open the Settings app.
- Tap on Your Name at the top of the screen.
- Tap iCloud.
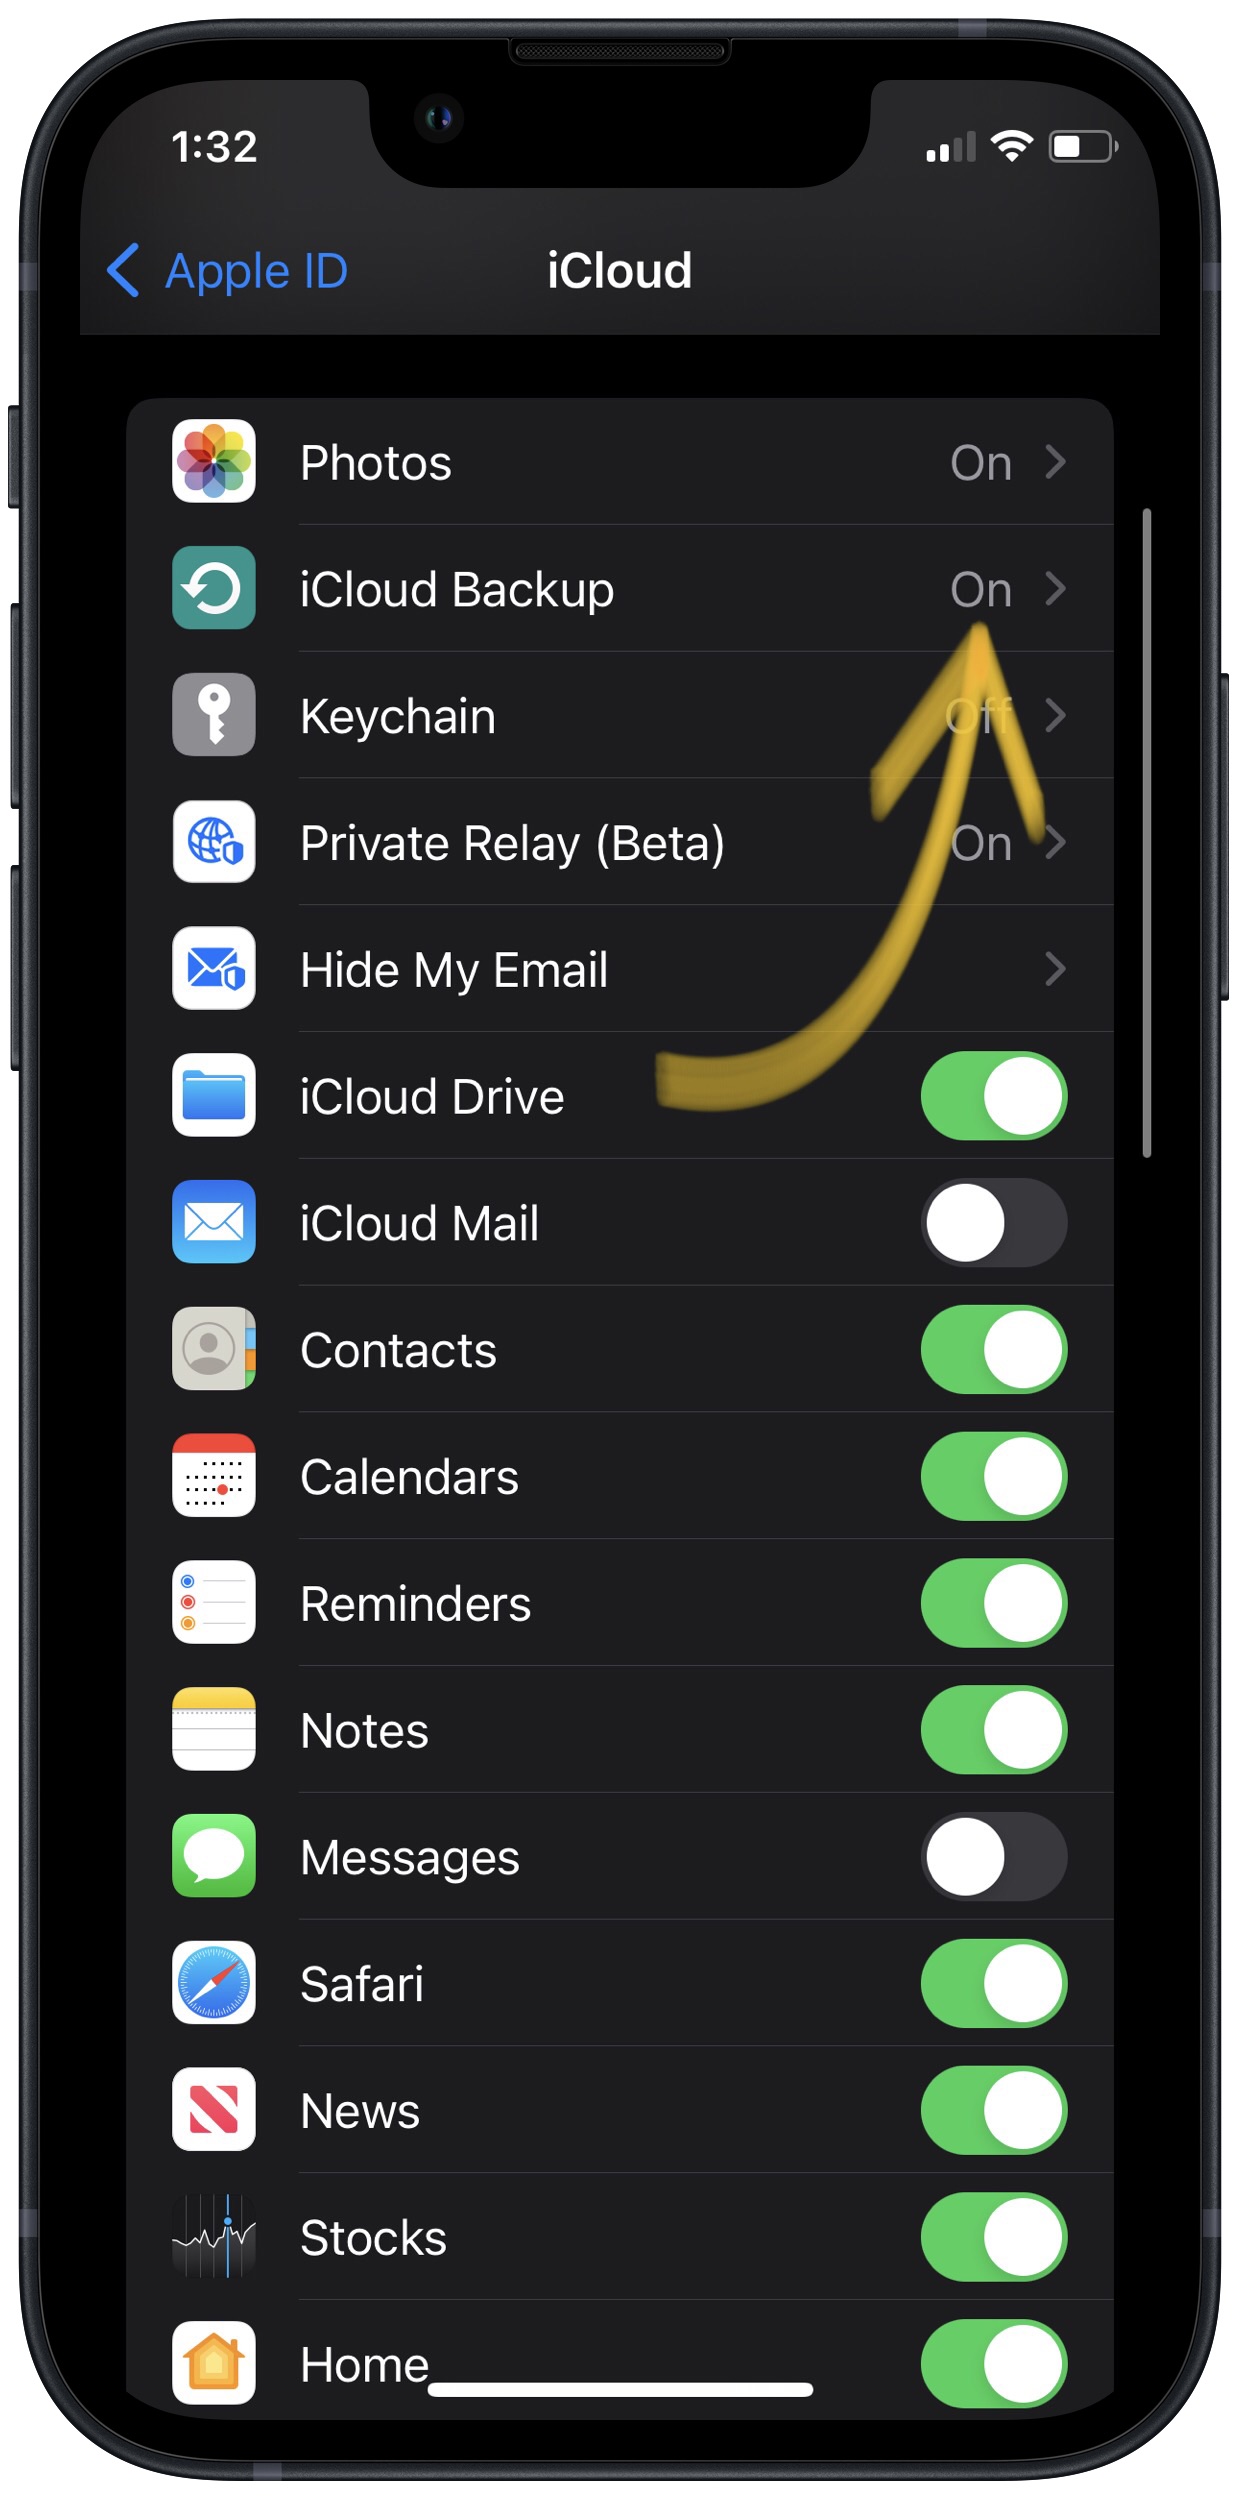
- Scroll down and tap on iCloud Backup.
- Make sure the switch next to iCloud Backup is on. You'll know the switch is on when the switch is green.
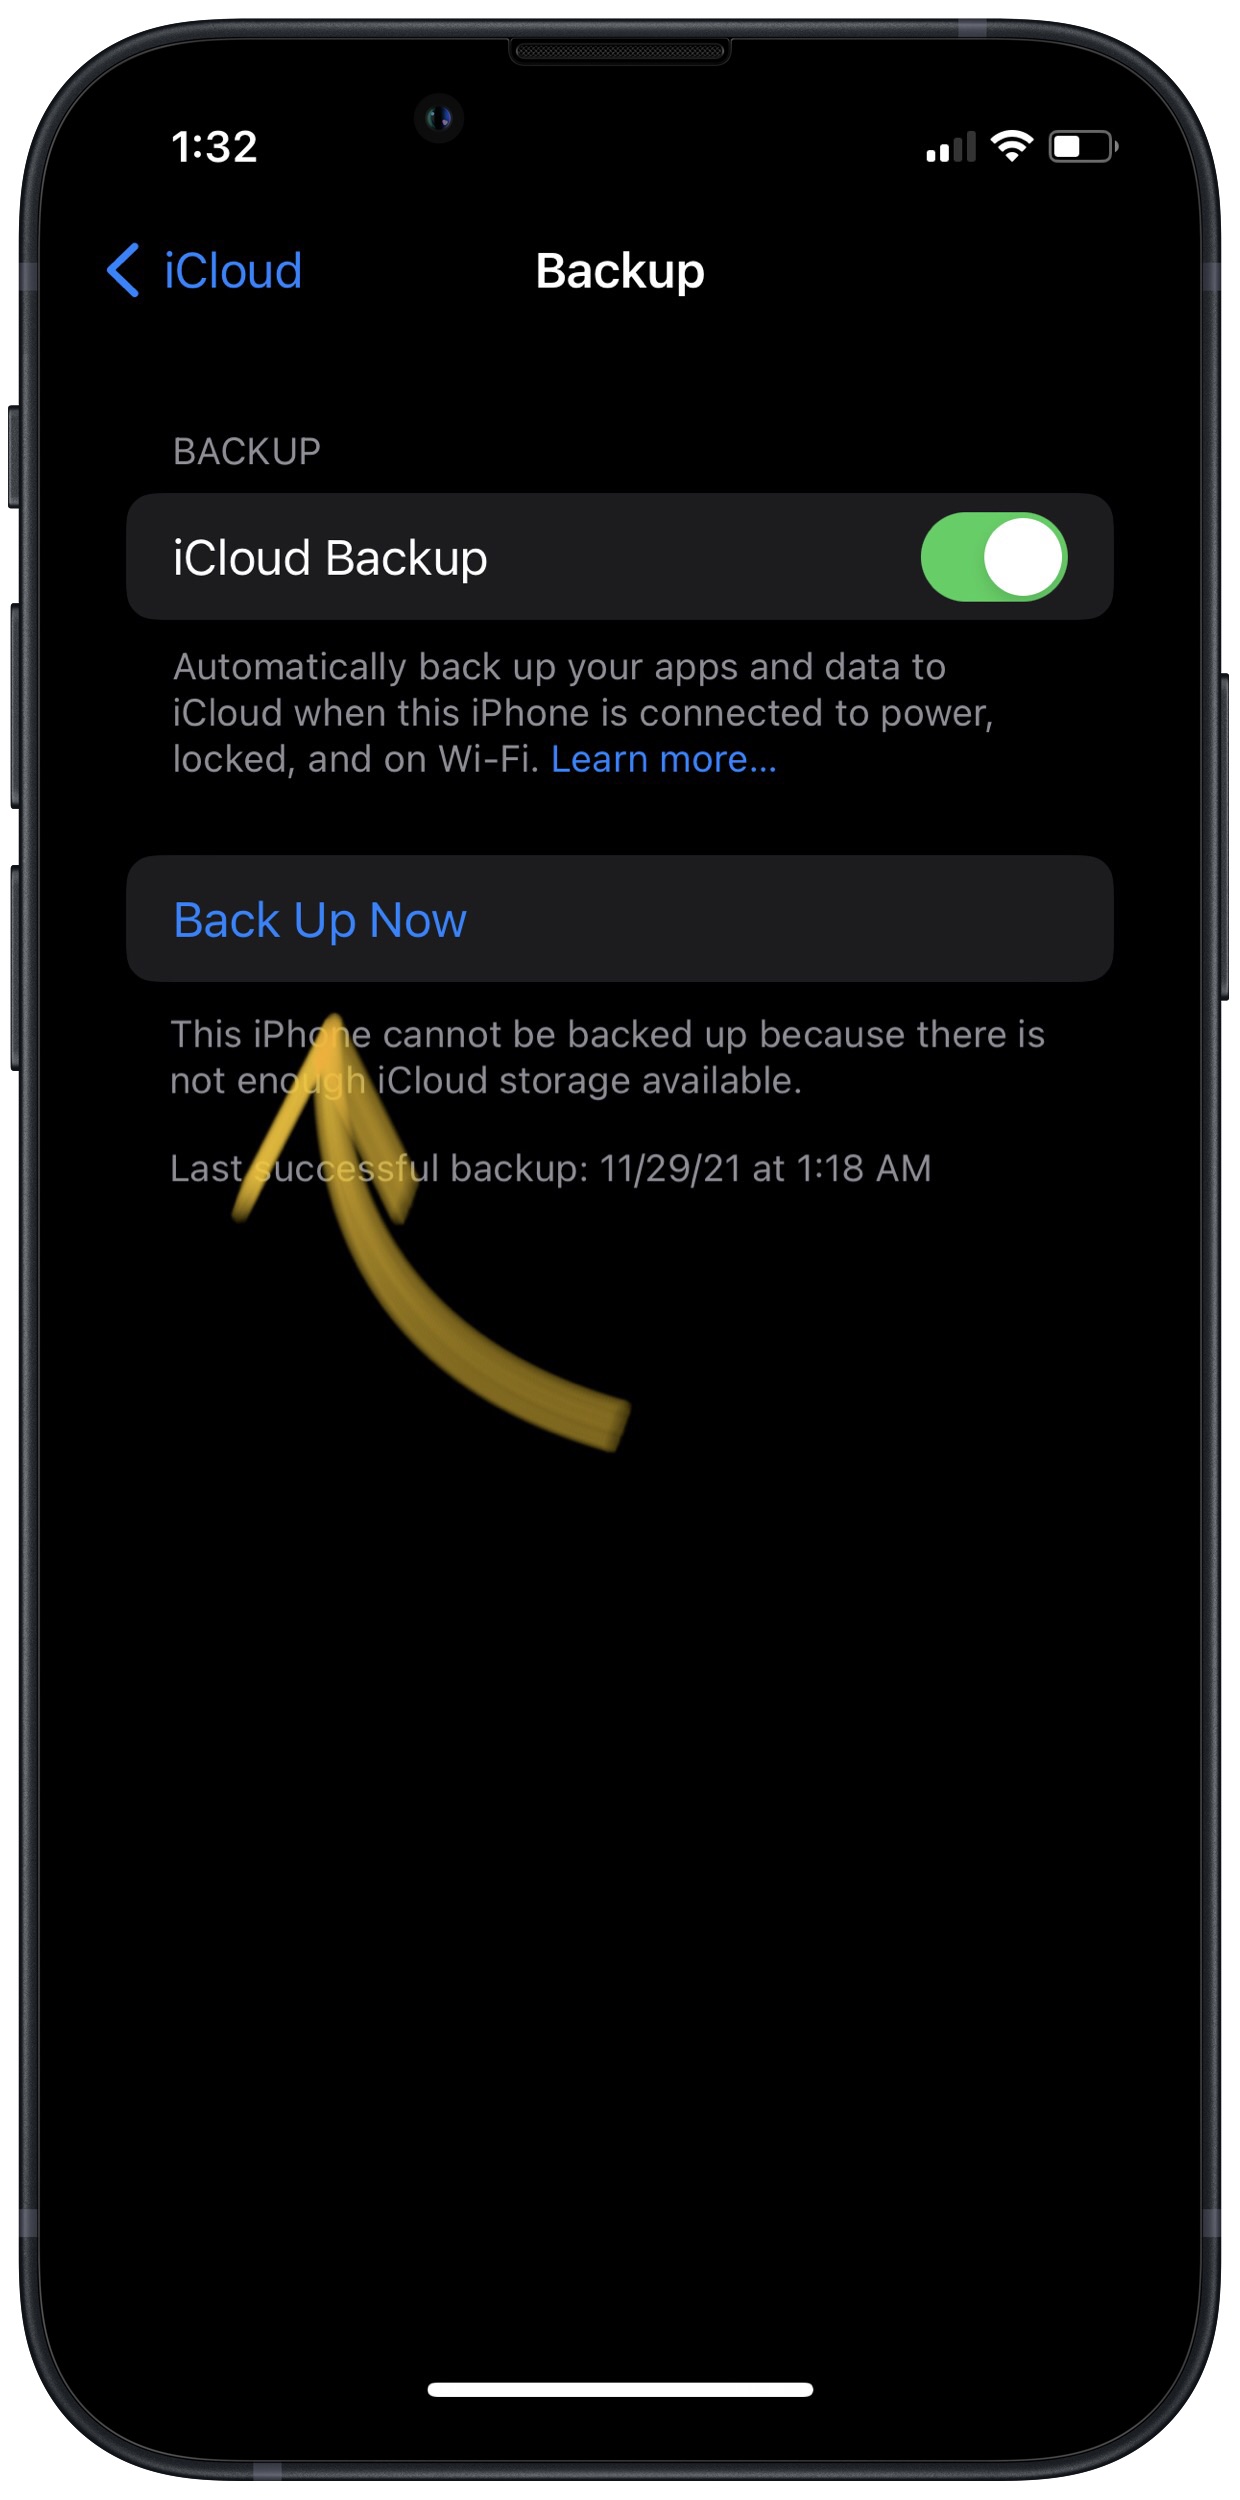
- Tap Back Up Now.
- A status bar will appear to tell you how much time is remaining.
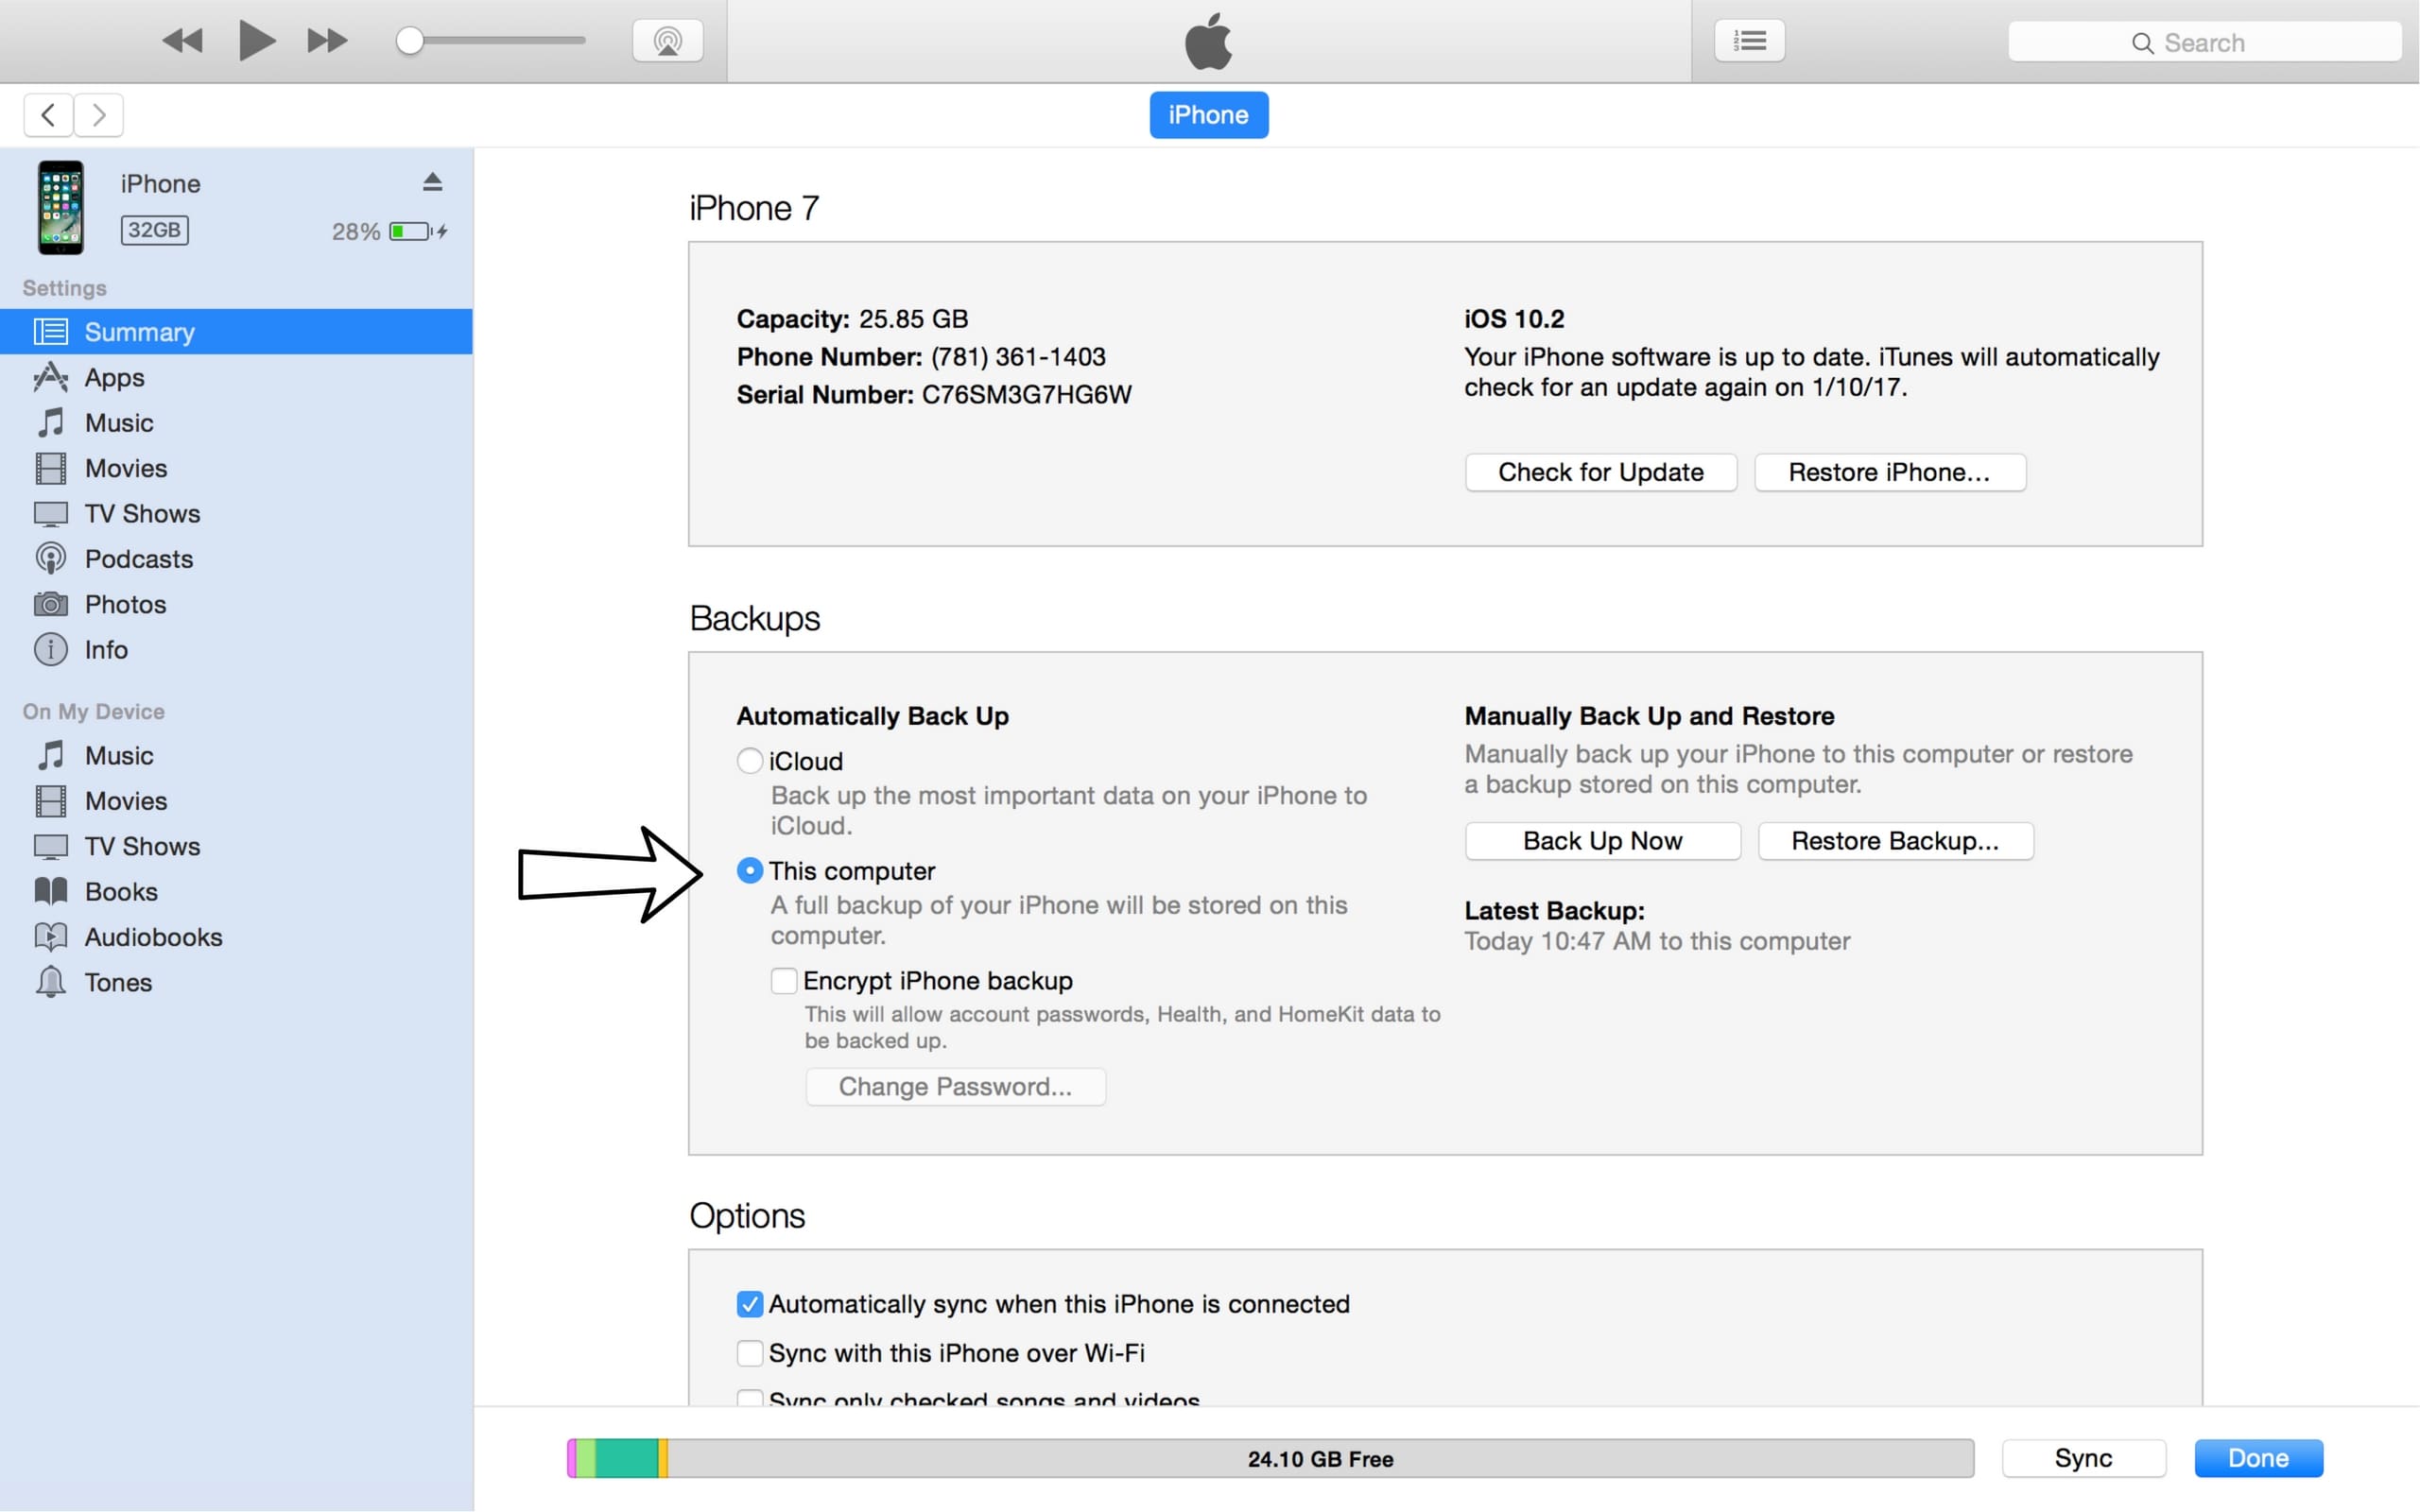
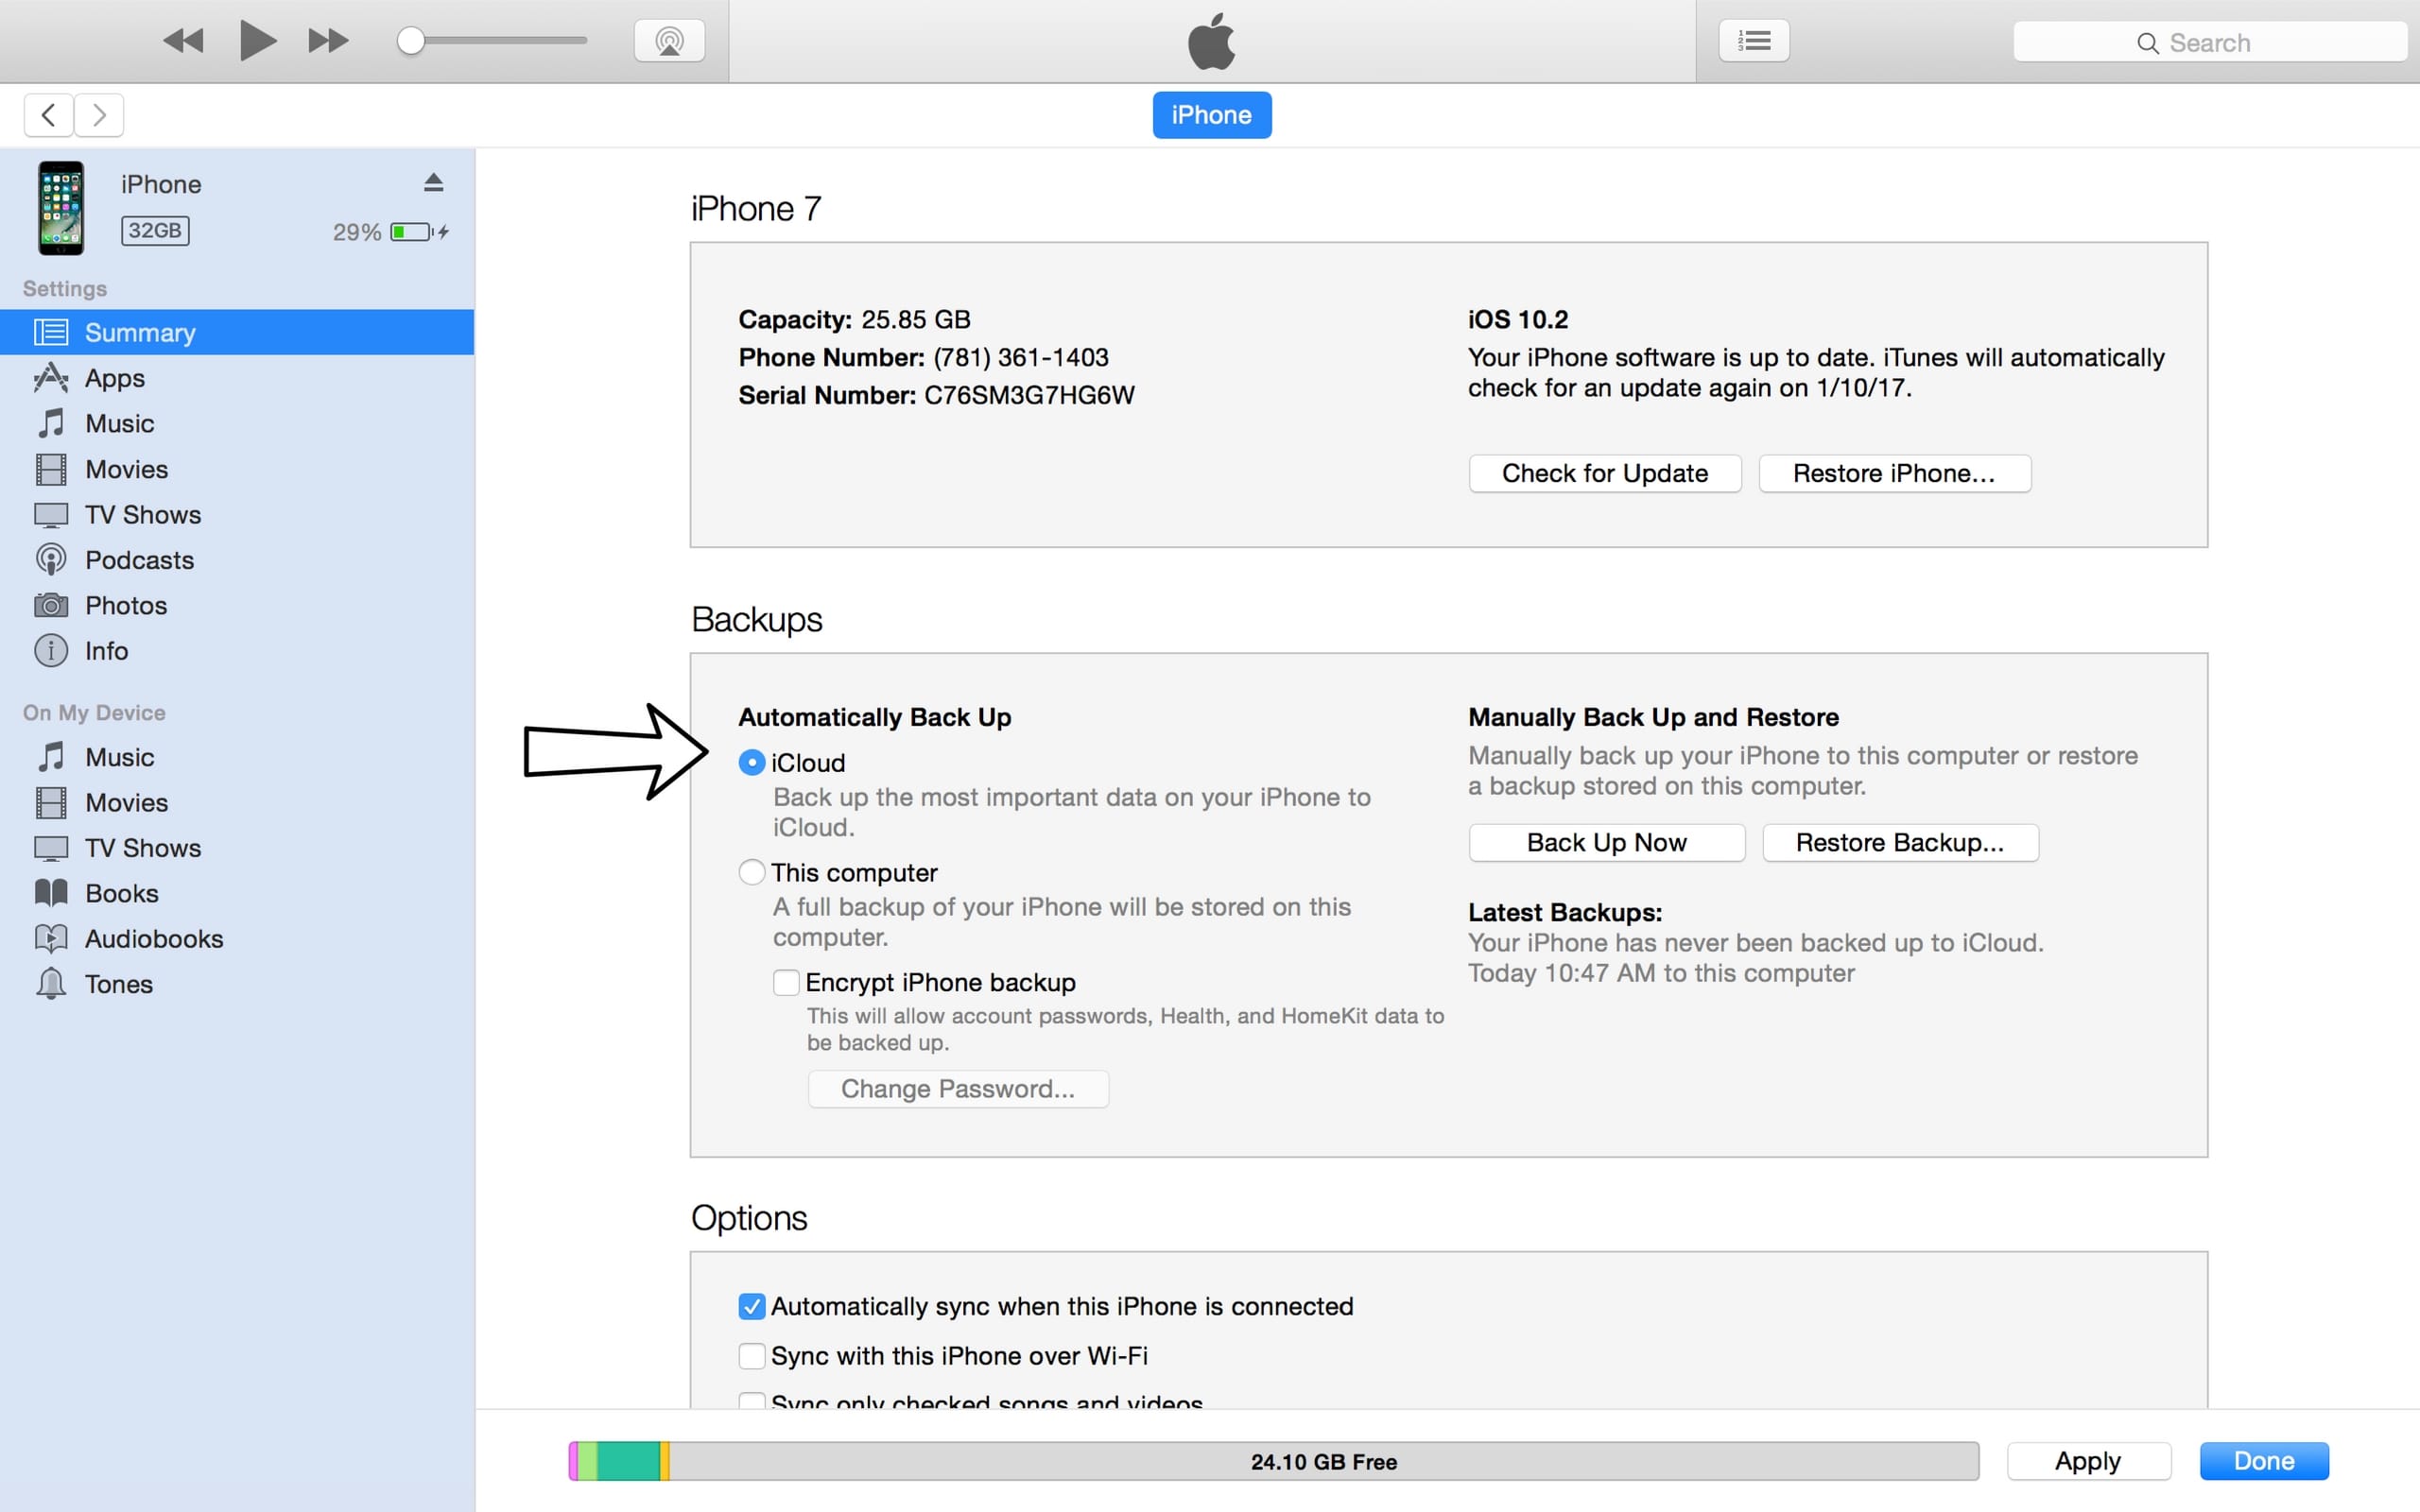
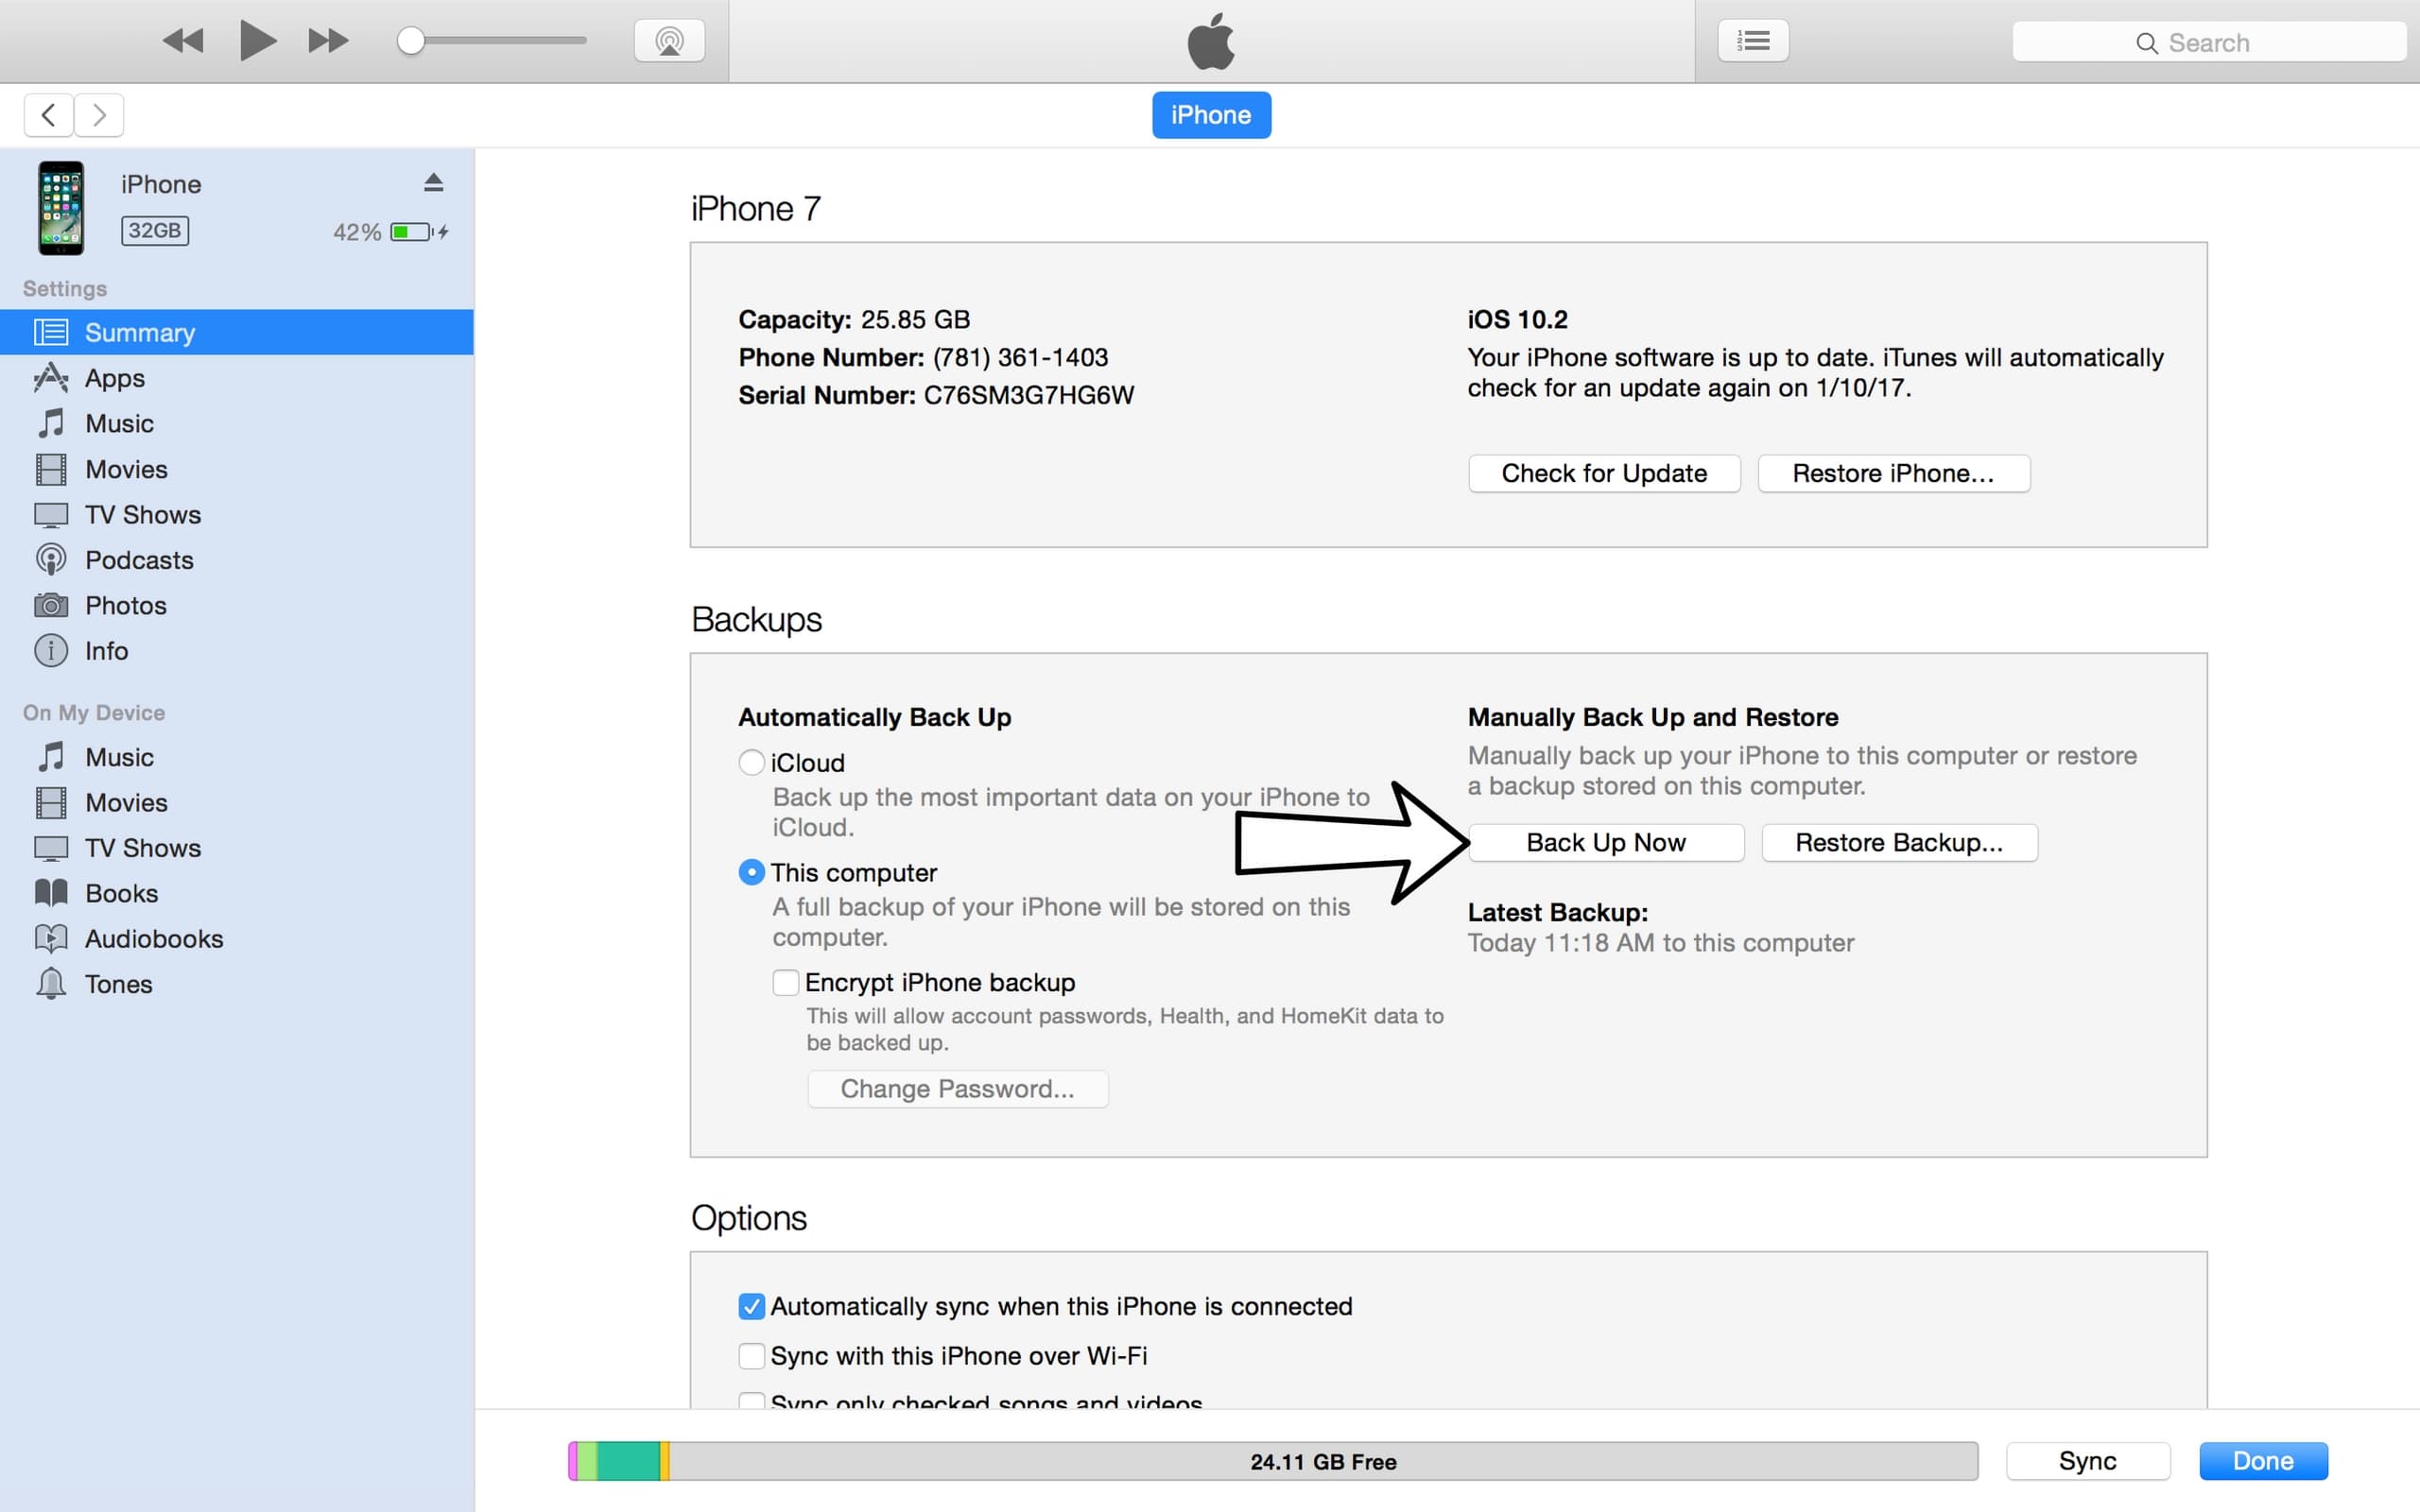
Backup Your iPhone Using iTunes
- Plug the Lightning connector on your Lightning cable (charging cable) into the Lightning port on your iPhone.
- Plug the other end of your Lightning cable into a USB port on your computer.
- Open iTunes on your computer.
- Click on the iPhone icon in the upper left hand corner of iTunes.
- Click the circle next to "iCloud" or "This computer" to select whether you want to backup your iPhone to iCloud or your computer.
- Click Back Up Now to backup your iPhone.
- When the backup is complete, you'll see the time and date updated under Latest Backup.
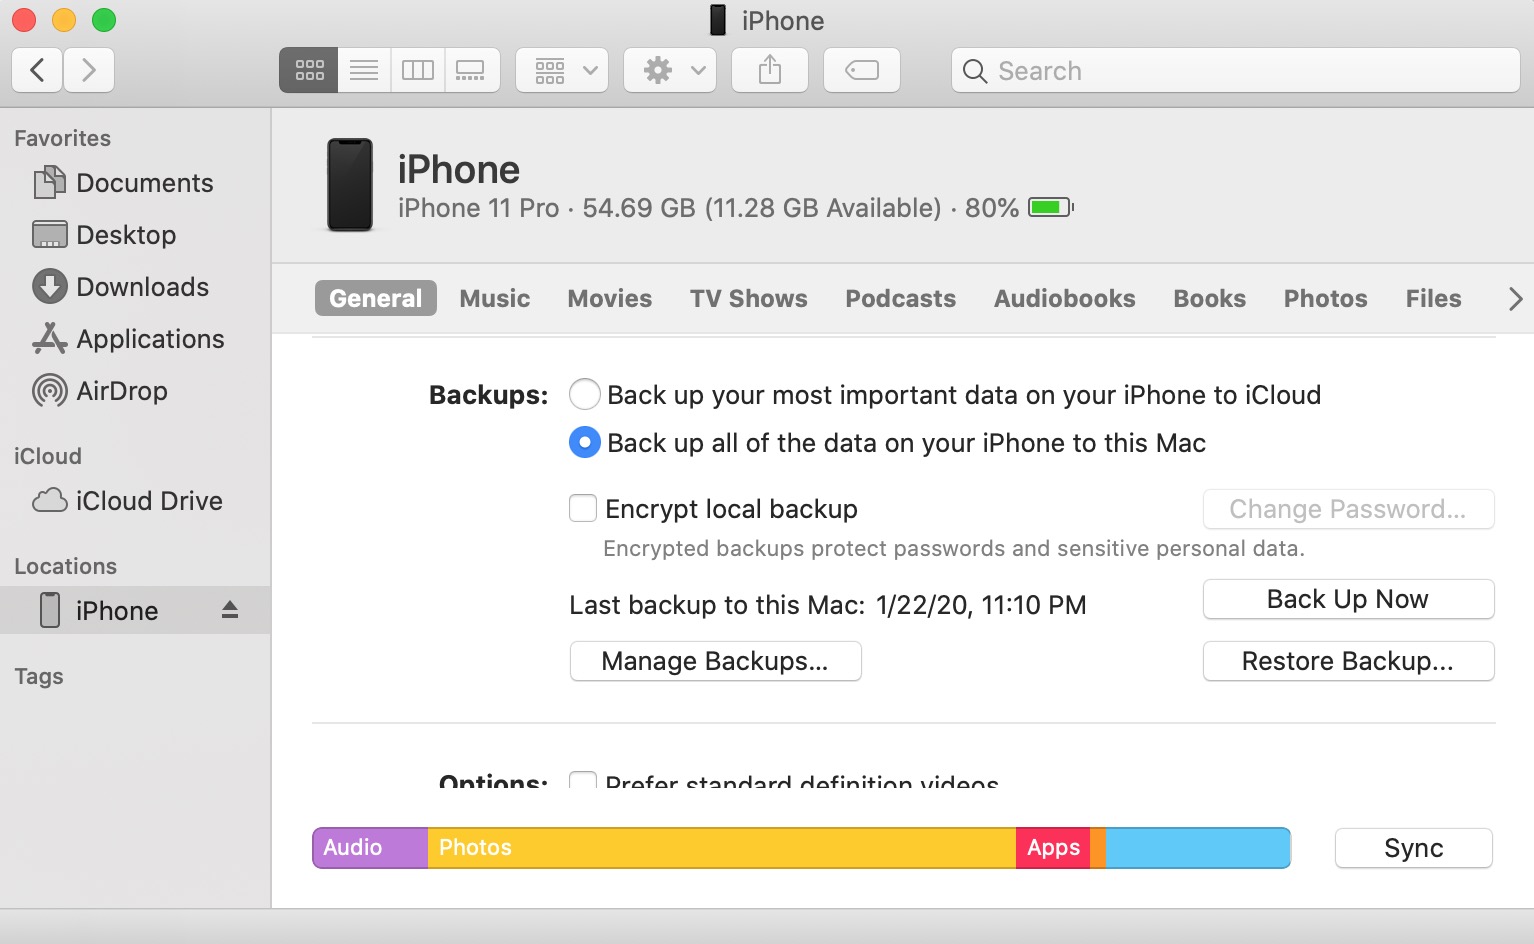
Backup Your iPhone Using Finder (Macs Running Catalina 10.15 or newer)
- Connect your iPhone to your Mac using a charging cable.
- Open Finder.
- Click on your iPhone under Locations.
- Click the circle next to Back up all of the data on your iPhone to this Mac.
- Click Back Up Now.
- When the backup is complete, you'll see the time and date updated under Latest Backup.
Applies To: iPhone 5,iPhone 5S,iPhone 5C,iPhone 6,iPhone 6 Plus,iPhone 6S,iPhone 6S Plus,iPhone SE,iPhone 7,iPhone 7 Plus,iPhone 8,iPhone 8 Plus,iPhone X,iPhone XS,iPhone XS Max,iPhone XR,iPhone 11,iPhone 11 Pro,iPhone 11 Pro Max,iPhone SE 2
View MoreDFU Restore Your iPhone
A DFU restore has the potential to fix software problems by completely erasing the code which may be causing your problem. The code is rewritten as if your iPhone is brand new, so the software problem may get solved.
Think of it like a house that has cracks in the foundation. Rather than try and fix the cracks, we are building an entirely new foundation.
If you can, back up your iPhone before completing a DFU restore. Any time you do a restore, it erases everything from your iPhone. However, after the restore is completed, you restore all your backed up data back onto your iPhone.
How Do I DFU Restore My iPhone?
How To DFU Restore An iPhone SE, 6s, Or Older
- Using a Lightning cable, plug your iPhone into a USB port on your computer.
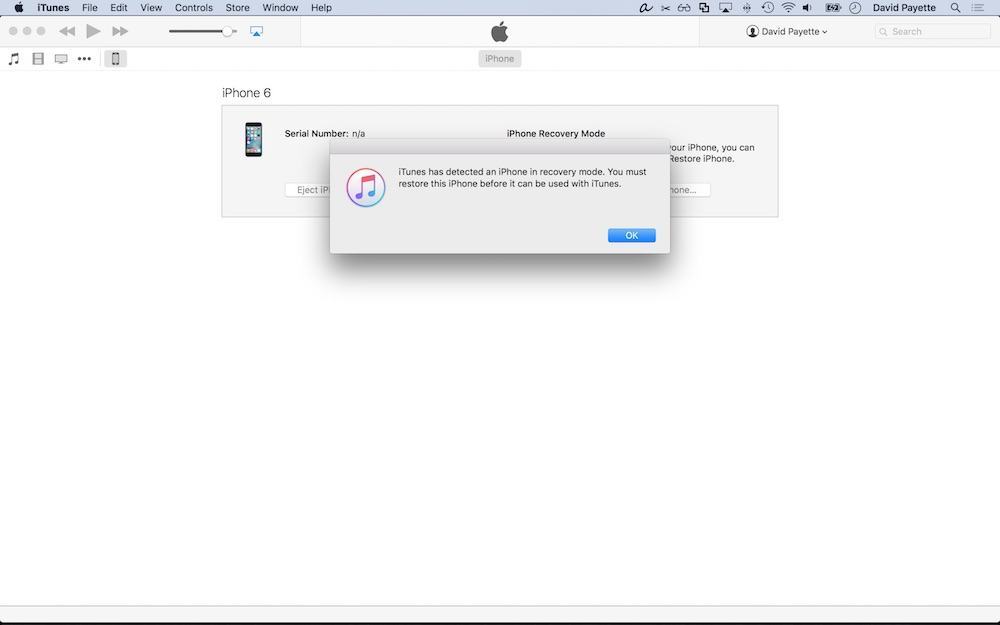
- Open iTunes if you have a PC or Mac running Mojave 10.14 or earlier. Open Finder if you have a Mac running Catalina 10.15 or newer. It doesn’t matter if your iPhone is on or off.
- Press and hold the Home button and the power button simultaneously.
- After 8 seconds, release the power button, but continue to hold the Home button.
- Let go of the power button when your iPhone appears in iTunes or Finder.
- Your iPhone’s display will be completely black if you’ve successfully entered DFU mode. If it’s not, try again from the beginning.
- Restore your iPhone using iTunes or Finder.
How To DFU Restore An iPhone 7 Or 7 Plus
- Using a Lightning cable, plug your iPhone into a USB port on your computer.
- Open iTunes if you have a PC or Mac running Mojave 10.14 or earlier. Open Finder if you have a Mac running Catalina 10.15 or newer. It doesn’t matter if your iPhone is on or off.
- Press and hold the power and volume down button simultaneously.
- After 8 seconds, release the power button, but continue to hold the volume down button.
- Release the volume down button when your iPhone appears in iTunes or Finder.
- You'll know your iPhone is in DFU mode if the display is completely black.
- Restore your iPhone using iTunes or Finder.
How To DFU Restore An iPhone 8 Or Newer
- Connect your iPhone to your computer using a charging cable.
- Open iTunes (PCs and Macs running macOS 10.14 or older) or Finder (Macs running macOS 10.15 or newer).
- Quickly press and release the volume up button.
- Quickly press and release the volume down button.
- Press and hold the side button until the screen goes black.
- When the screen goes black, press and hold the volume down button while continuing to press and hold the side button.
- Hold both buttons for five seconds.
- After five seconds, release the side button while continuing to hold the volume down button.
- Keep holding the volume down button until your iPhone appears in Finder or iTunes.
- Restore your iPhone using iTunes or Finder.
Applies To: iPhone 5,iPhone 5S,iPhone 5C,iPhone 6,iPhone 6 Plus,iPhone 6S,iPhone 6S Plus,iPhone SE,iPhone 7,iPhone 7 Plus,iPhone 8,iPhone 8 Plus,iPhone X,iPhone XS,iPhone XS Max,iPhone XR,iPhone 11,iPhone 11 Pro,iPhone 11 Pro Max,iPhone SE 2
View MoreUpgrade Your iPhone 7
With a wide selection of new smartphones available, you may want to consider upgrading your iPhone 7 instead of having it repaired. iPhone 7 repairs can get expensive, especially if more than one component is broken.
Your money may be better spent as a down payment on a new phone. Some carriers will even give you huge discounts on the latest smartphones when you switch!
New phones have many improved features that your iPhone 7 doesn't. They have faster processors, longer better life, better cameras, facial recognition software, and much more!
How Do I Upgrade My iPhone 7?
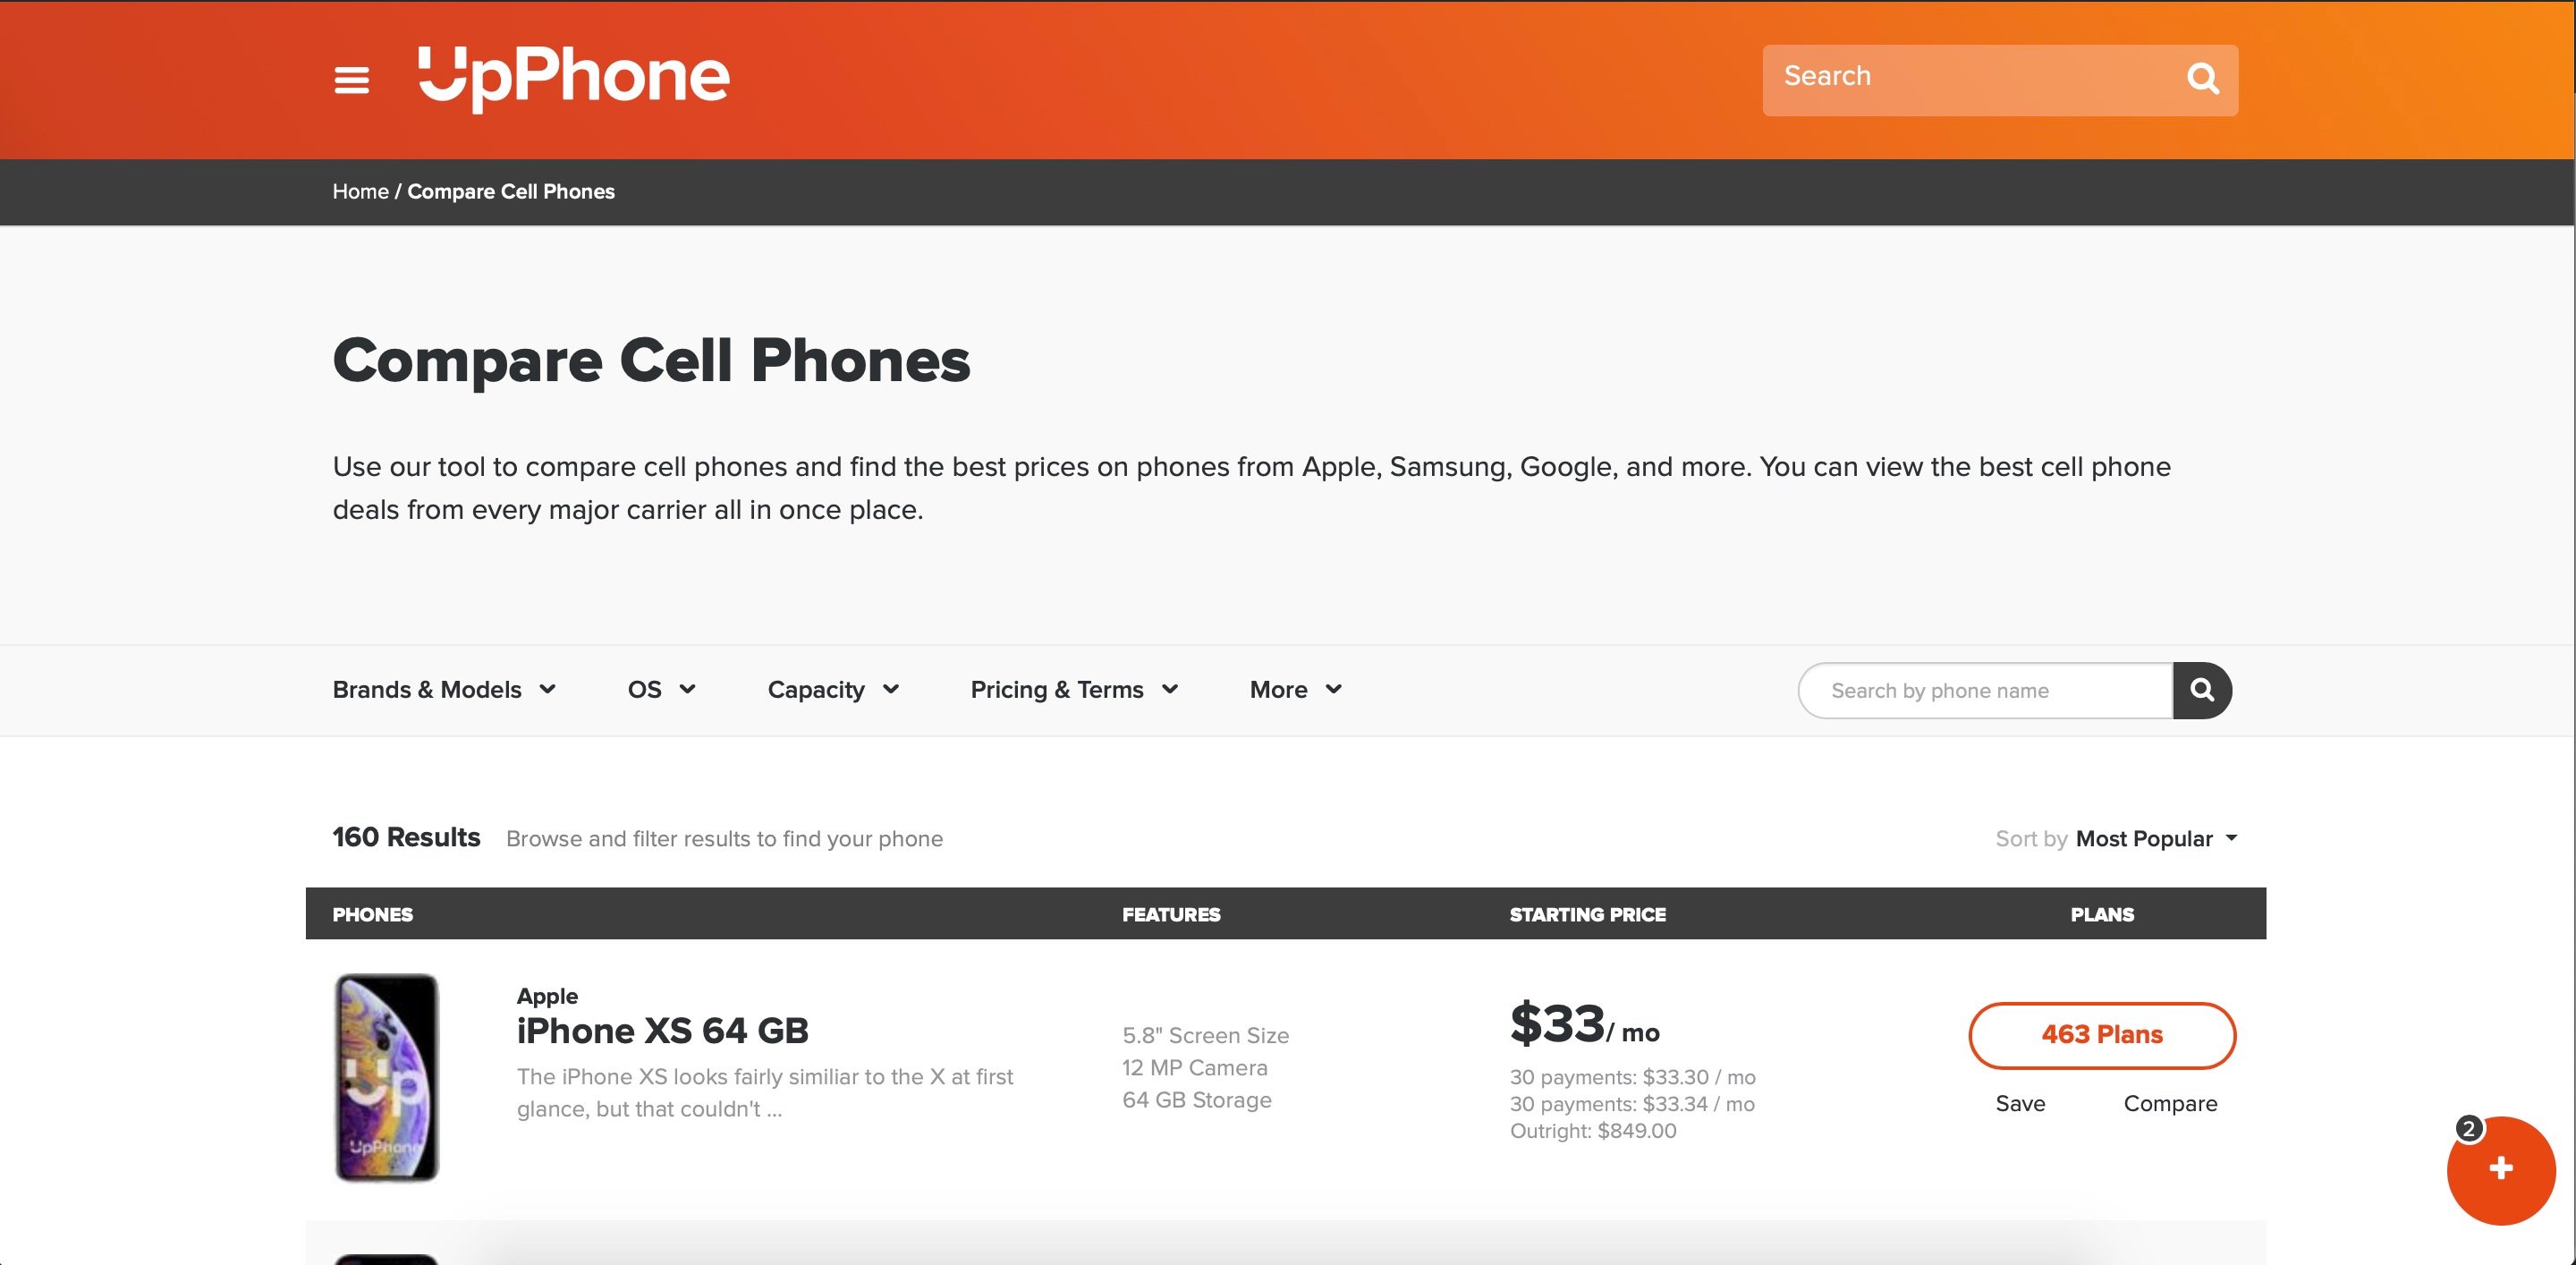
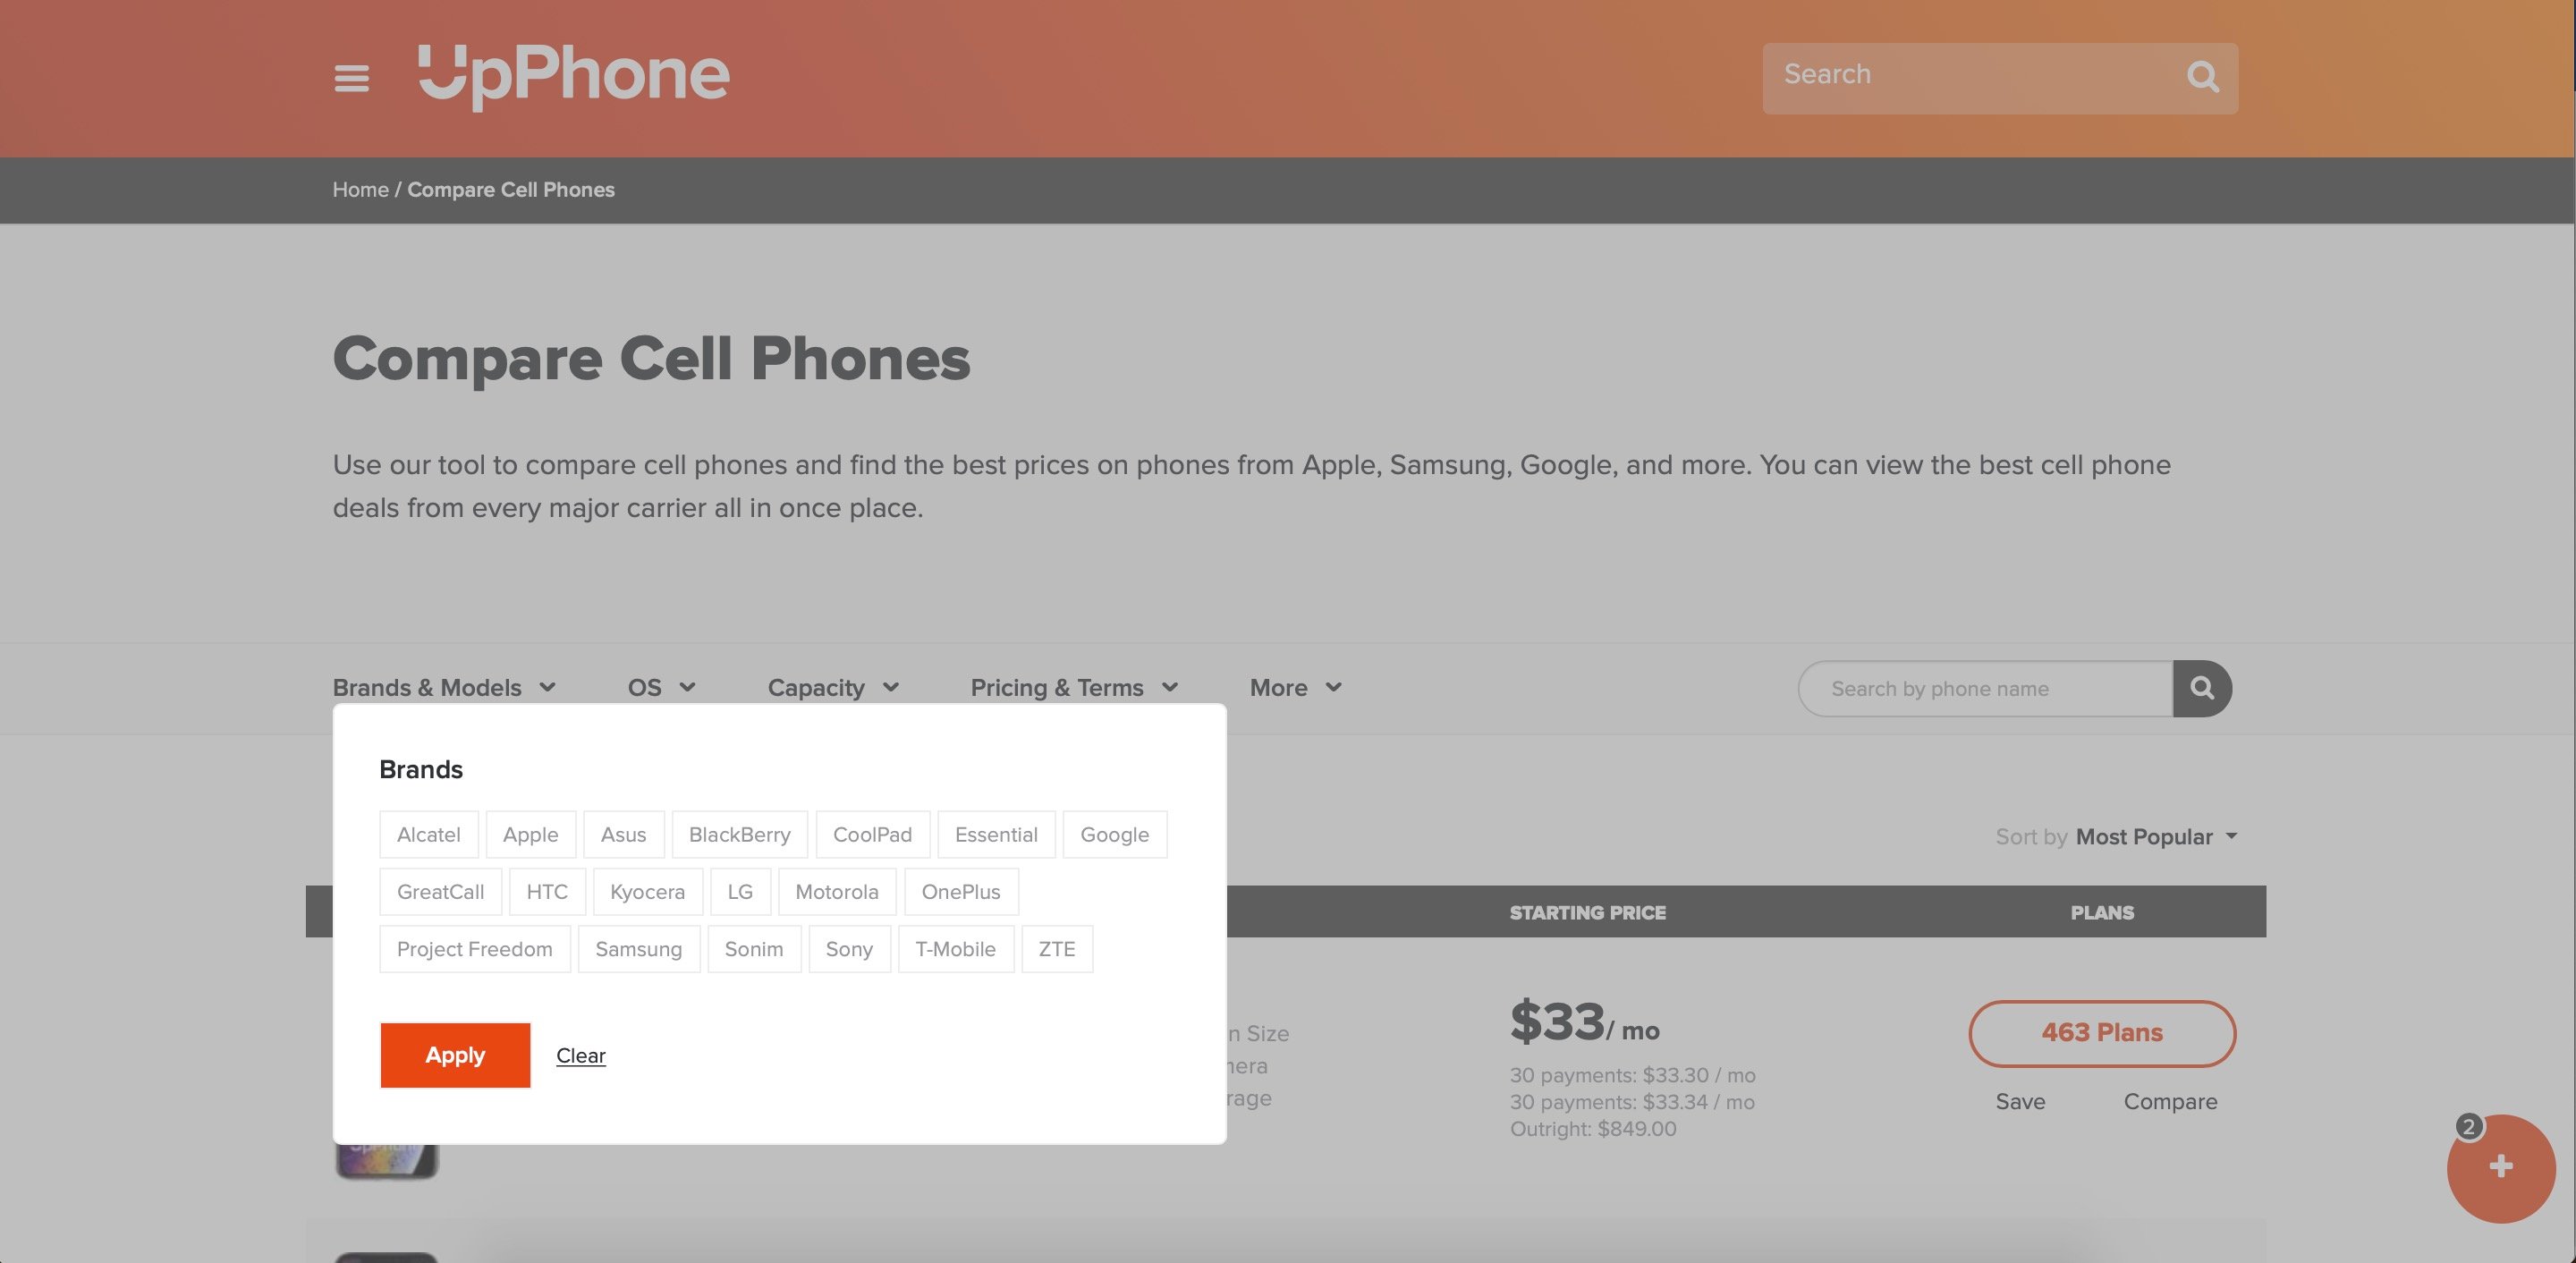
- Click here to head to the UpPhone phone comparison tool.
- Sort the tool by selecting brands, models, storage capacities, operating systems, and more!
- Click on the name of a phone to learn more, or view compatible plans by clicking on the "# plans" button.
Applies To: iPhone 7
View MoreRepair Your iPhone With Apple
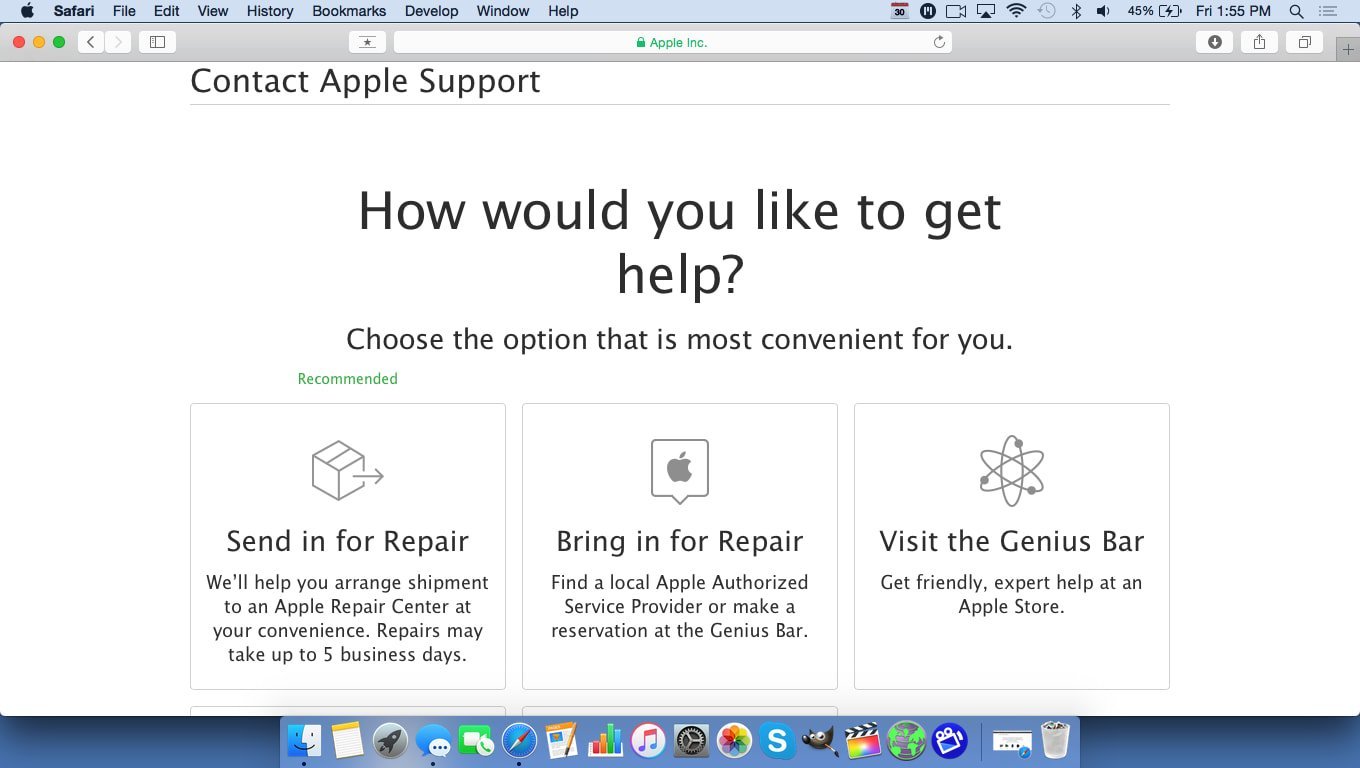
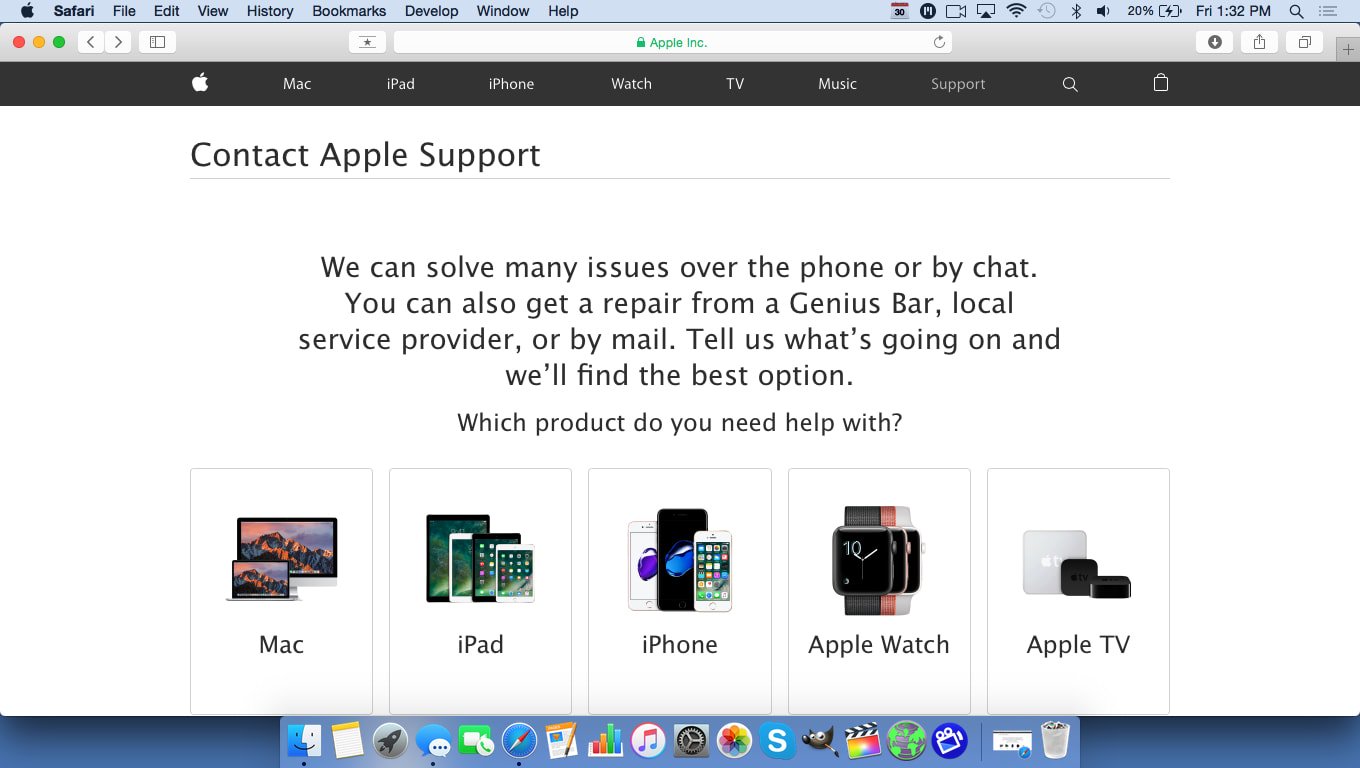
Apple repairs iPhones at the Genius Bar in Apple Stores and through their online mail-in repair service. Apple repairs are high-quality, but out-of-warranty repairs can be much more expensive than third-party solutions. If you're looking to save some money you're not covered by Apple's warranty, you may want to check out our other recommendations.
How Do I Repair My iPhone With Apple?
How To Repair Your iPhone With Apple's Mail-In Service
- Visit Apple's support website to begin the online mail-in repair process.
- Alternatively, call 1-800-MY-APPLE (1-800-692-7753) to set up a repair.
How To Repair Your iPhone At The Genius Bar Inside Your Local Apple Store
- Visit Apple's website to make a Genius Bar appointment before you go into the store. Apple Stores are extremely busy, and if you don't have an appointment, you may have to wait for hours or end up being turned away. (Editor's note: I'm a former Apple tech and we're not exaggerating — please, do yourself a favor and make an appointment first!)
- When you arrive, go to the Genius Bar to check in for your appointment.
- Genius Bar appointments always include free diagnosis. If you're under warranty, many repairs can be done on the spot, but it all depends upon which parts are in stock. If you're not under warranty, the Genius will give you a quote for the cost of a repair.
Applies To: iPhone 5,iPhone 5S,iPhone 5C,iPhone 6,iPhone 6 Plus,iPhone 6S,iPhone 6S Plus,iPhone SE,iPhone 7,iPhone 7 Plus,iPhone 8,iPhone 8 Plus,iPhone X,iPhone XS,iPhone XS Max,iPhone XR,iPhone 11,iPhone 11 Pro,iPhone 11 Pro Max,iPhone SE 2
View MoreYour iPhone 7 Is Charging Again!
Your iPhone 7 is charging once again, and that's a relief! An iPhone with a dead battery is good paperweight, but that's about it. If your iPhone 7 ever stops charging again, you've learned exactly how to fix the problem. This is a common problem, and you may find yourself helping your friends too! I hope you enjoyed this article and I'd love to hear from you in the comments section below. If it helped you out, we always appreciate it when you share our articles with your friends.



my iphone 7 is 4 hours old. none of this works… Im just pissed, is all…
My phone charges at home and at work, but on my 2017 Nissan Maxima, if Apple CarPlay is enabled, it will not start. If Apple CarPlay is not enabled, it will charge. Any way to fix that?
My iphone 7 is charging again. I held down the round button in the front and the volume down button and the apple logo appeared then went black. When I turned it on it was charging! Thank you so much.
how i been doing that for like 4 hours almost and now my ipad wont charge and i have charging cords that work idk what to do